

I always wanted to make things kind of right. You know, the proper way – effective, resilient and good – even starting from an early age. But back then, it could be difficult to find proper info on how to make things that was just slightly out of the ordinary, growing up in a small Swedish village back in the good old 1970’s. Today, you’d think that finding such information would have become much easier with all the info floating around. But no. Not really.
Most of what you can find – as you could already back then – are lot’s of well crafted but often a bit homey how-to-do and don’ts. And that’s just fine! But what about all those professional tweaks and turns? Where are they? Still hard to find, I’d say. Especially regarding making “real” garments, including jeans.
You often end up with the feeling of wanting to know a person who you could turn to and ask, how in the world to get just that specific odd thing right! I didn’t have that, someone to get that information from that is, so I needed to practice year out and year in, day after day, for roughly about 40 years to end up where I wanted to be. You should be spared of that journey if possible! We need people to go faster through the system, right?
Well, enough of my personal struggles and inner evolvement for now! I did promise some process info, on how I made those relaxed blue jeans yesterday! And I will of course keep that promise. So here are some highlights. Enjoy!
I think one of the most important things in tailoring is, to make all your work witin a good-order routine. So that’s what we focus on here. One has to start somewhere, right? Details can be added later on.
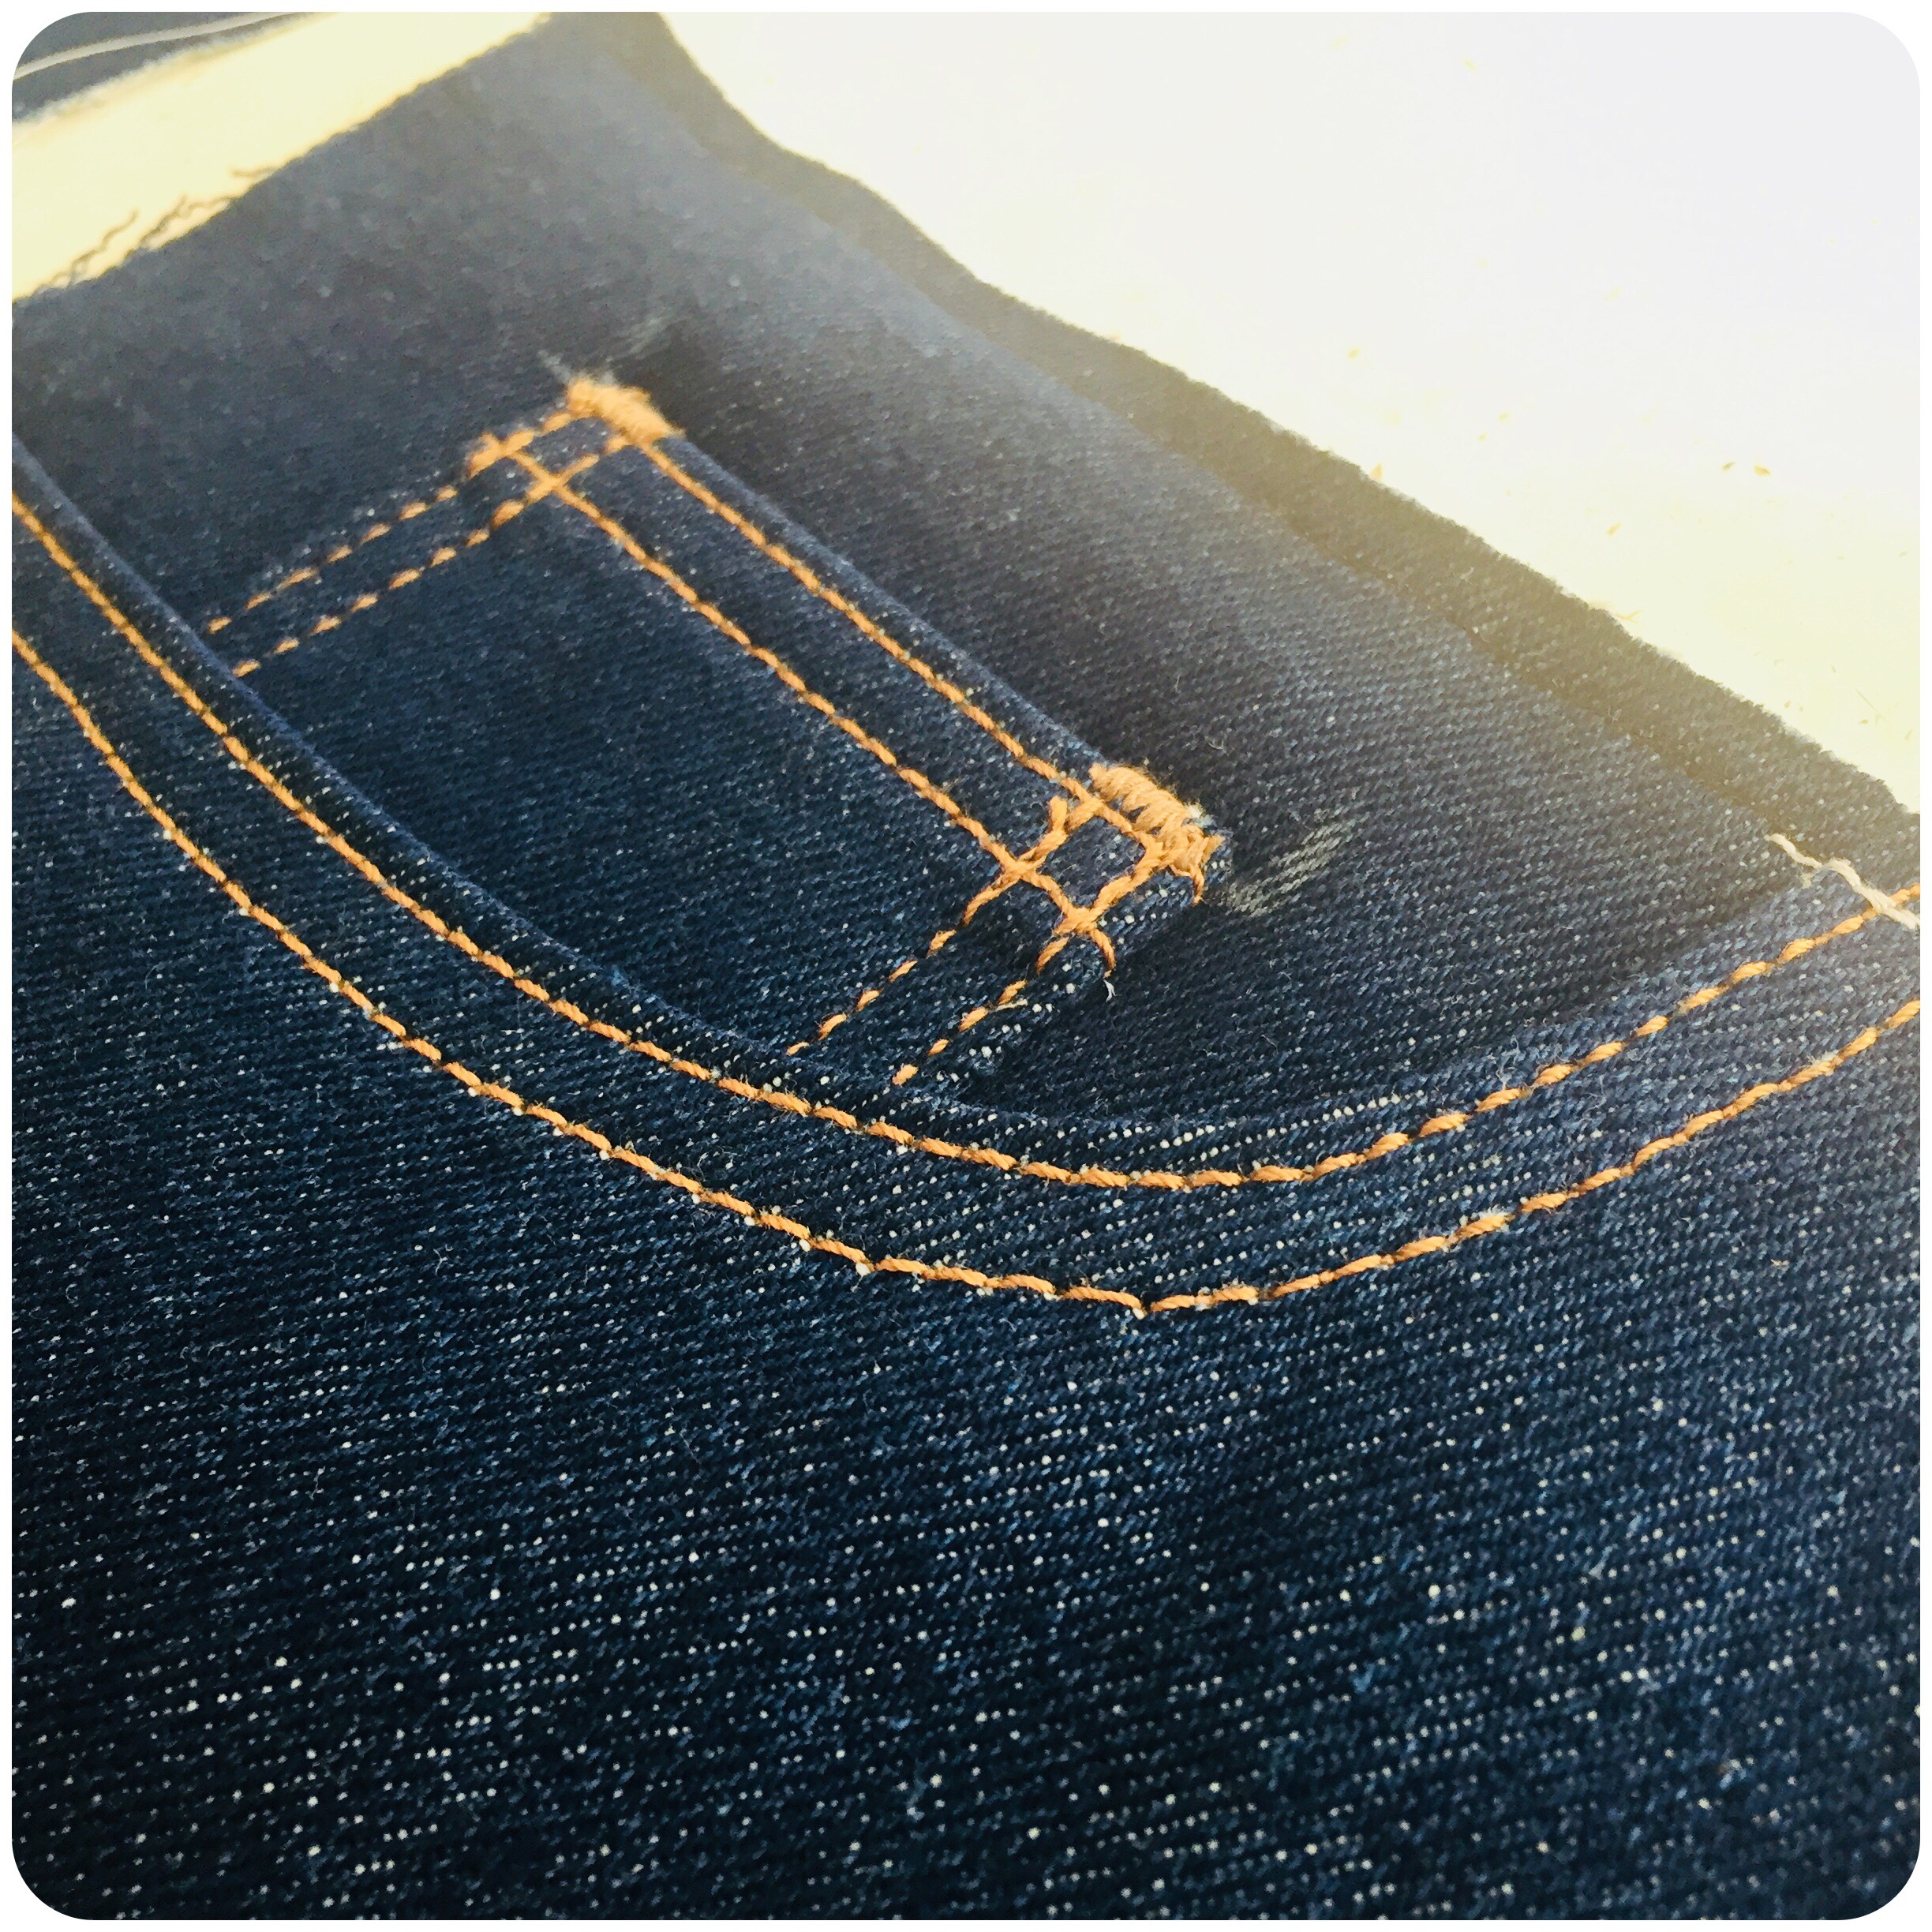
And here we go! The first thing I make, after cutting out the parts from the fabric, are those famous back pockets. Fold and stitch the top edge, decorate if you want to, and then pin them down to the back parts.
Stitch in place.
So far, so good!
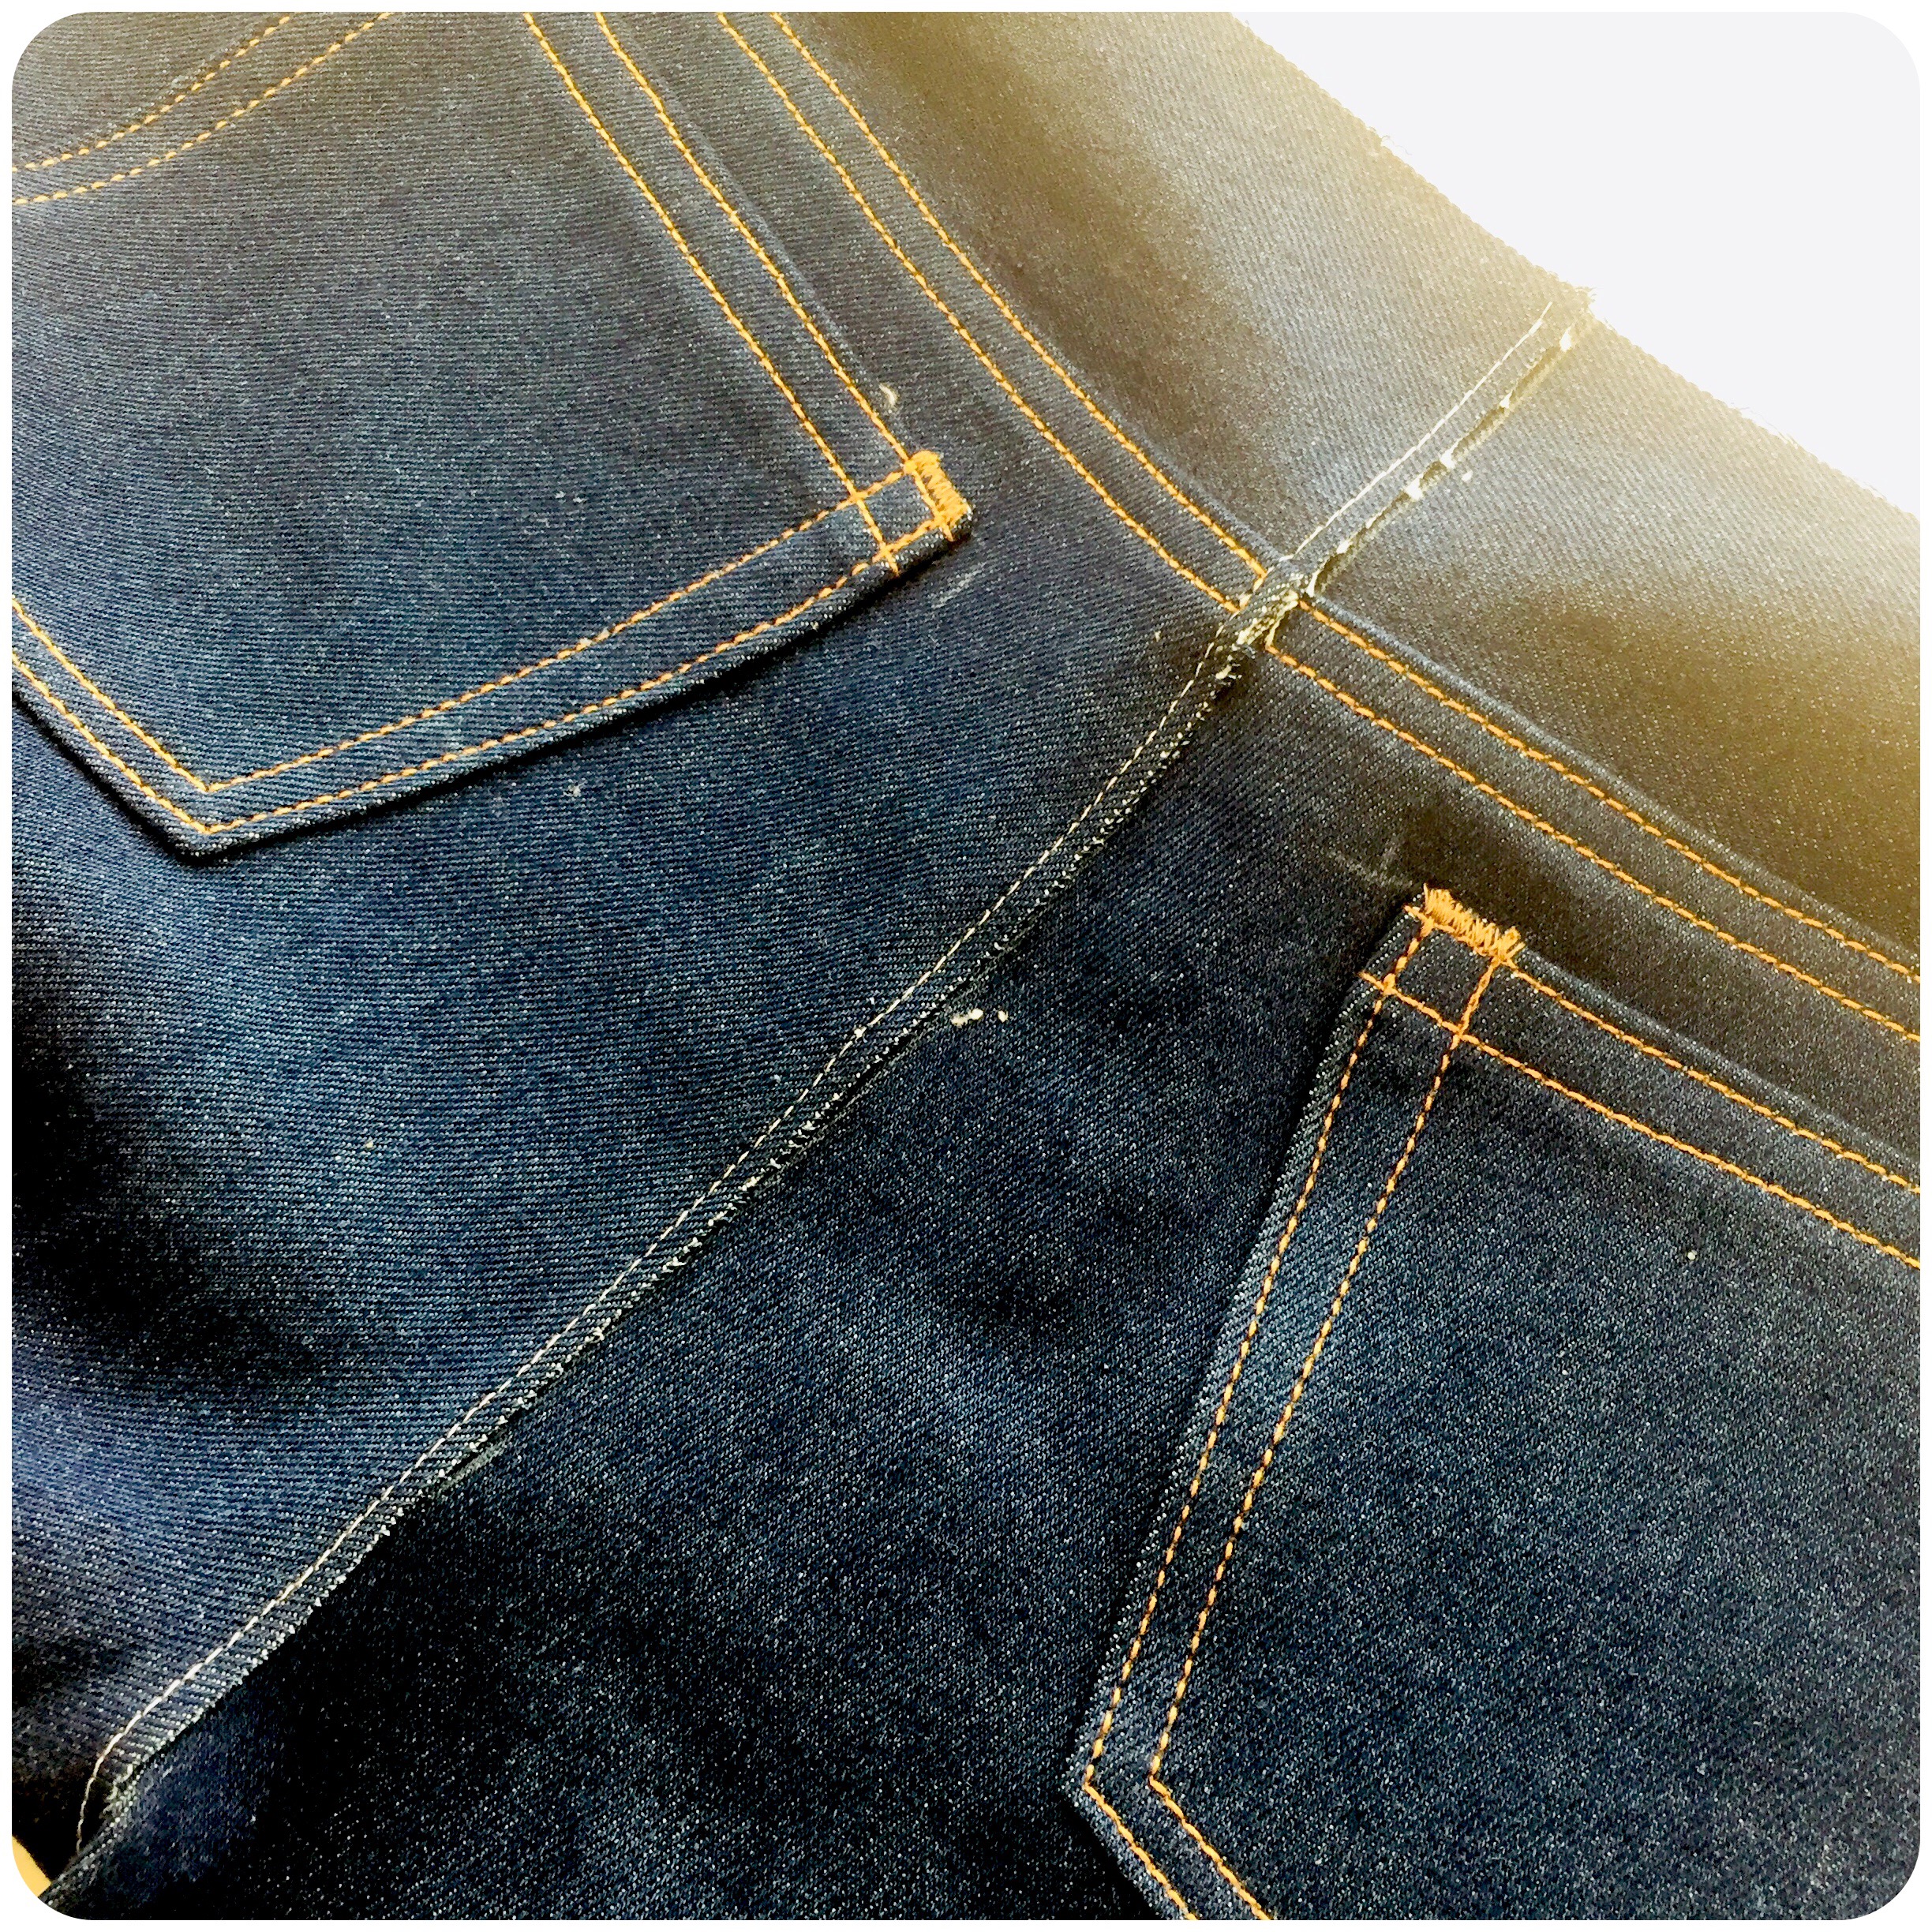
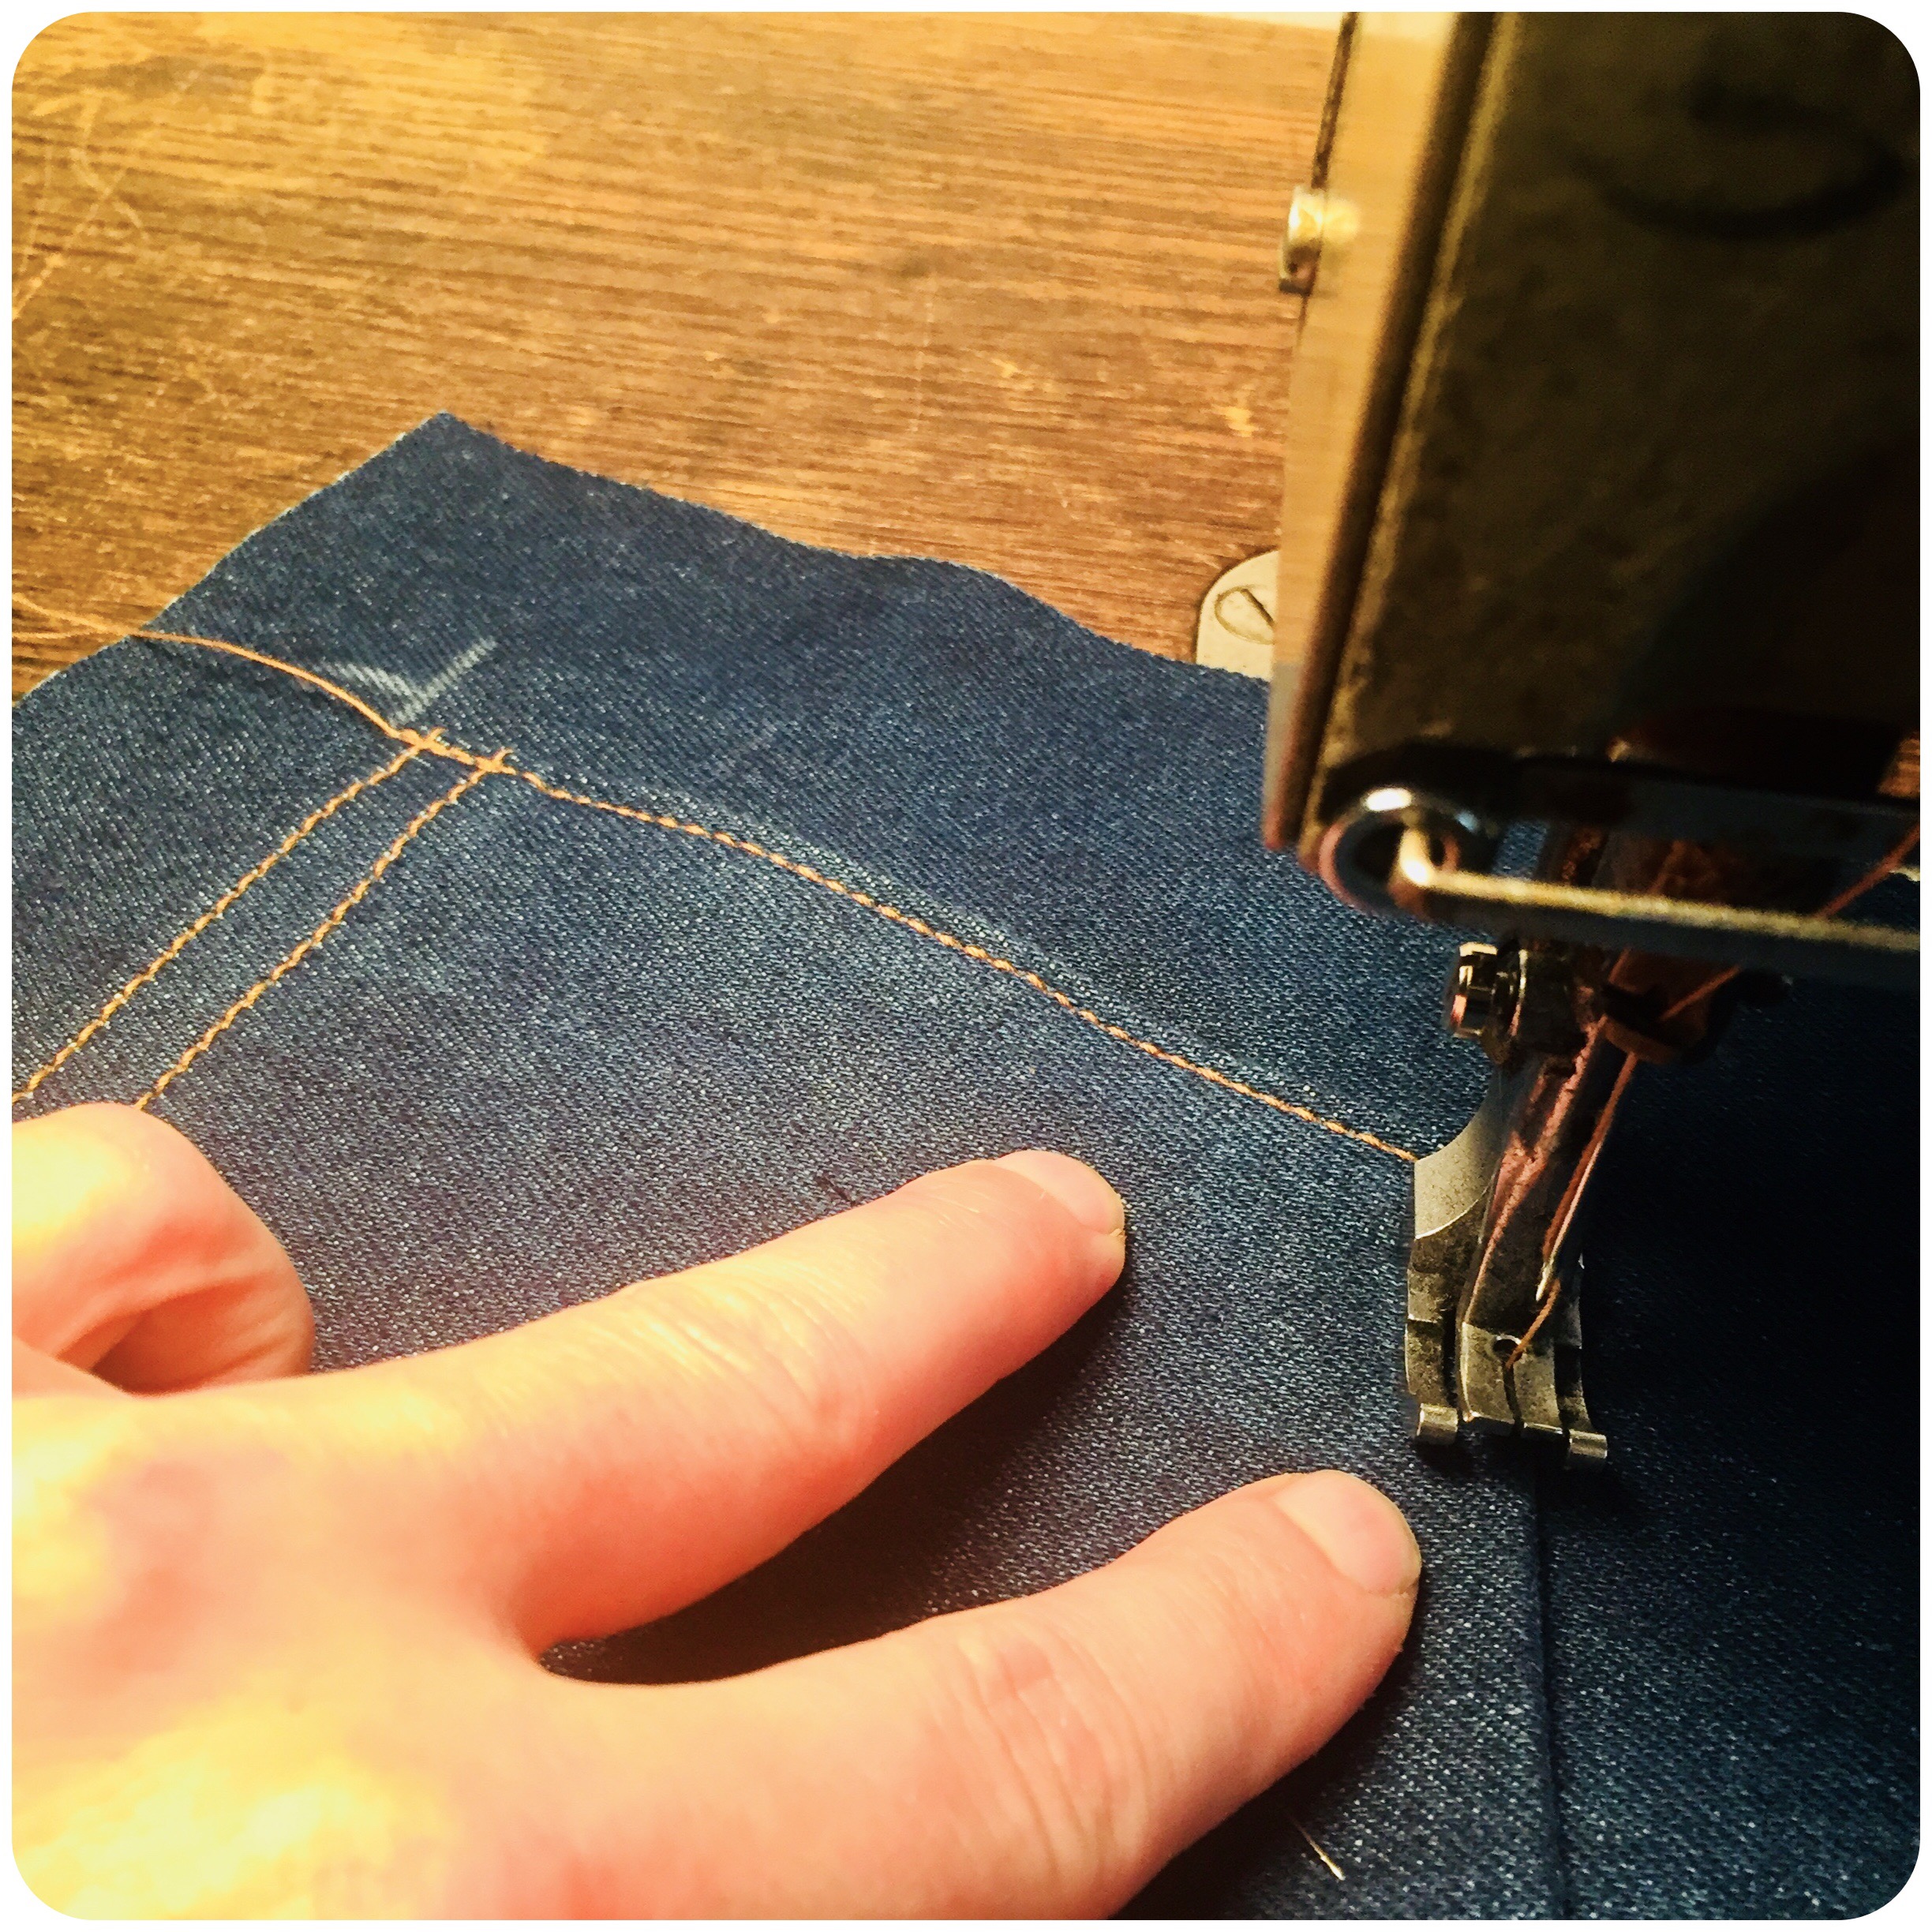
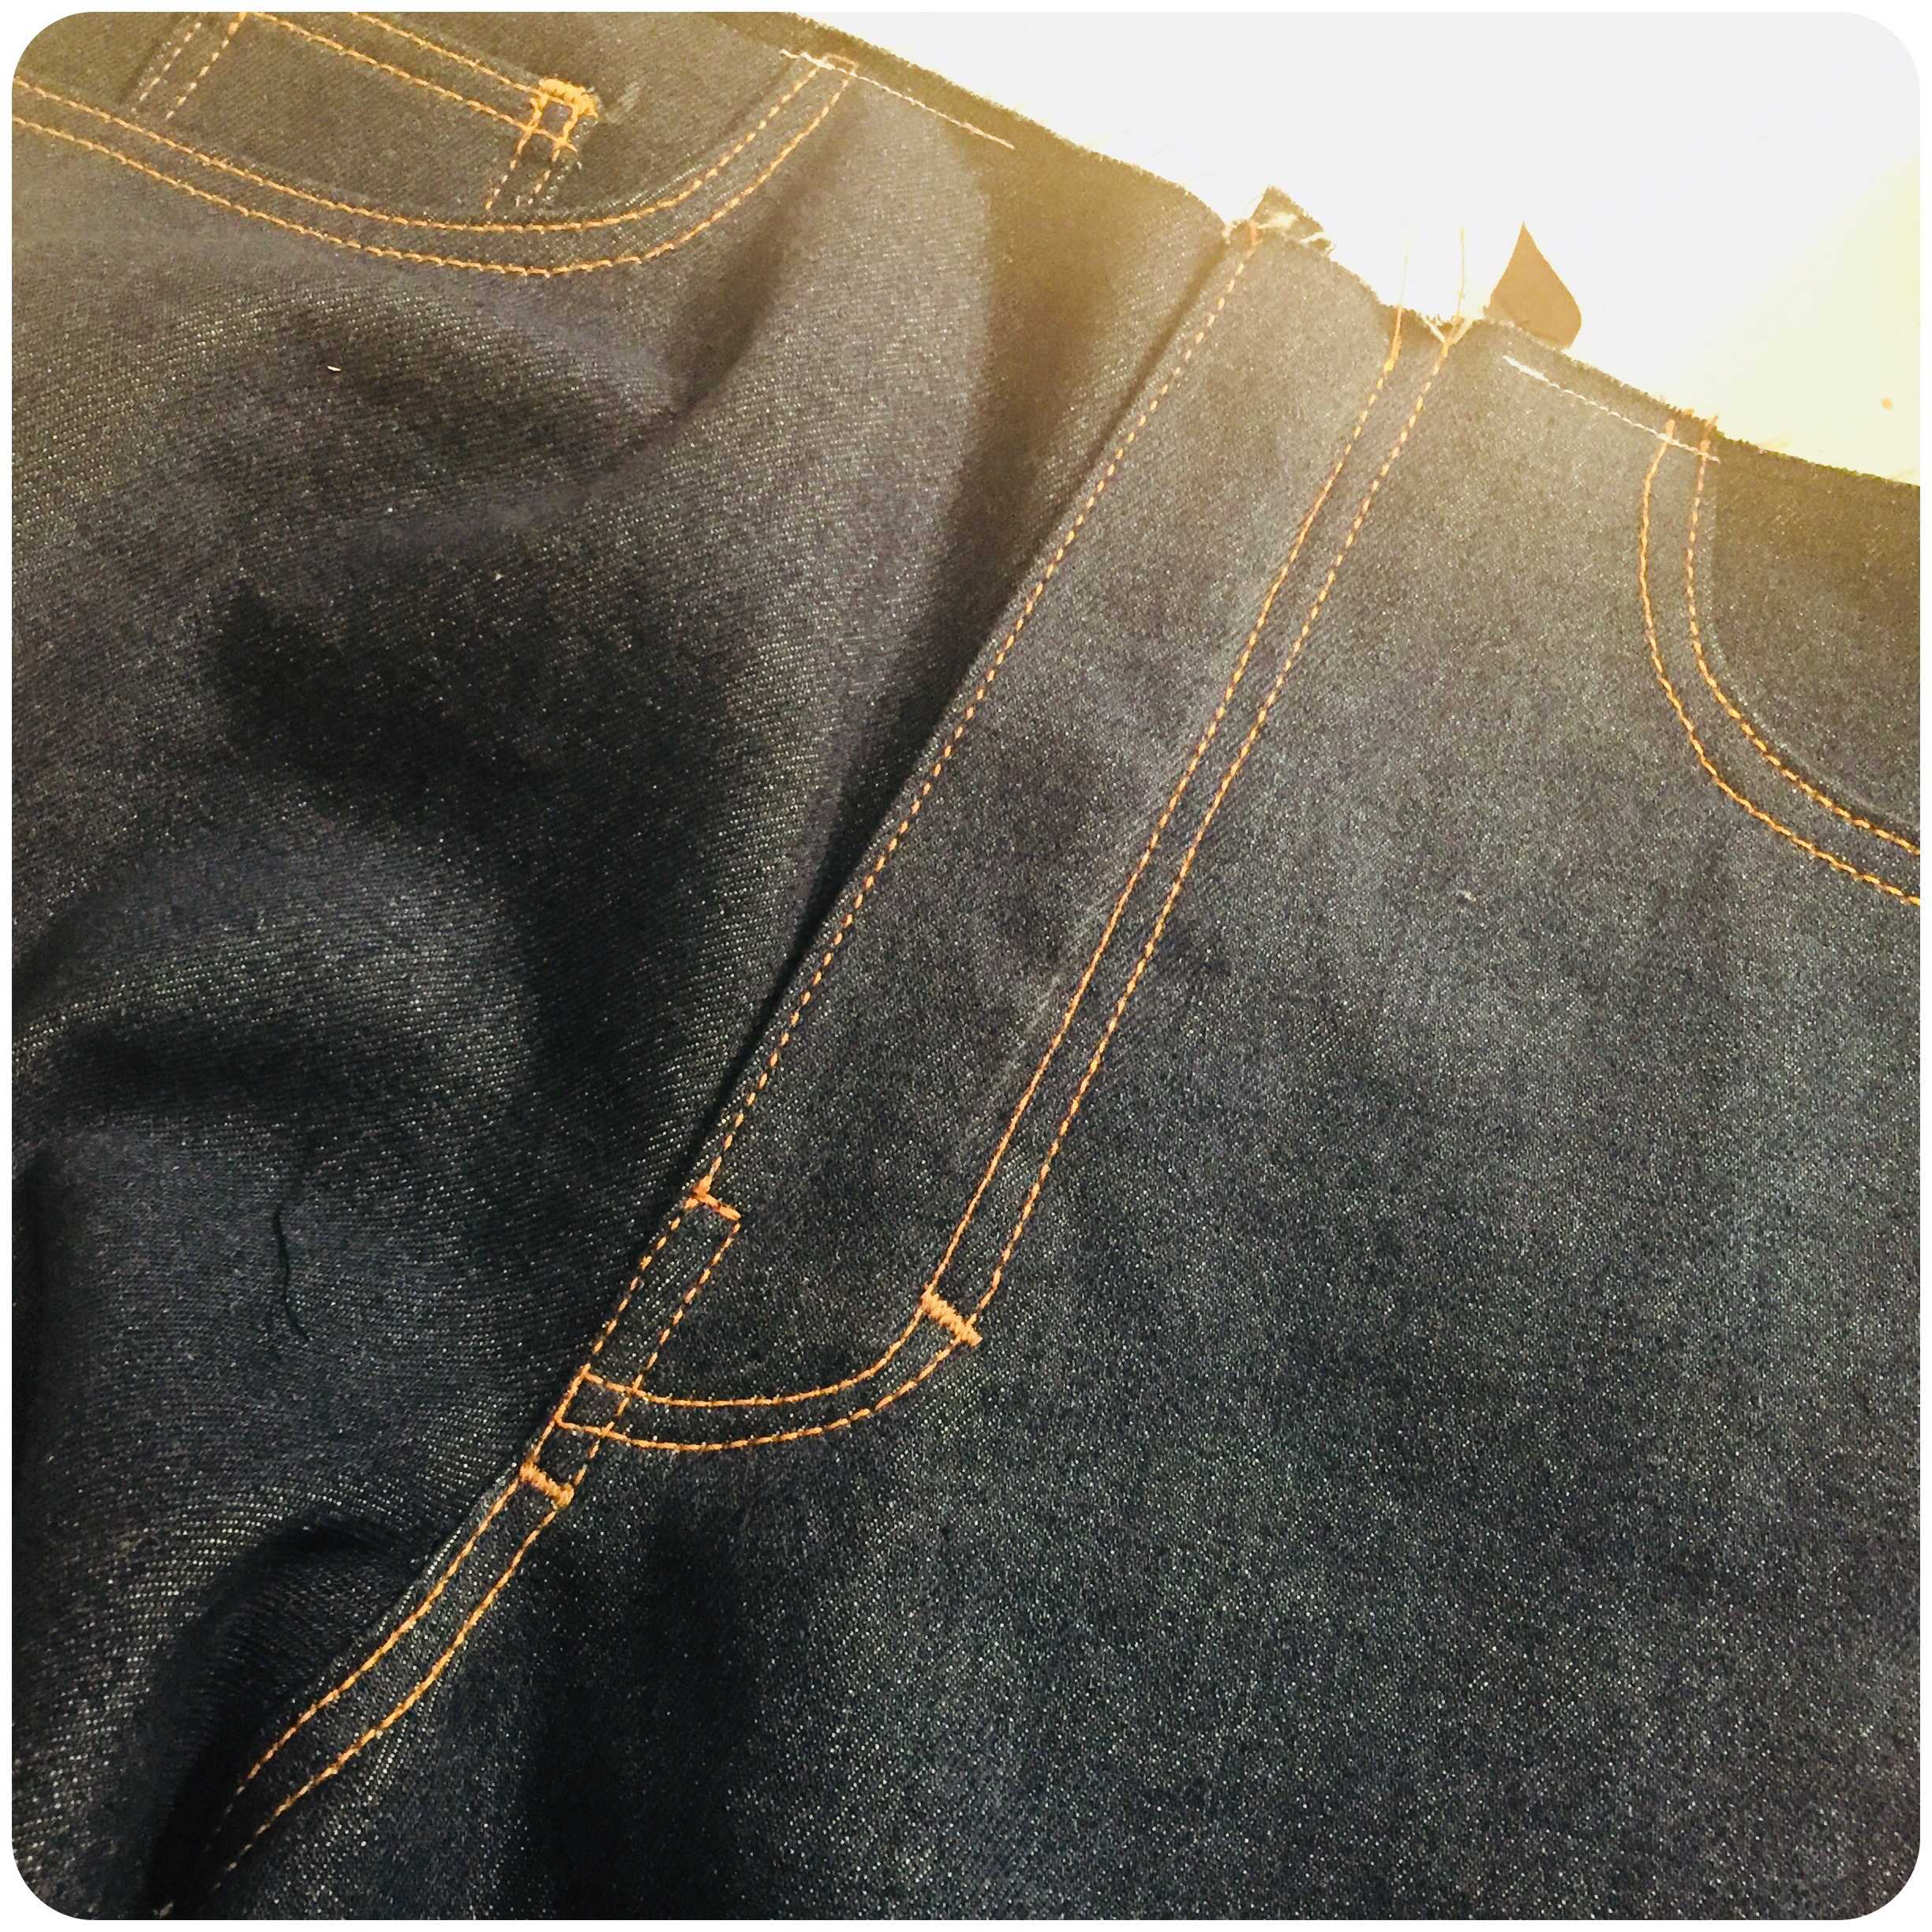
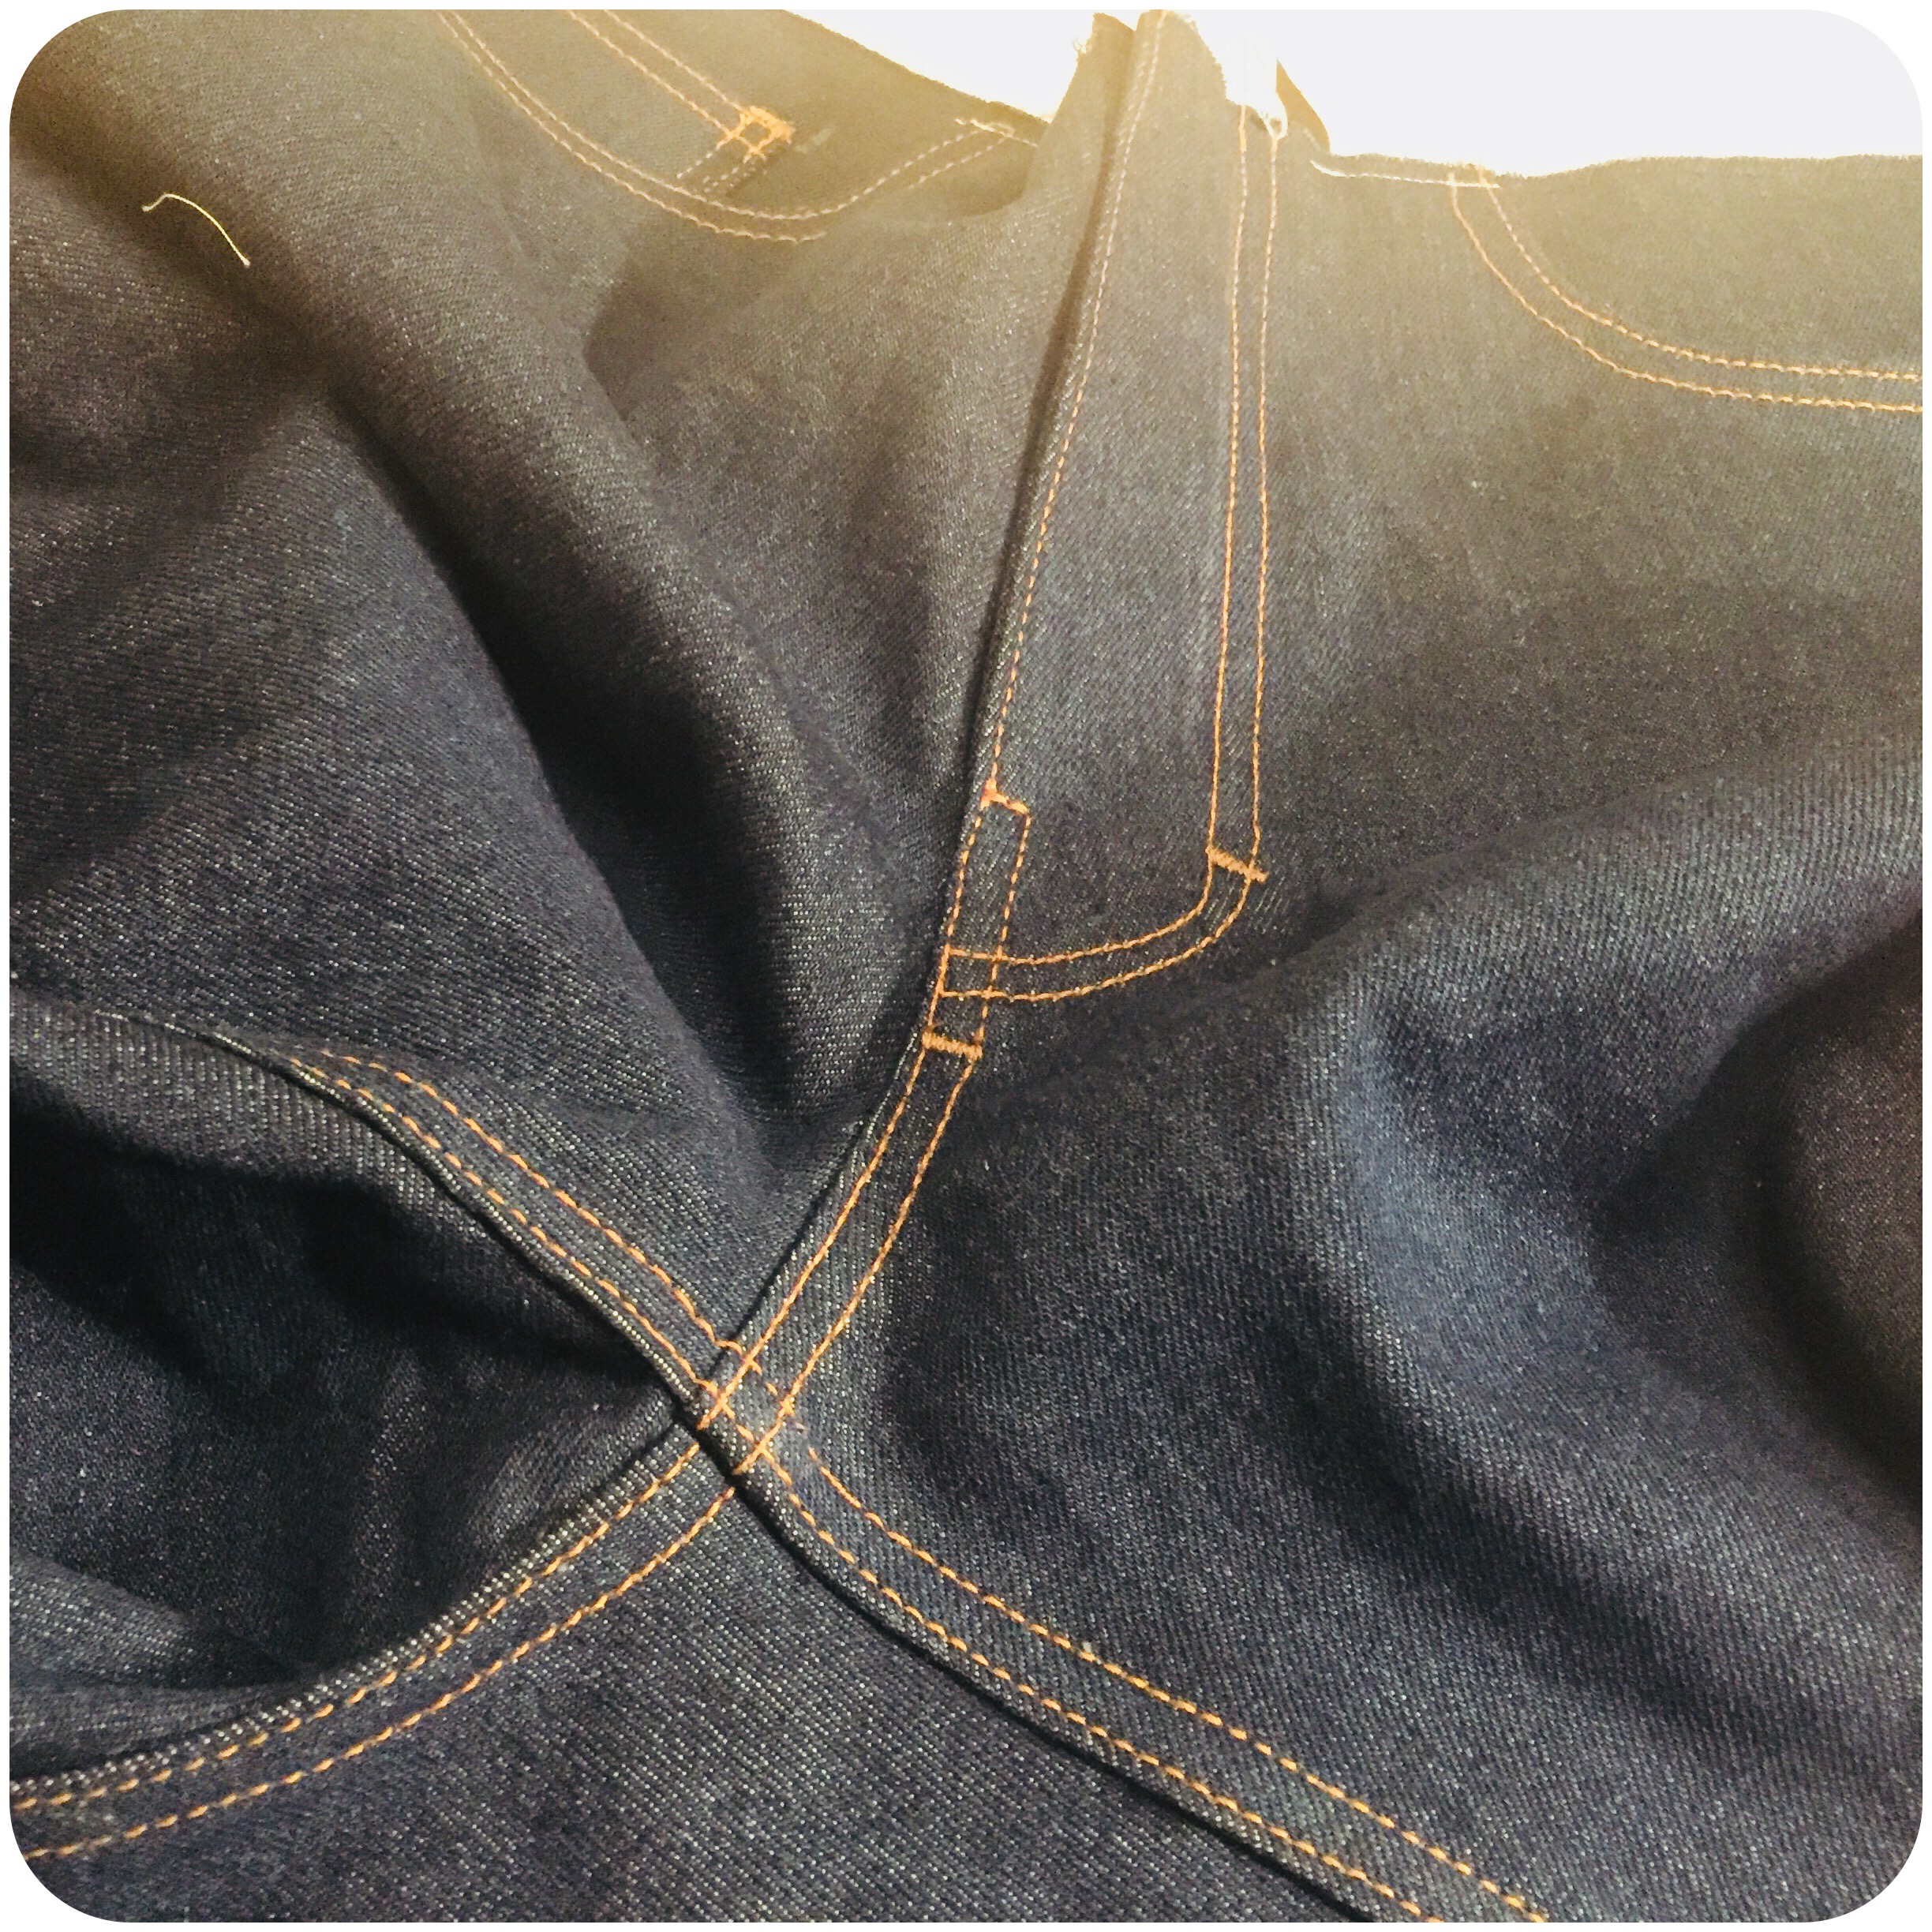
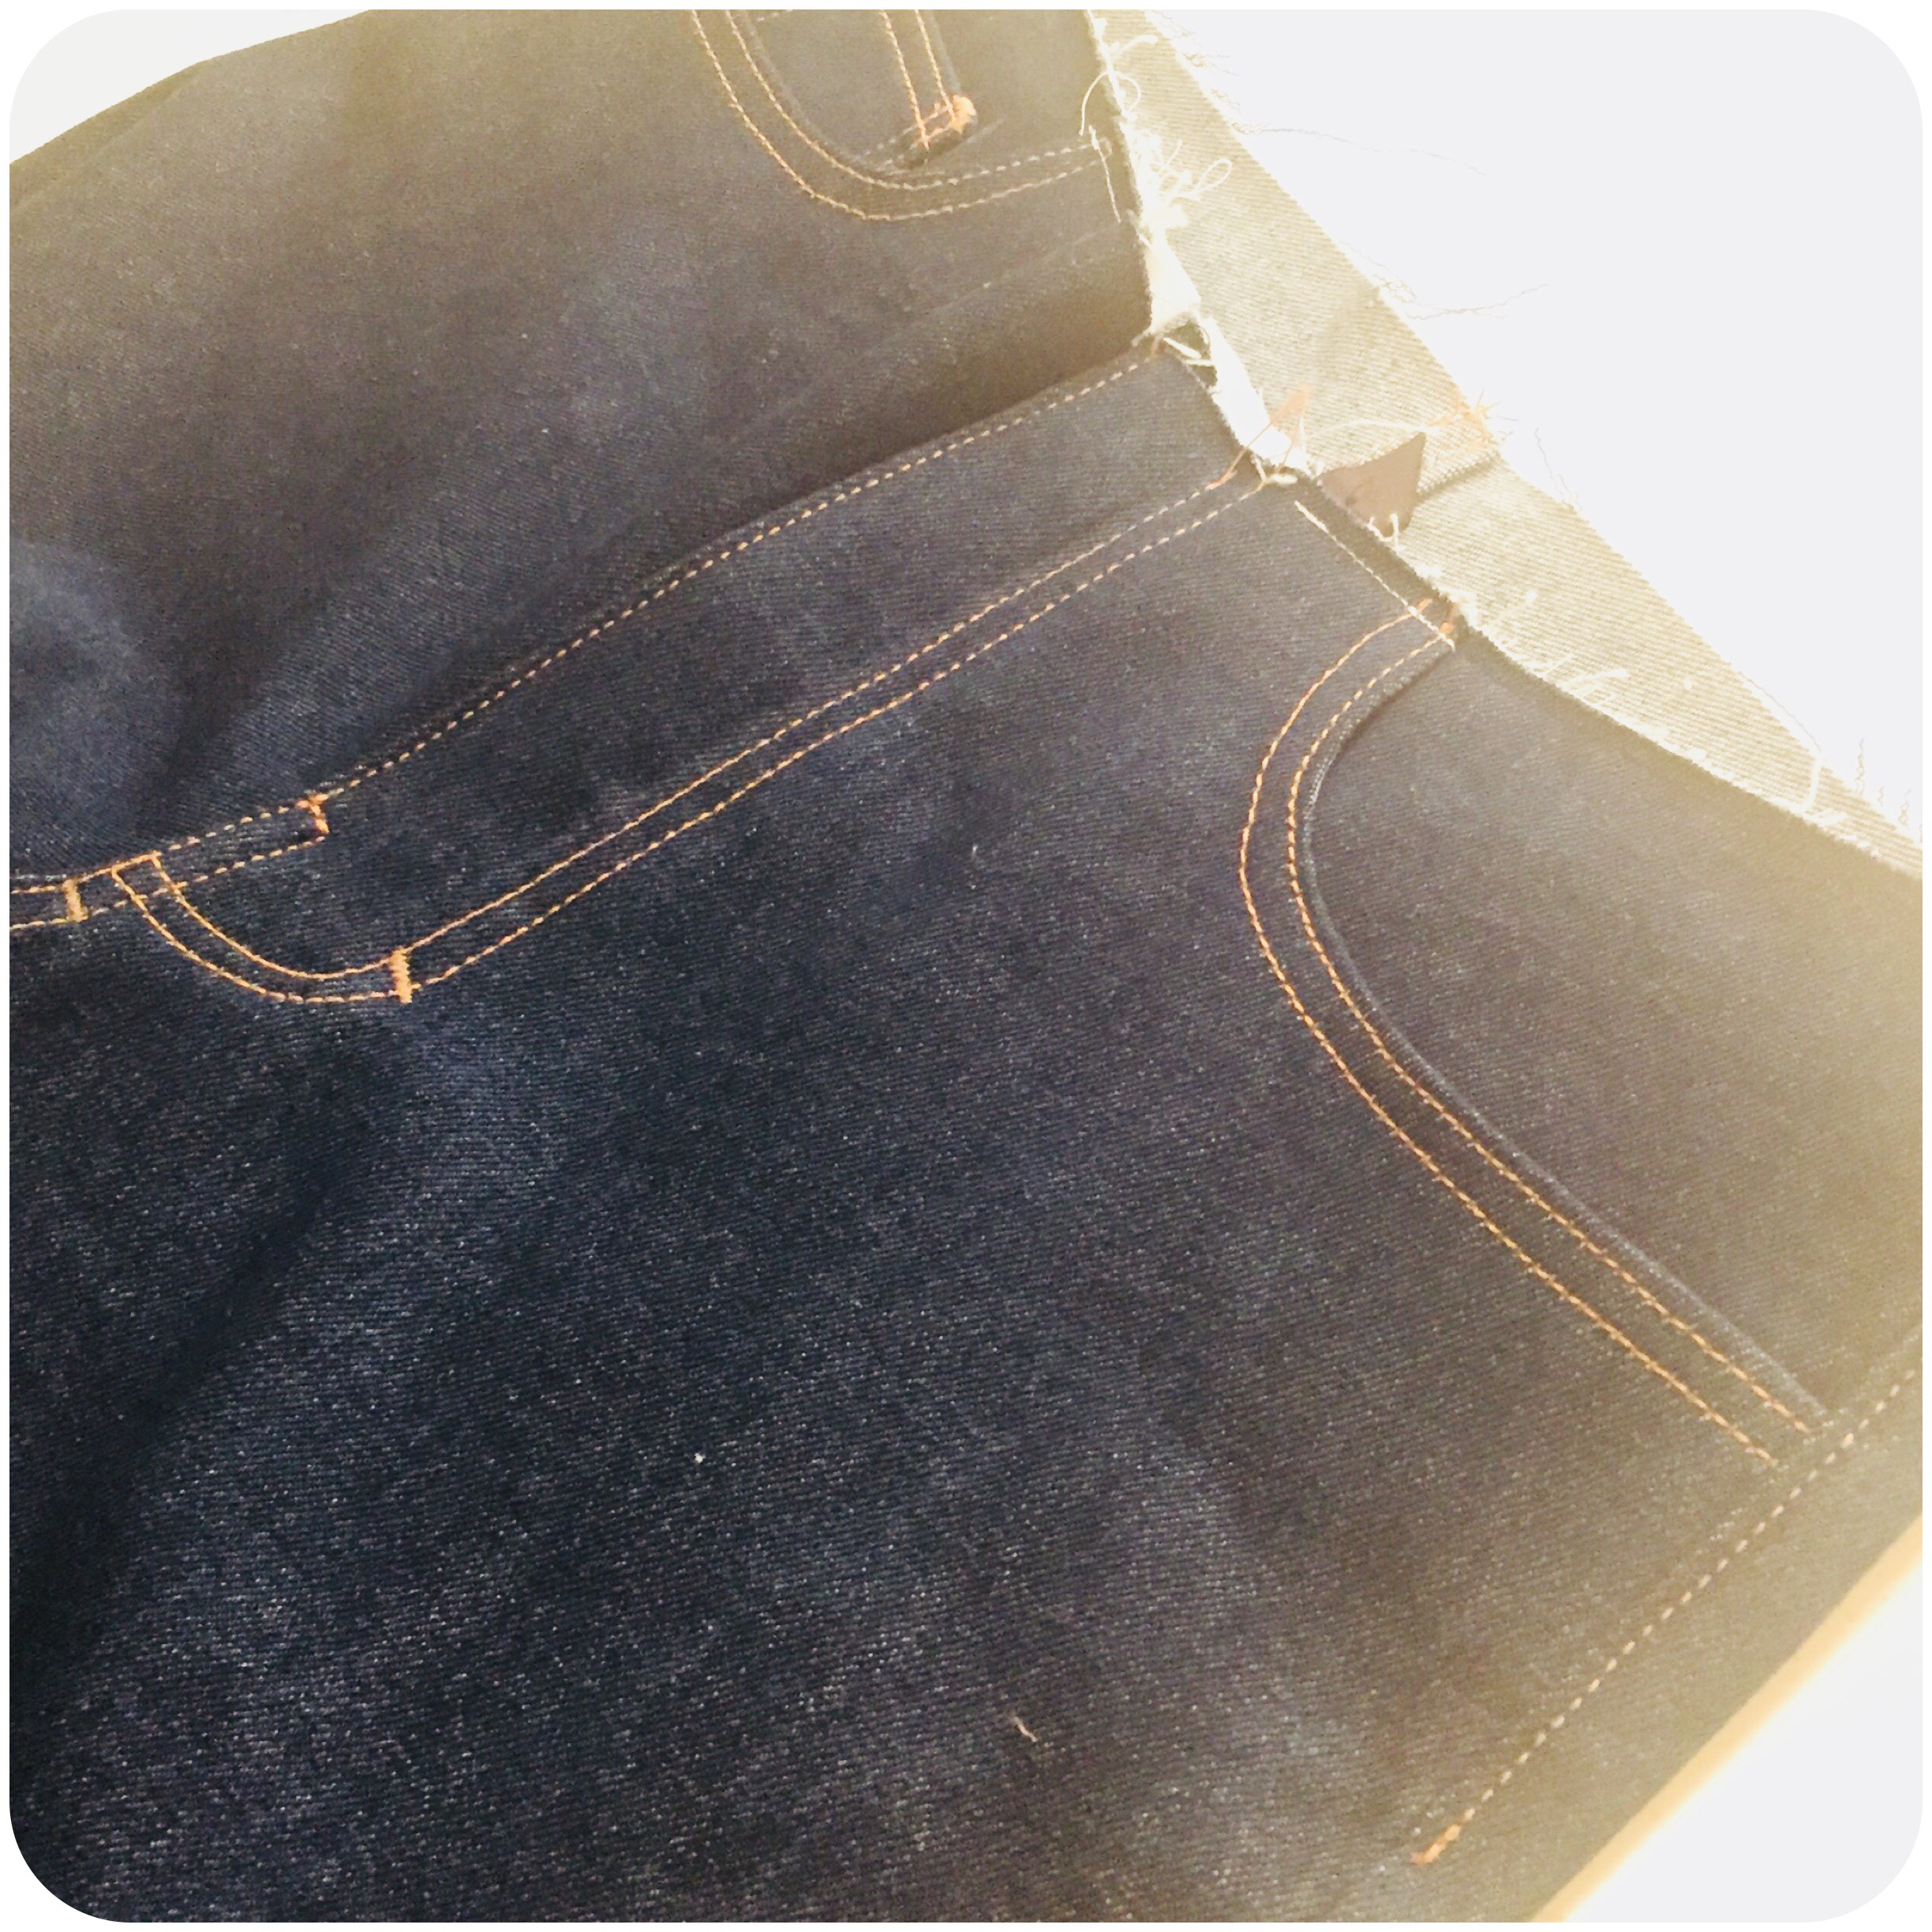
And add a bit of reinforcement at the top corners of those pockets. Rivets can also do the trick! It all depends on the look you want. Then quickly over to adding on the yokes to the top of the back parts. Use a “denim seam” – also called a counter seam. Actually here, a four-layer counter seam.
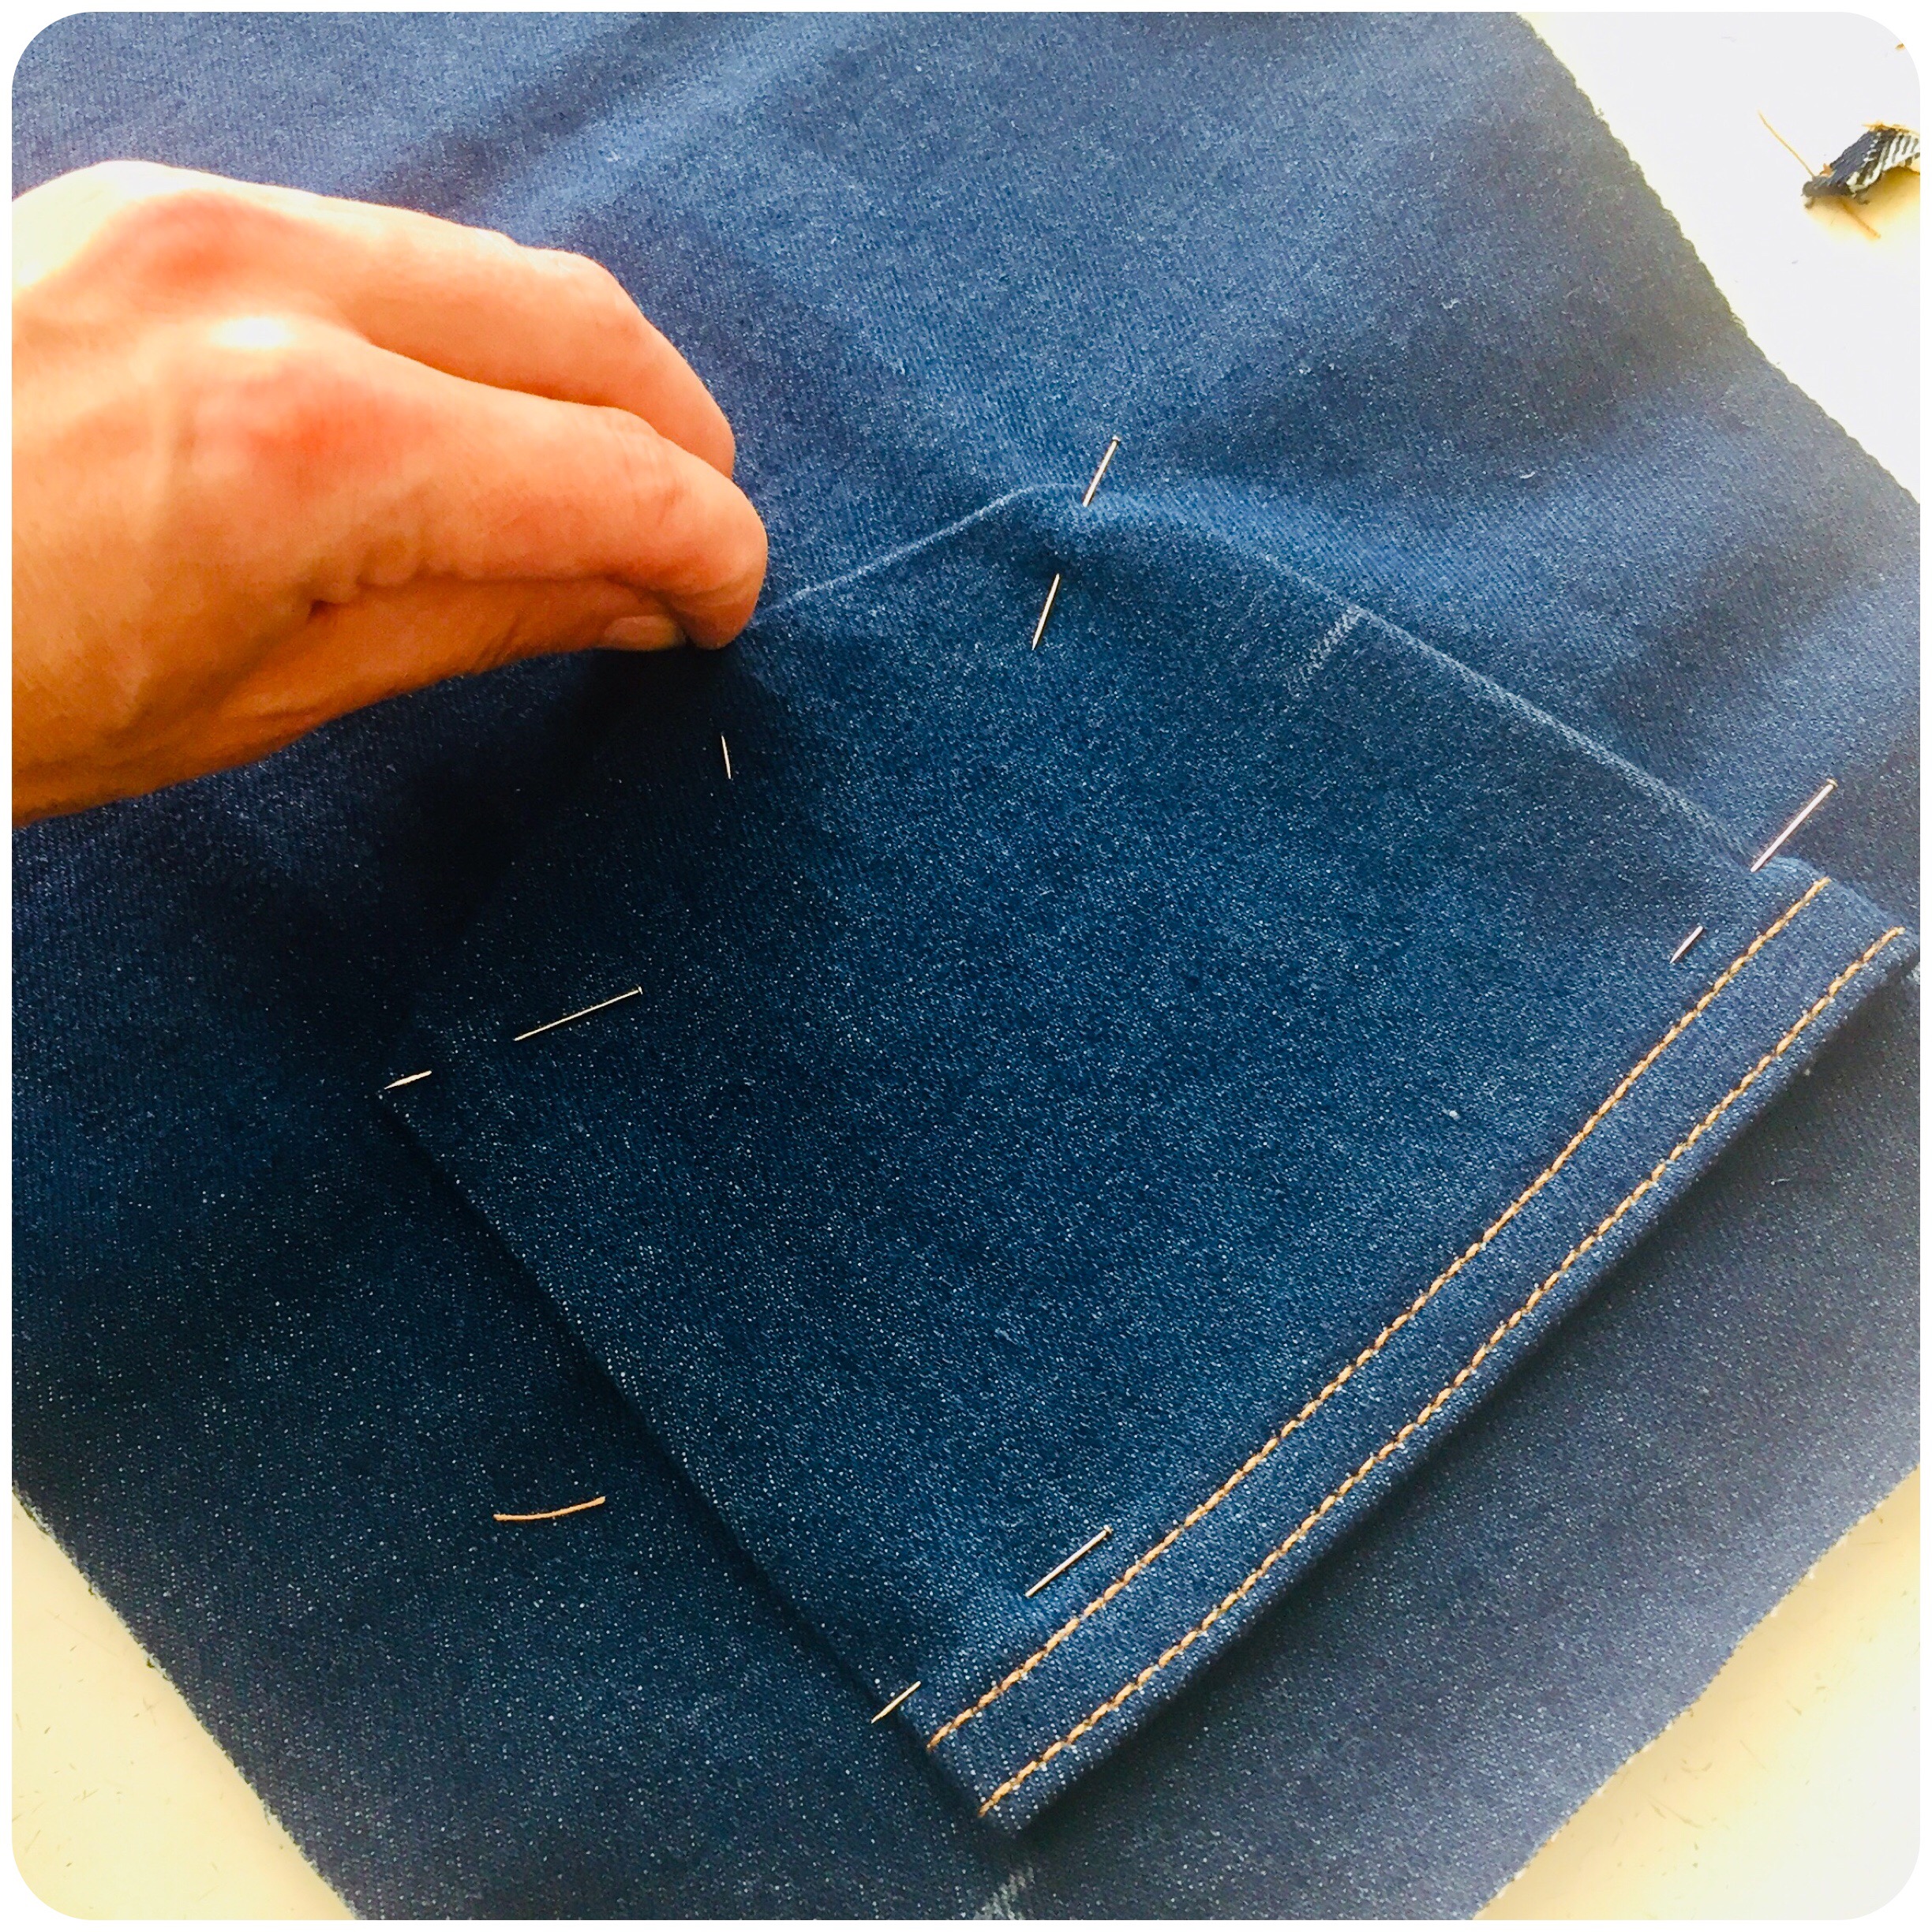
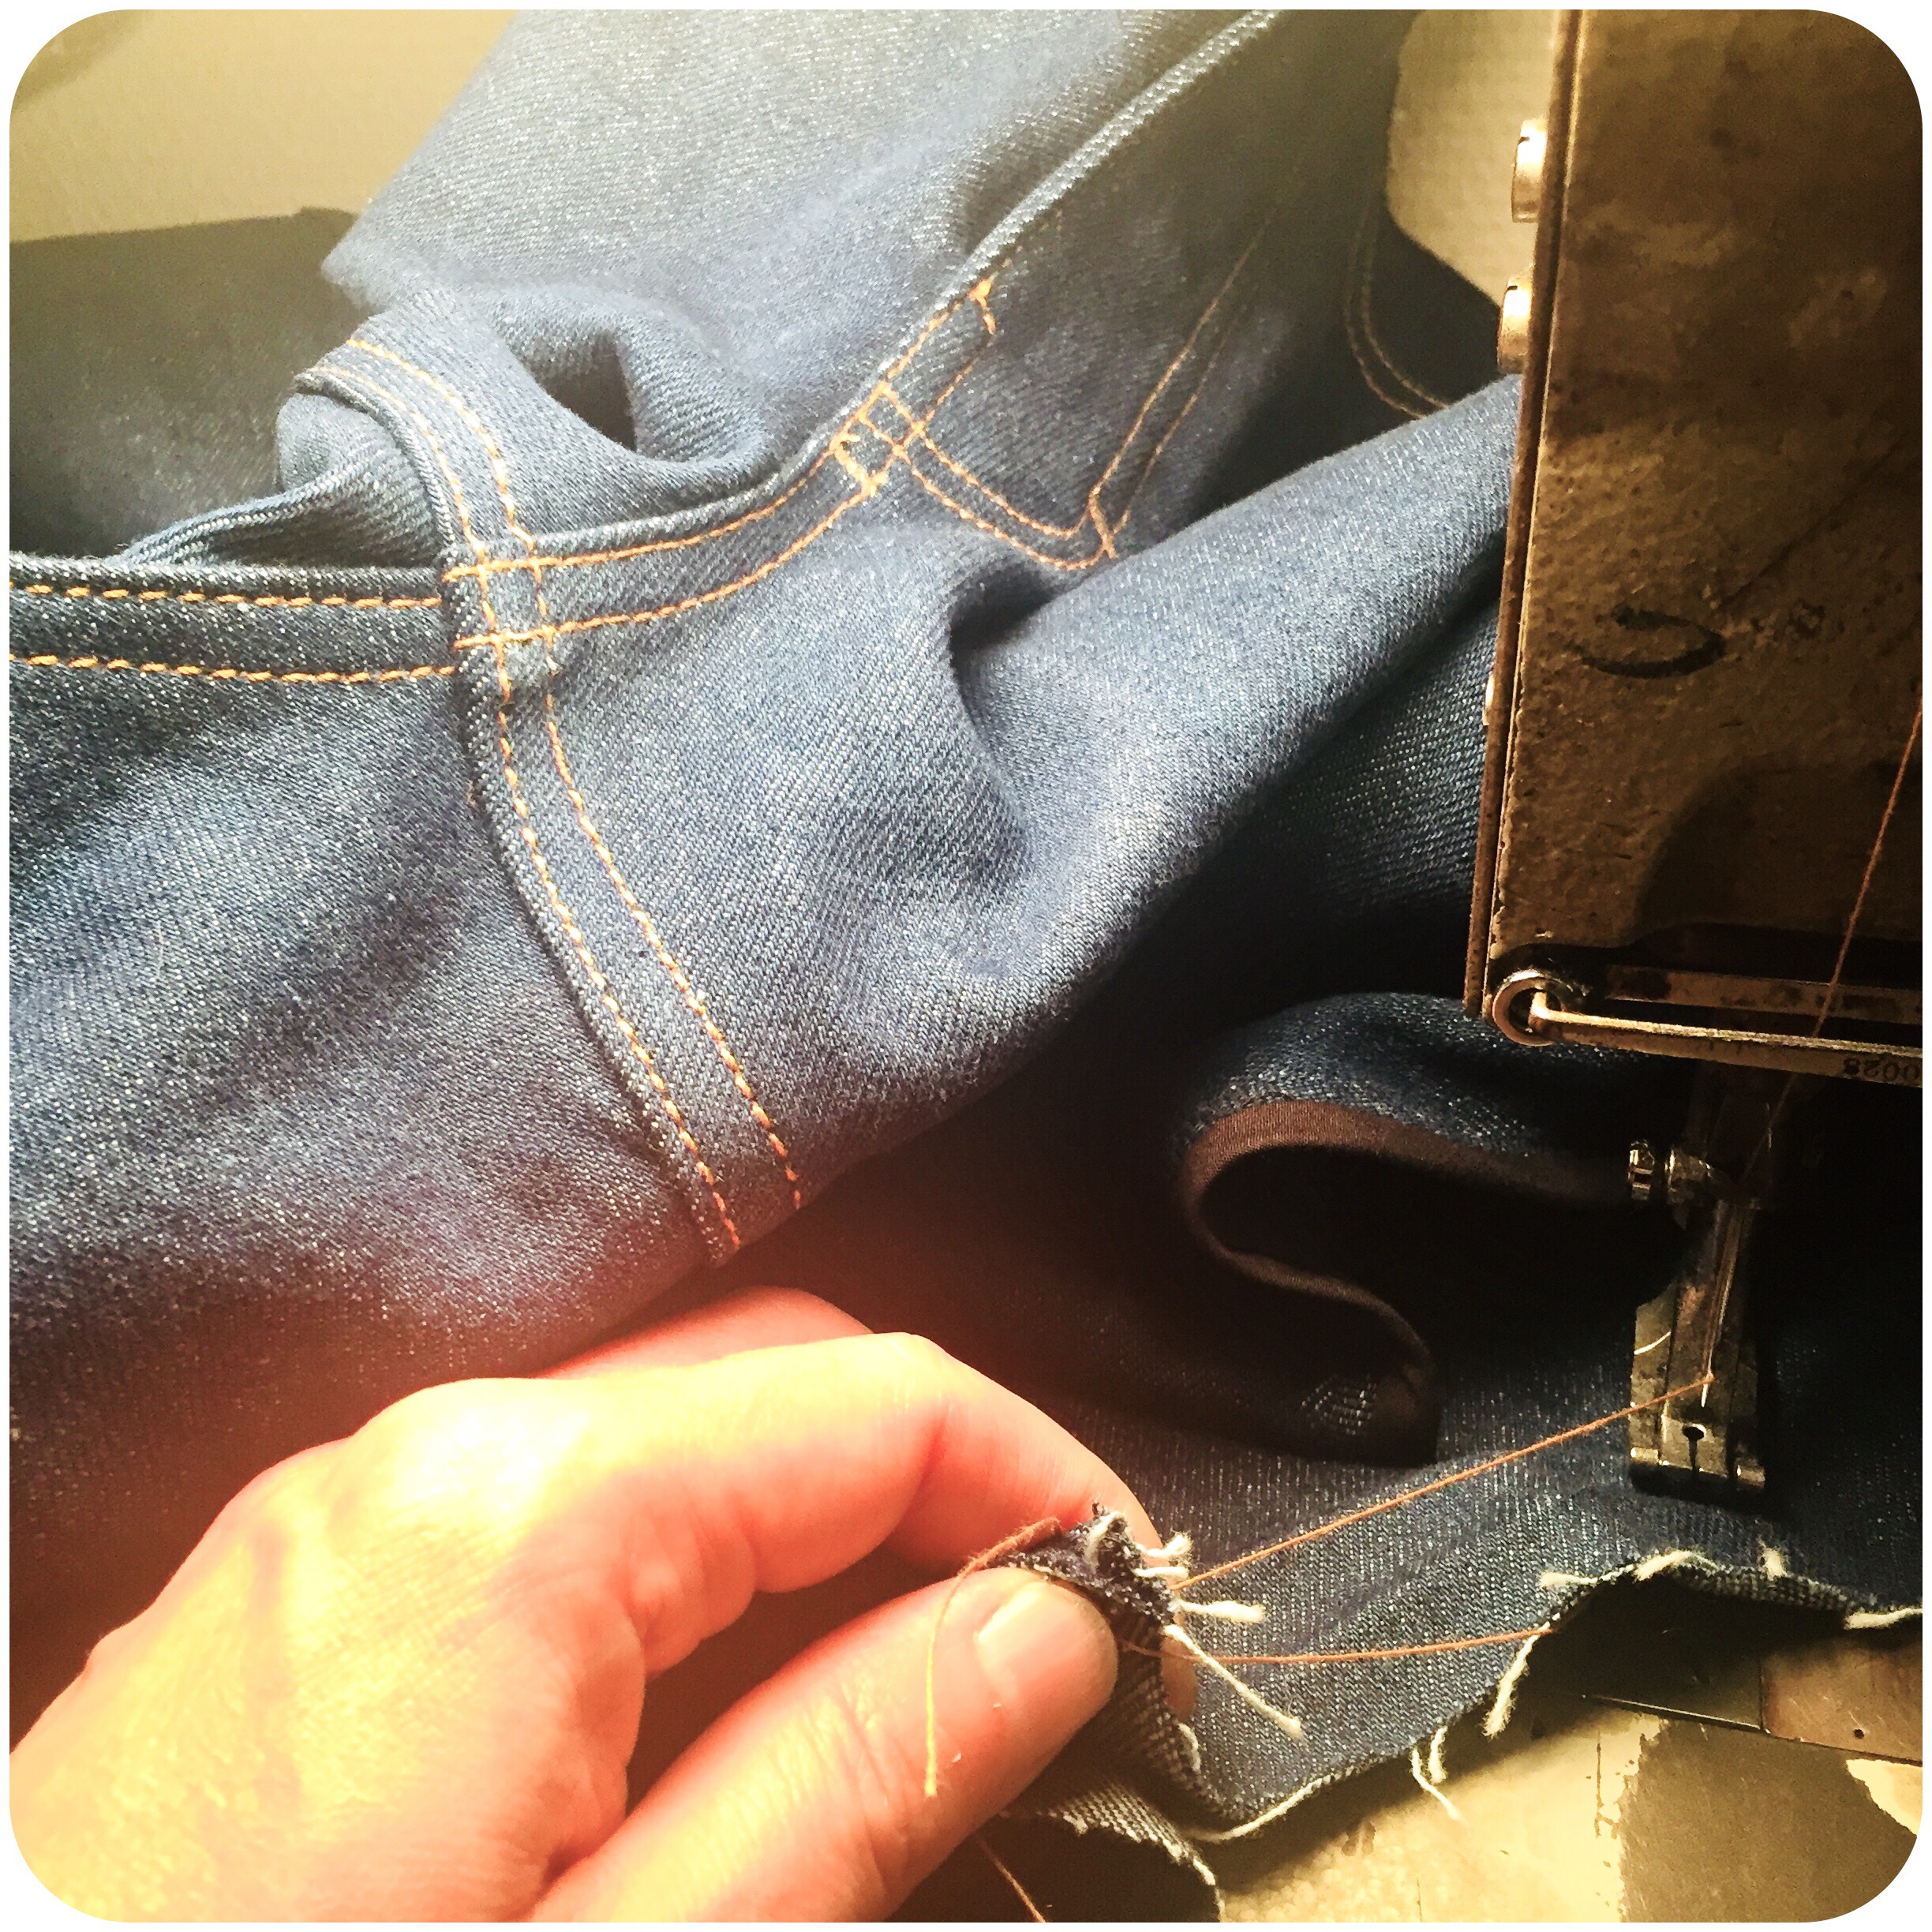
How to do that? Well, with a special machine used nowadays. But for us other mortals, we use a much older technique. The same technique used at center back of these jeans. First, mark a distance in from the raw edge on one side (of the seam to be) only. Use a tailor’s chalk for this. Then you overlap the other raw edge on top of the first one, up to the marked line. Stitch a help-stitch, just to keep the parts together. Then turn the joined area over itself and pres thoroughly. Stitch again, one seam on each “side” to catch the intire folding within itself.

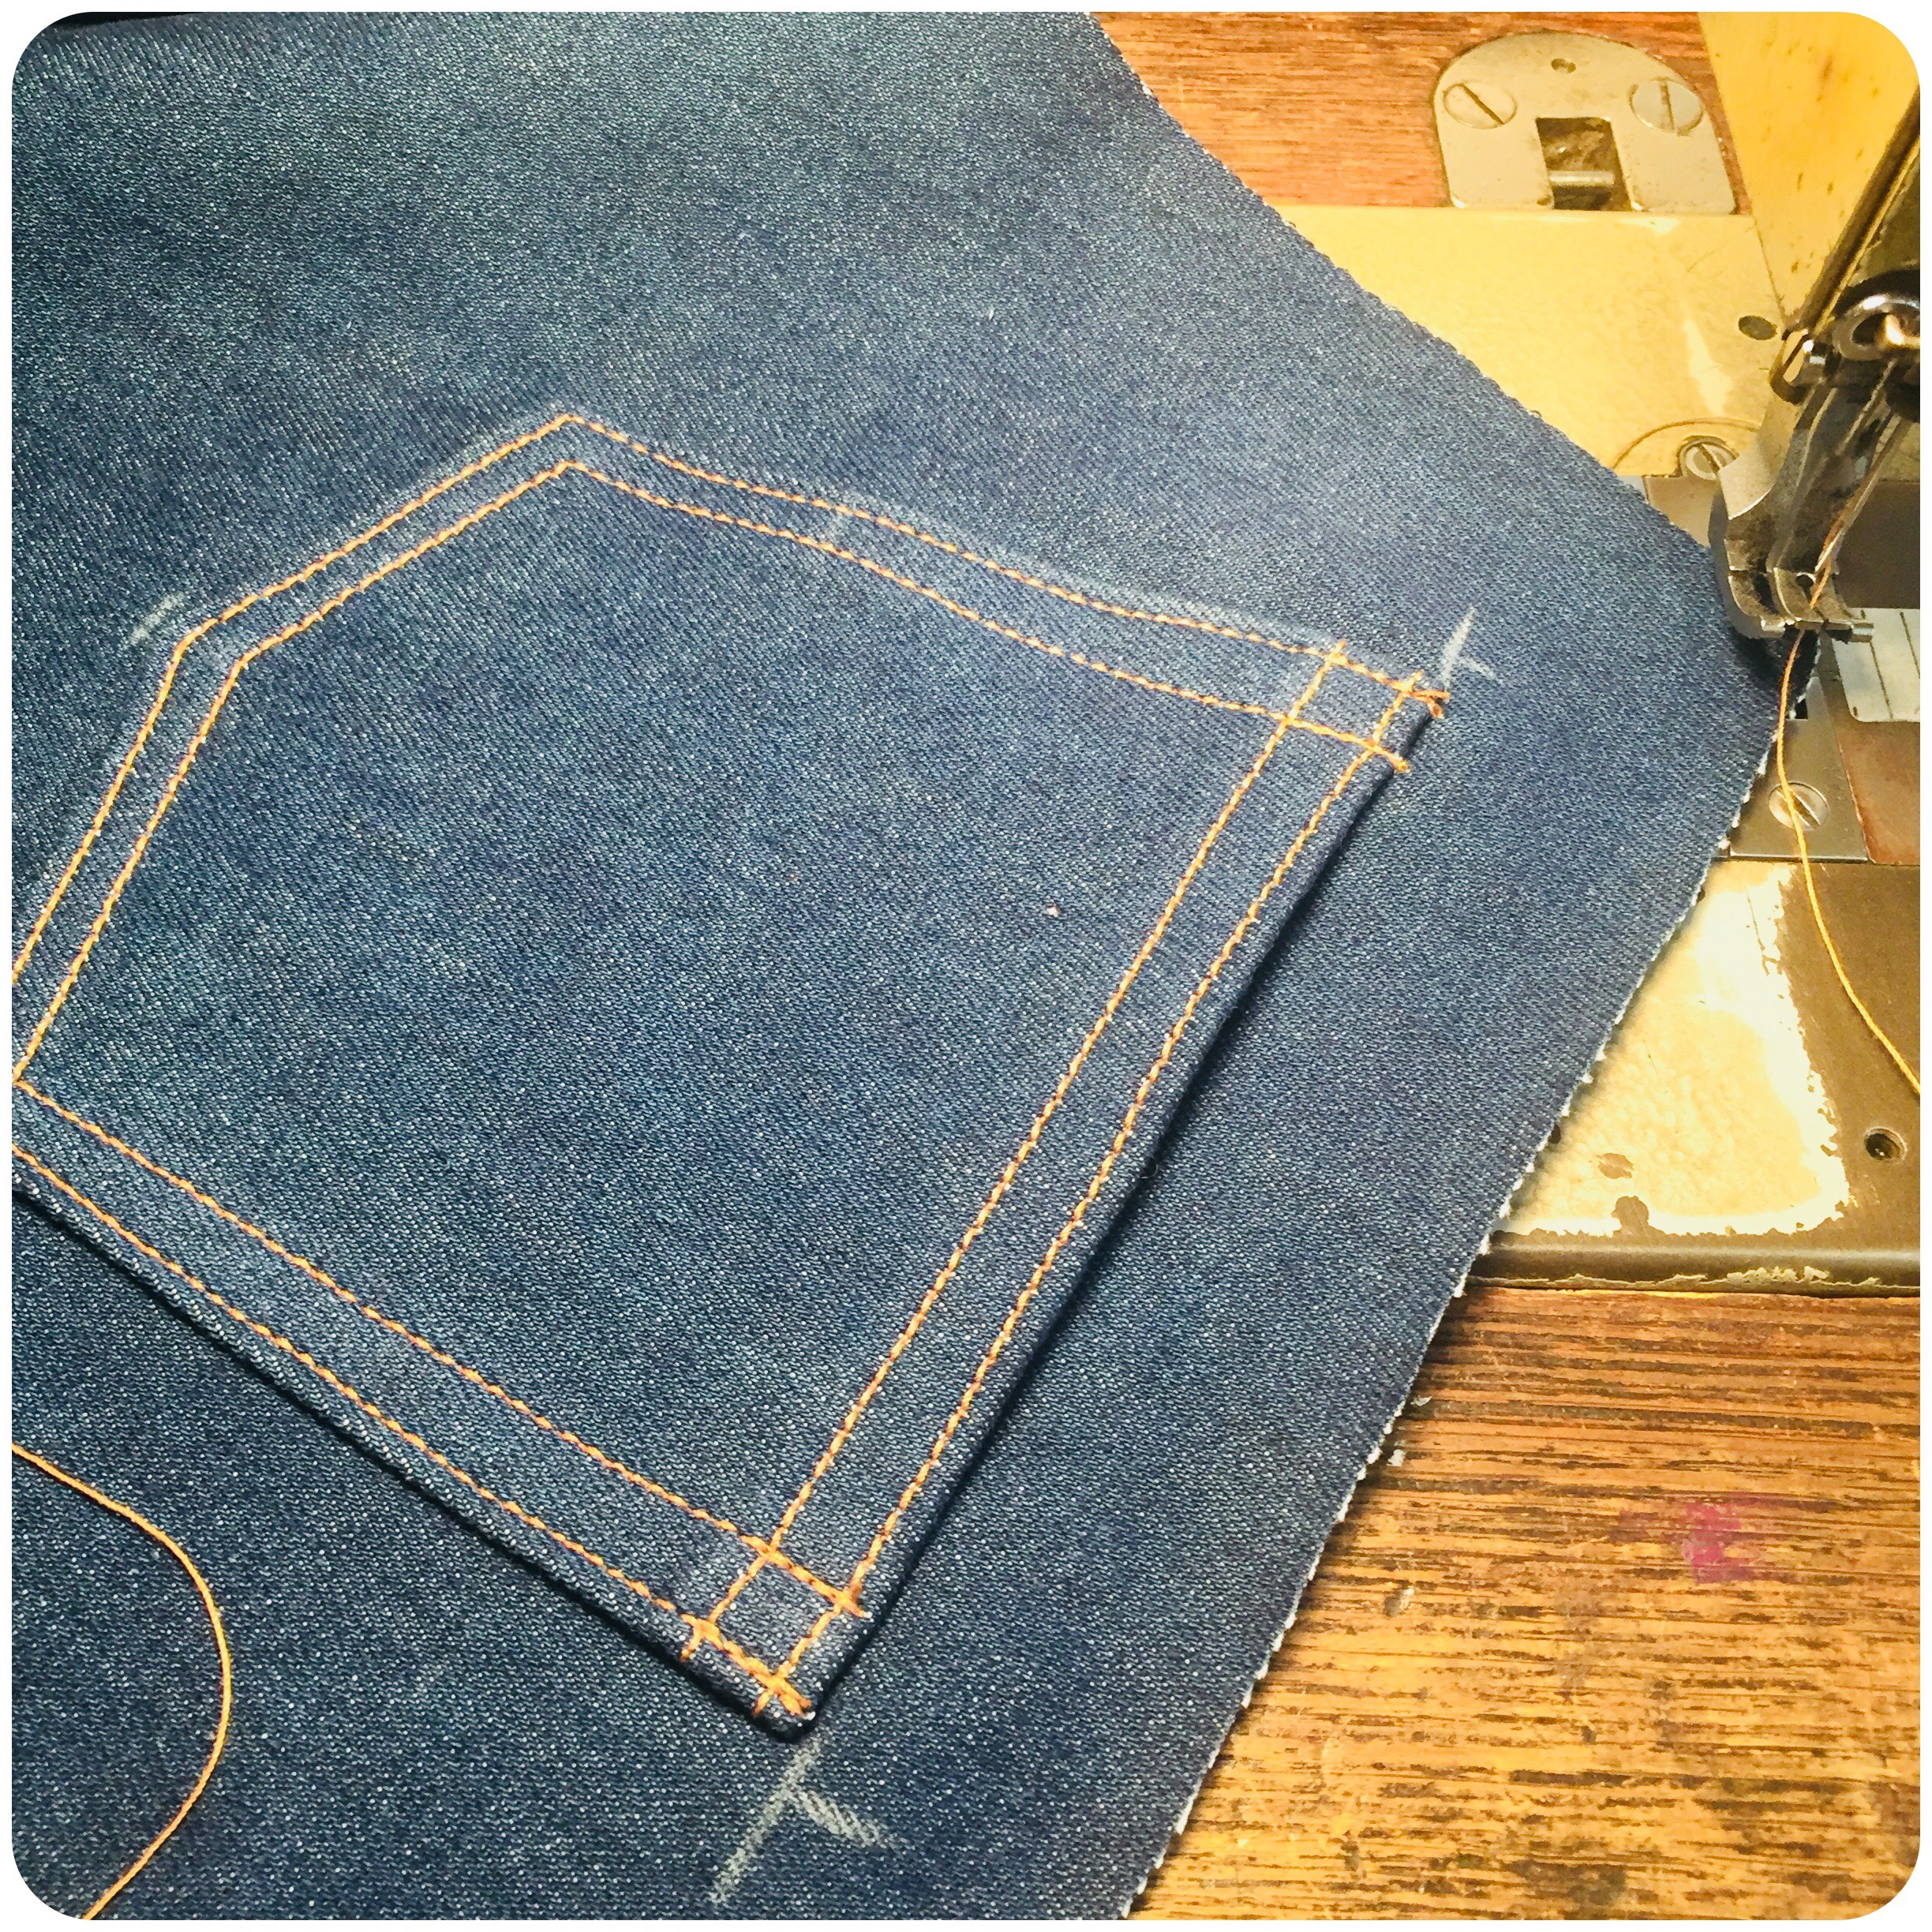
There! Four-layer counter seams made, first at each yoke, both left and right separately, and then at center back. There will of course be a tremendous pile of fabric layers at the yoke- and back seam intersection, which can be hard to pass by with your machine. But giving it some pressure with a (leather) hammer can make it all much flatter and smoother.
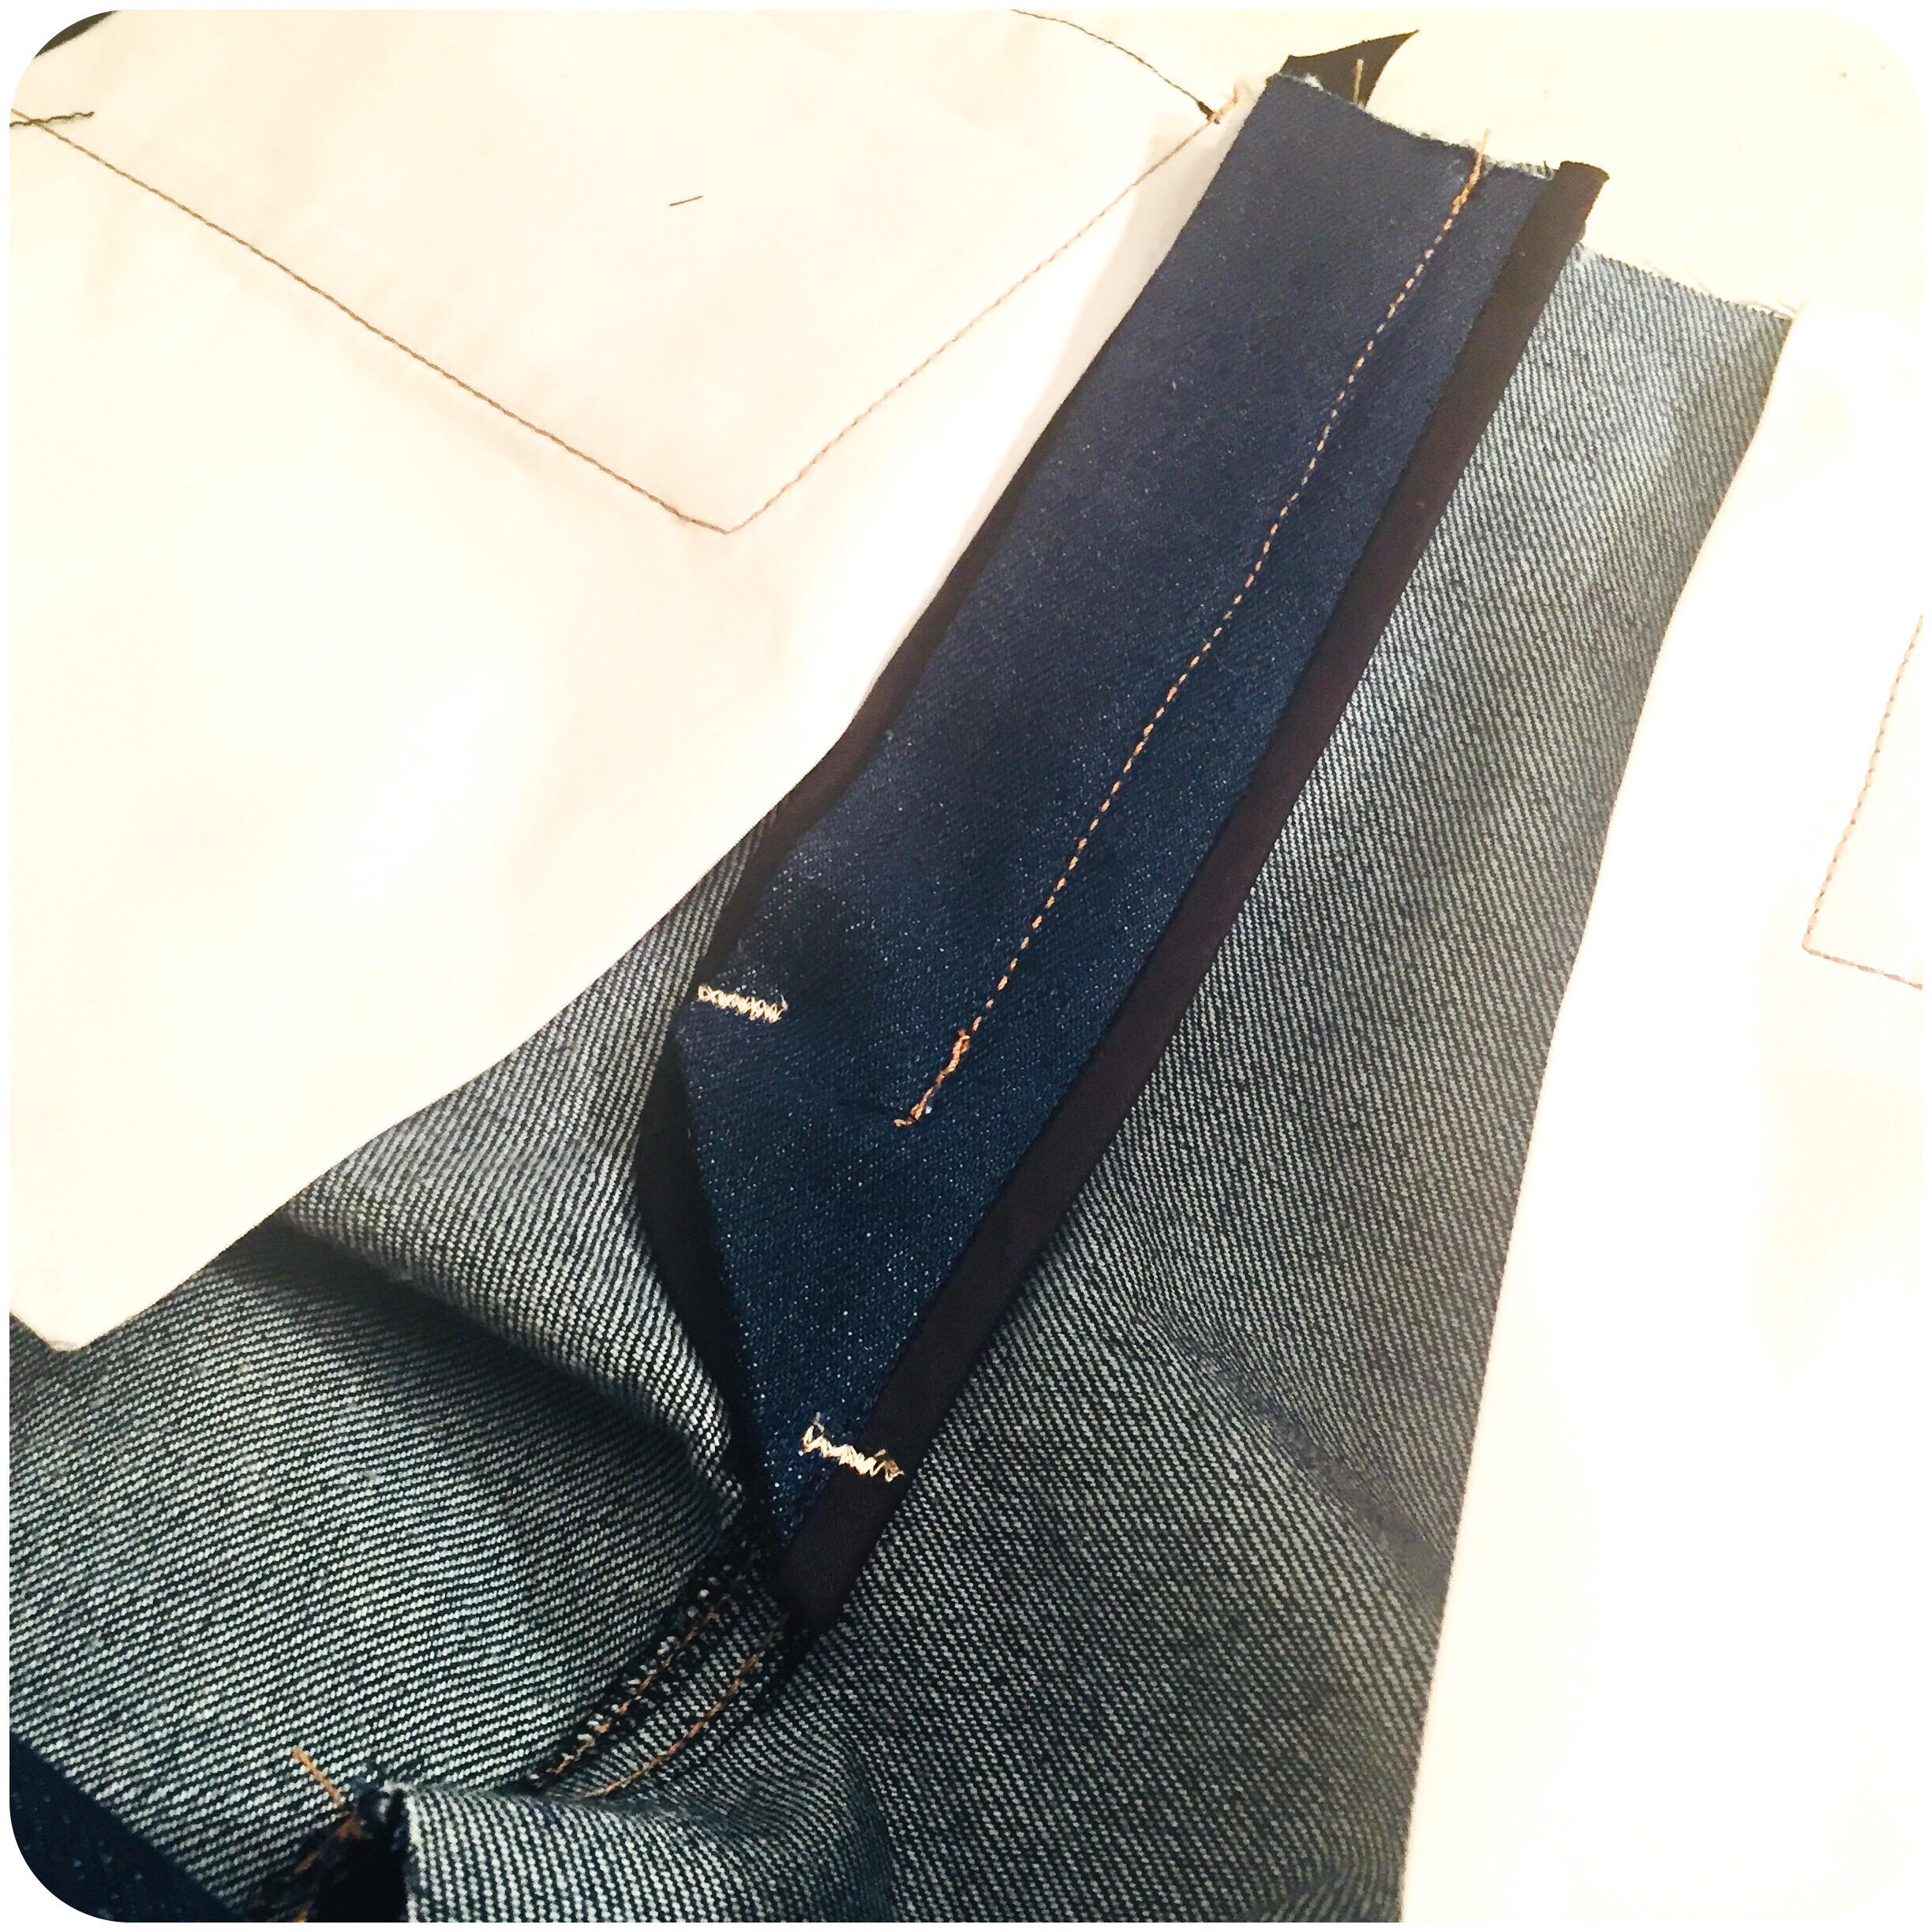
After finishing the back parts, it’s high time for the front pockets! Add facings and smaller pocket on pocket bags first. Then turn the pocket edges, top-stitch, and close the pocket bag at the bottom. All done! Moving on to the zipper!
Add top side facing, turn and top stitch, and on the other side, zip and under lap. When done, pin the front edge in place.
Turn the zipper inside-out and attach it to the facing.
Then top stitch the facing in place. Finish the zip area with the center front lower seam.
The inside of the zip looks like this when finished. I do like that the inside of the garments look neat too, so I always try to give that side equal attention.
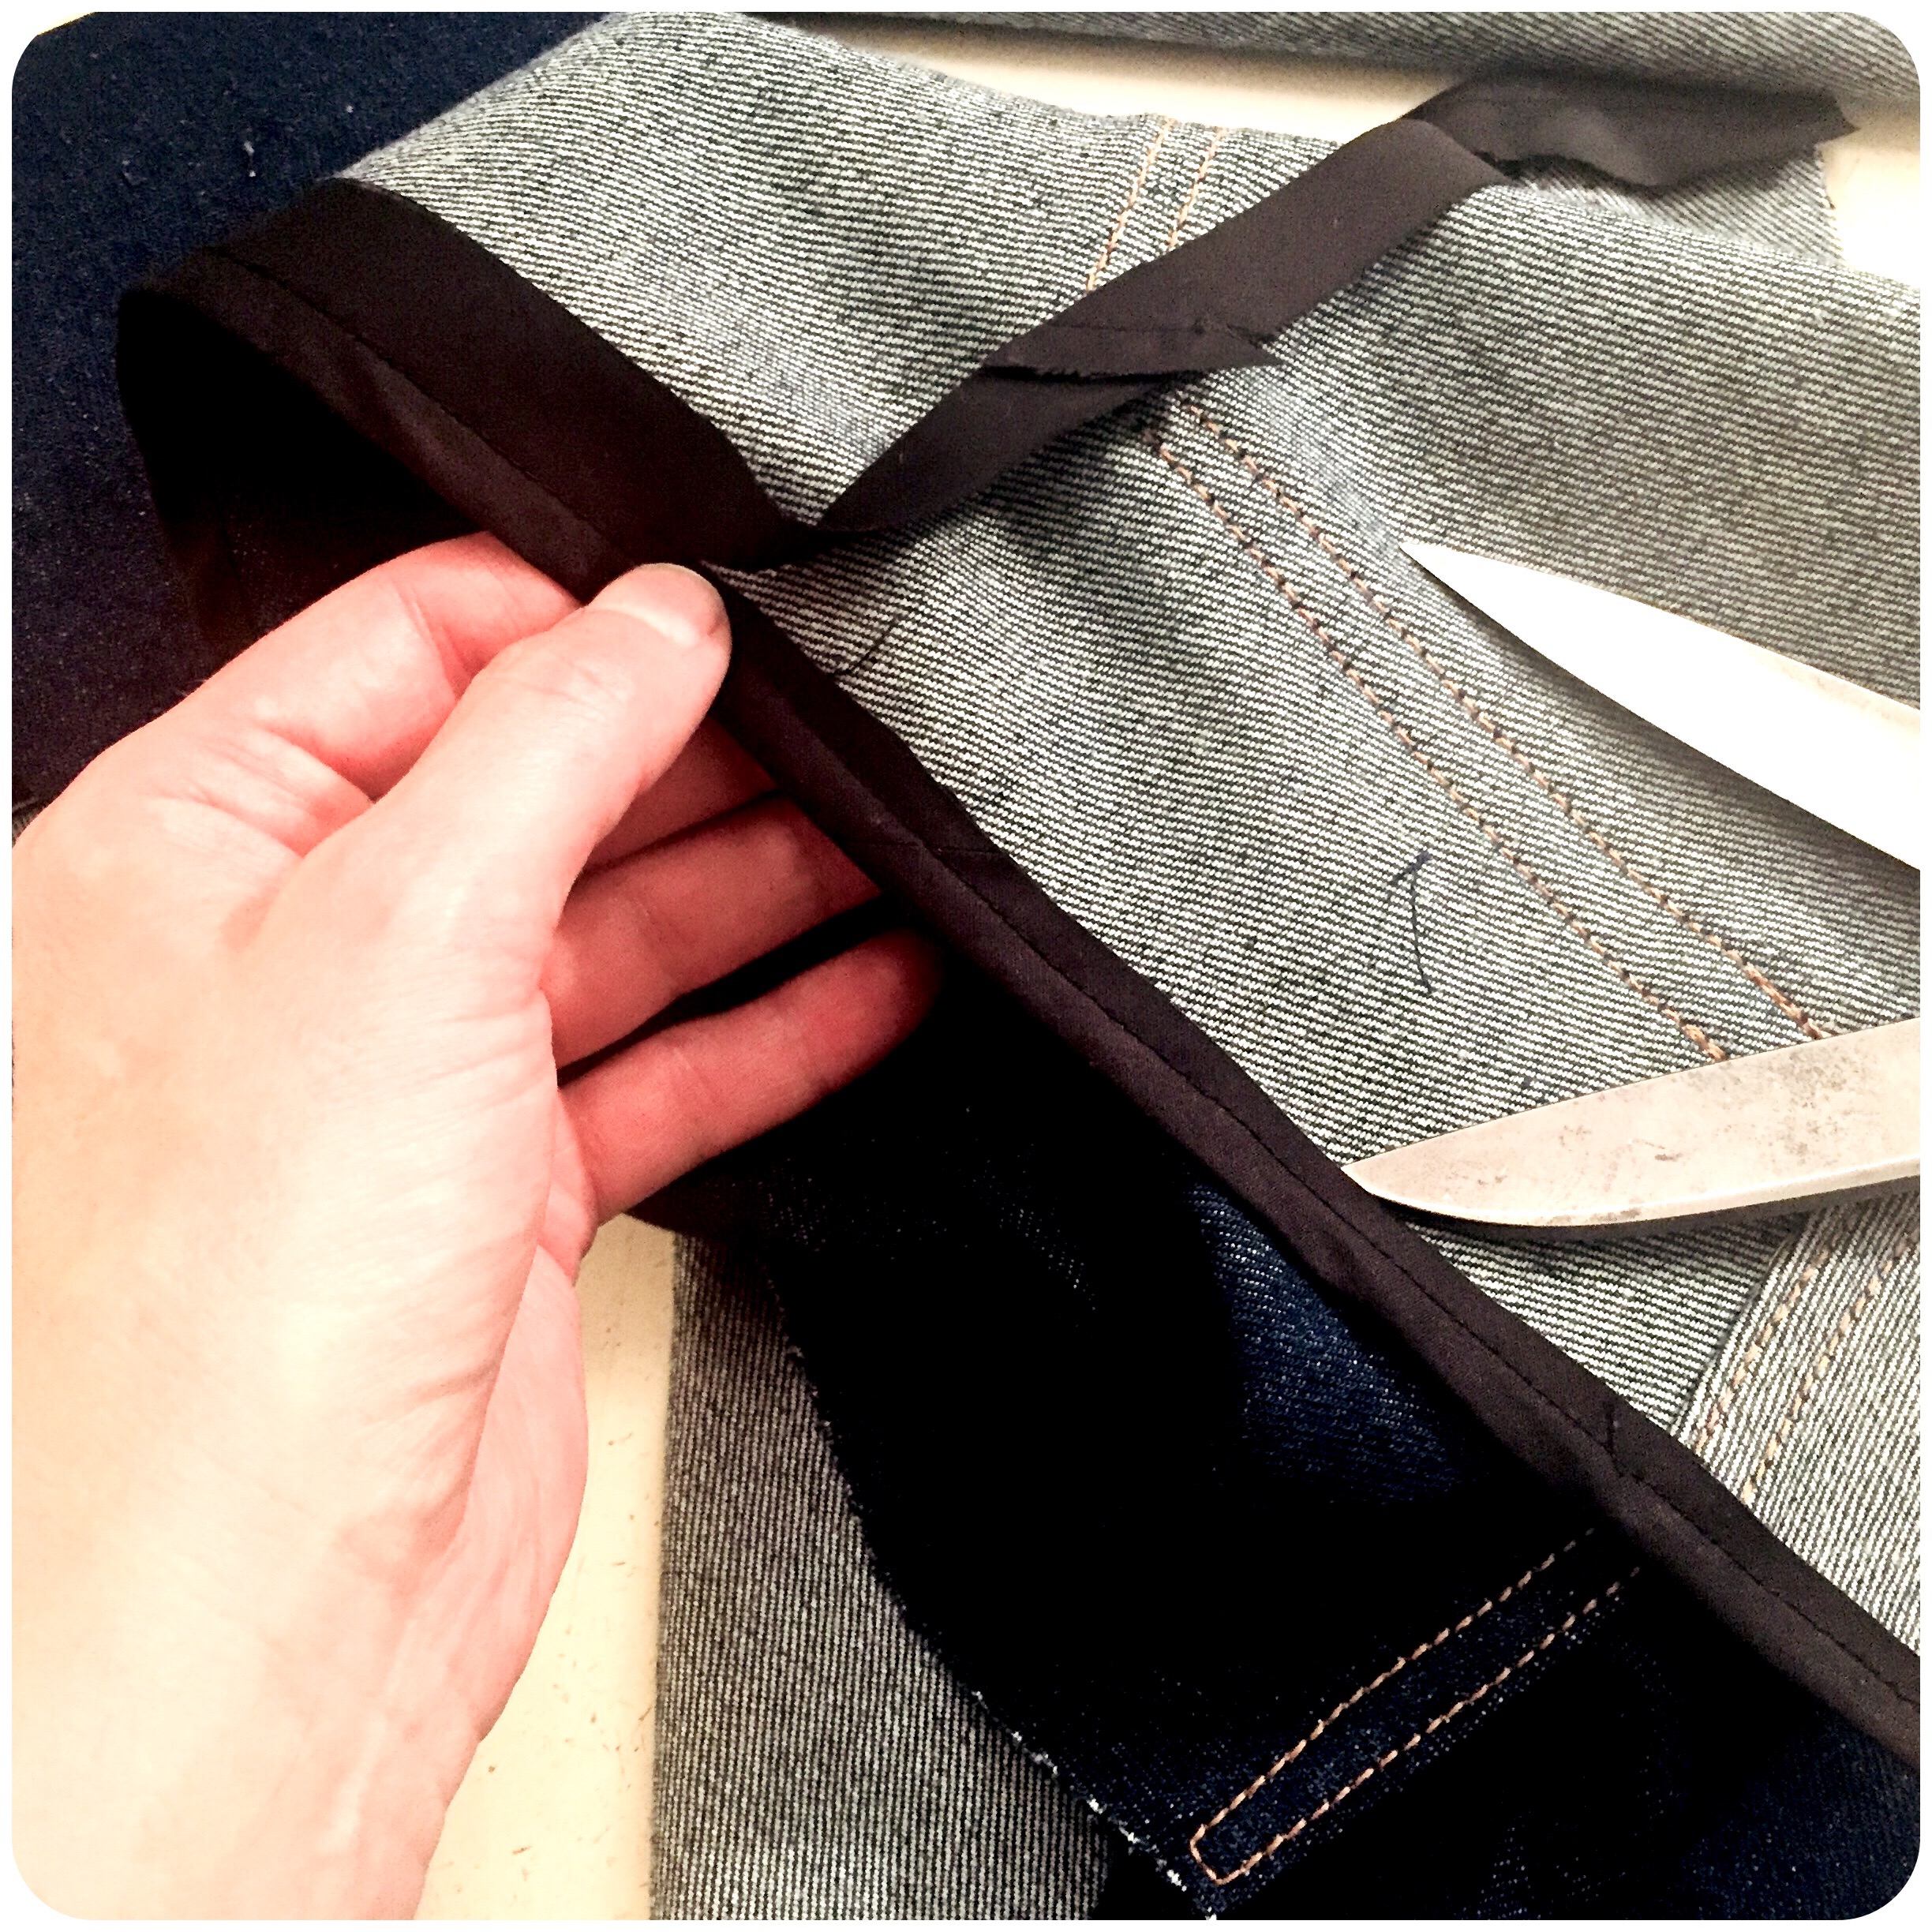
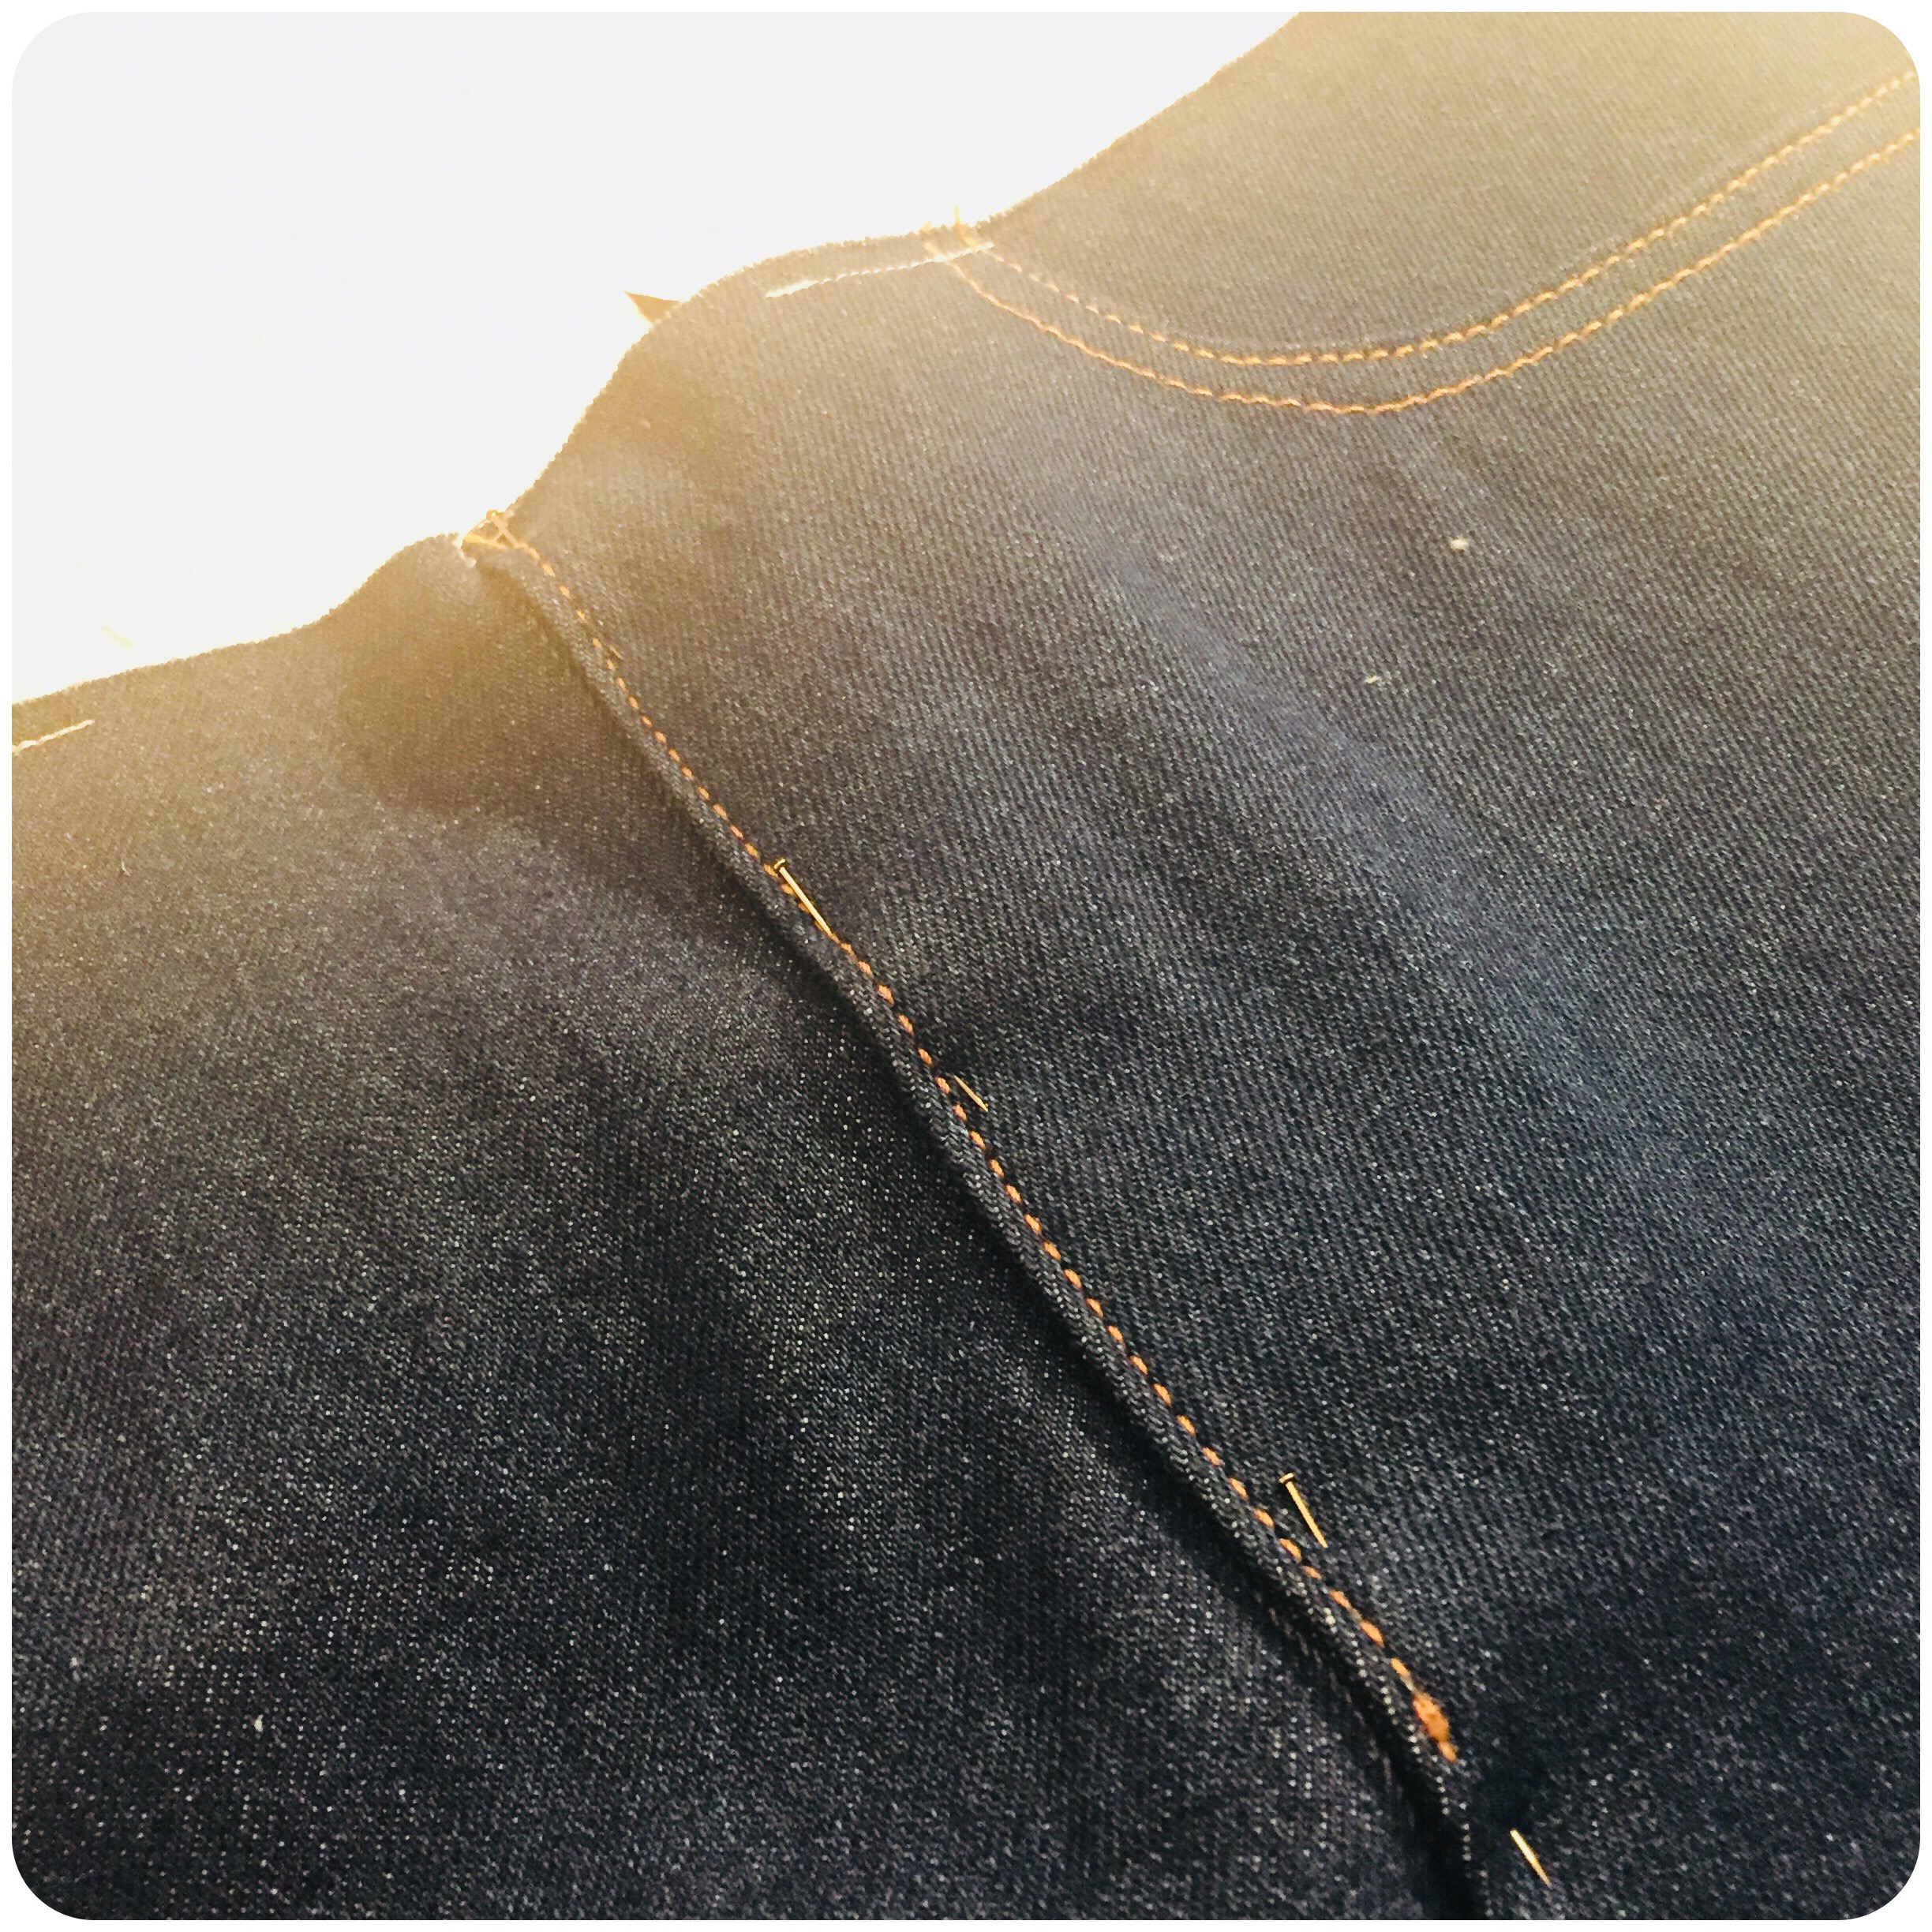
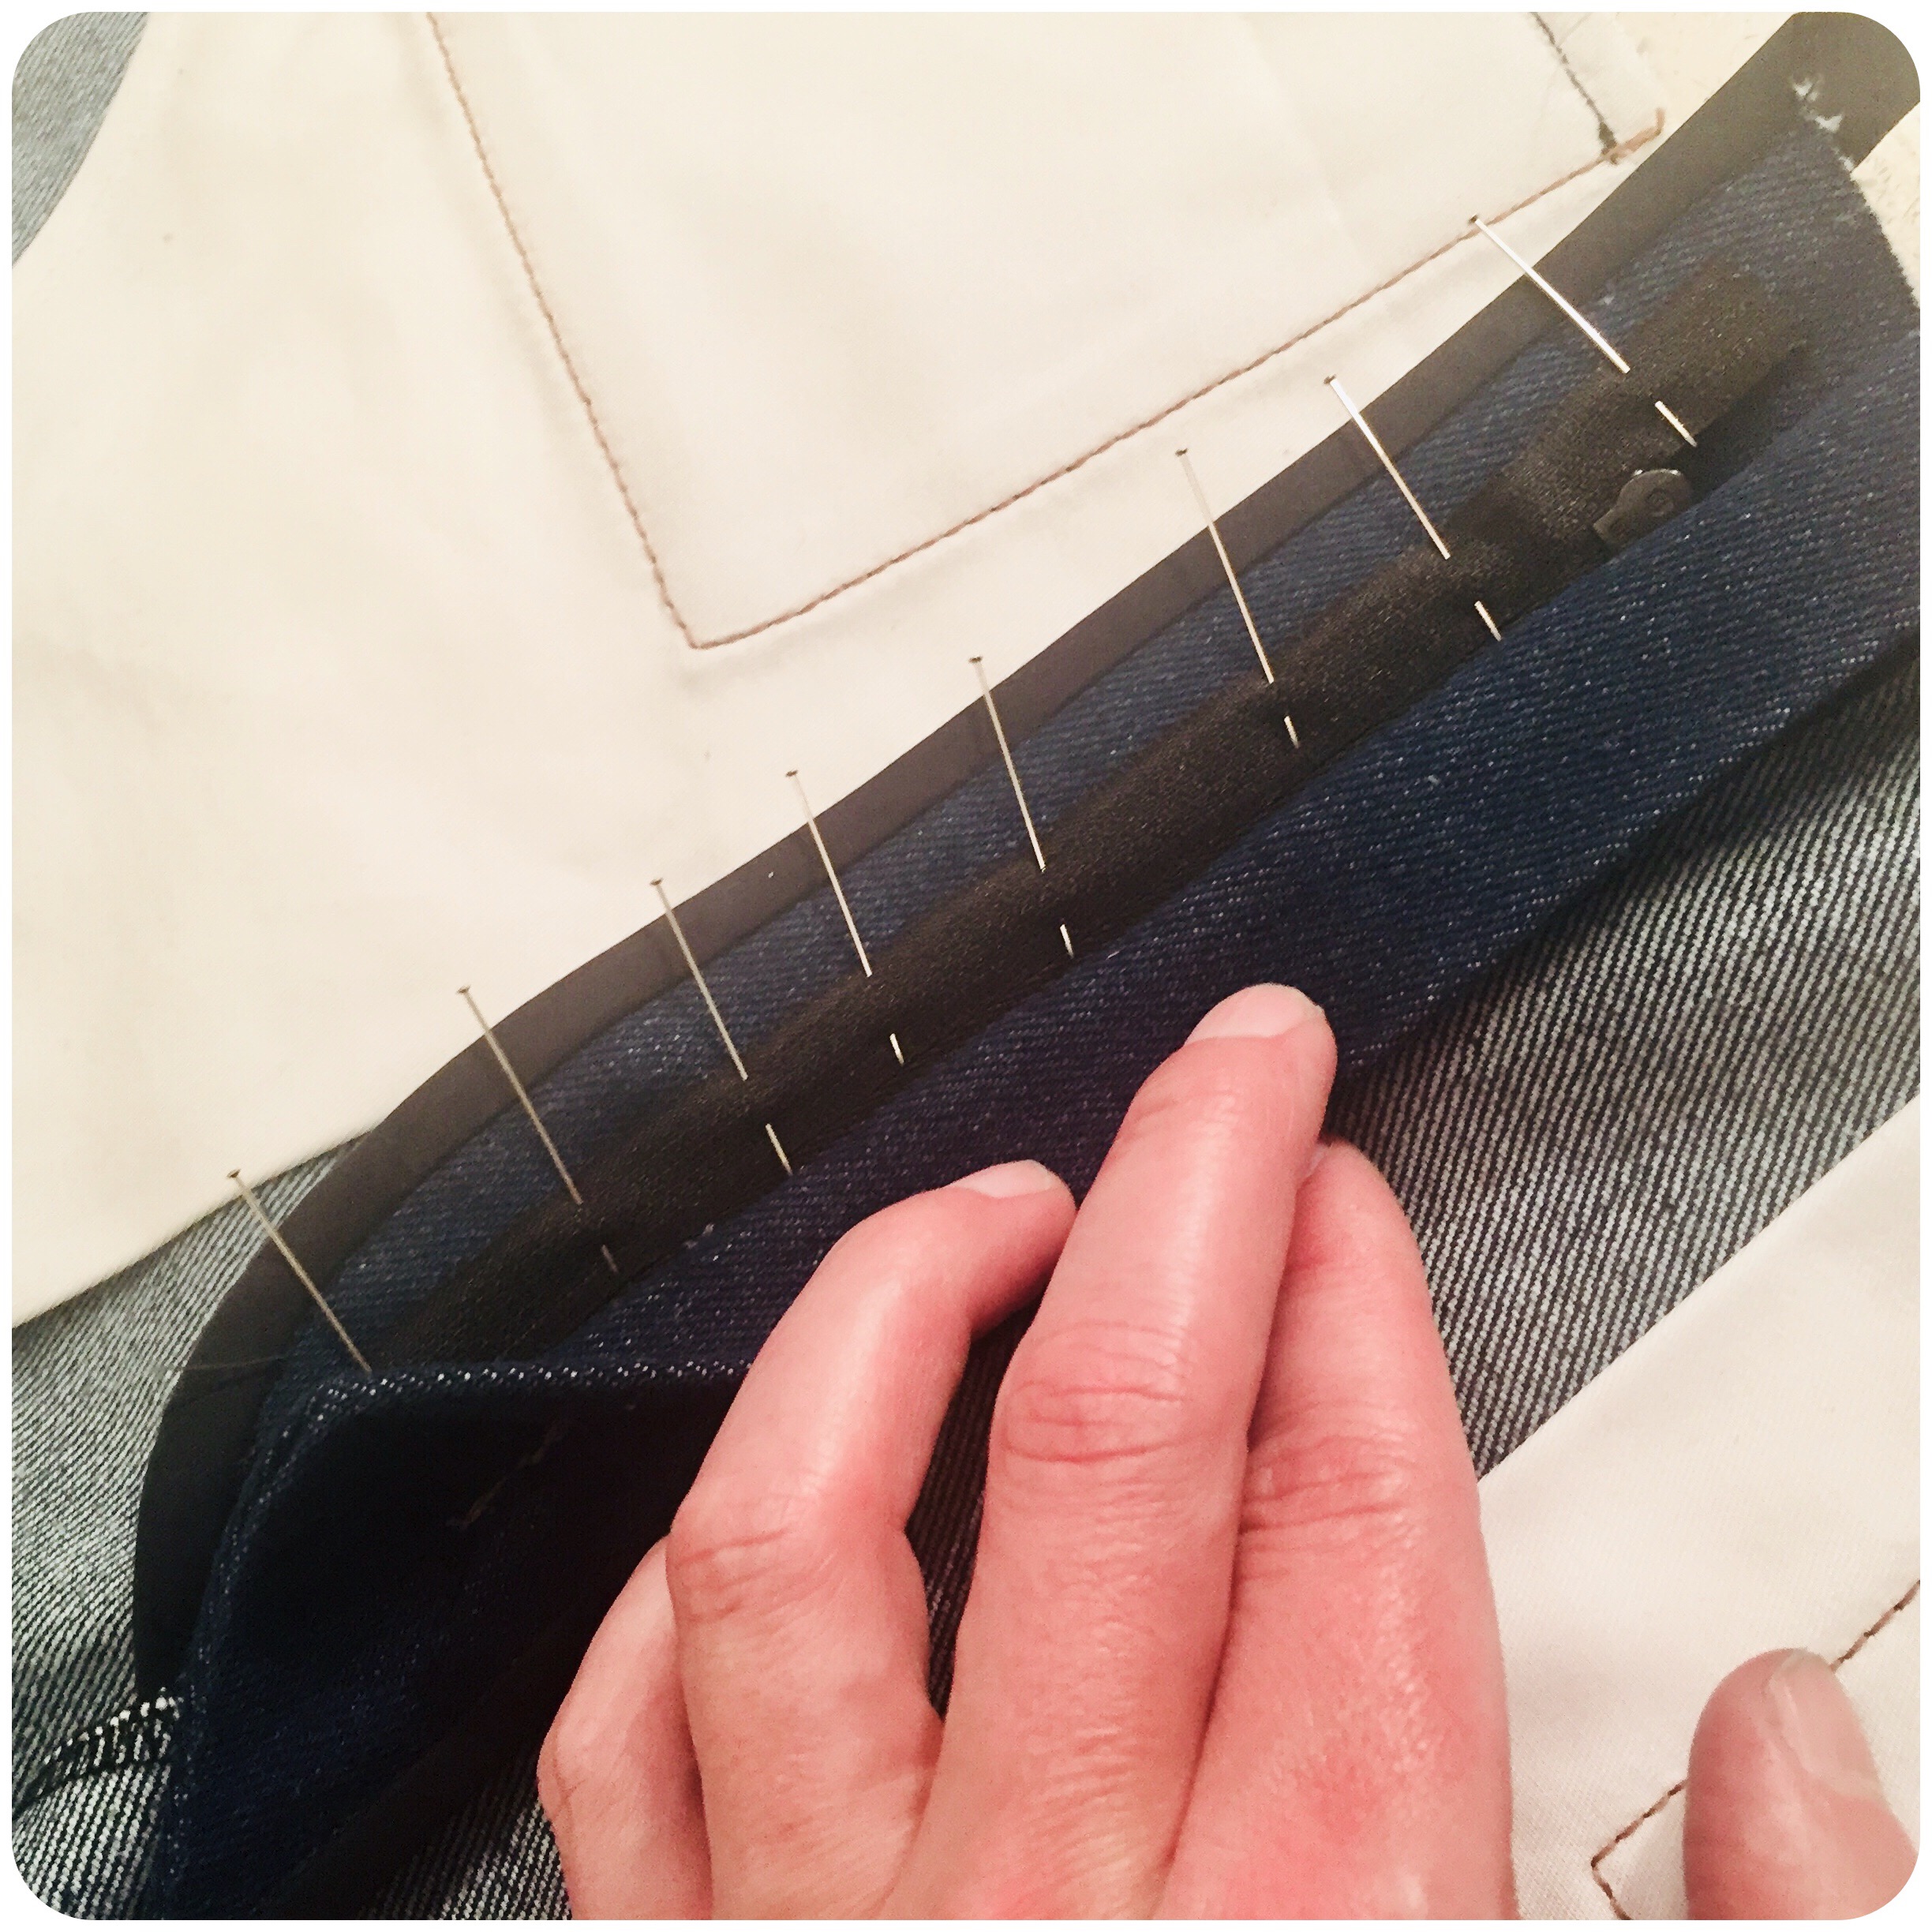
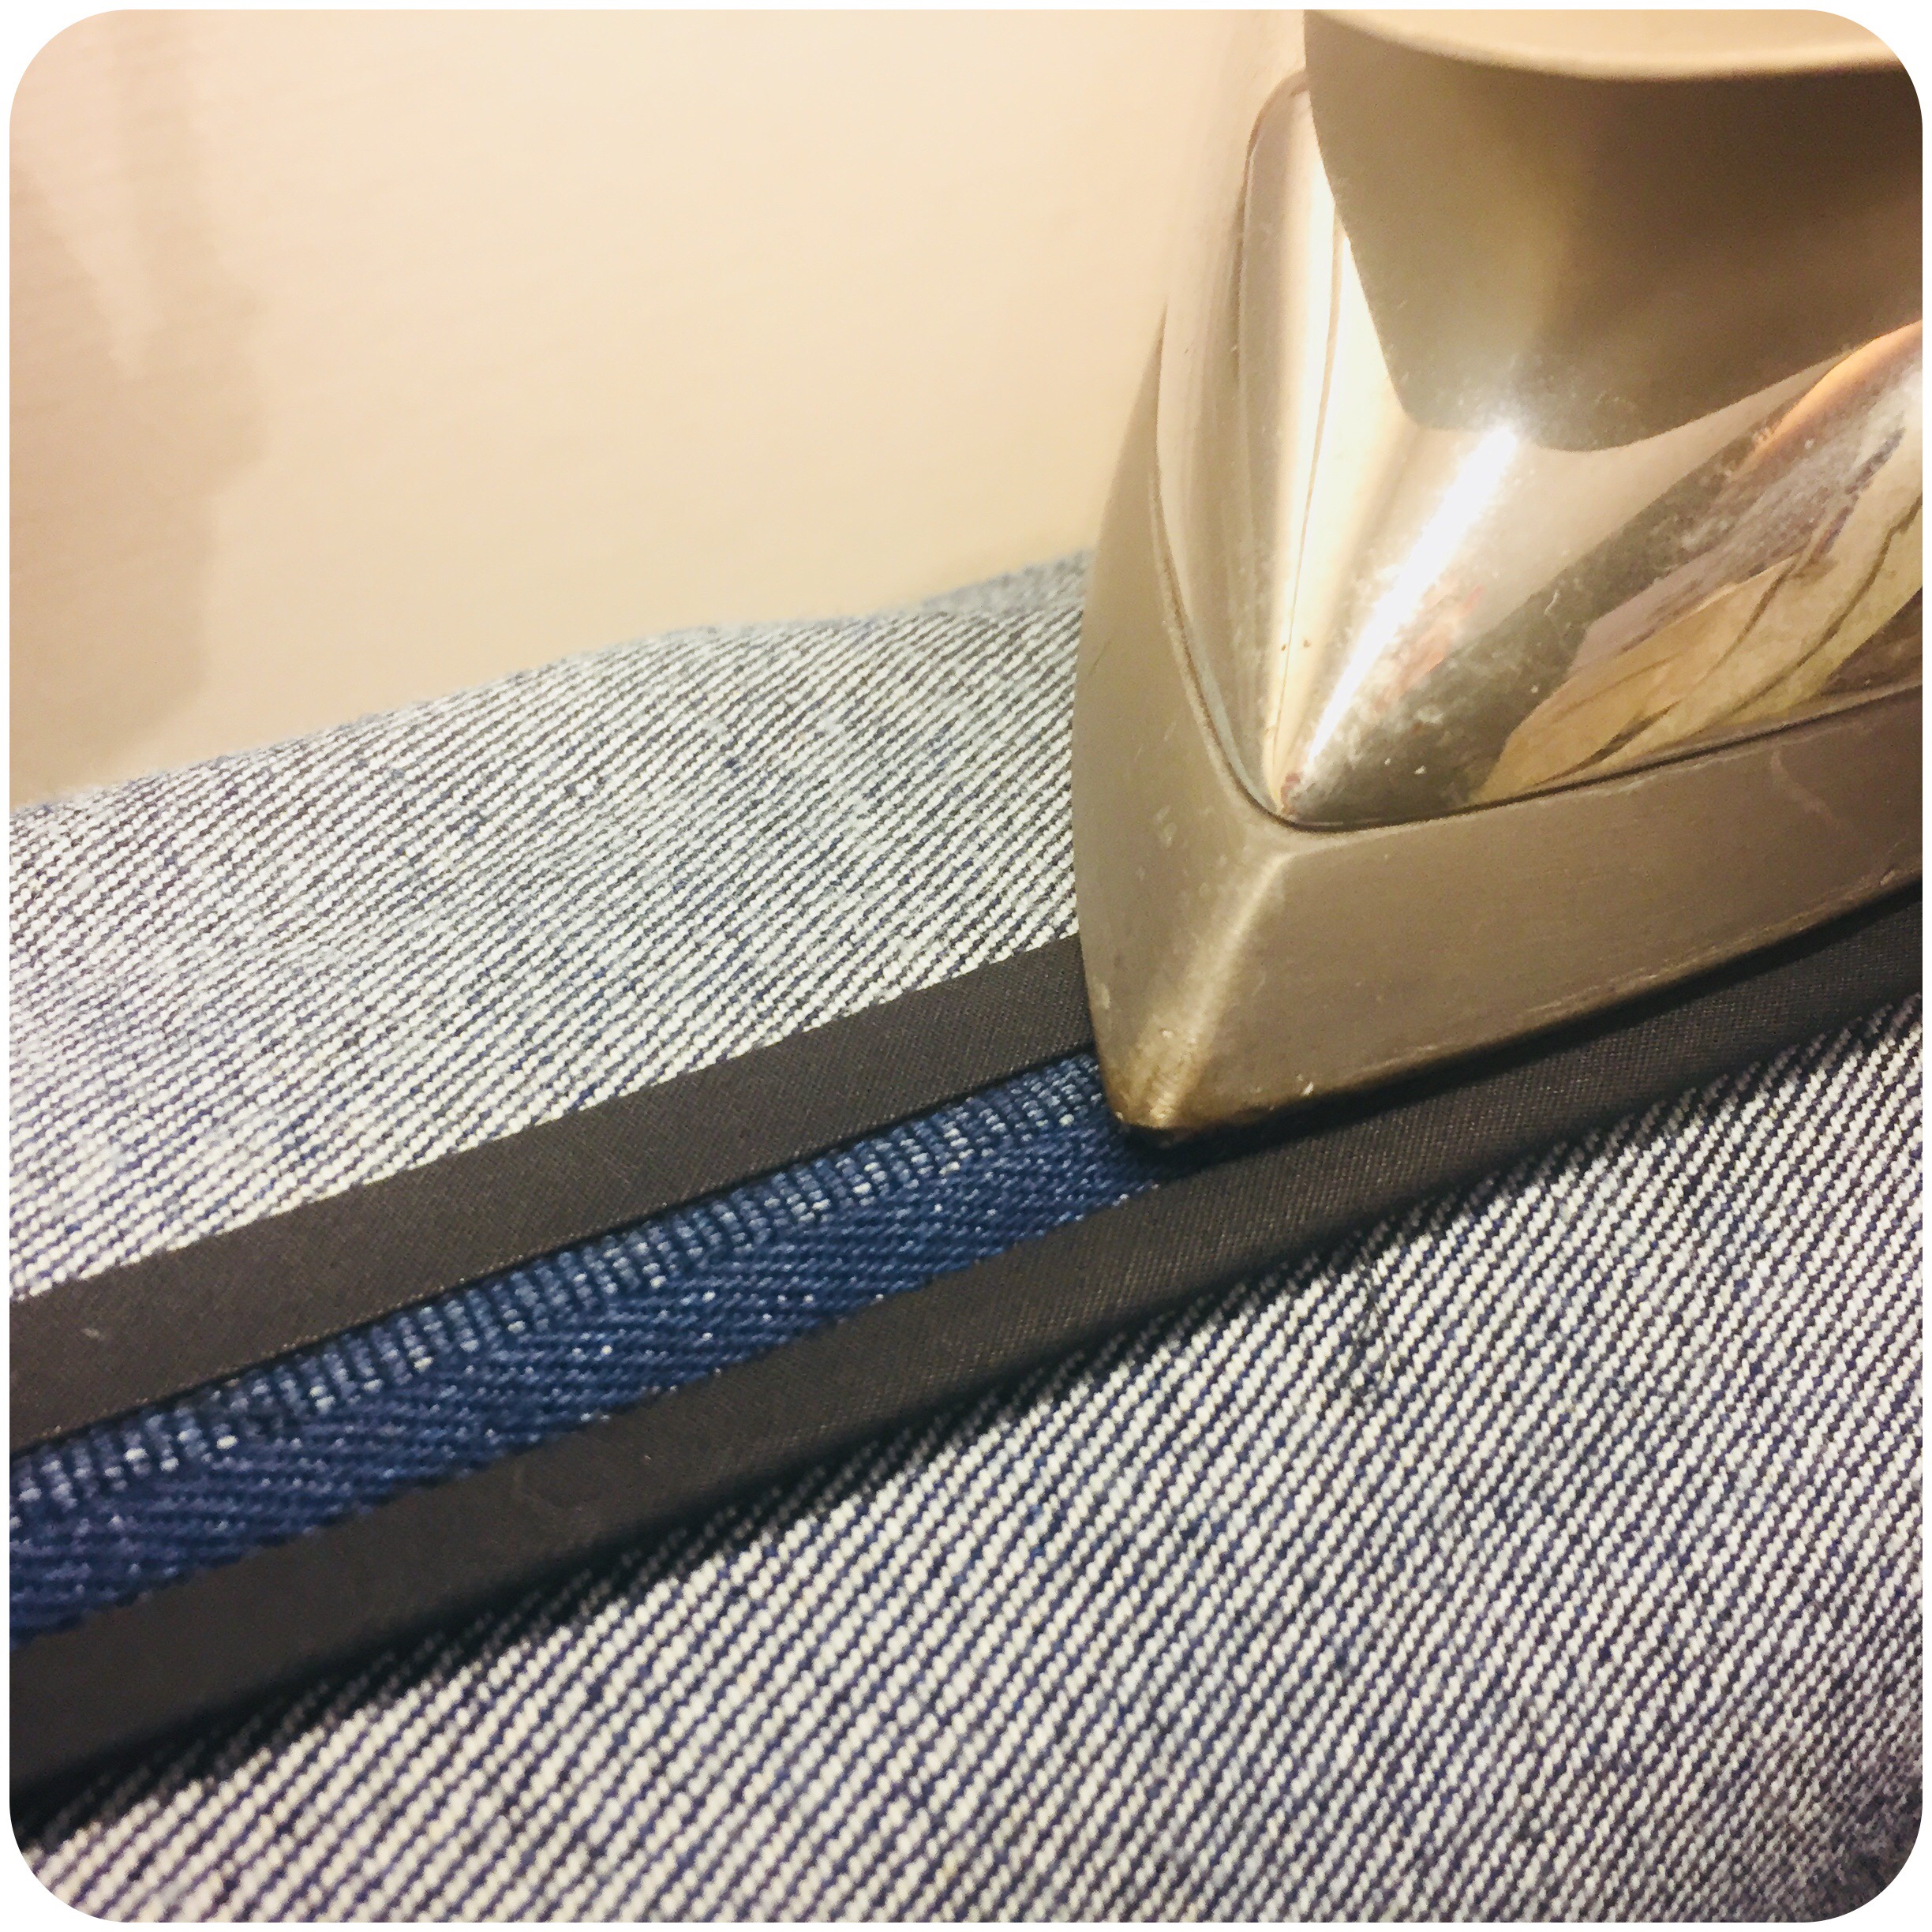
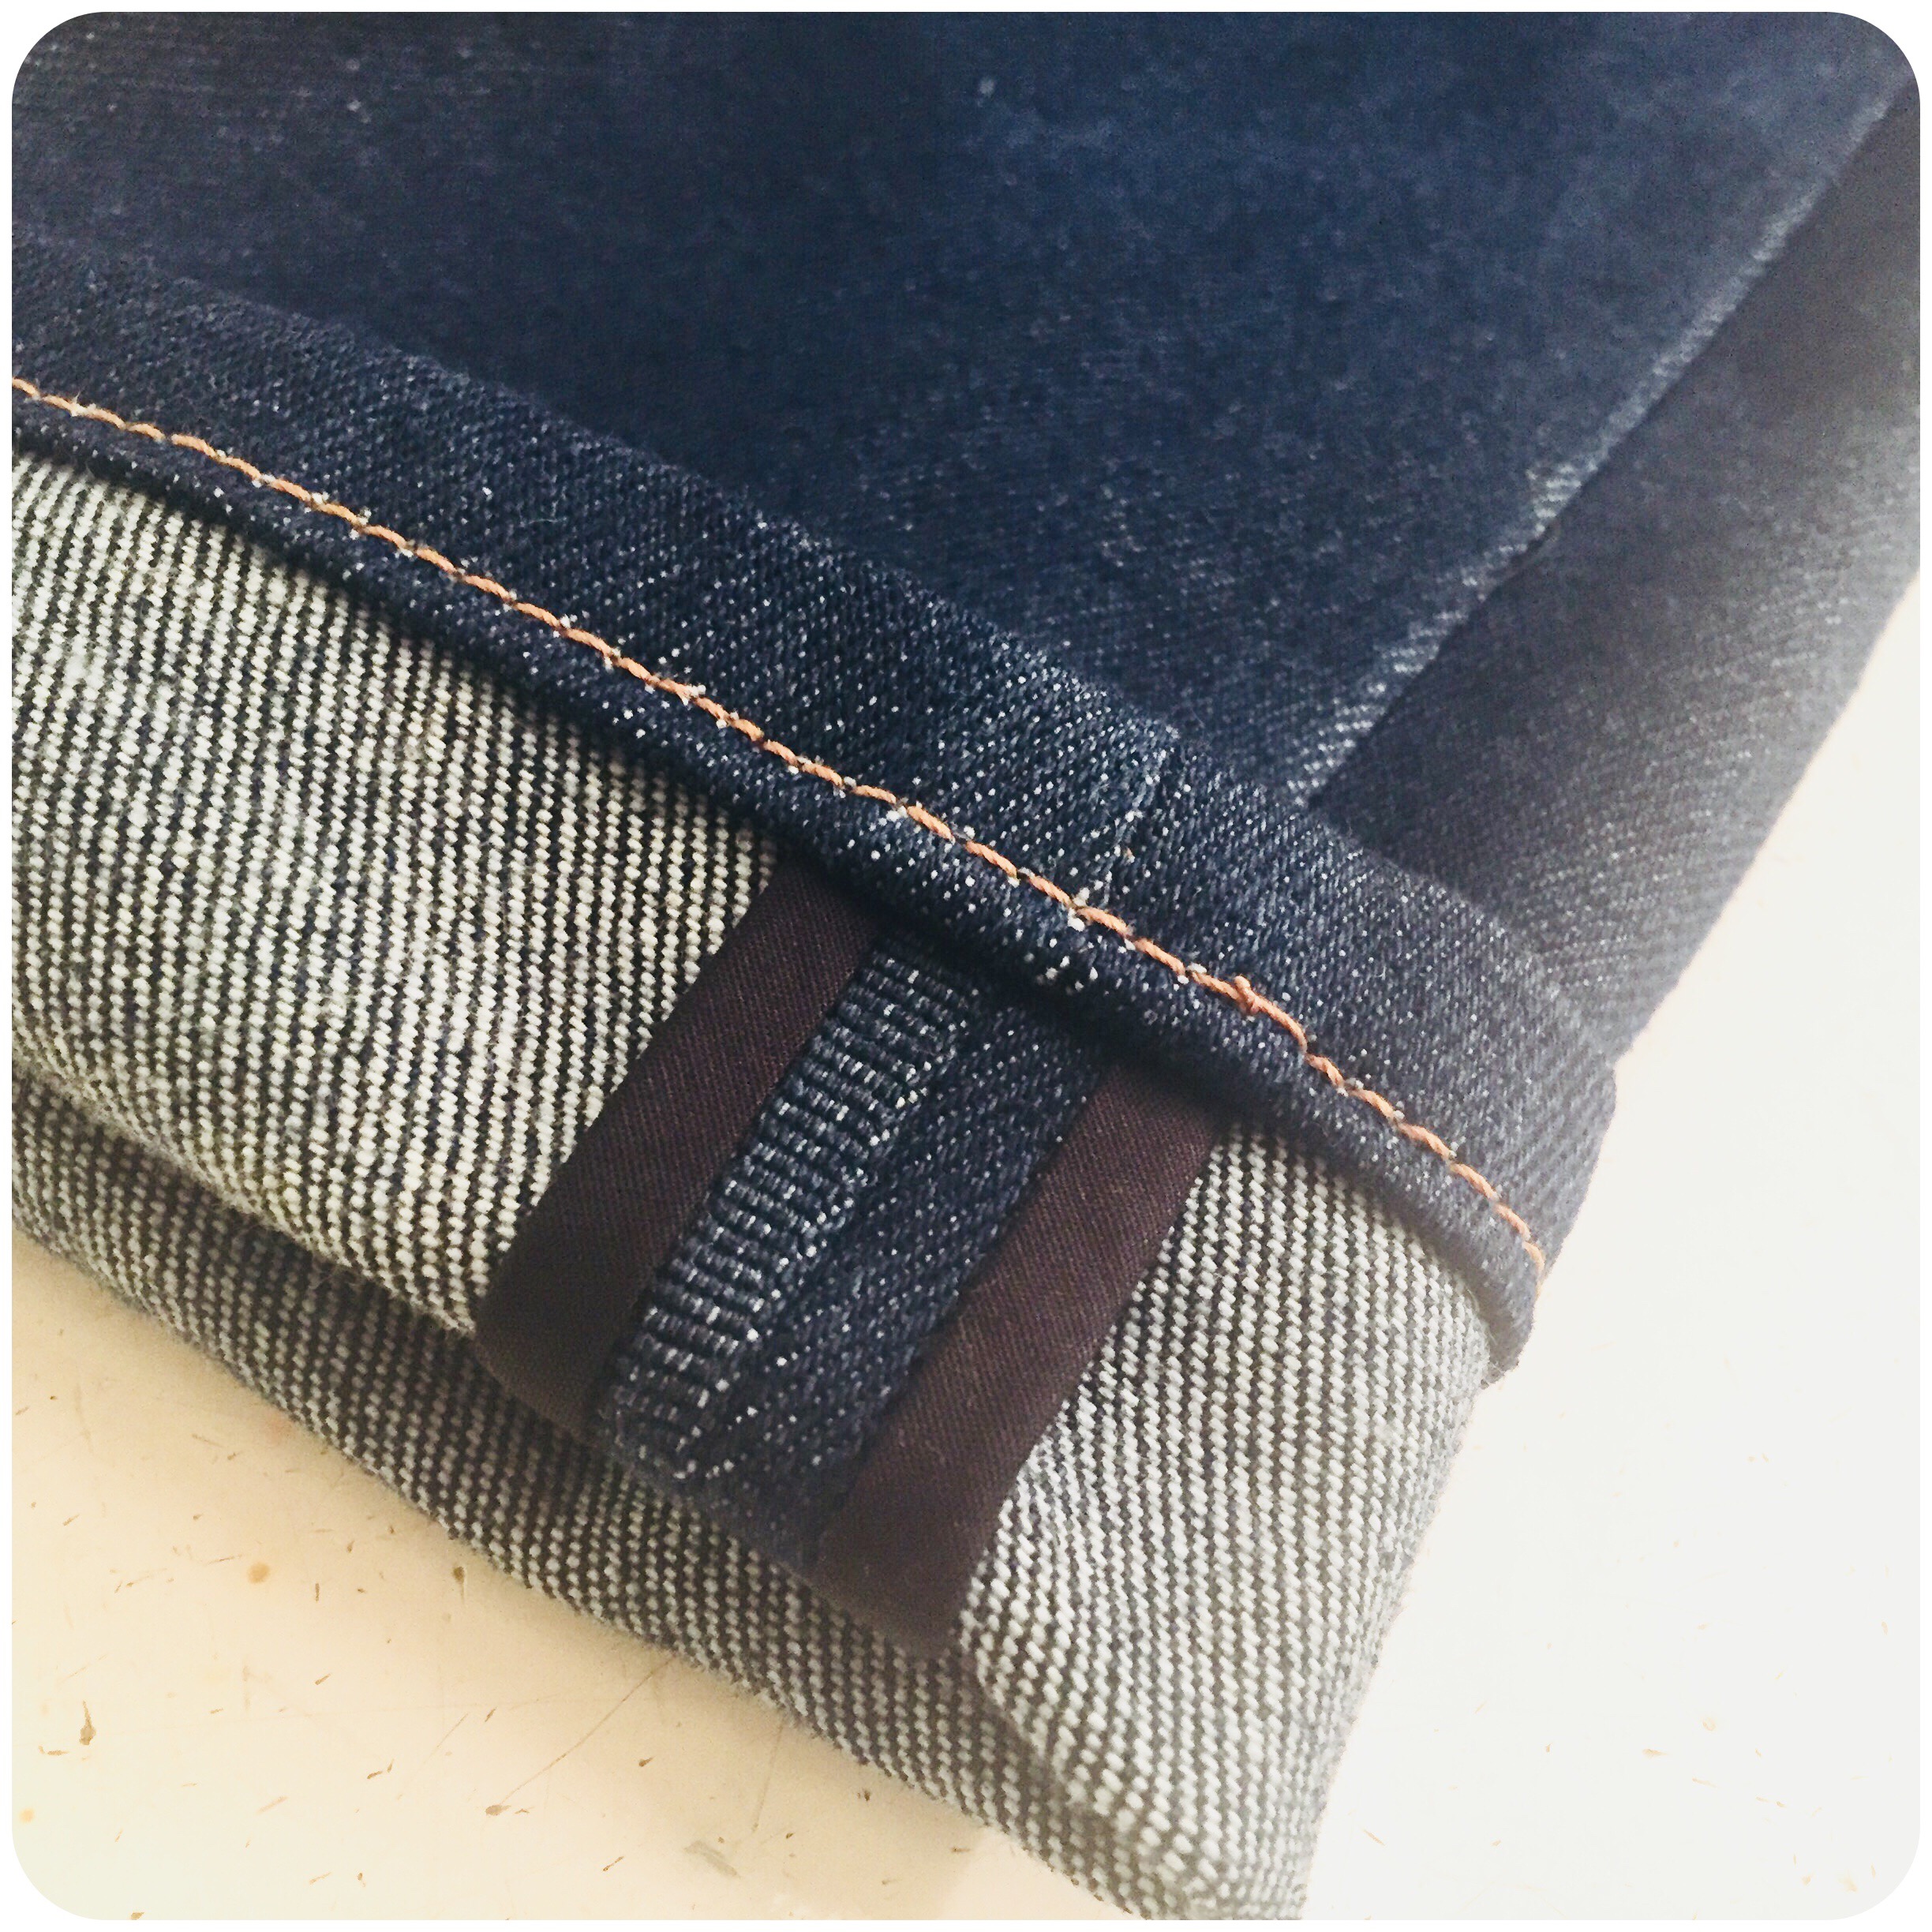
After the front and back parts are assembled, it’s time to make all raw edges neat, covered with cotton bias strips.
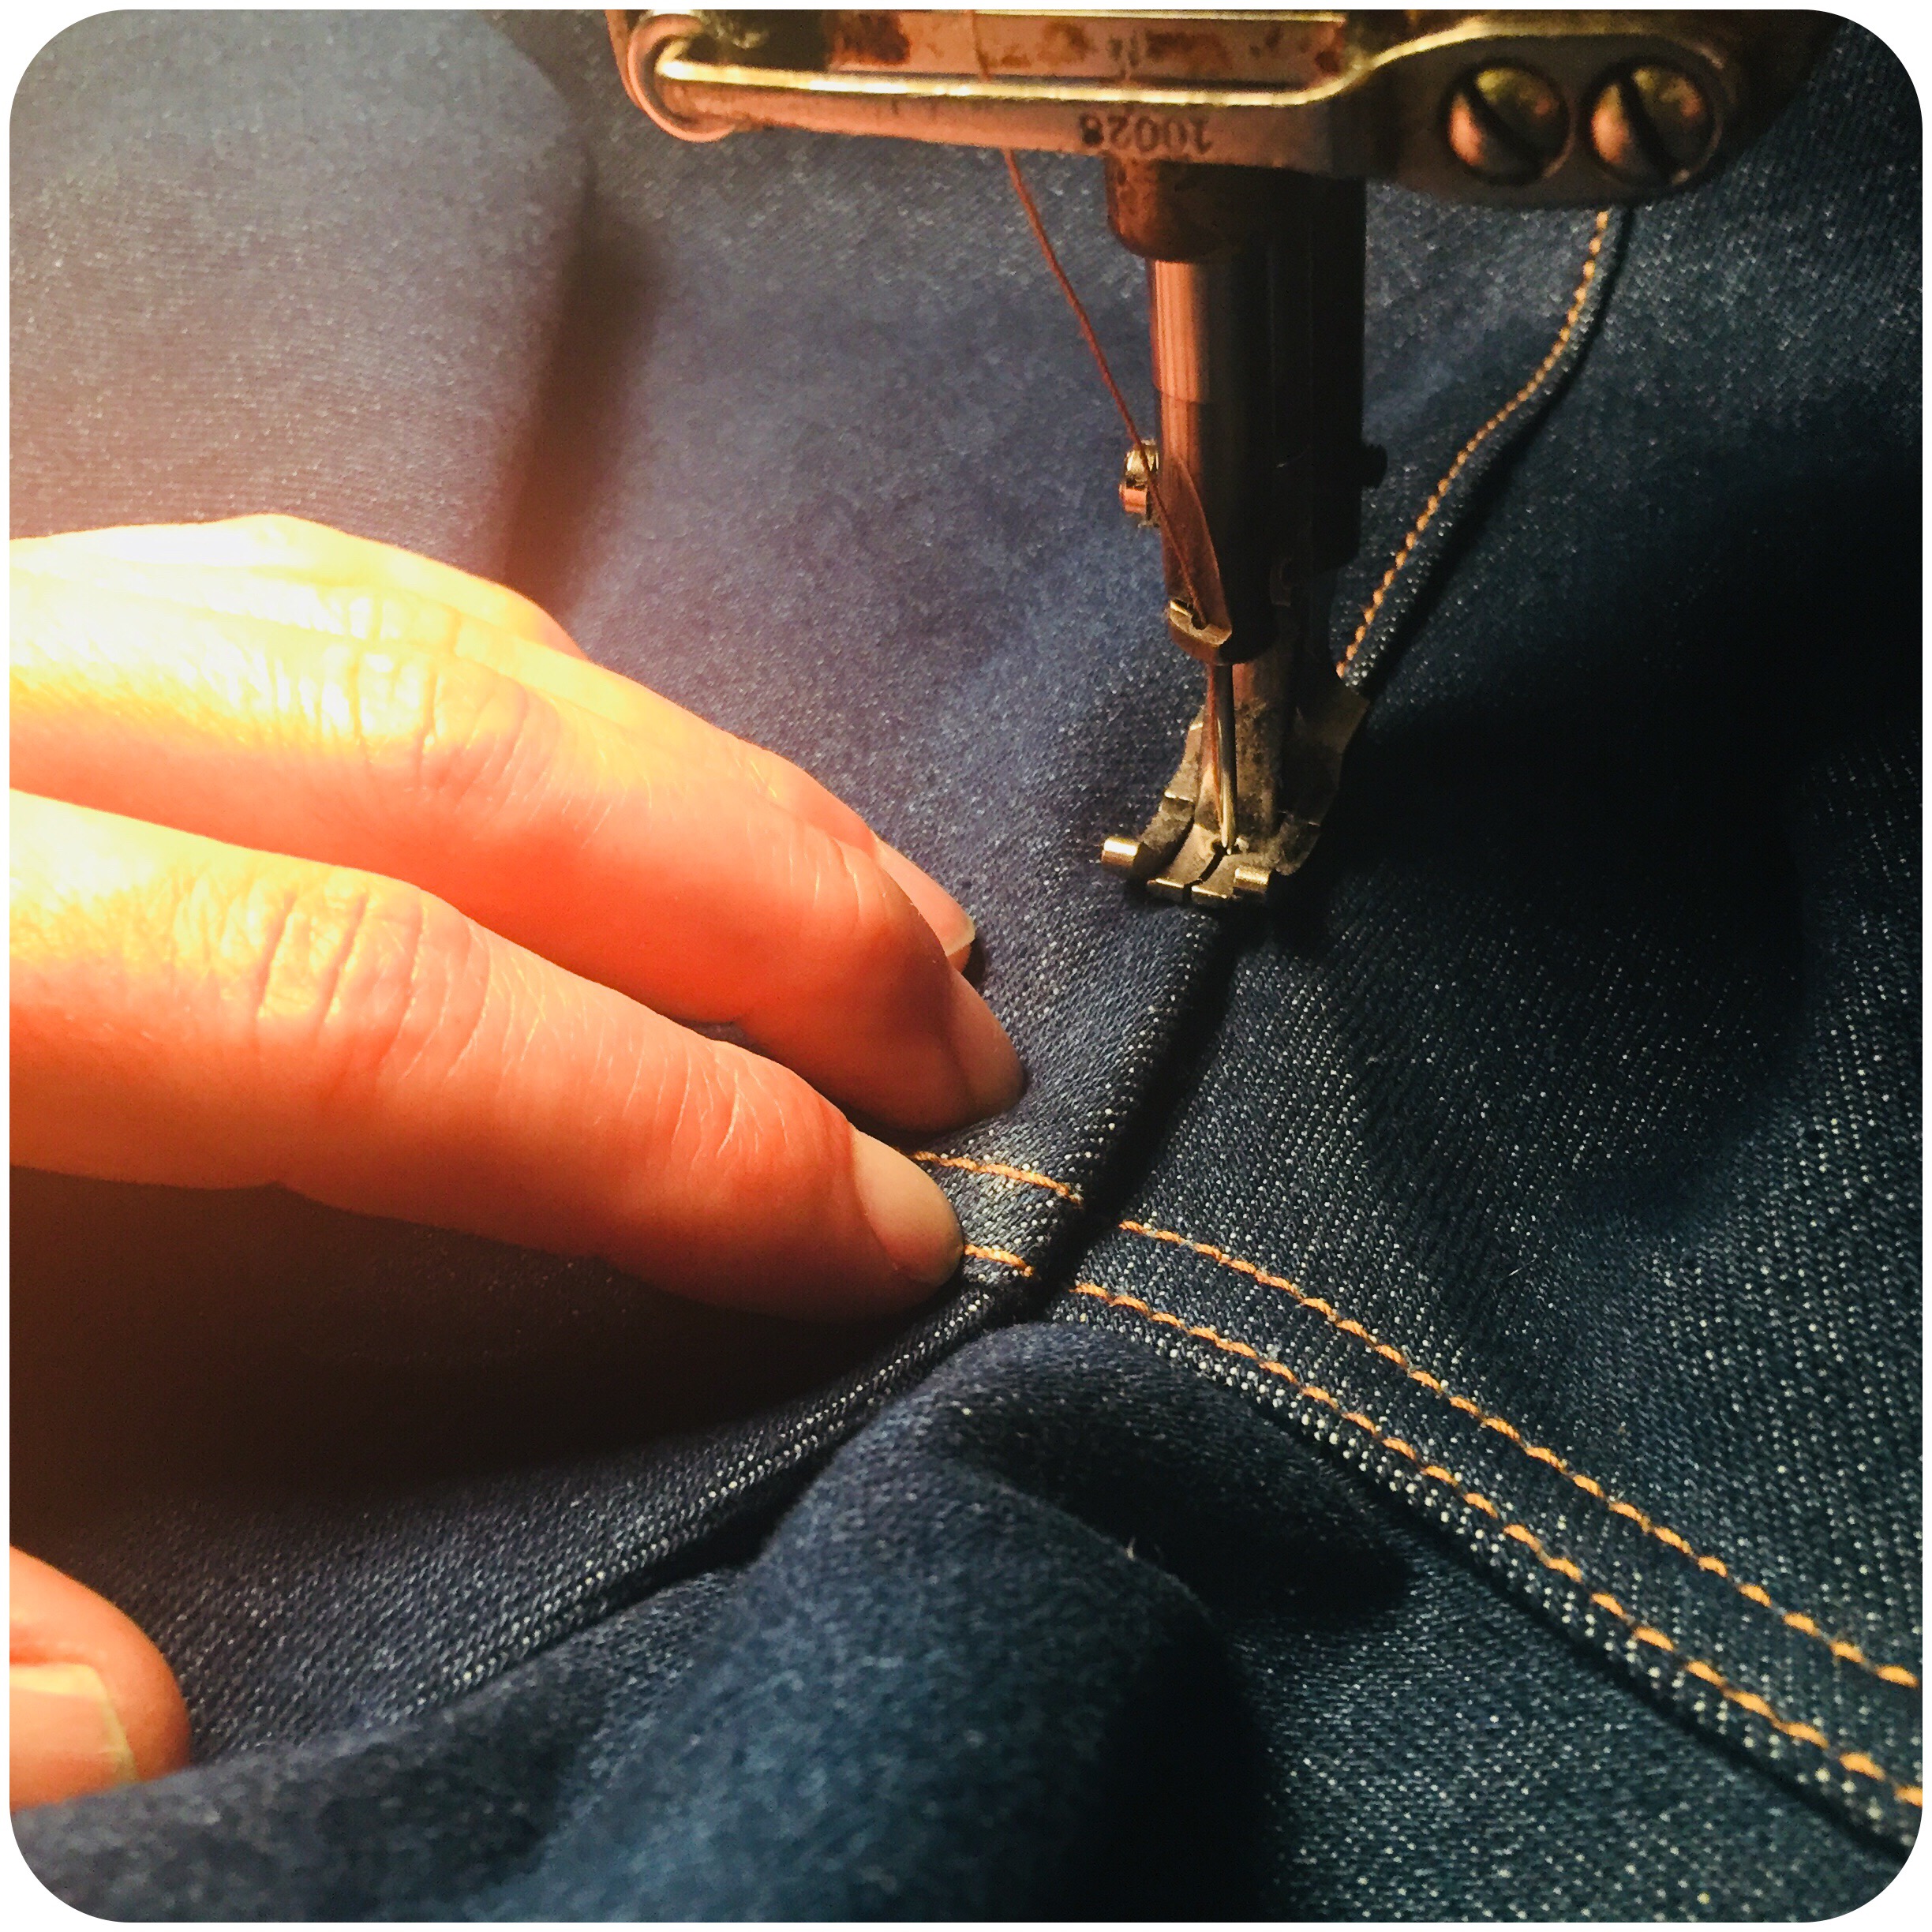
Stitching the inside leg seam together.
Remember to flatten the seam allowance pile-up at the seam intersection with a soft leather hammer before stitching. Otherwise your machine will probably get caught there.

This is how the inside leg seam looks from the reversed side. We like to keep it neat, right?
The trousers how they looked just before the side seams were stitched together.
Side seam made, and here the allowance are pressed flat.
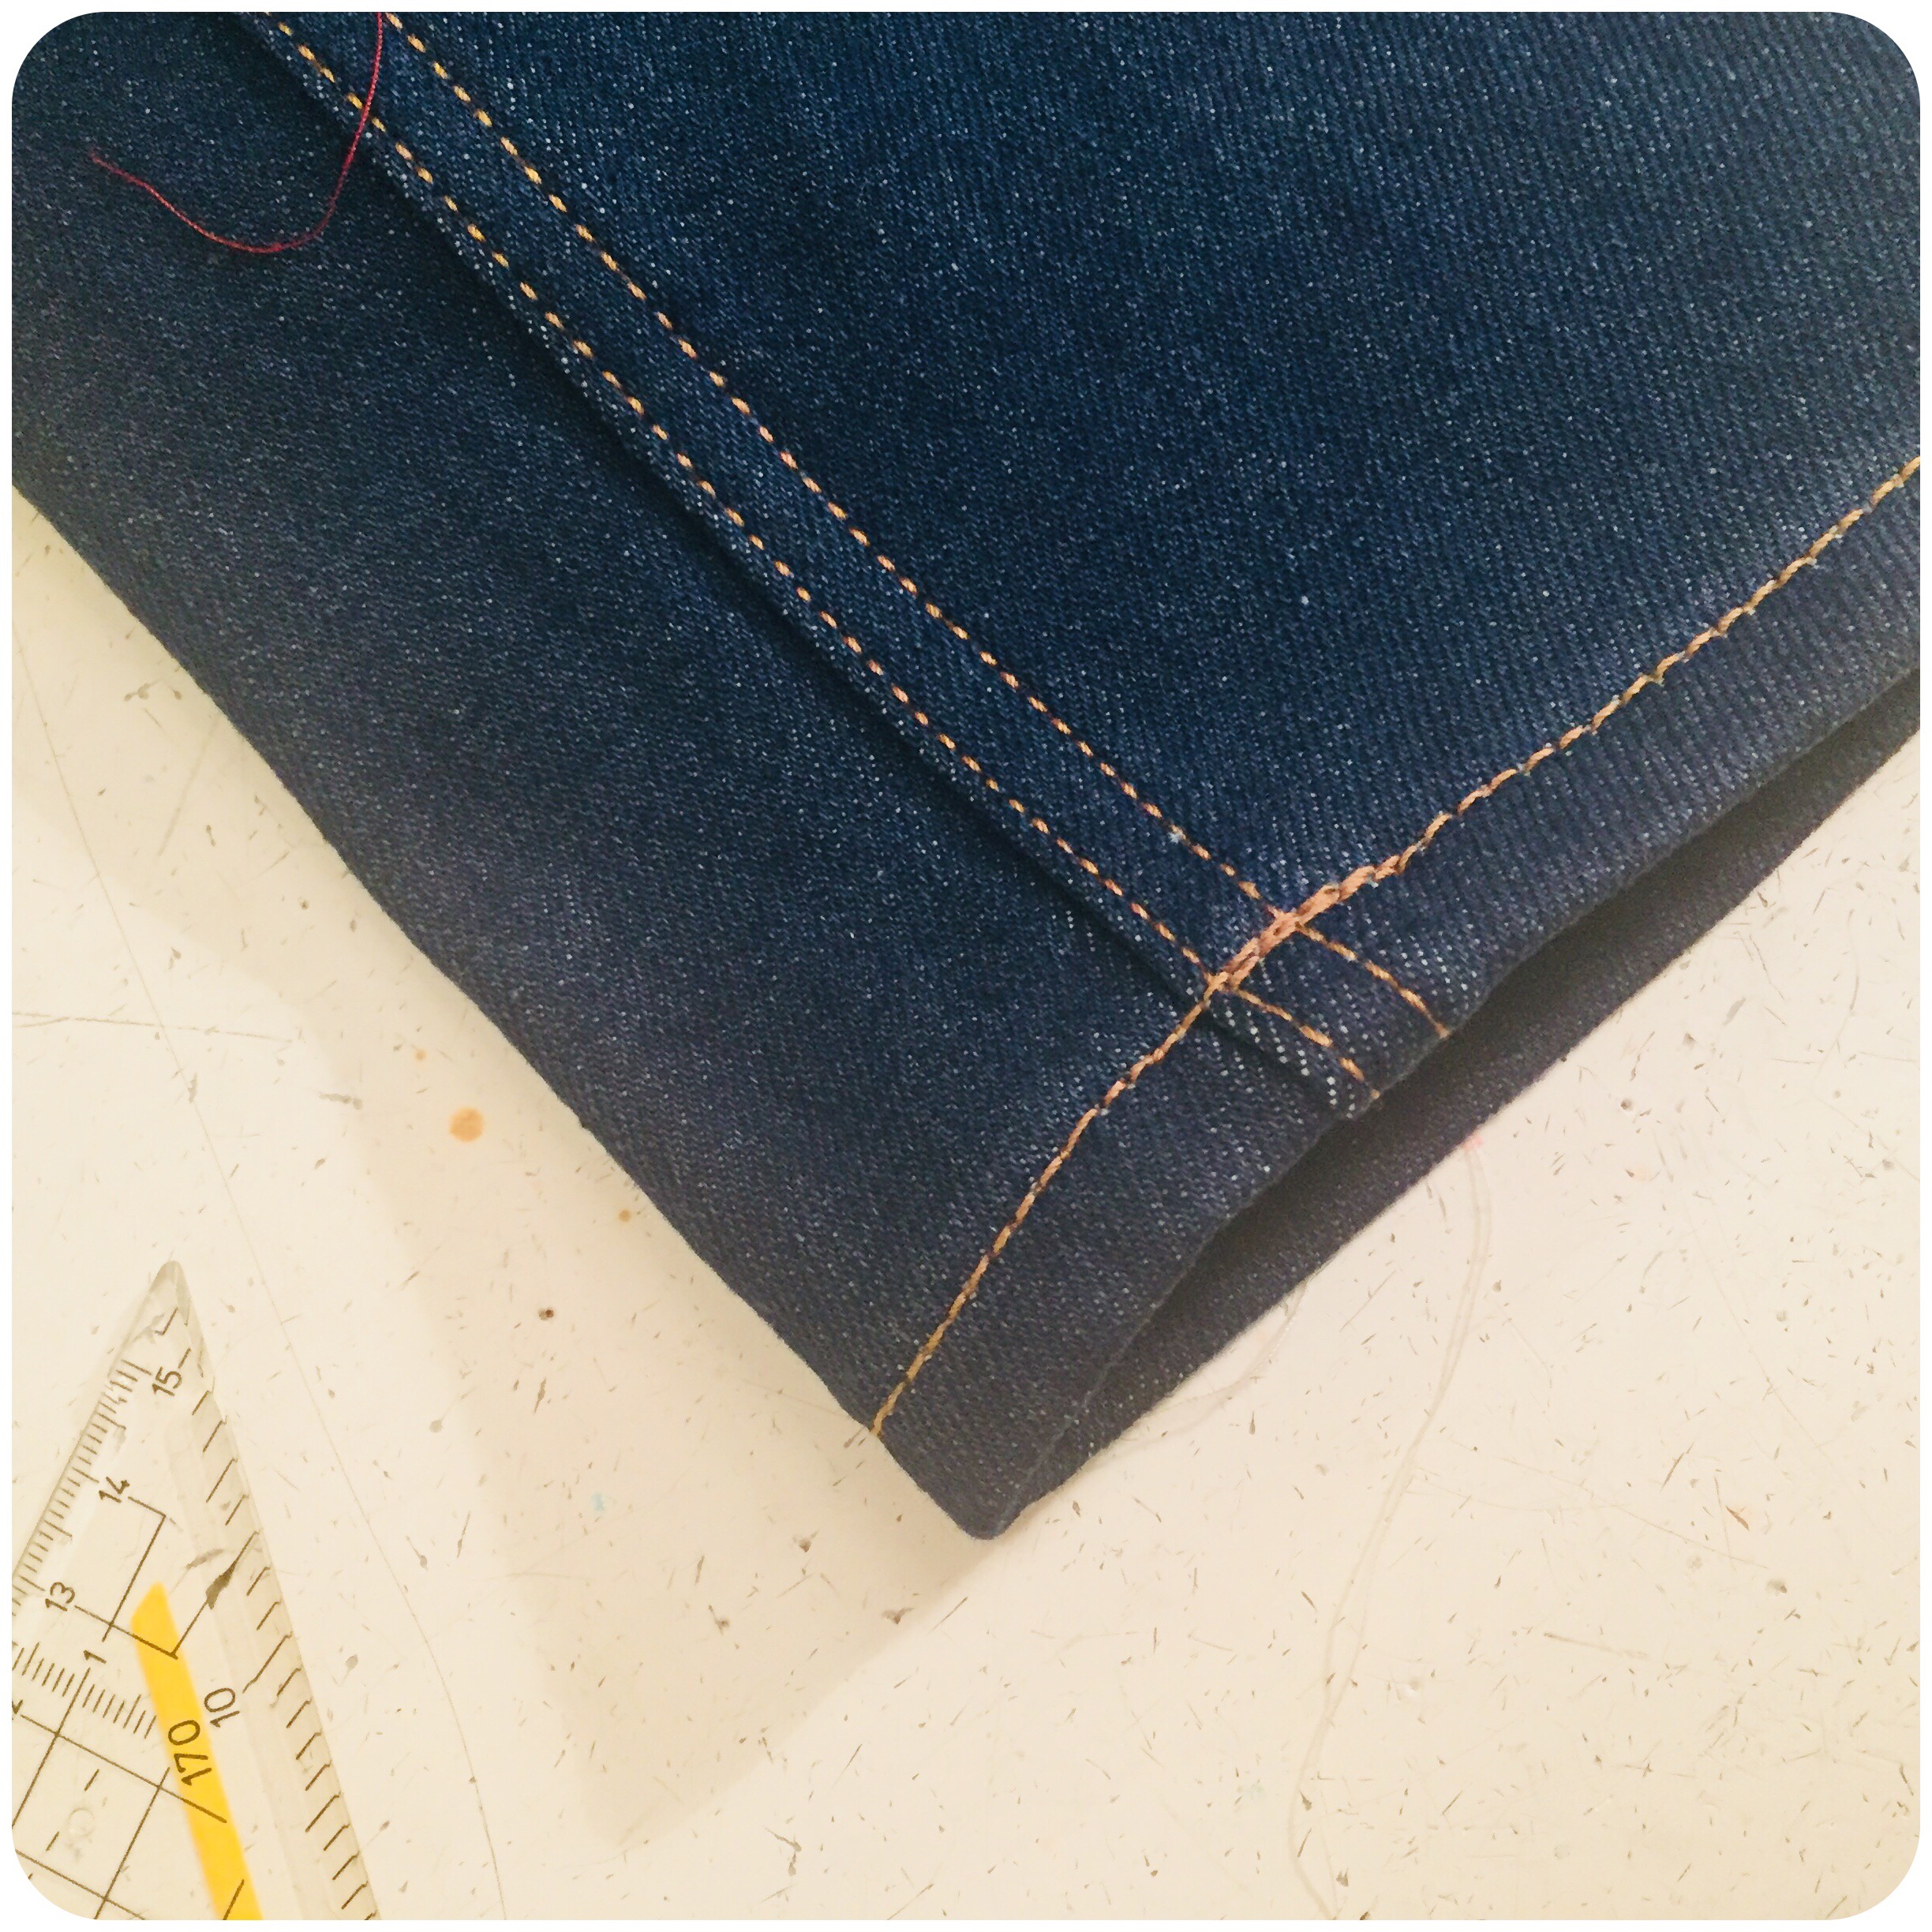
Hemming the trousers. Flatten the fabric pile-up at the inside leg seams before stitching!
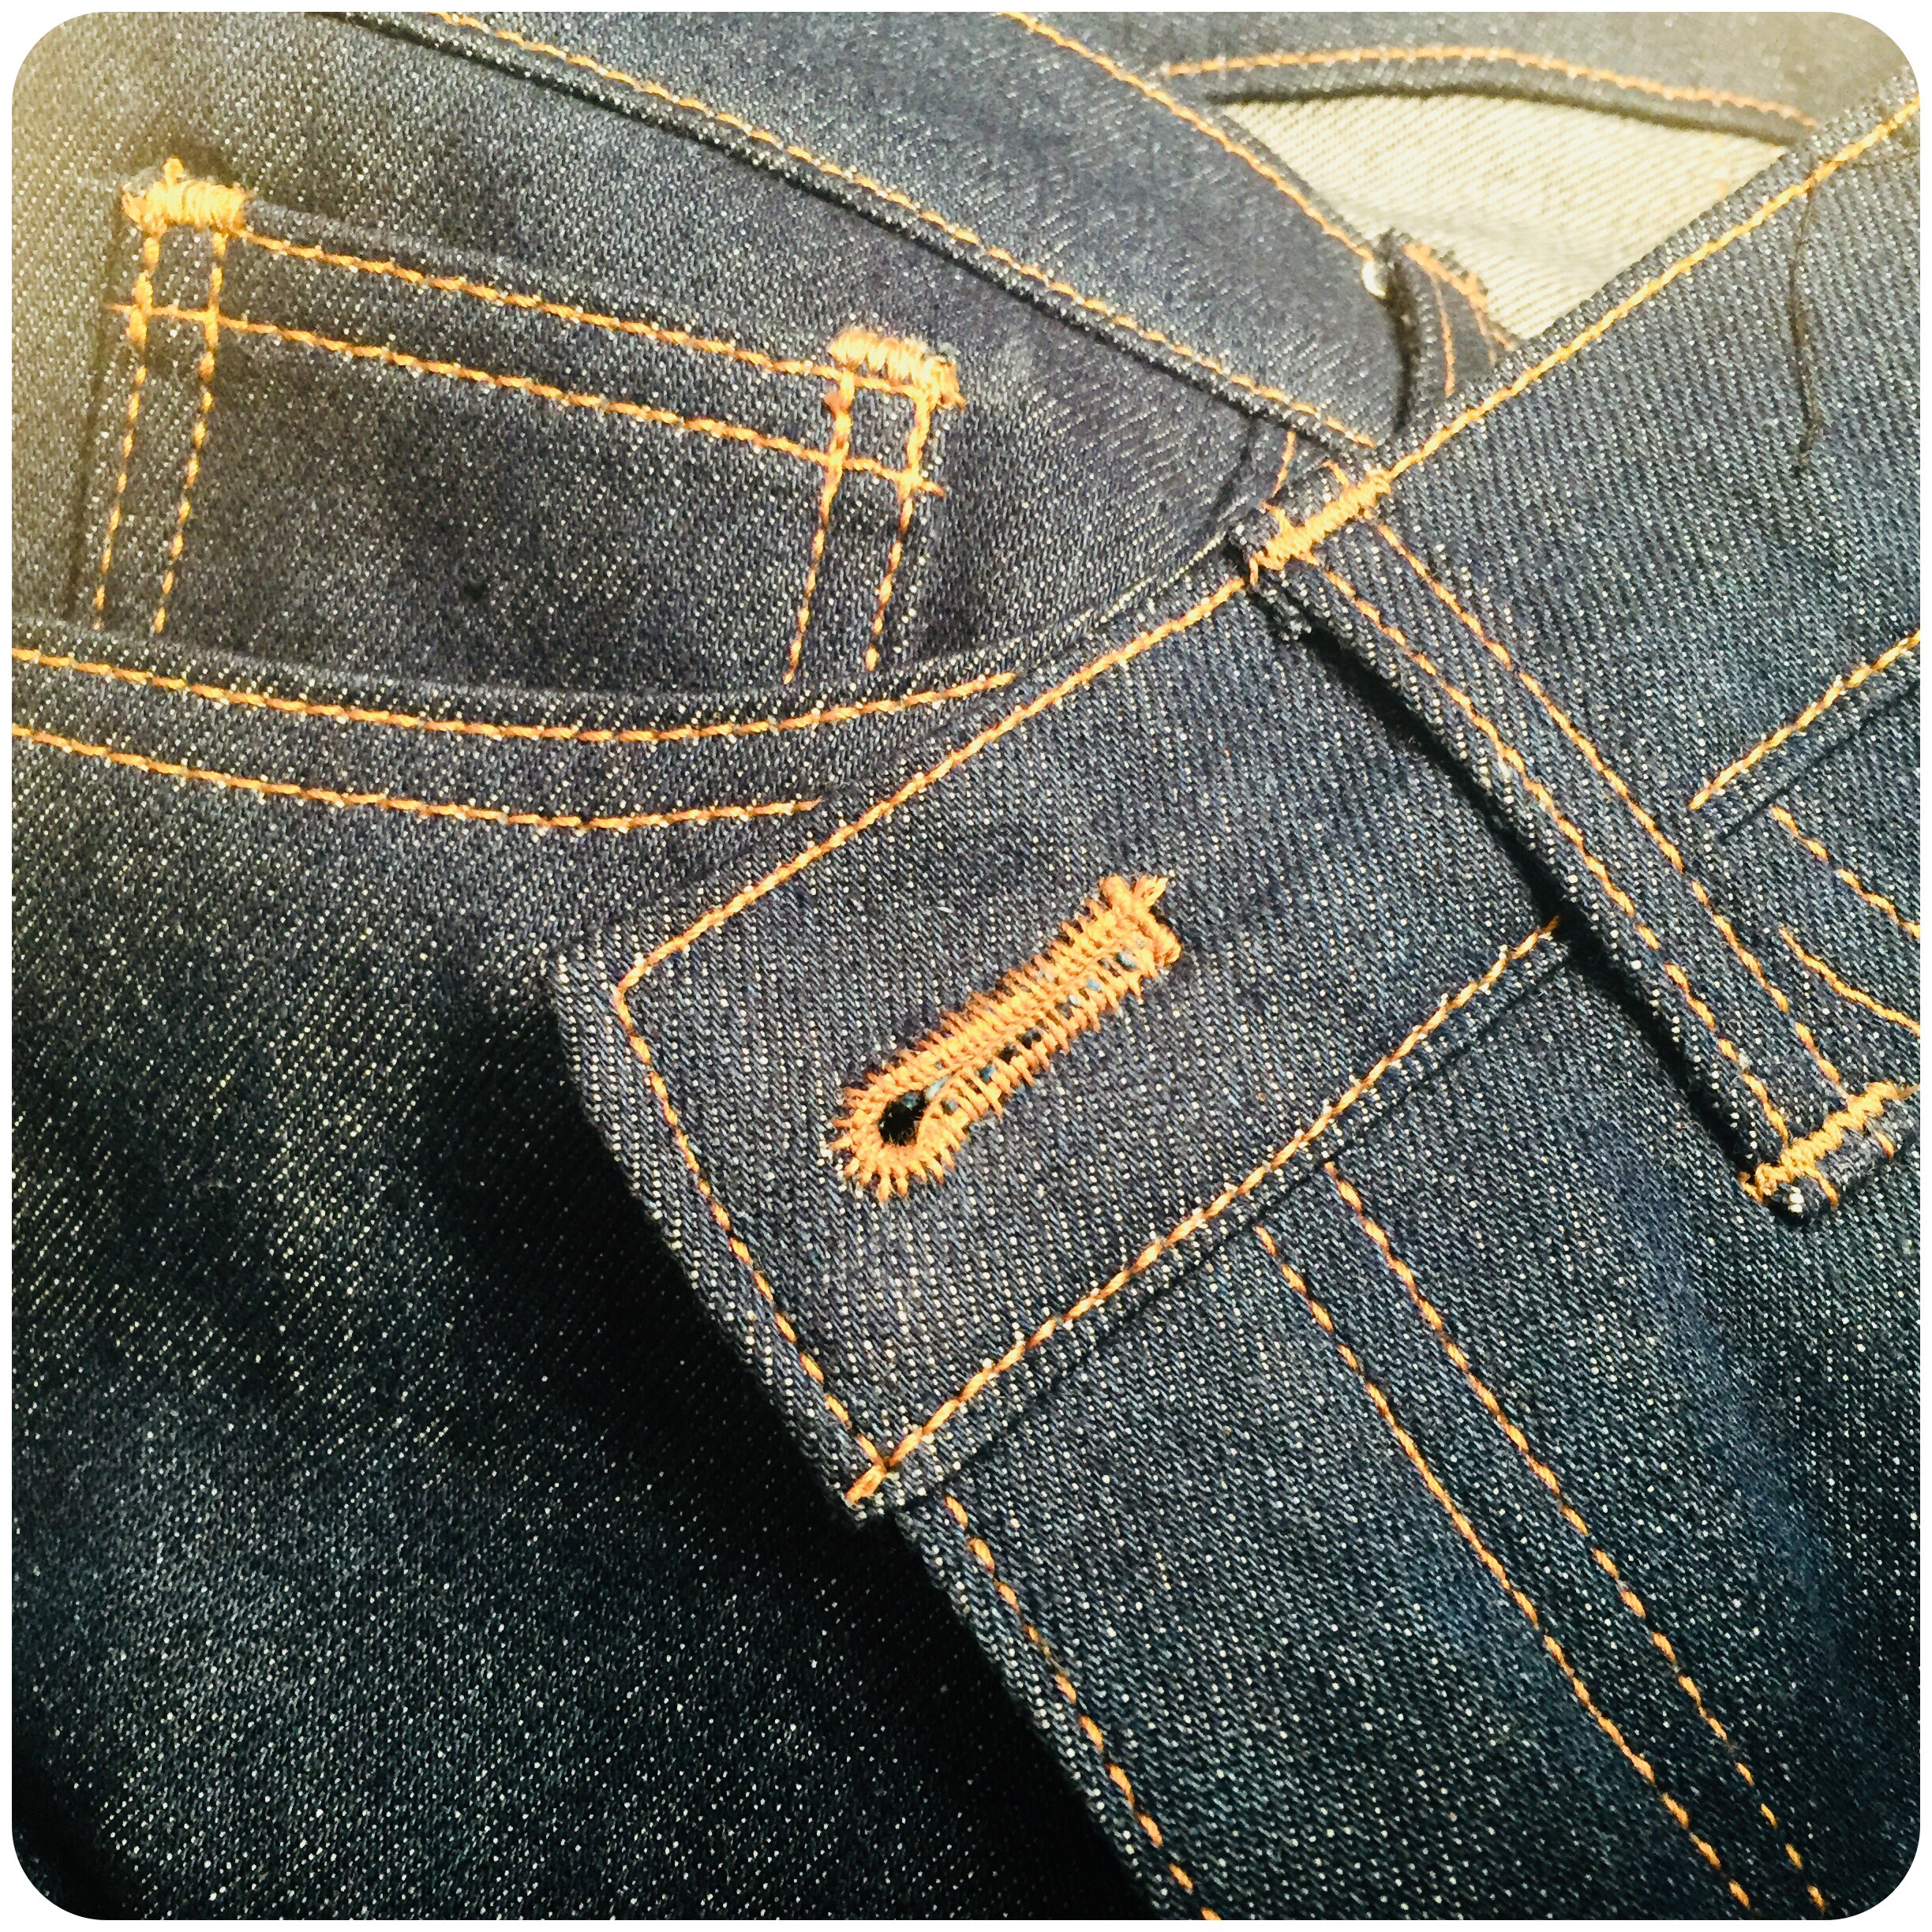
The trousers so far. Stitch the pocket bag side seam allowance in place with a top stitch.

Add the waistband, and then the belt loops.
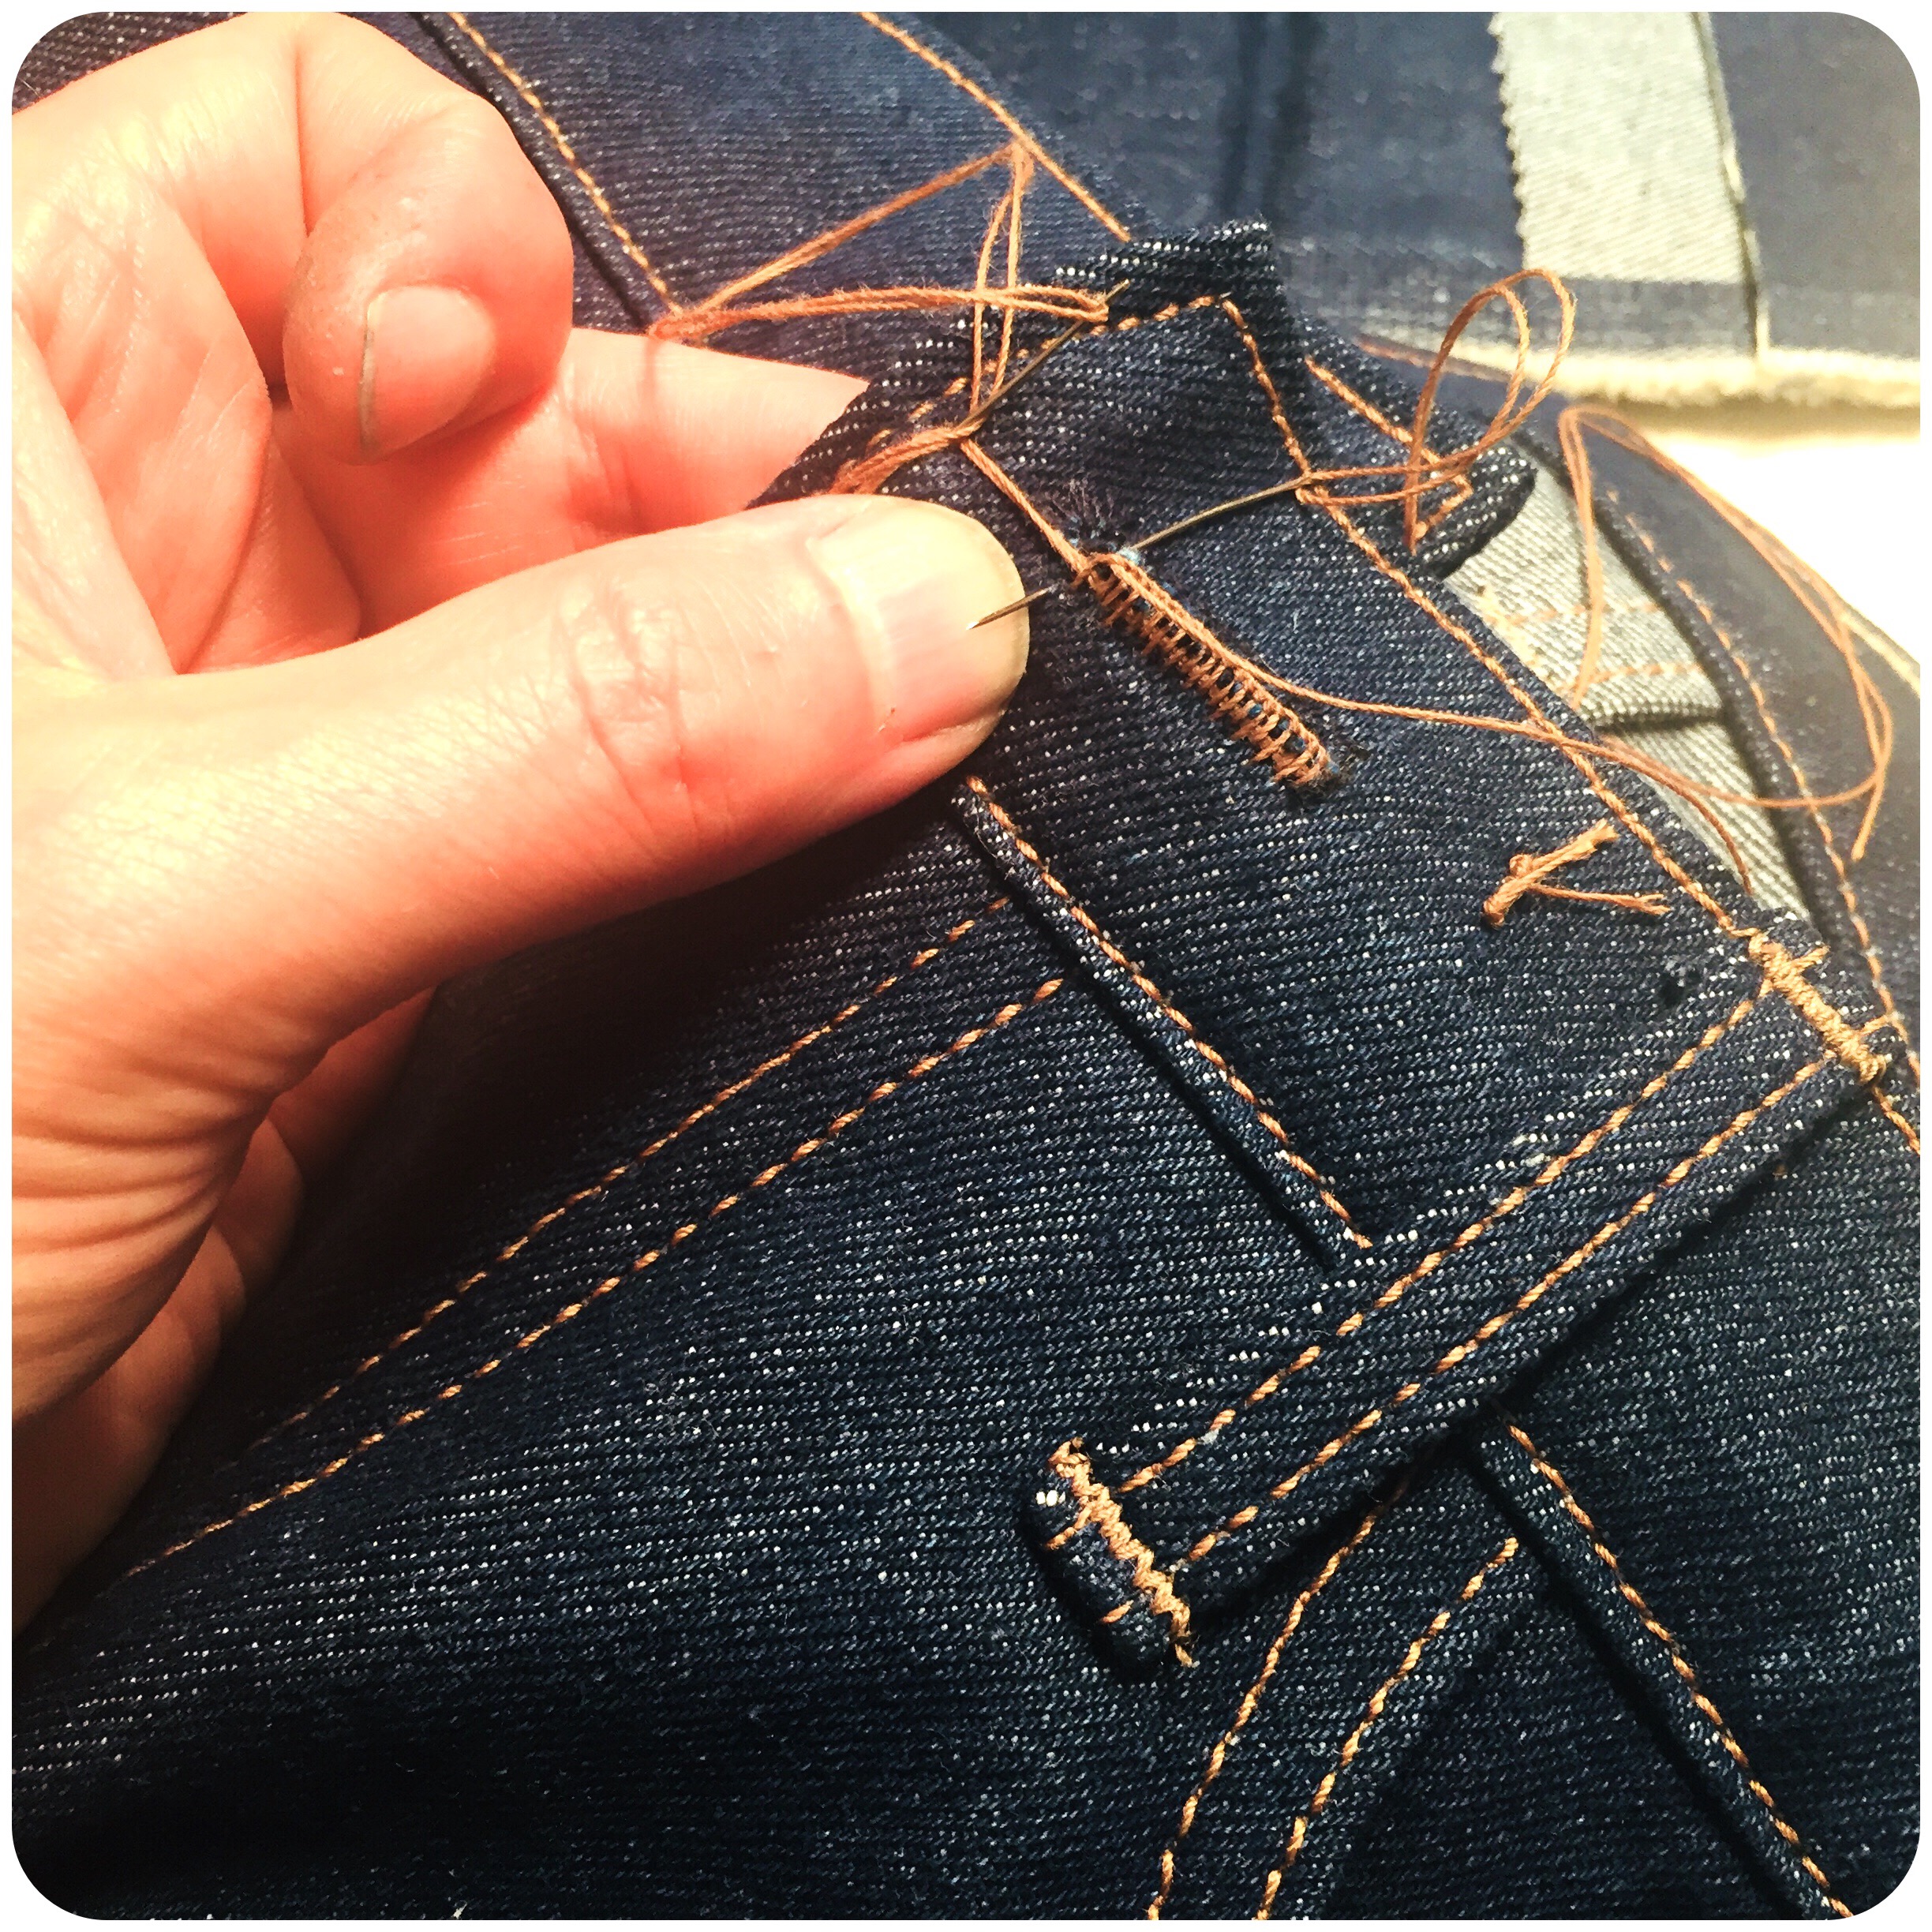
Buttonhole time! Stitching away around the cut and prepped opening.
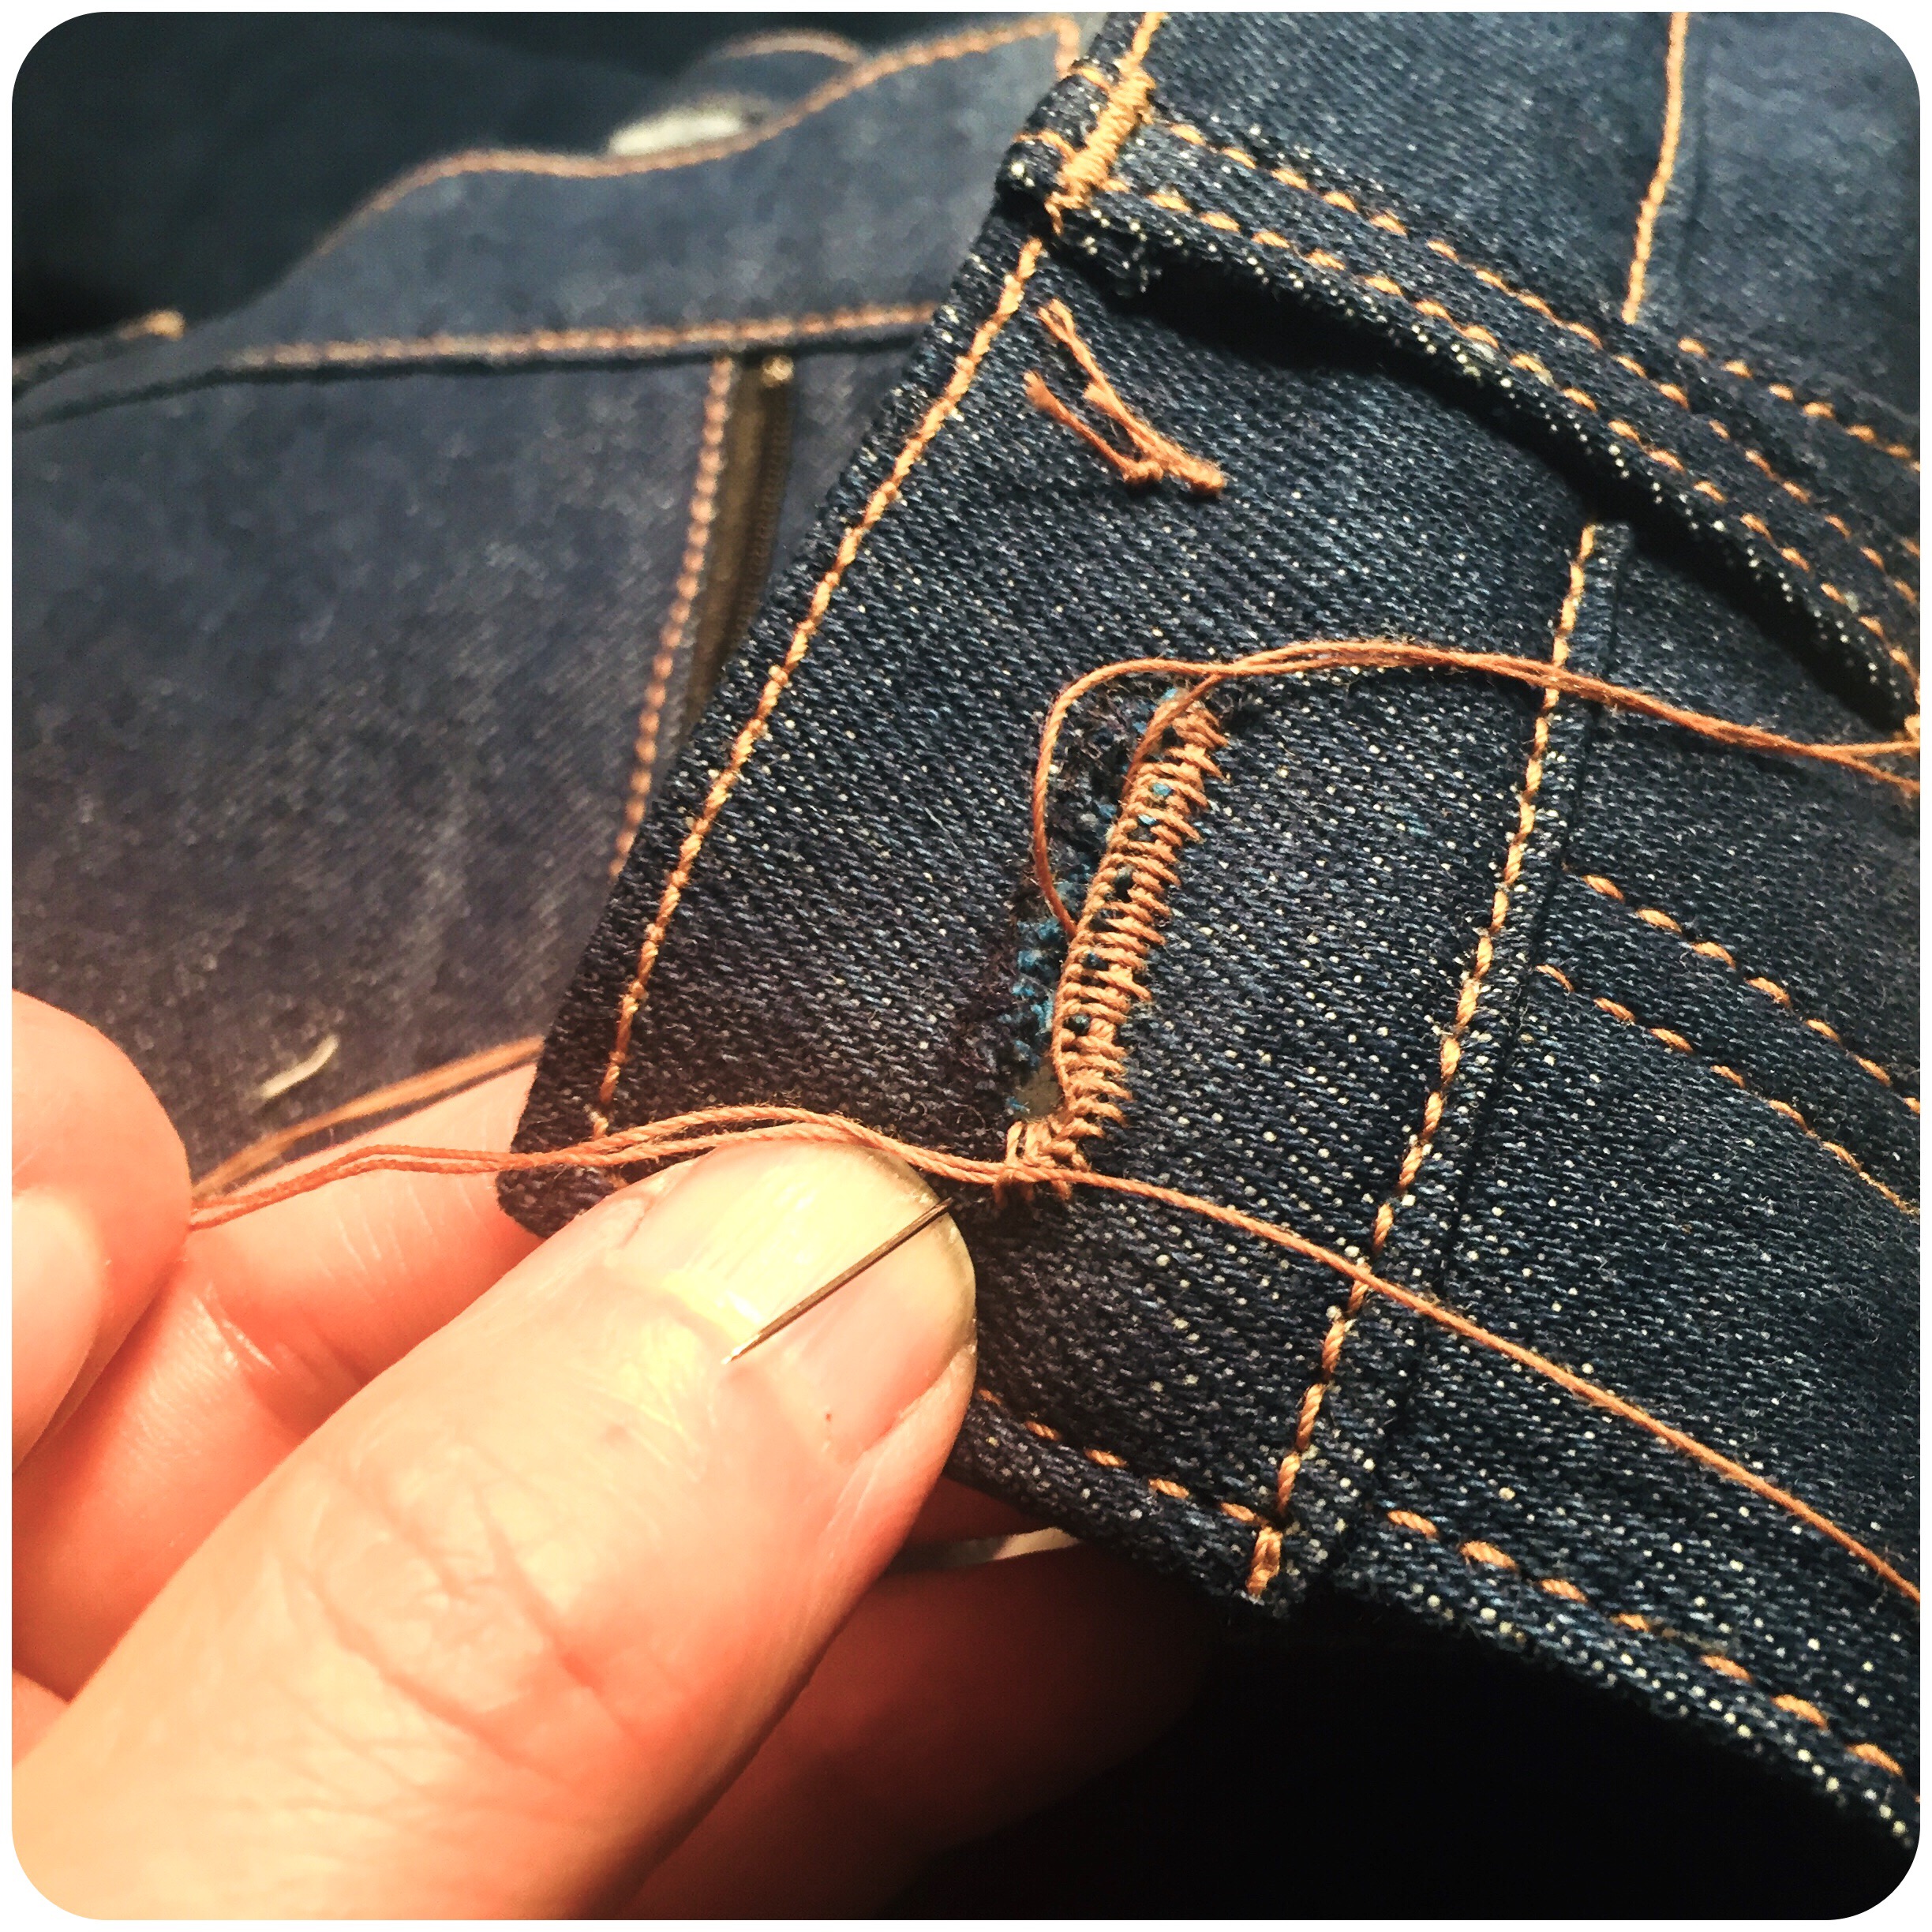
Raising the stitches around the edge.
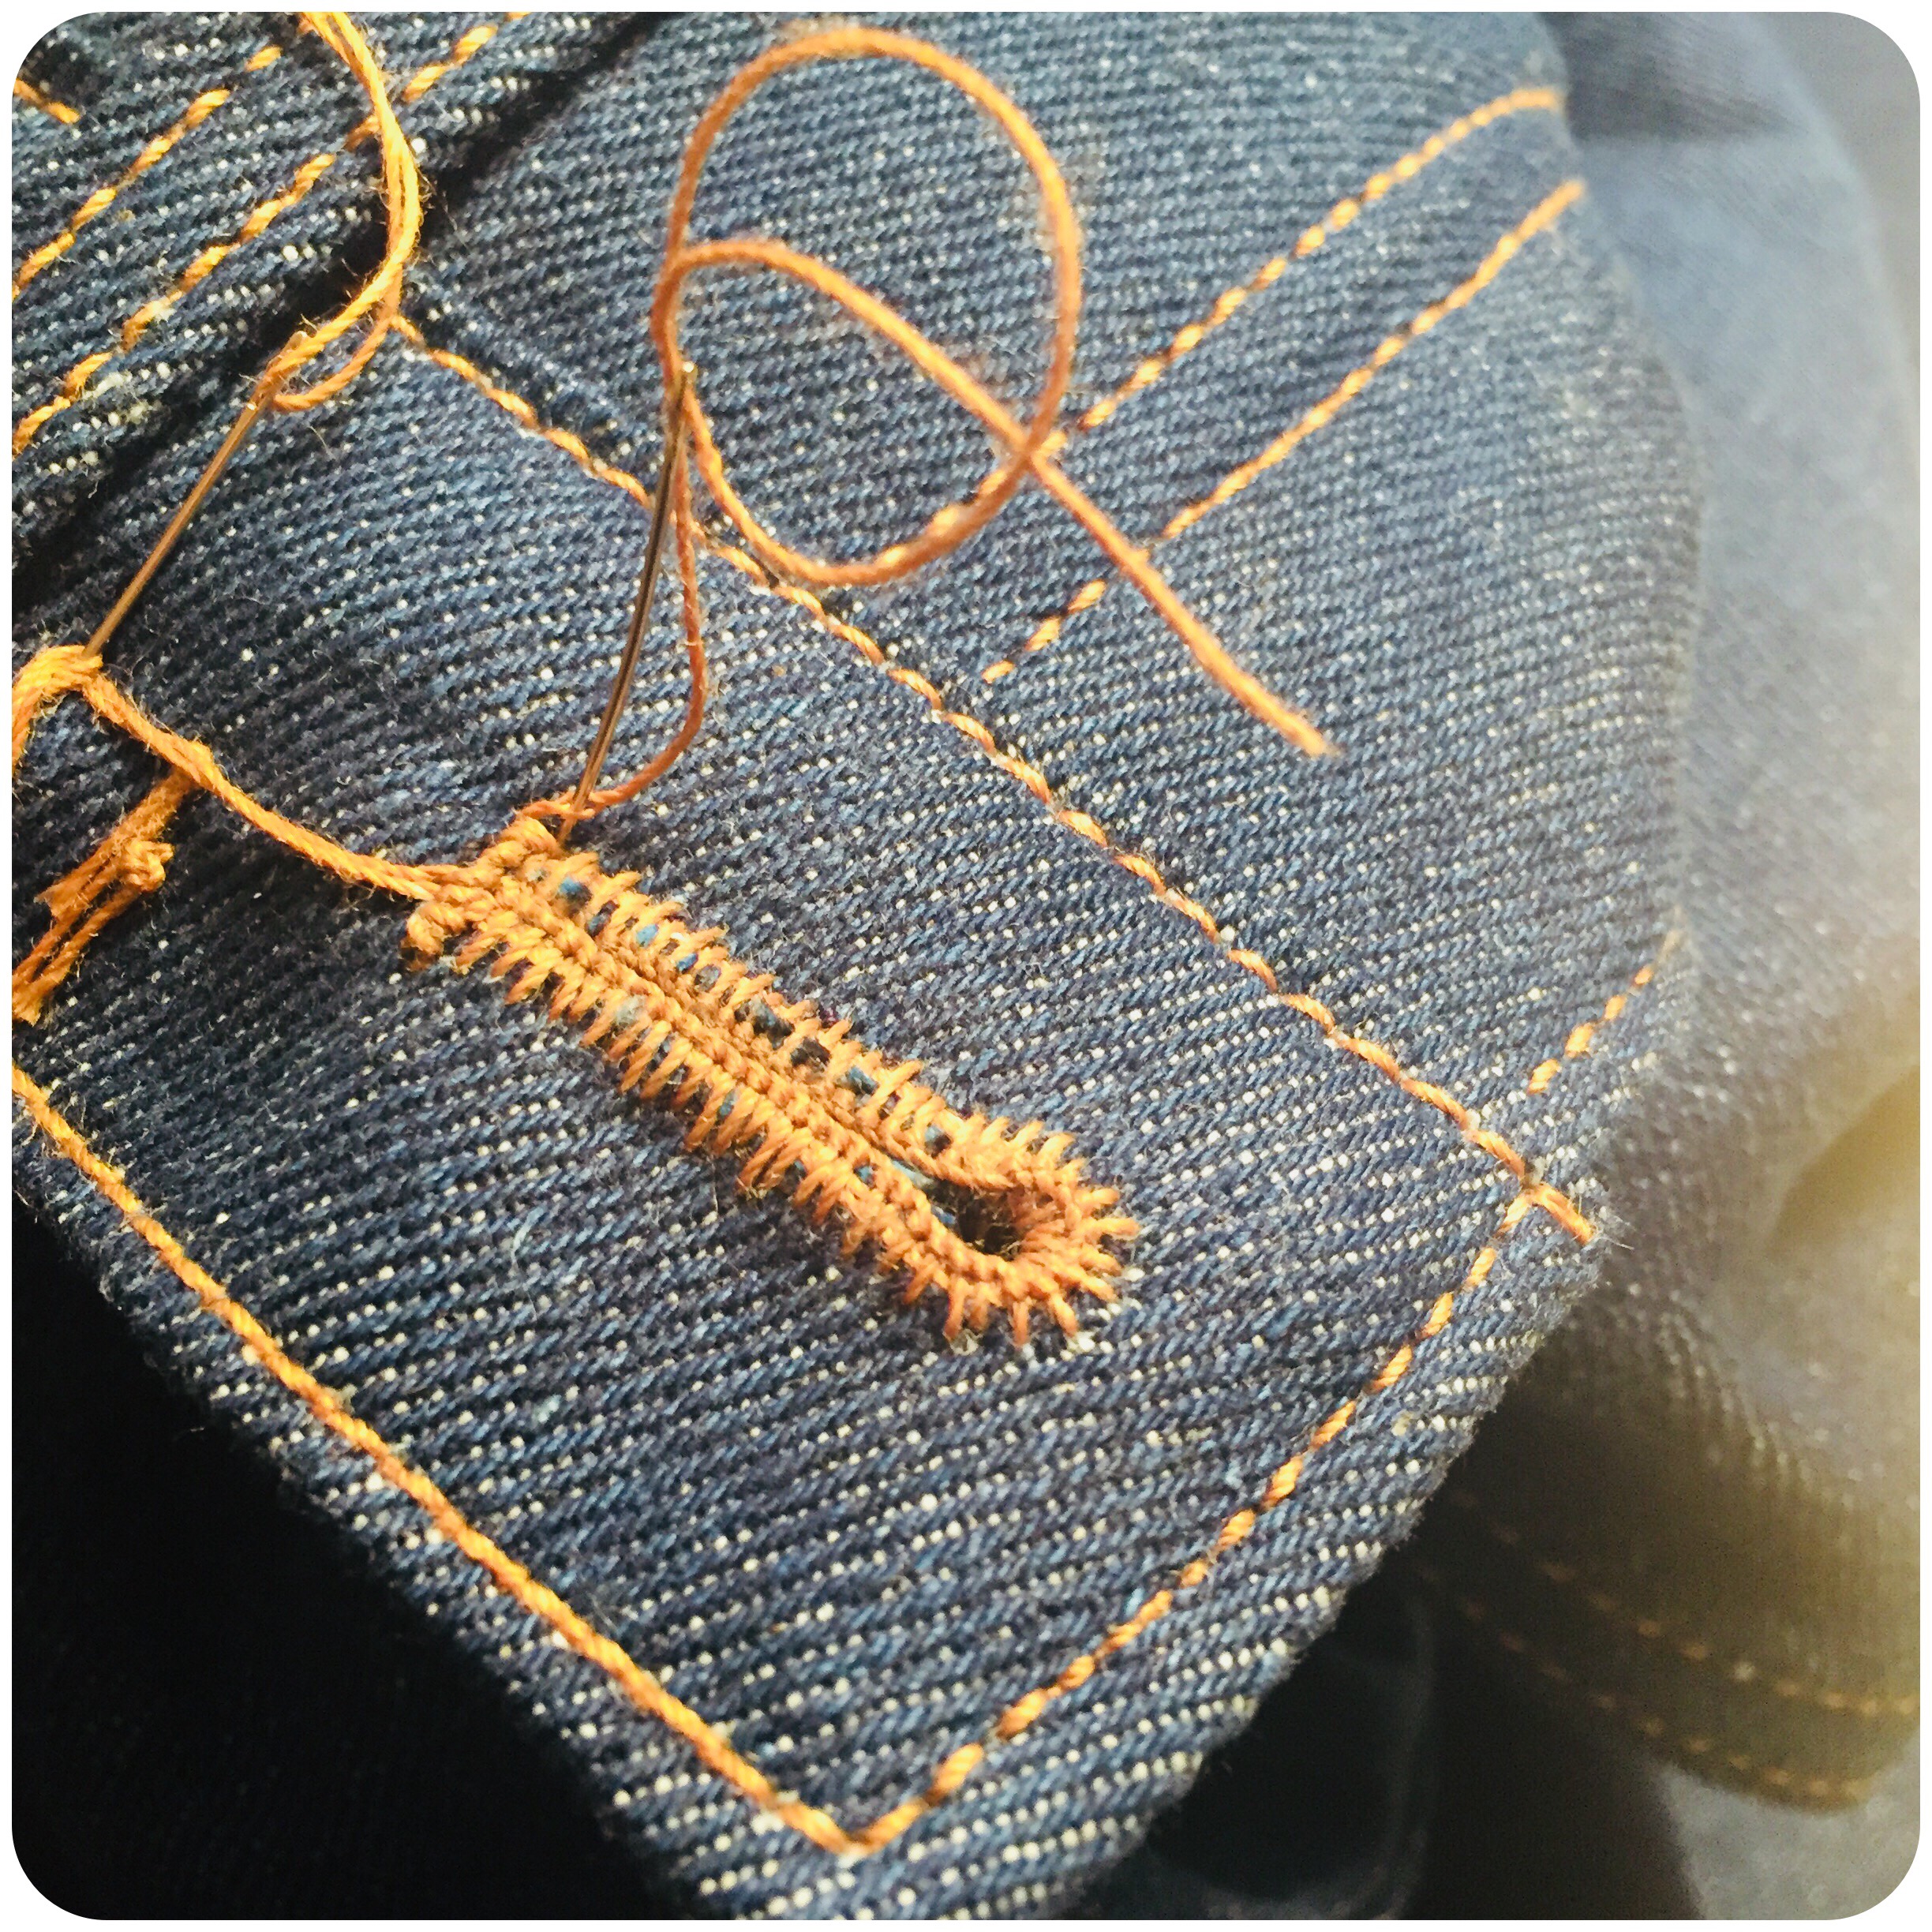
And finishing off with a bar tack.
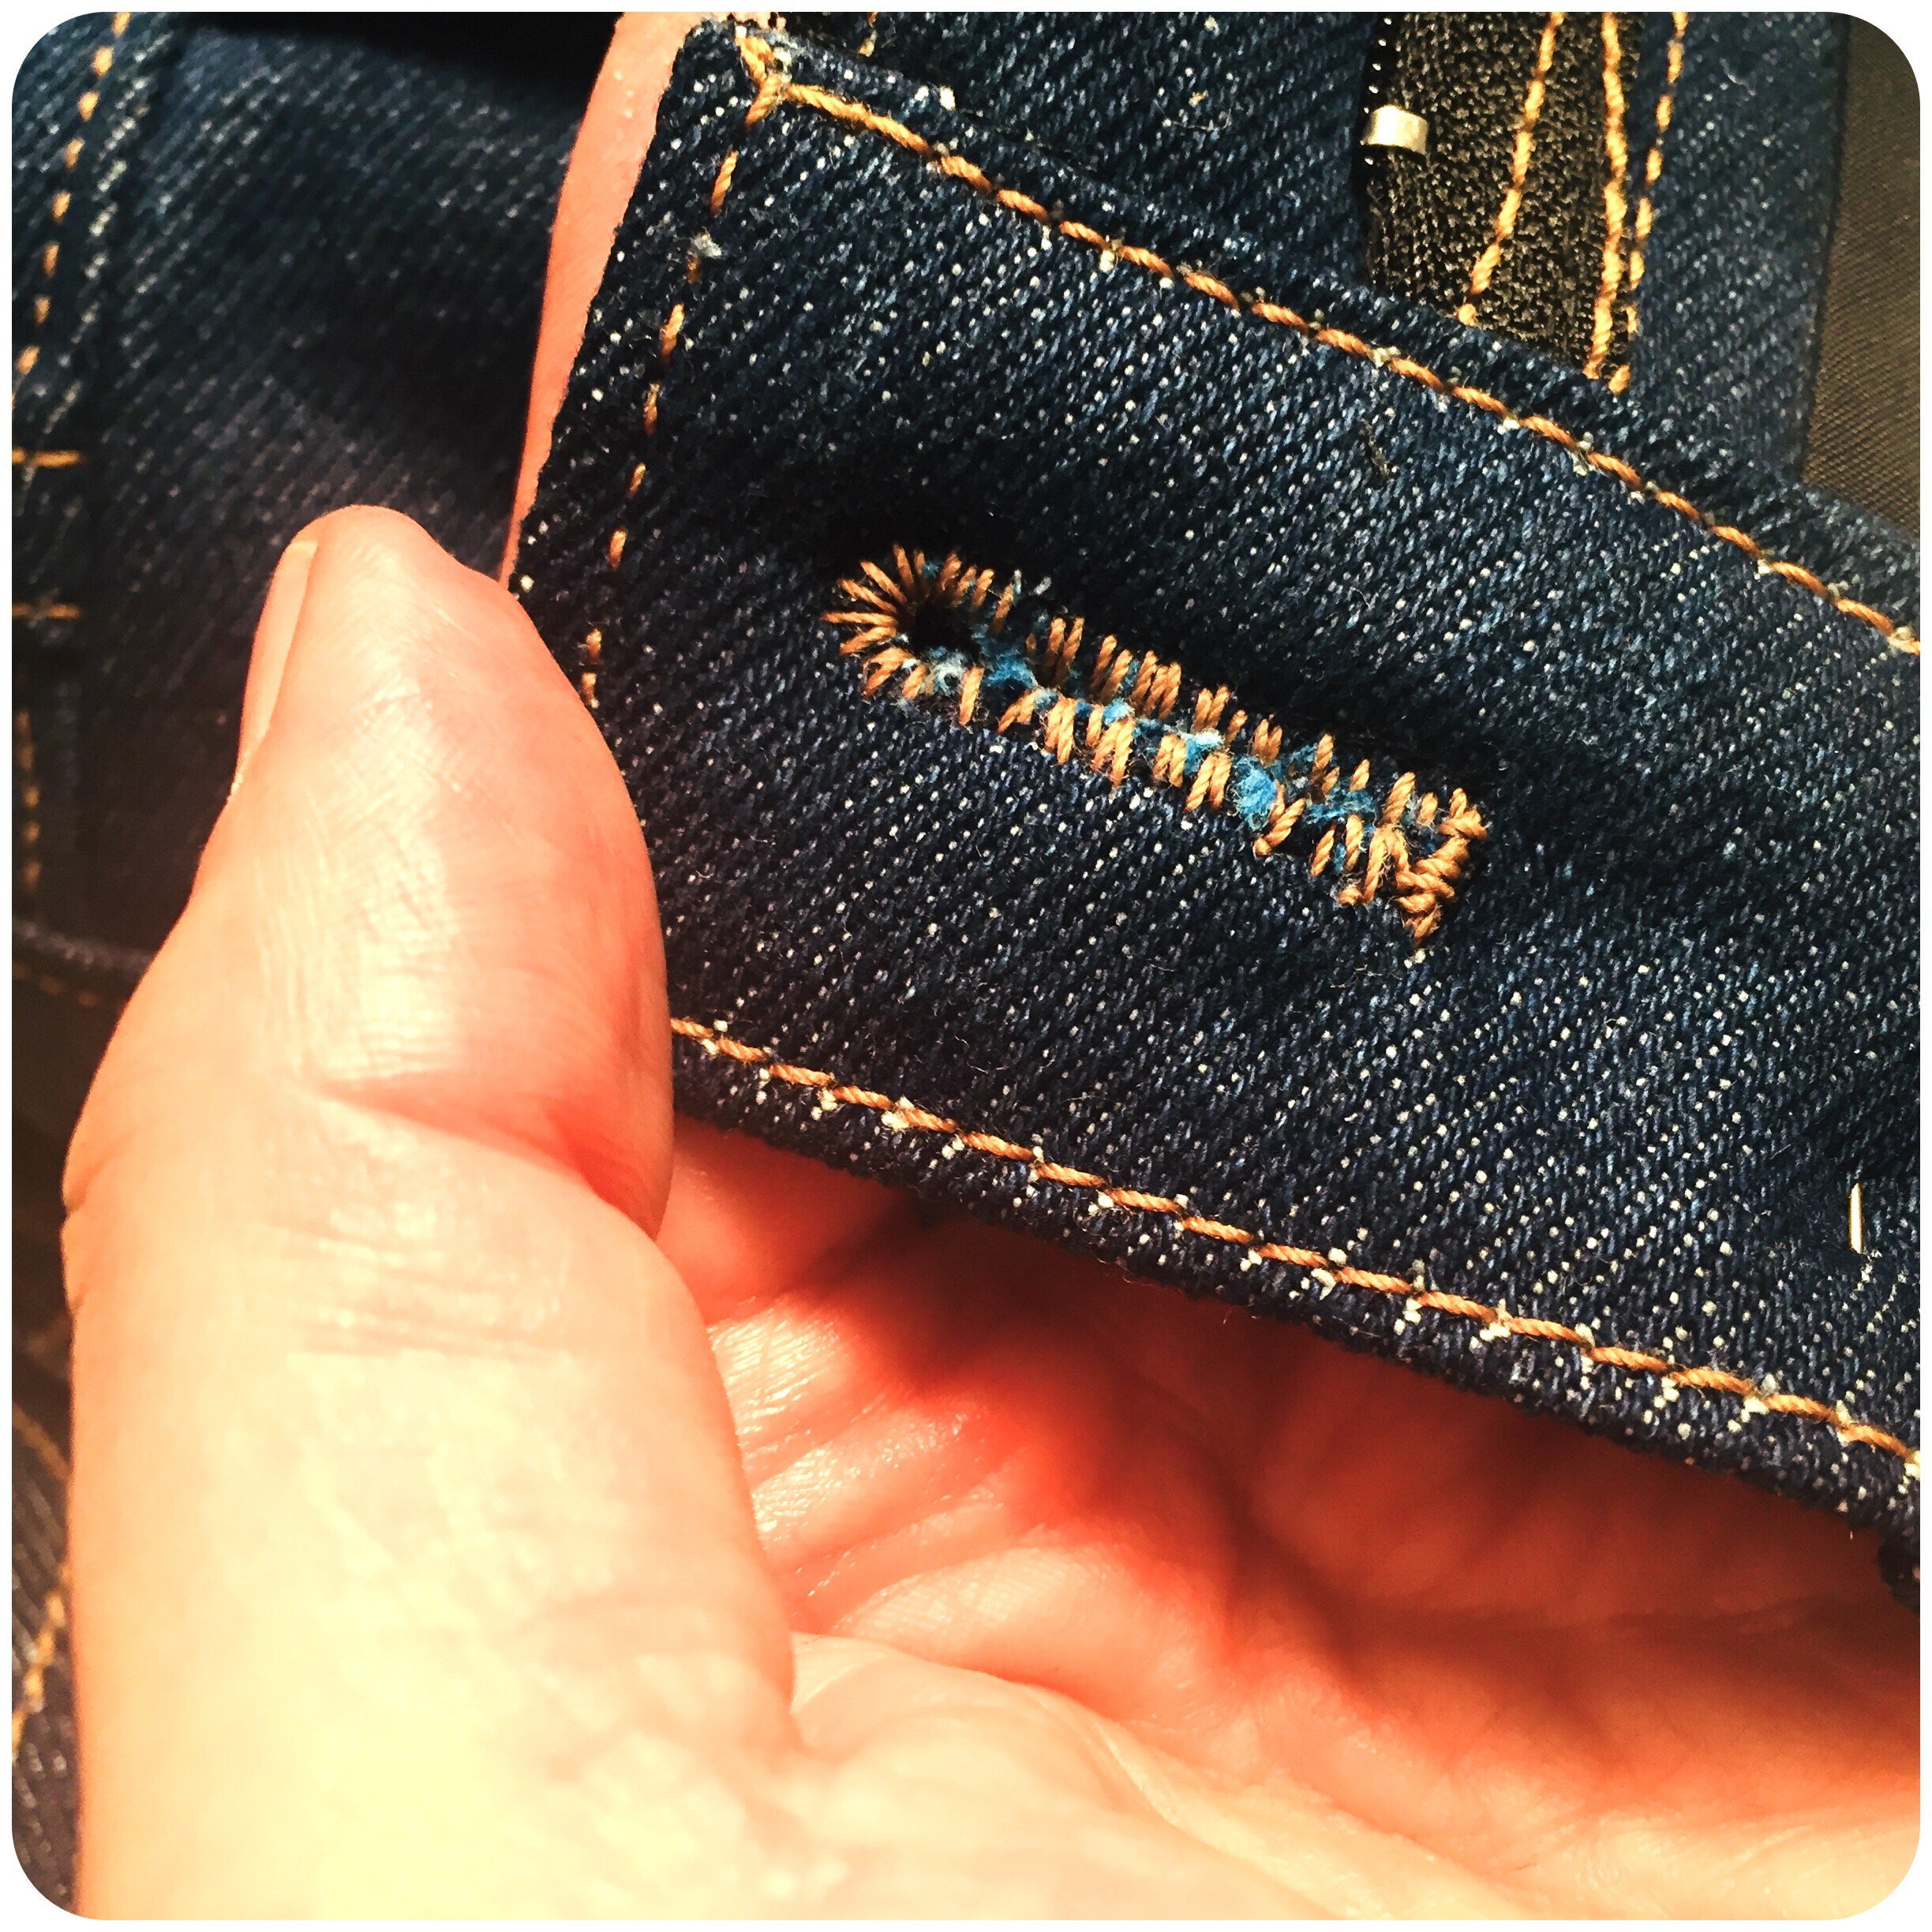
The reversed side. You can always recognize a hand-stitched (worked) buttonhole on the rugged inside, and of corse the completely covered edges.
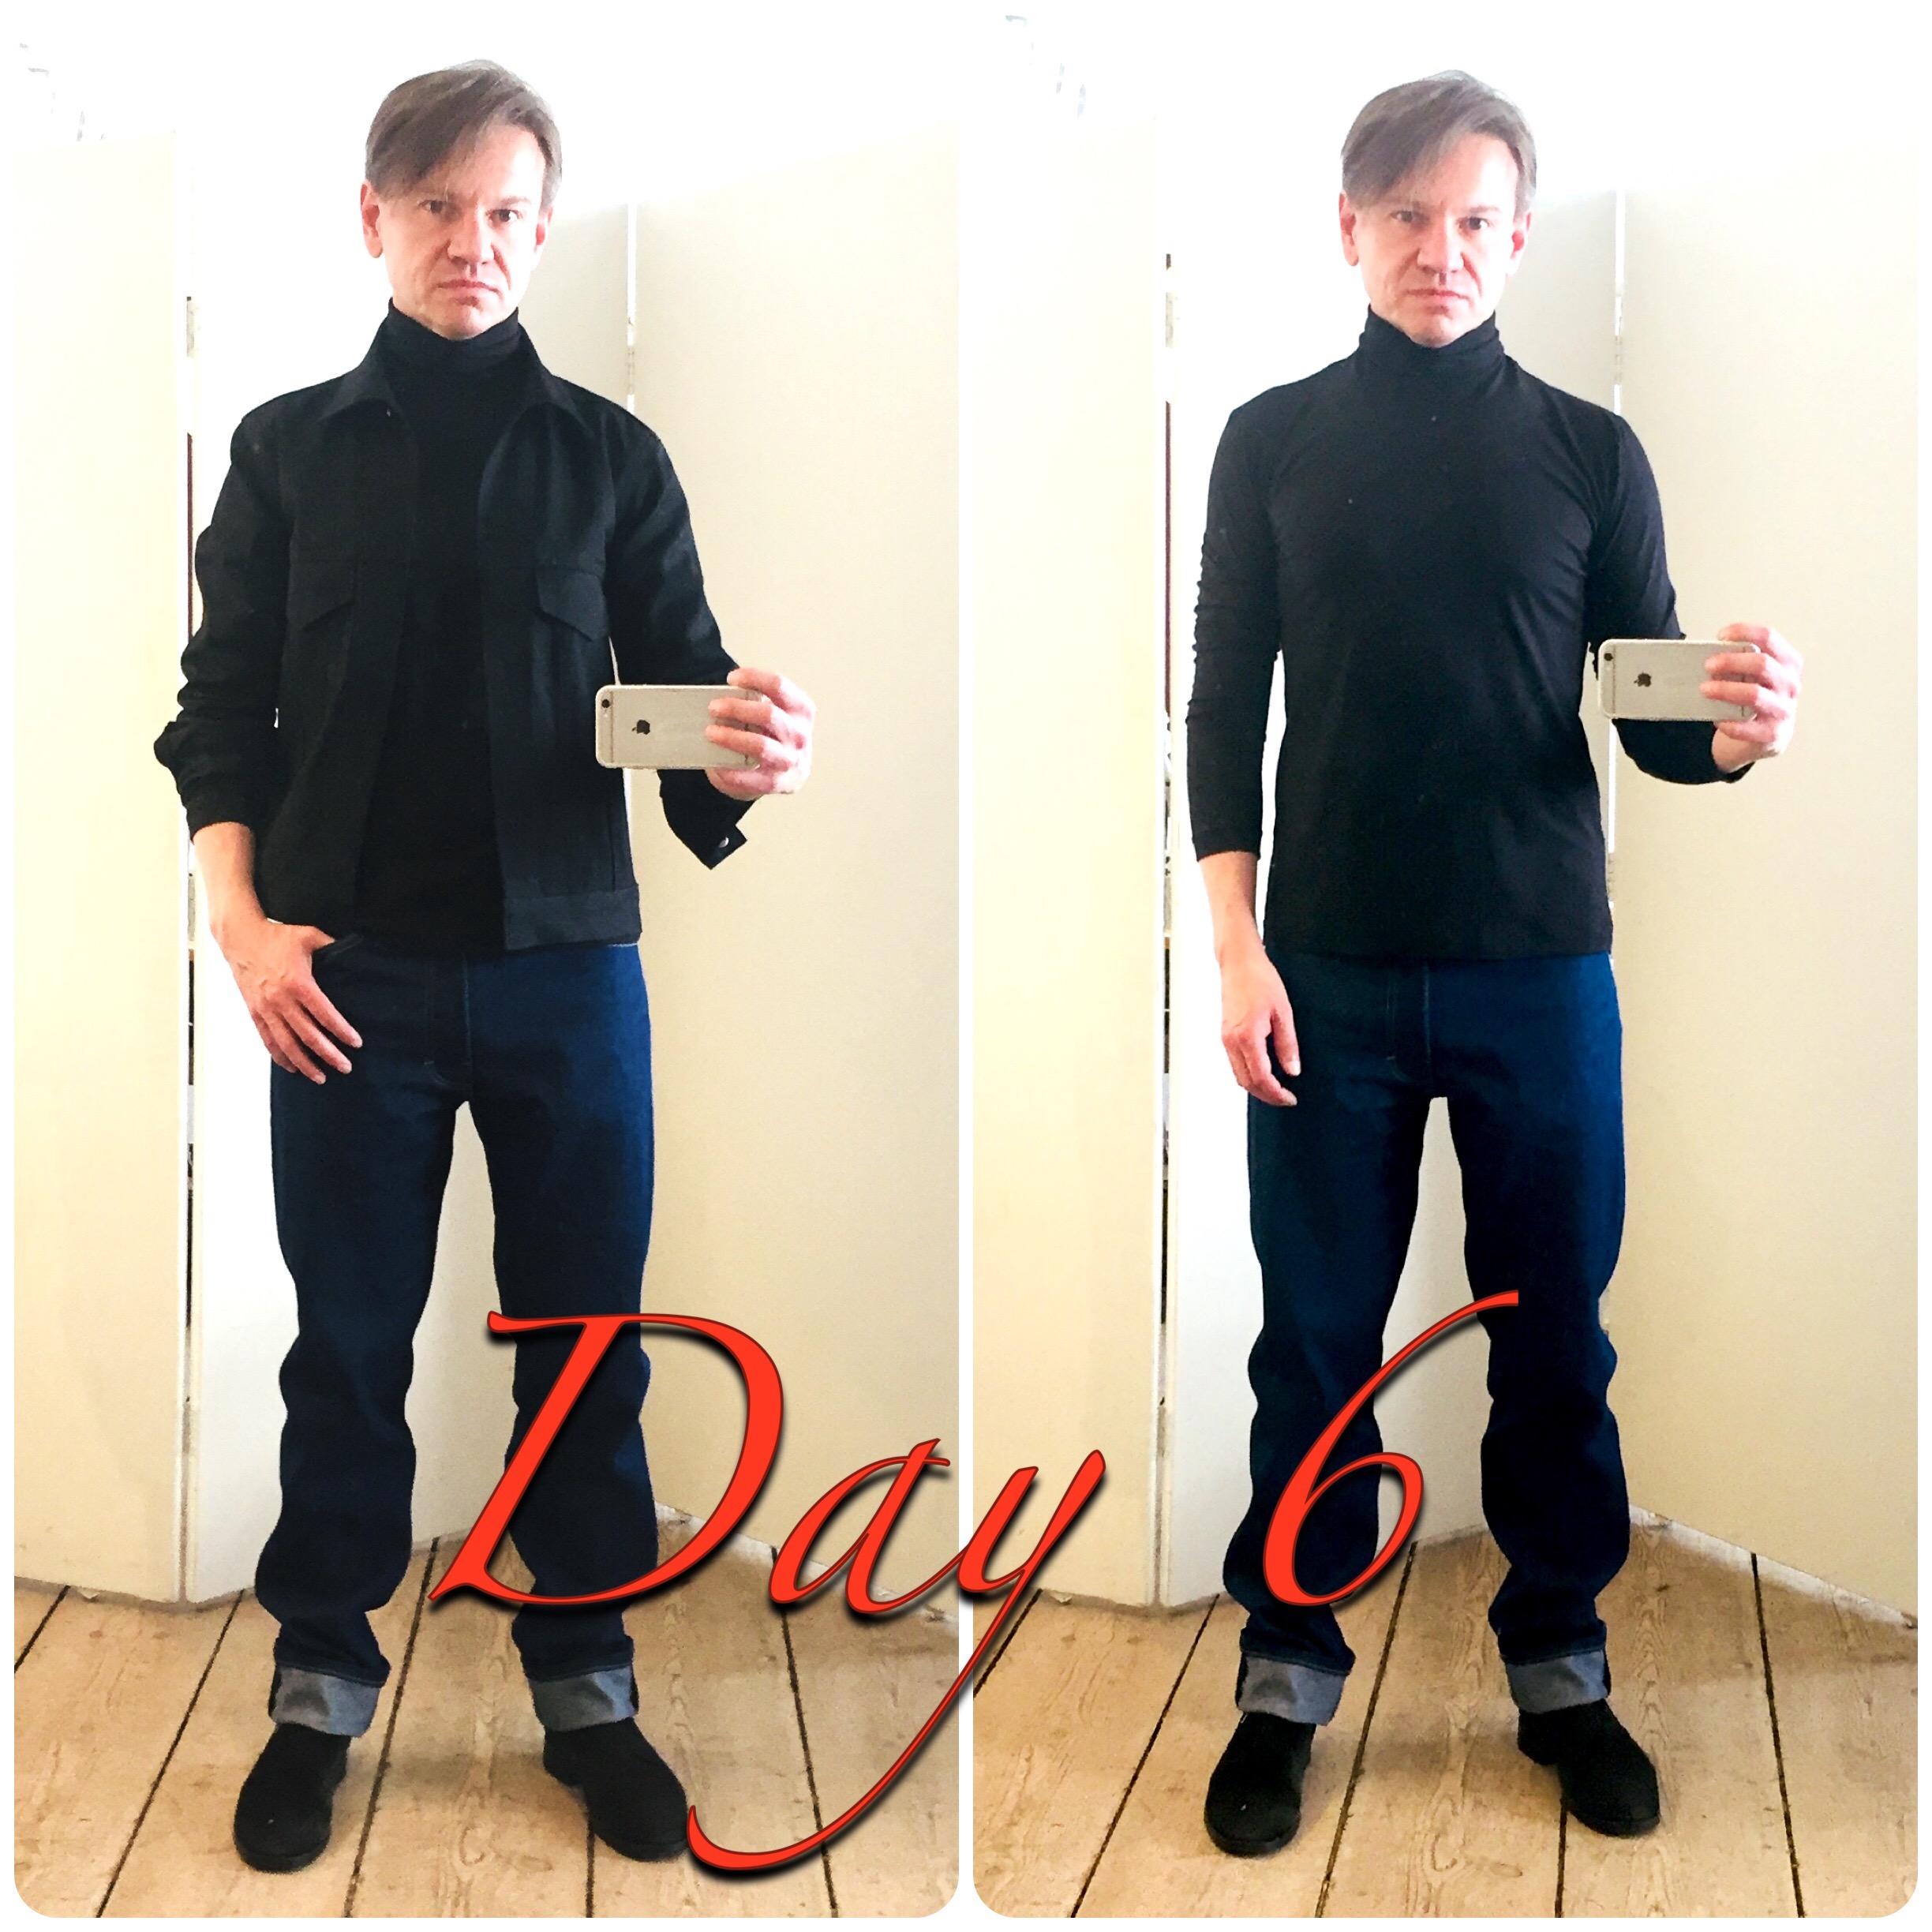
There! Finished jeans!
With turned up hem.
Oh, and here’s how they look together with the A1 turtleneck and the C1 denim jacket! Today’s combination! The 6th combination. 994 to go! Let’s do this! And see you tomorrow! Have a splendid day!
– Sten Martin / DTTA
__________
If you enjoyed this content, feel free to support us by sharing this article, subscribe to one or two of our different platforms with informative content on tailoring and design, or, by just donating a sum. As a small independent company, we’re always greatful for your support!
If you would like to comment, ask questions or suggest upcoming topics, remember to log in with your subscription code. See you over there!
One Reply to “Day 6 – Doing denim. (A1, B2, C1)”
Comments are closed.