

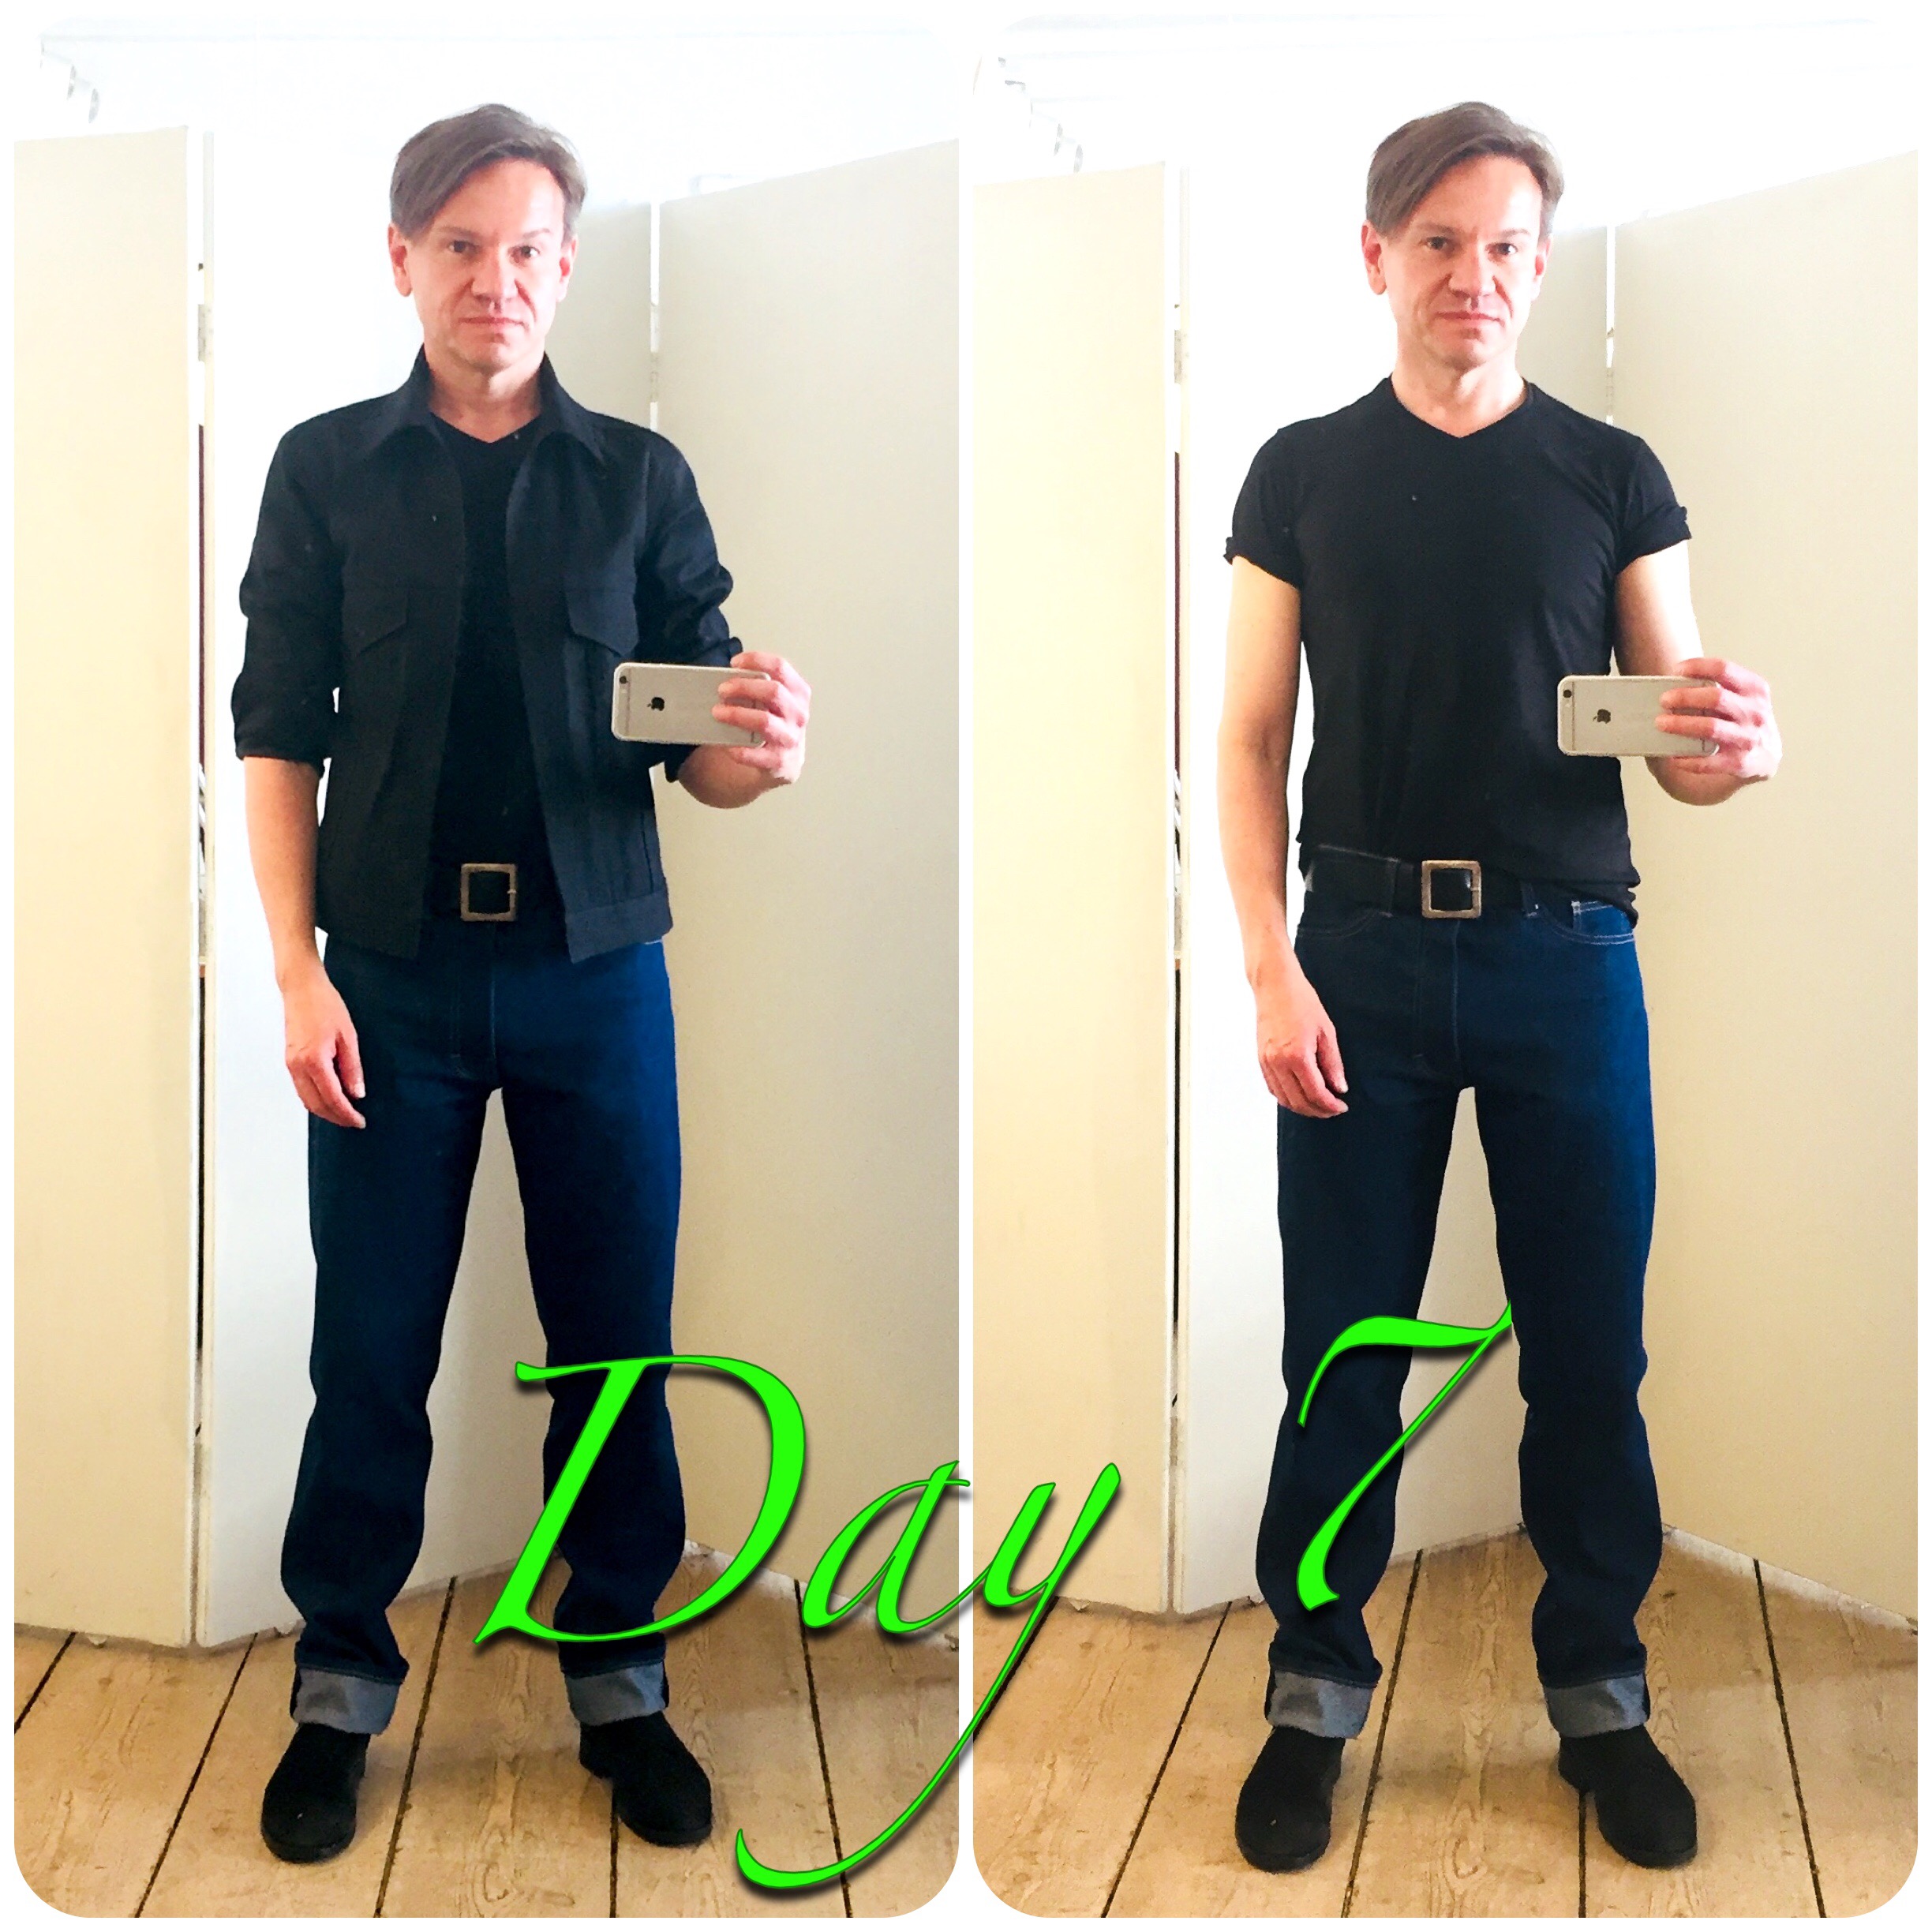
Thought I needed a tightening up! So I made a belt. I call it X1 – where the X will represent accessories in this mathematical design project.
That of course will add numerous of new combination possibilities, but I think we’ll choose to ignore that, and stick to the original plan; 30 garments, in three categories, giving 1.000 style combinations.
How did I make the belt then? Well, I’ll give you some hints here below.
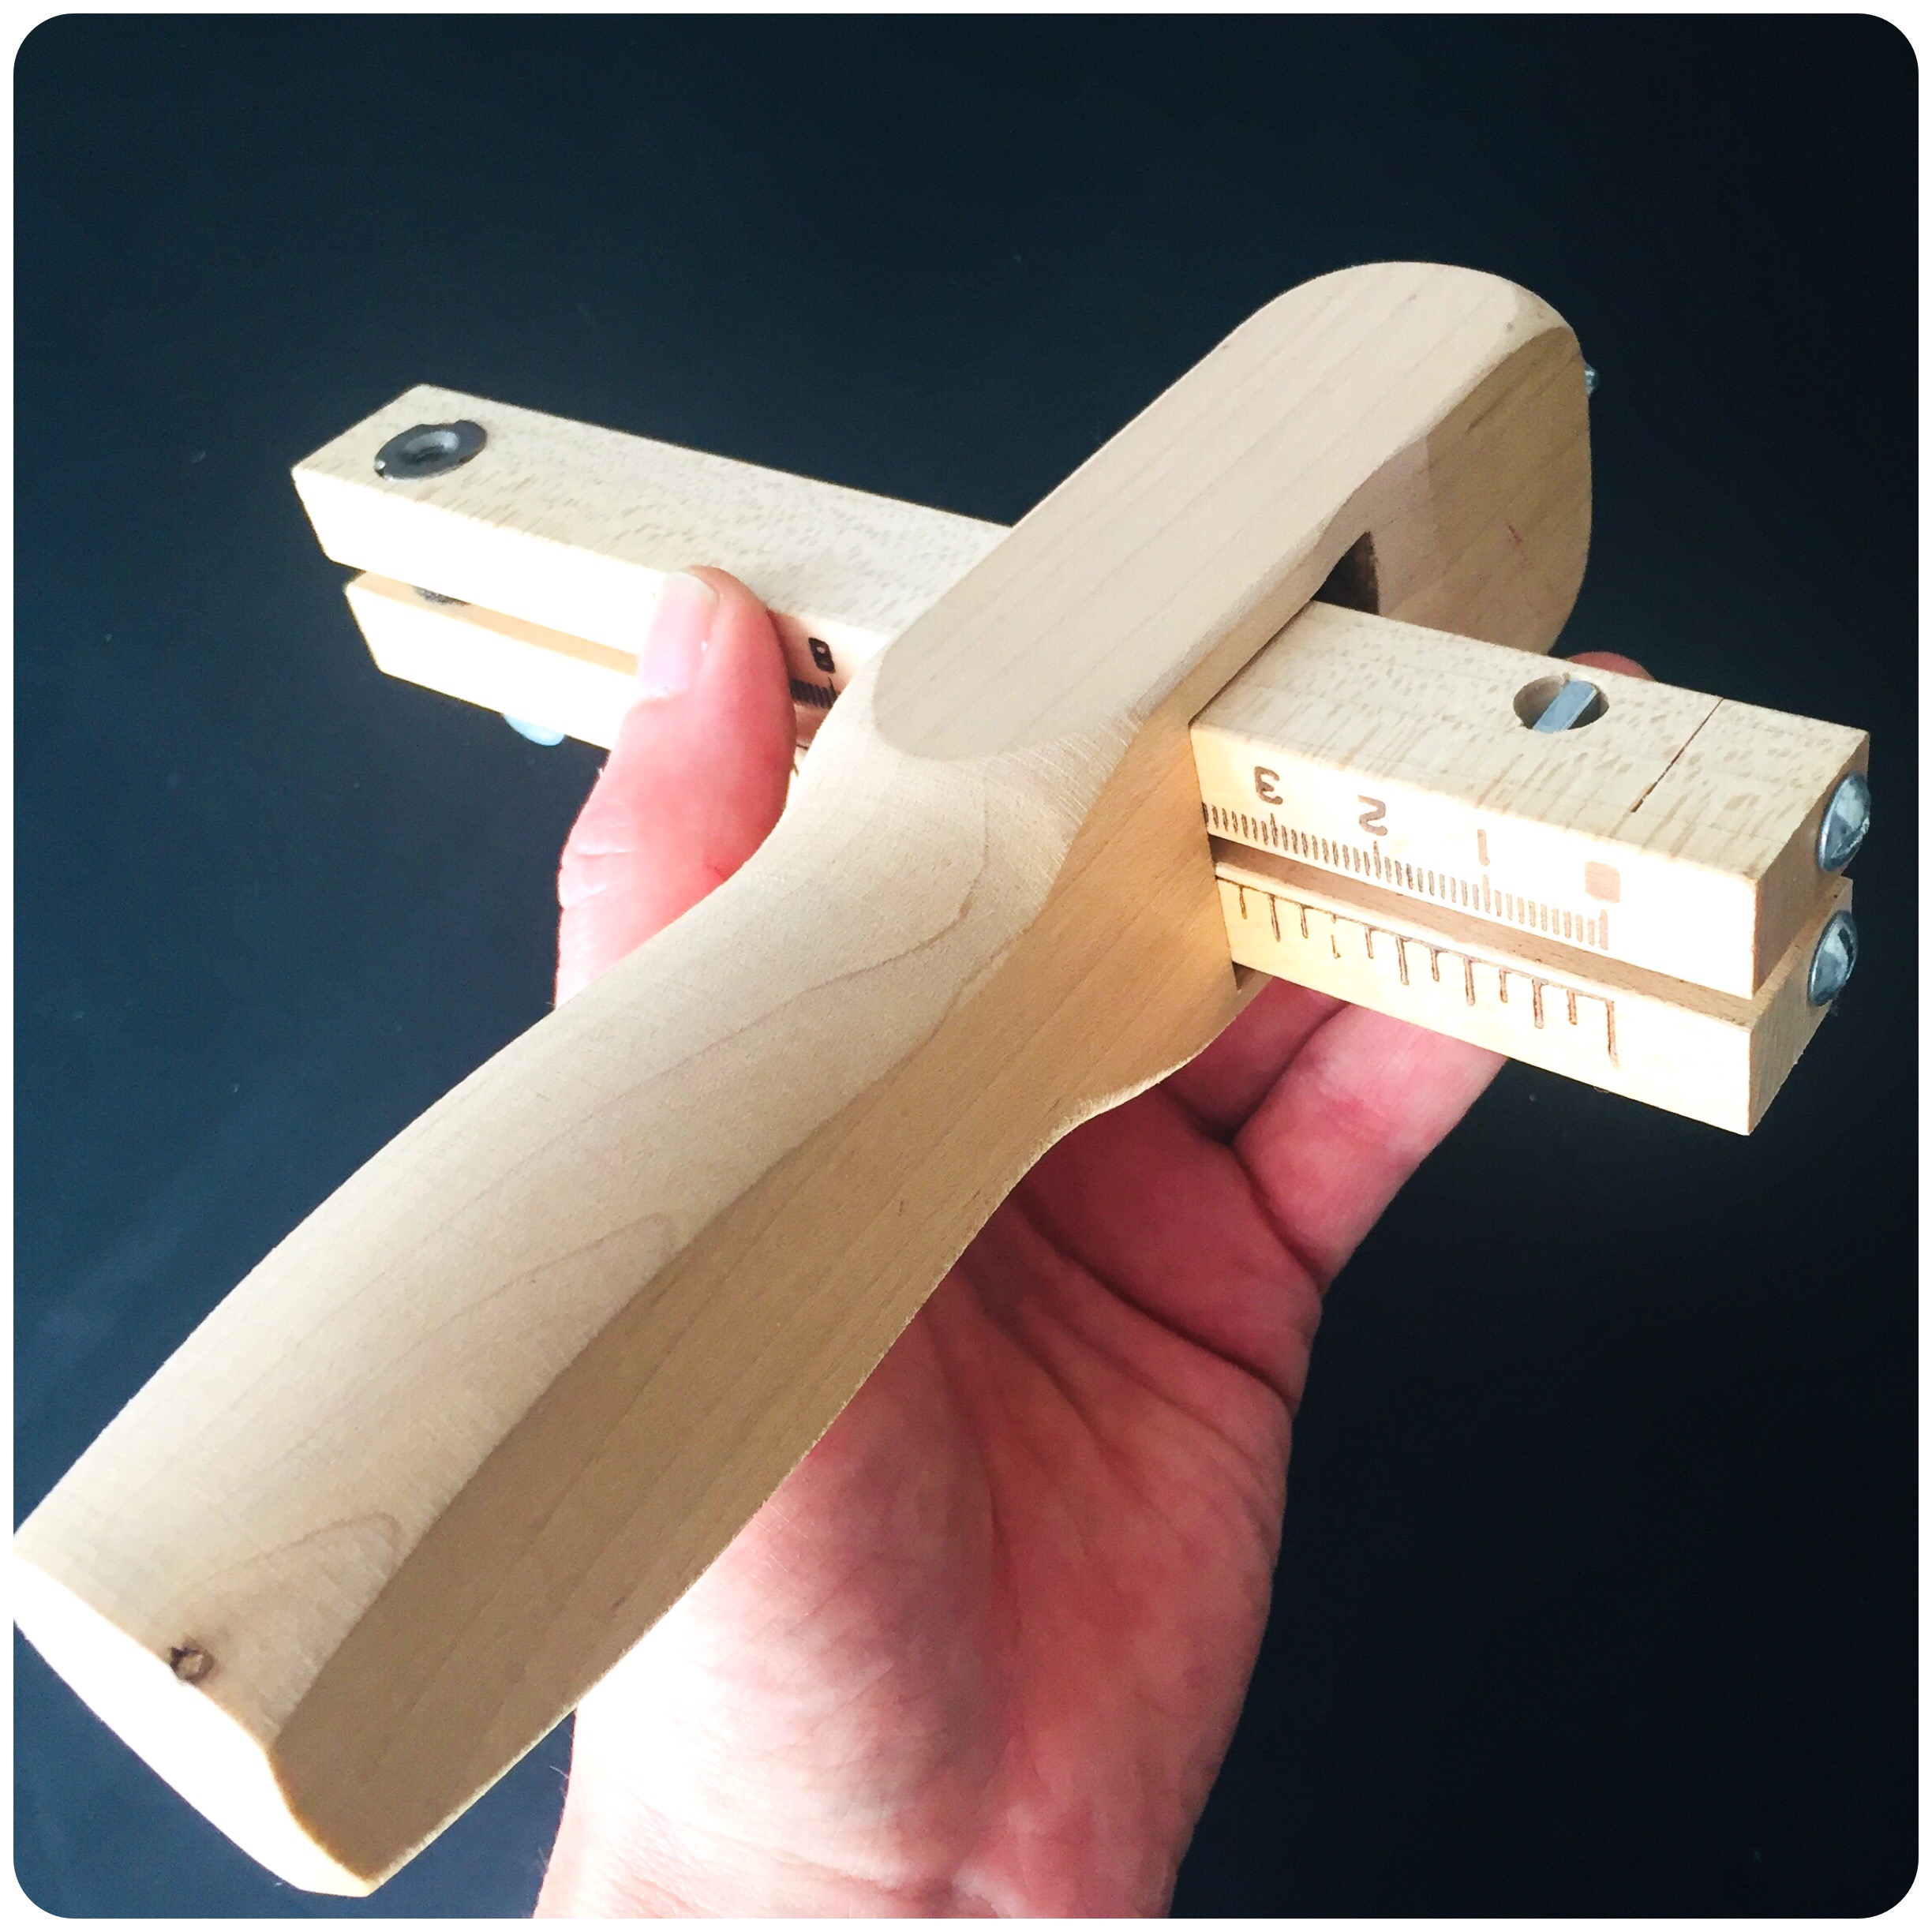
For cutting the belt I use this tool. It’s an absolutely lo-tech practical thingy , but so very useful! And the width of the stripes can be adjusted rather precisely.
Cutting the belt from a very stiff leather quality.
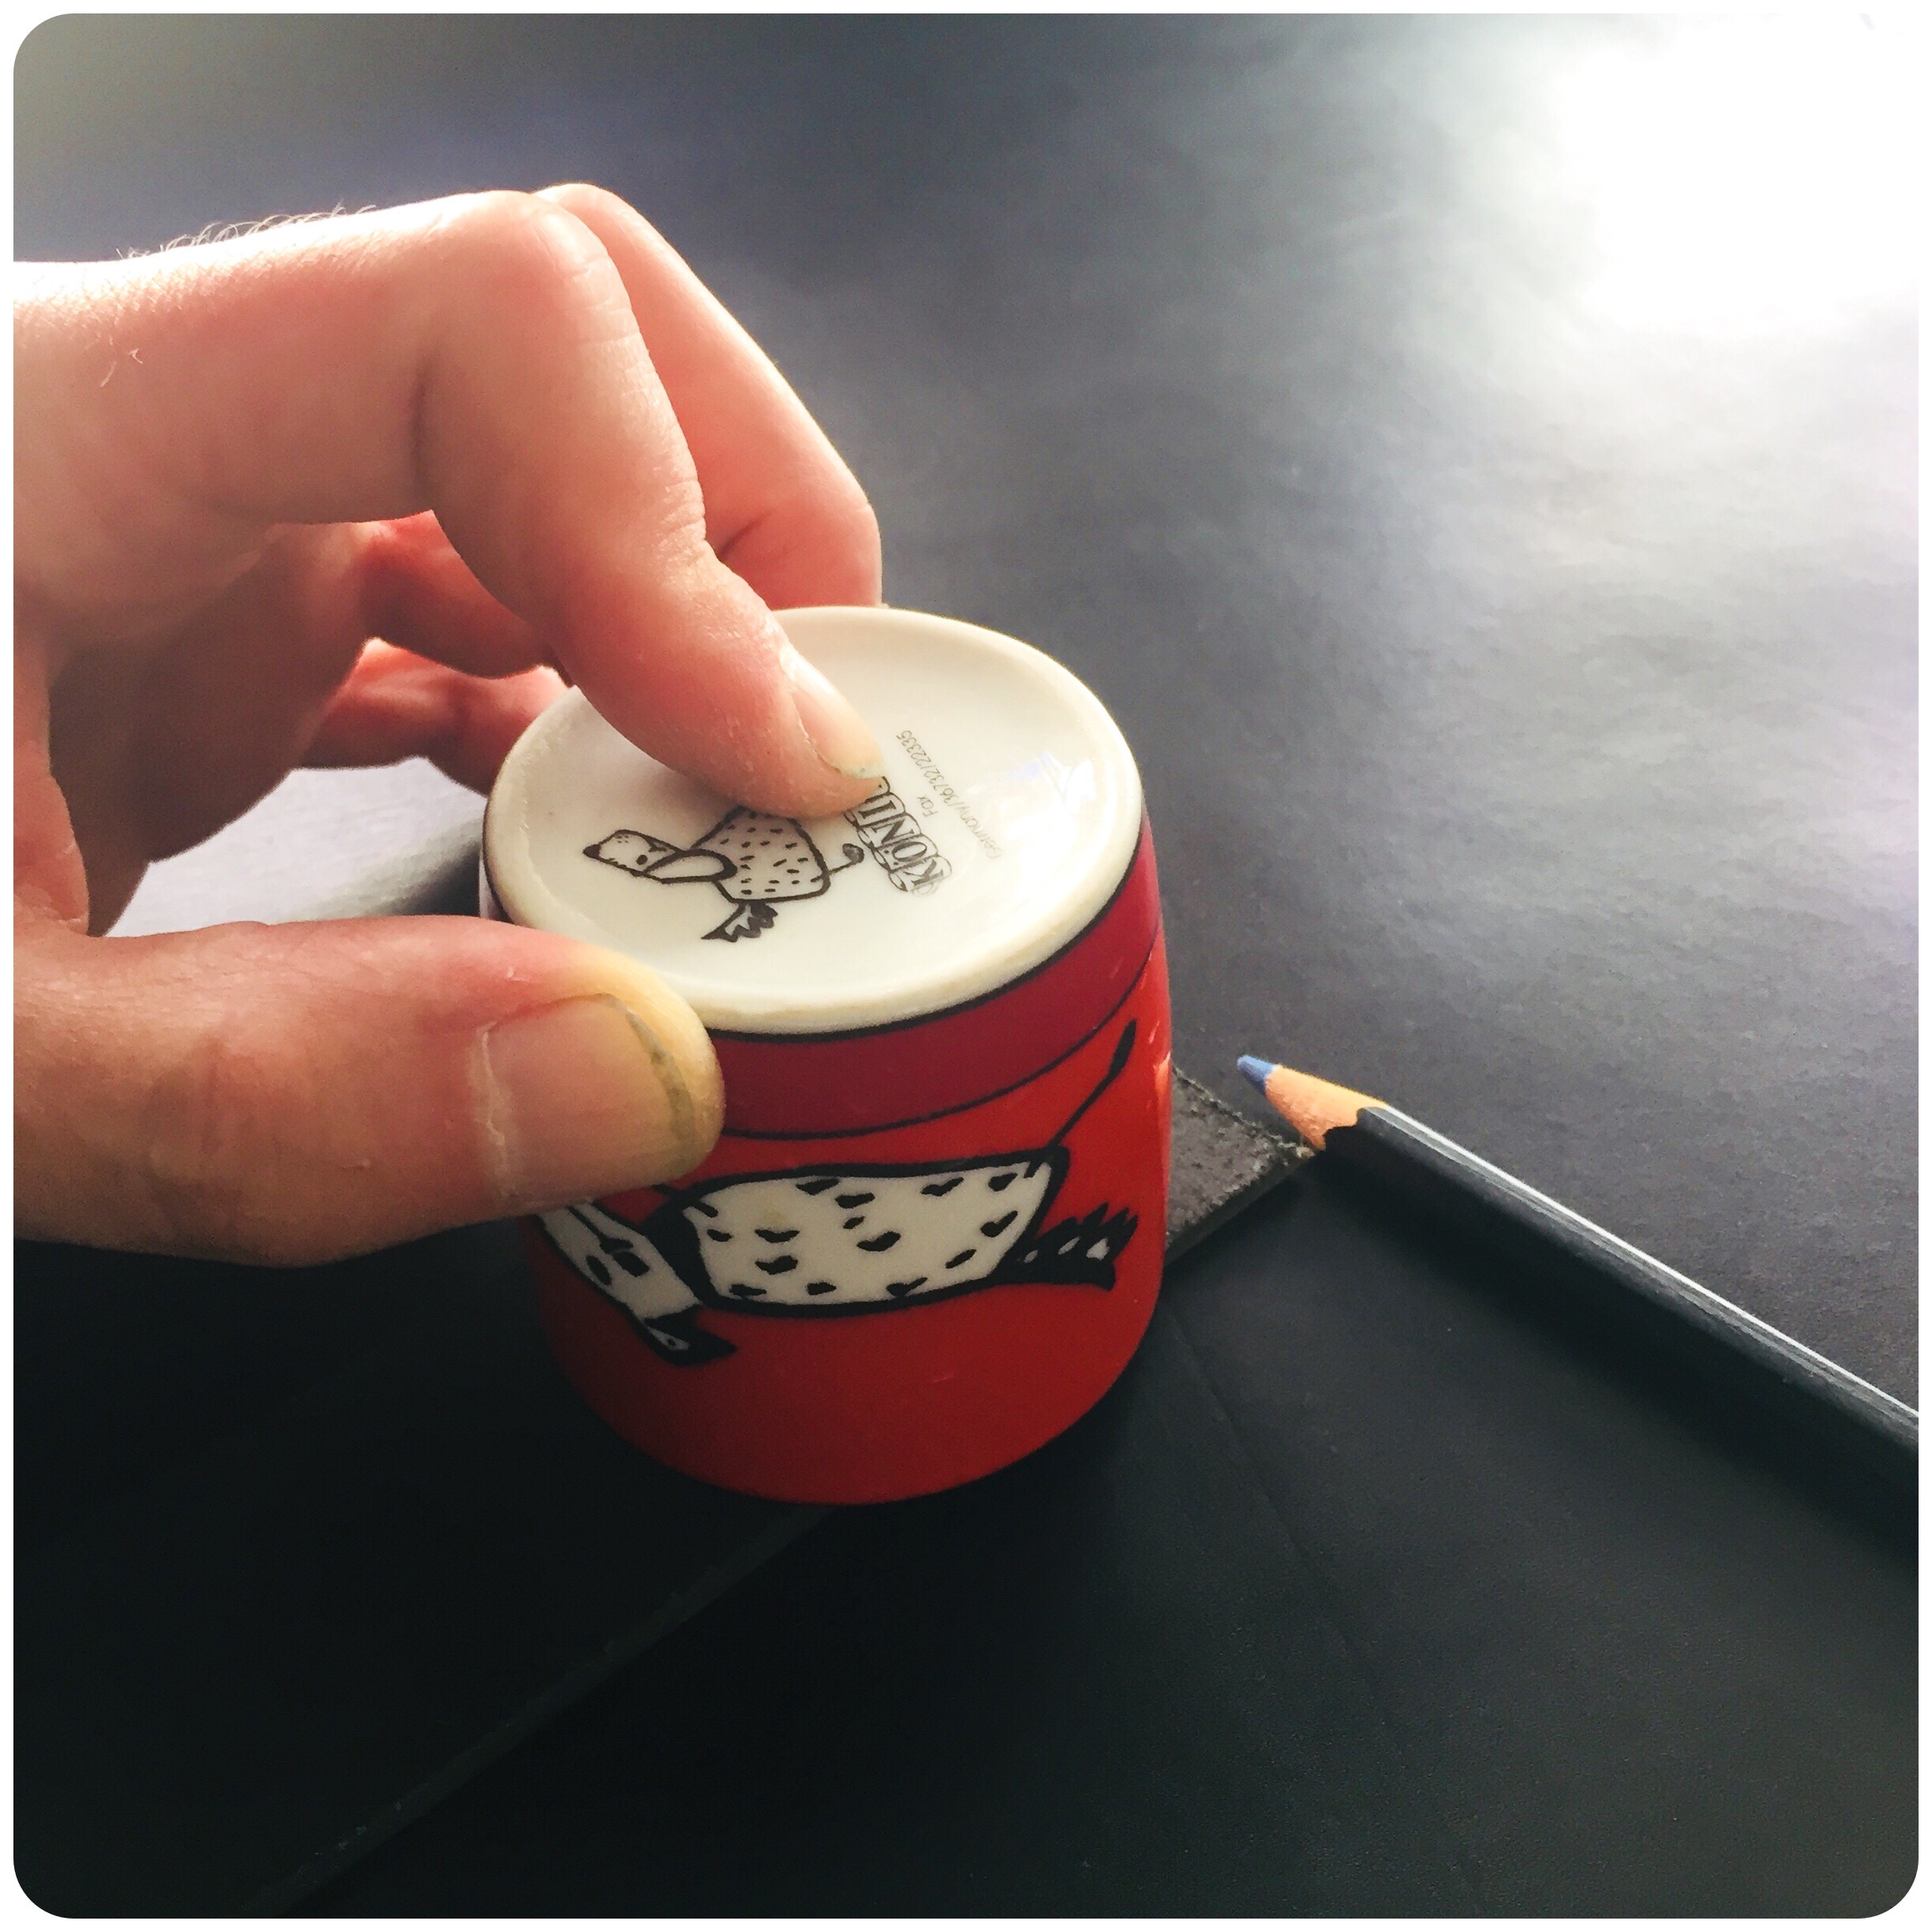
Using an espresso cup as a template for the slightly rounded edges.
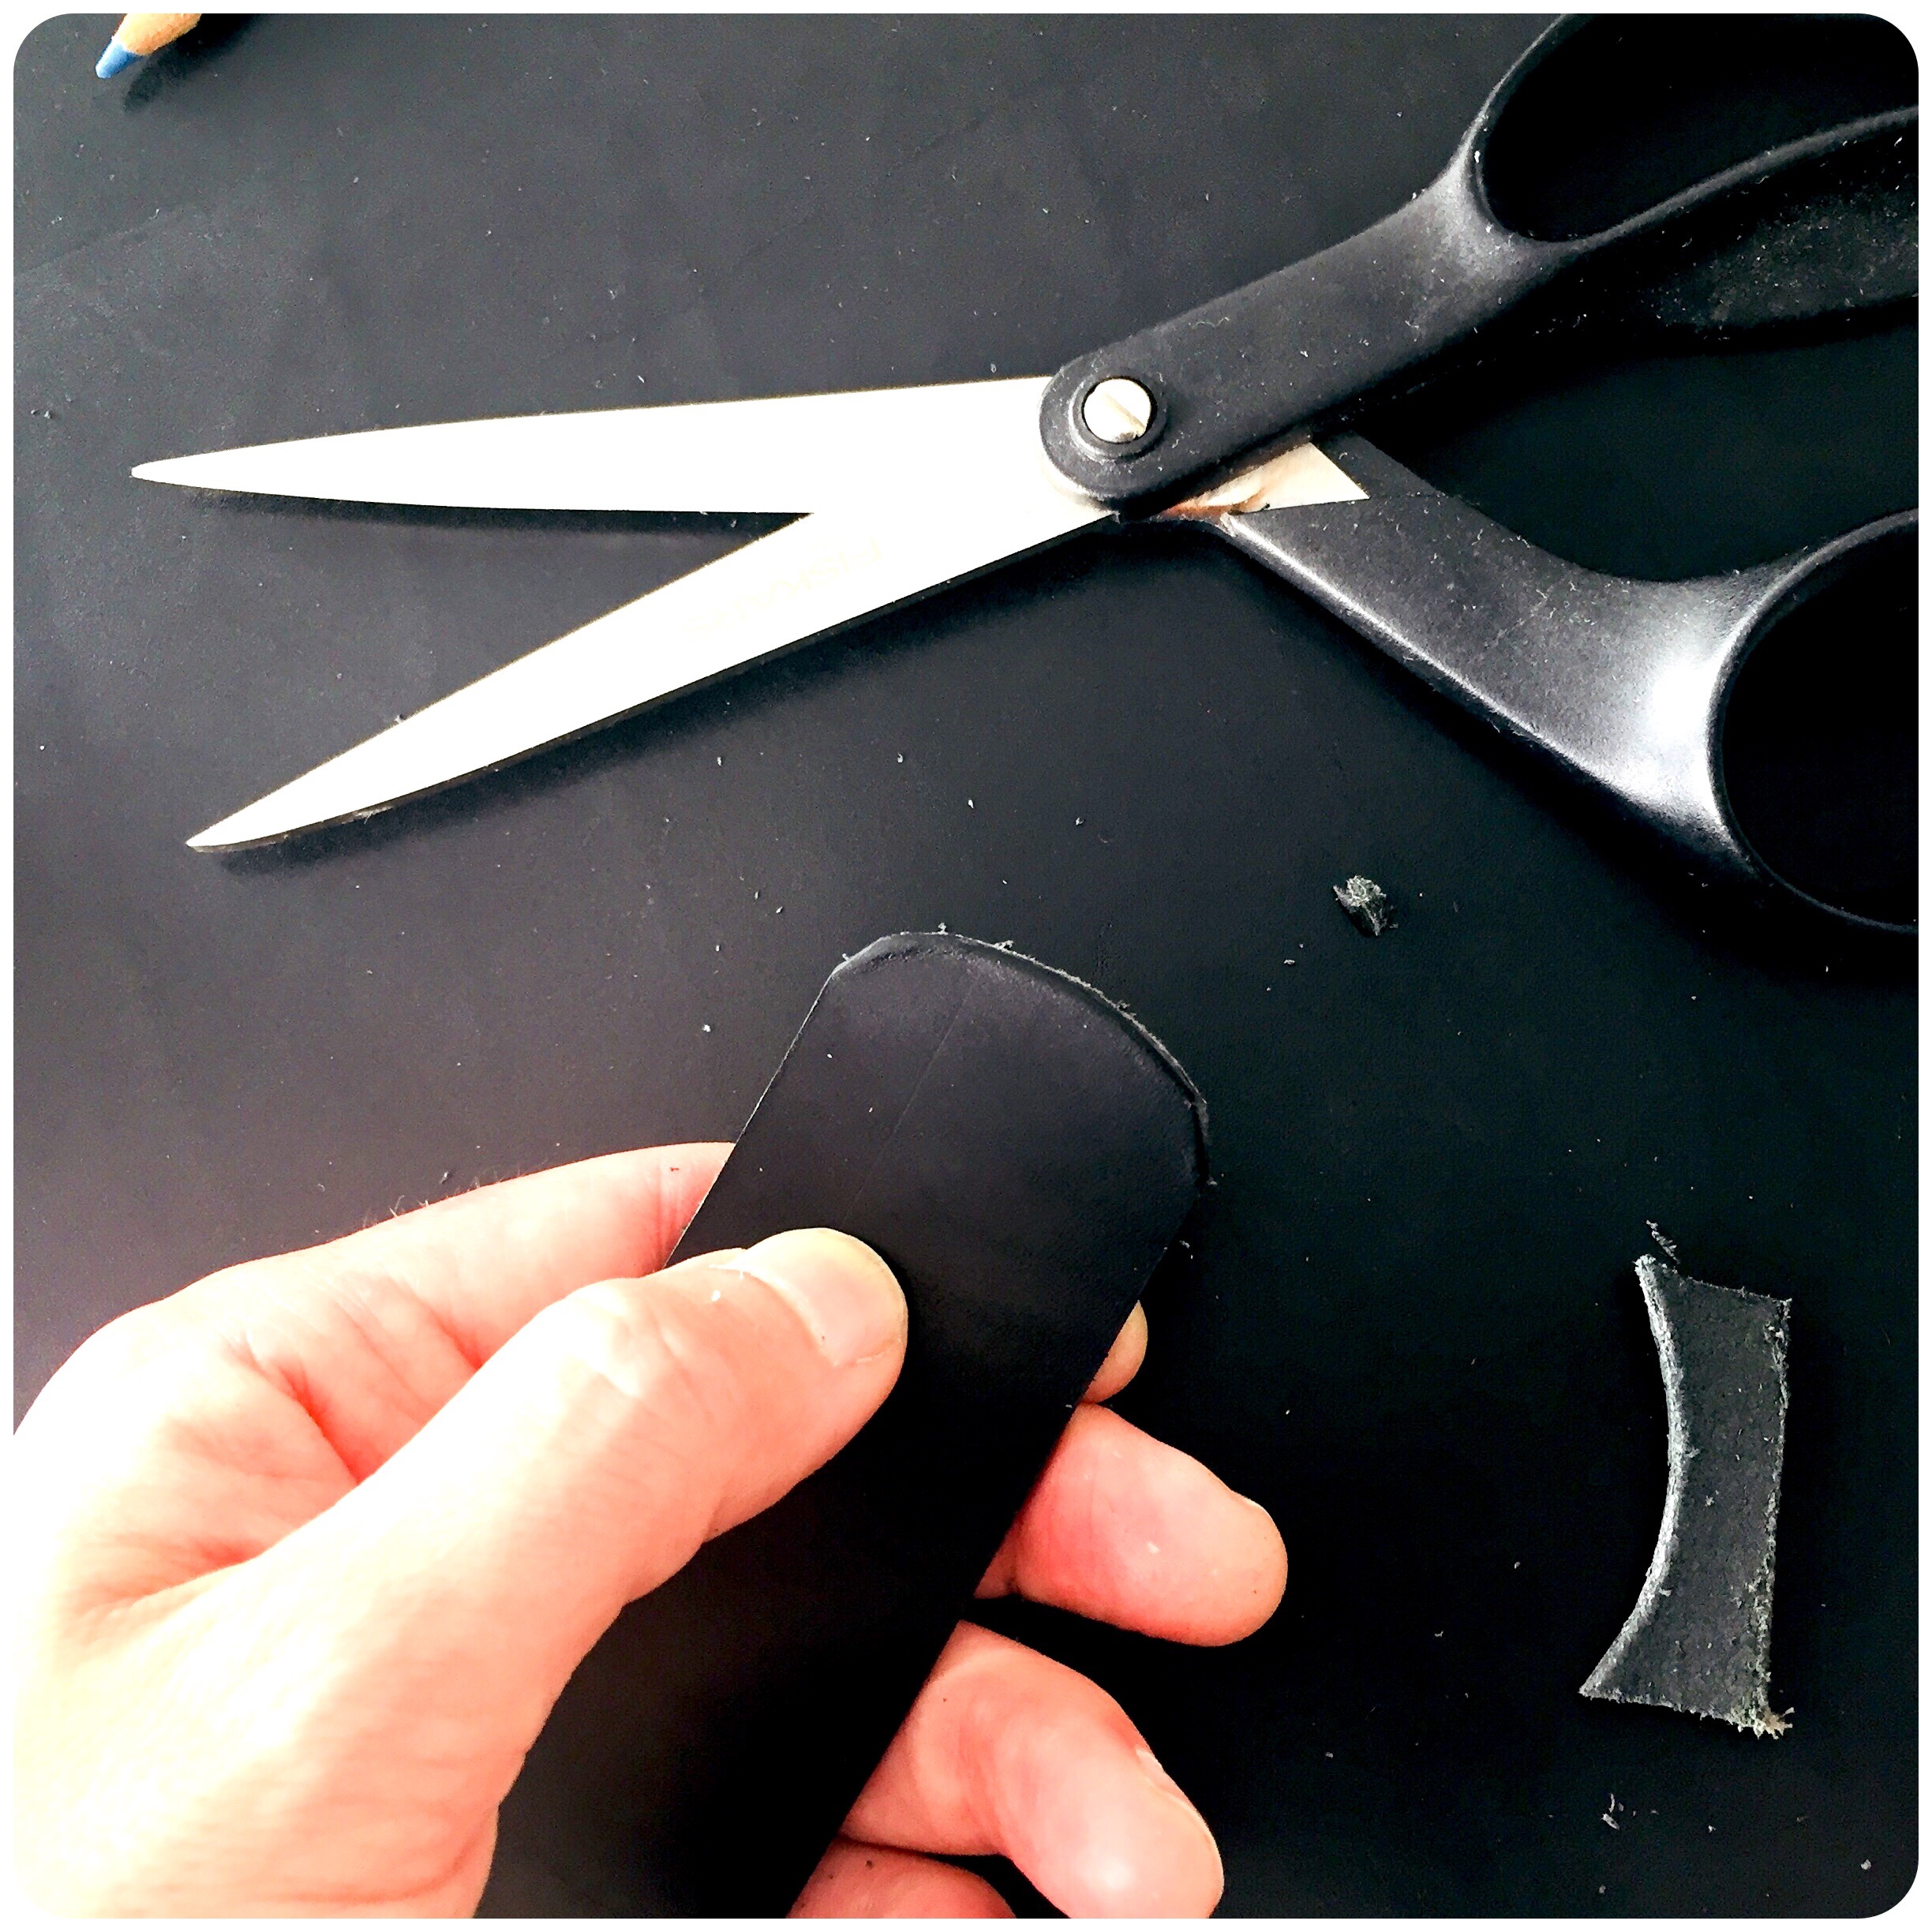
Cutting the edge with a normal pair of scissors.
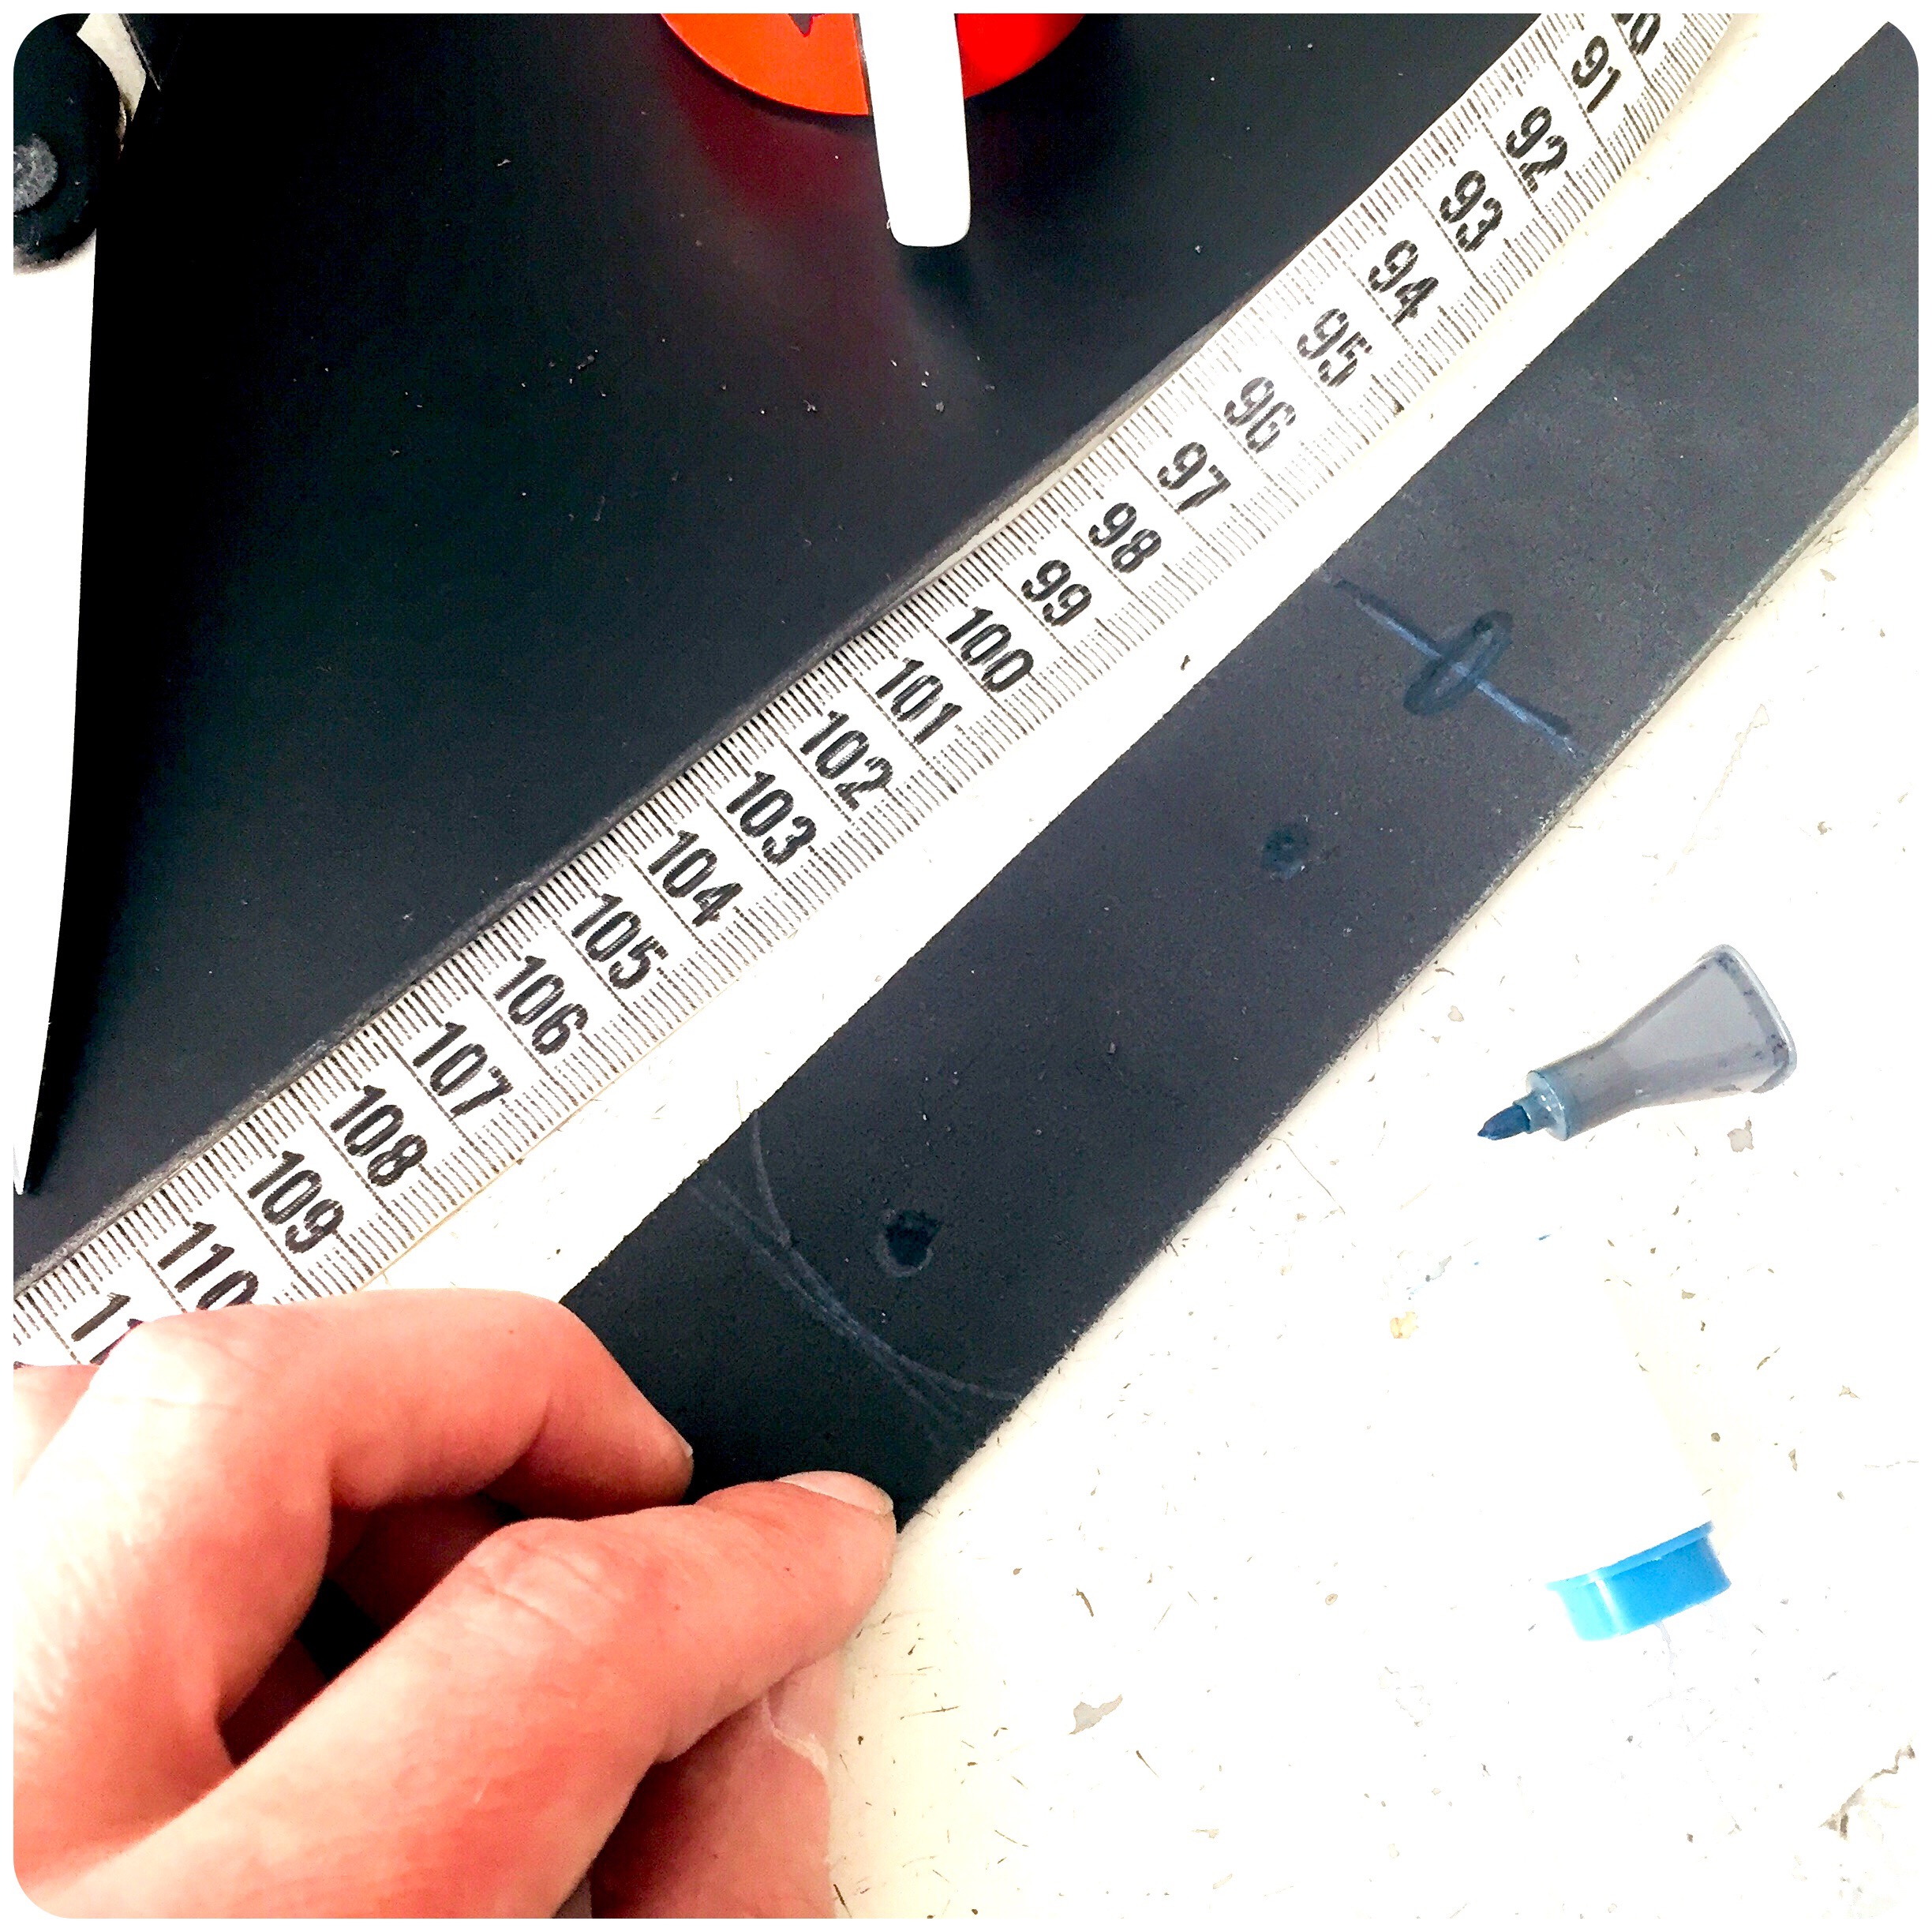
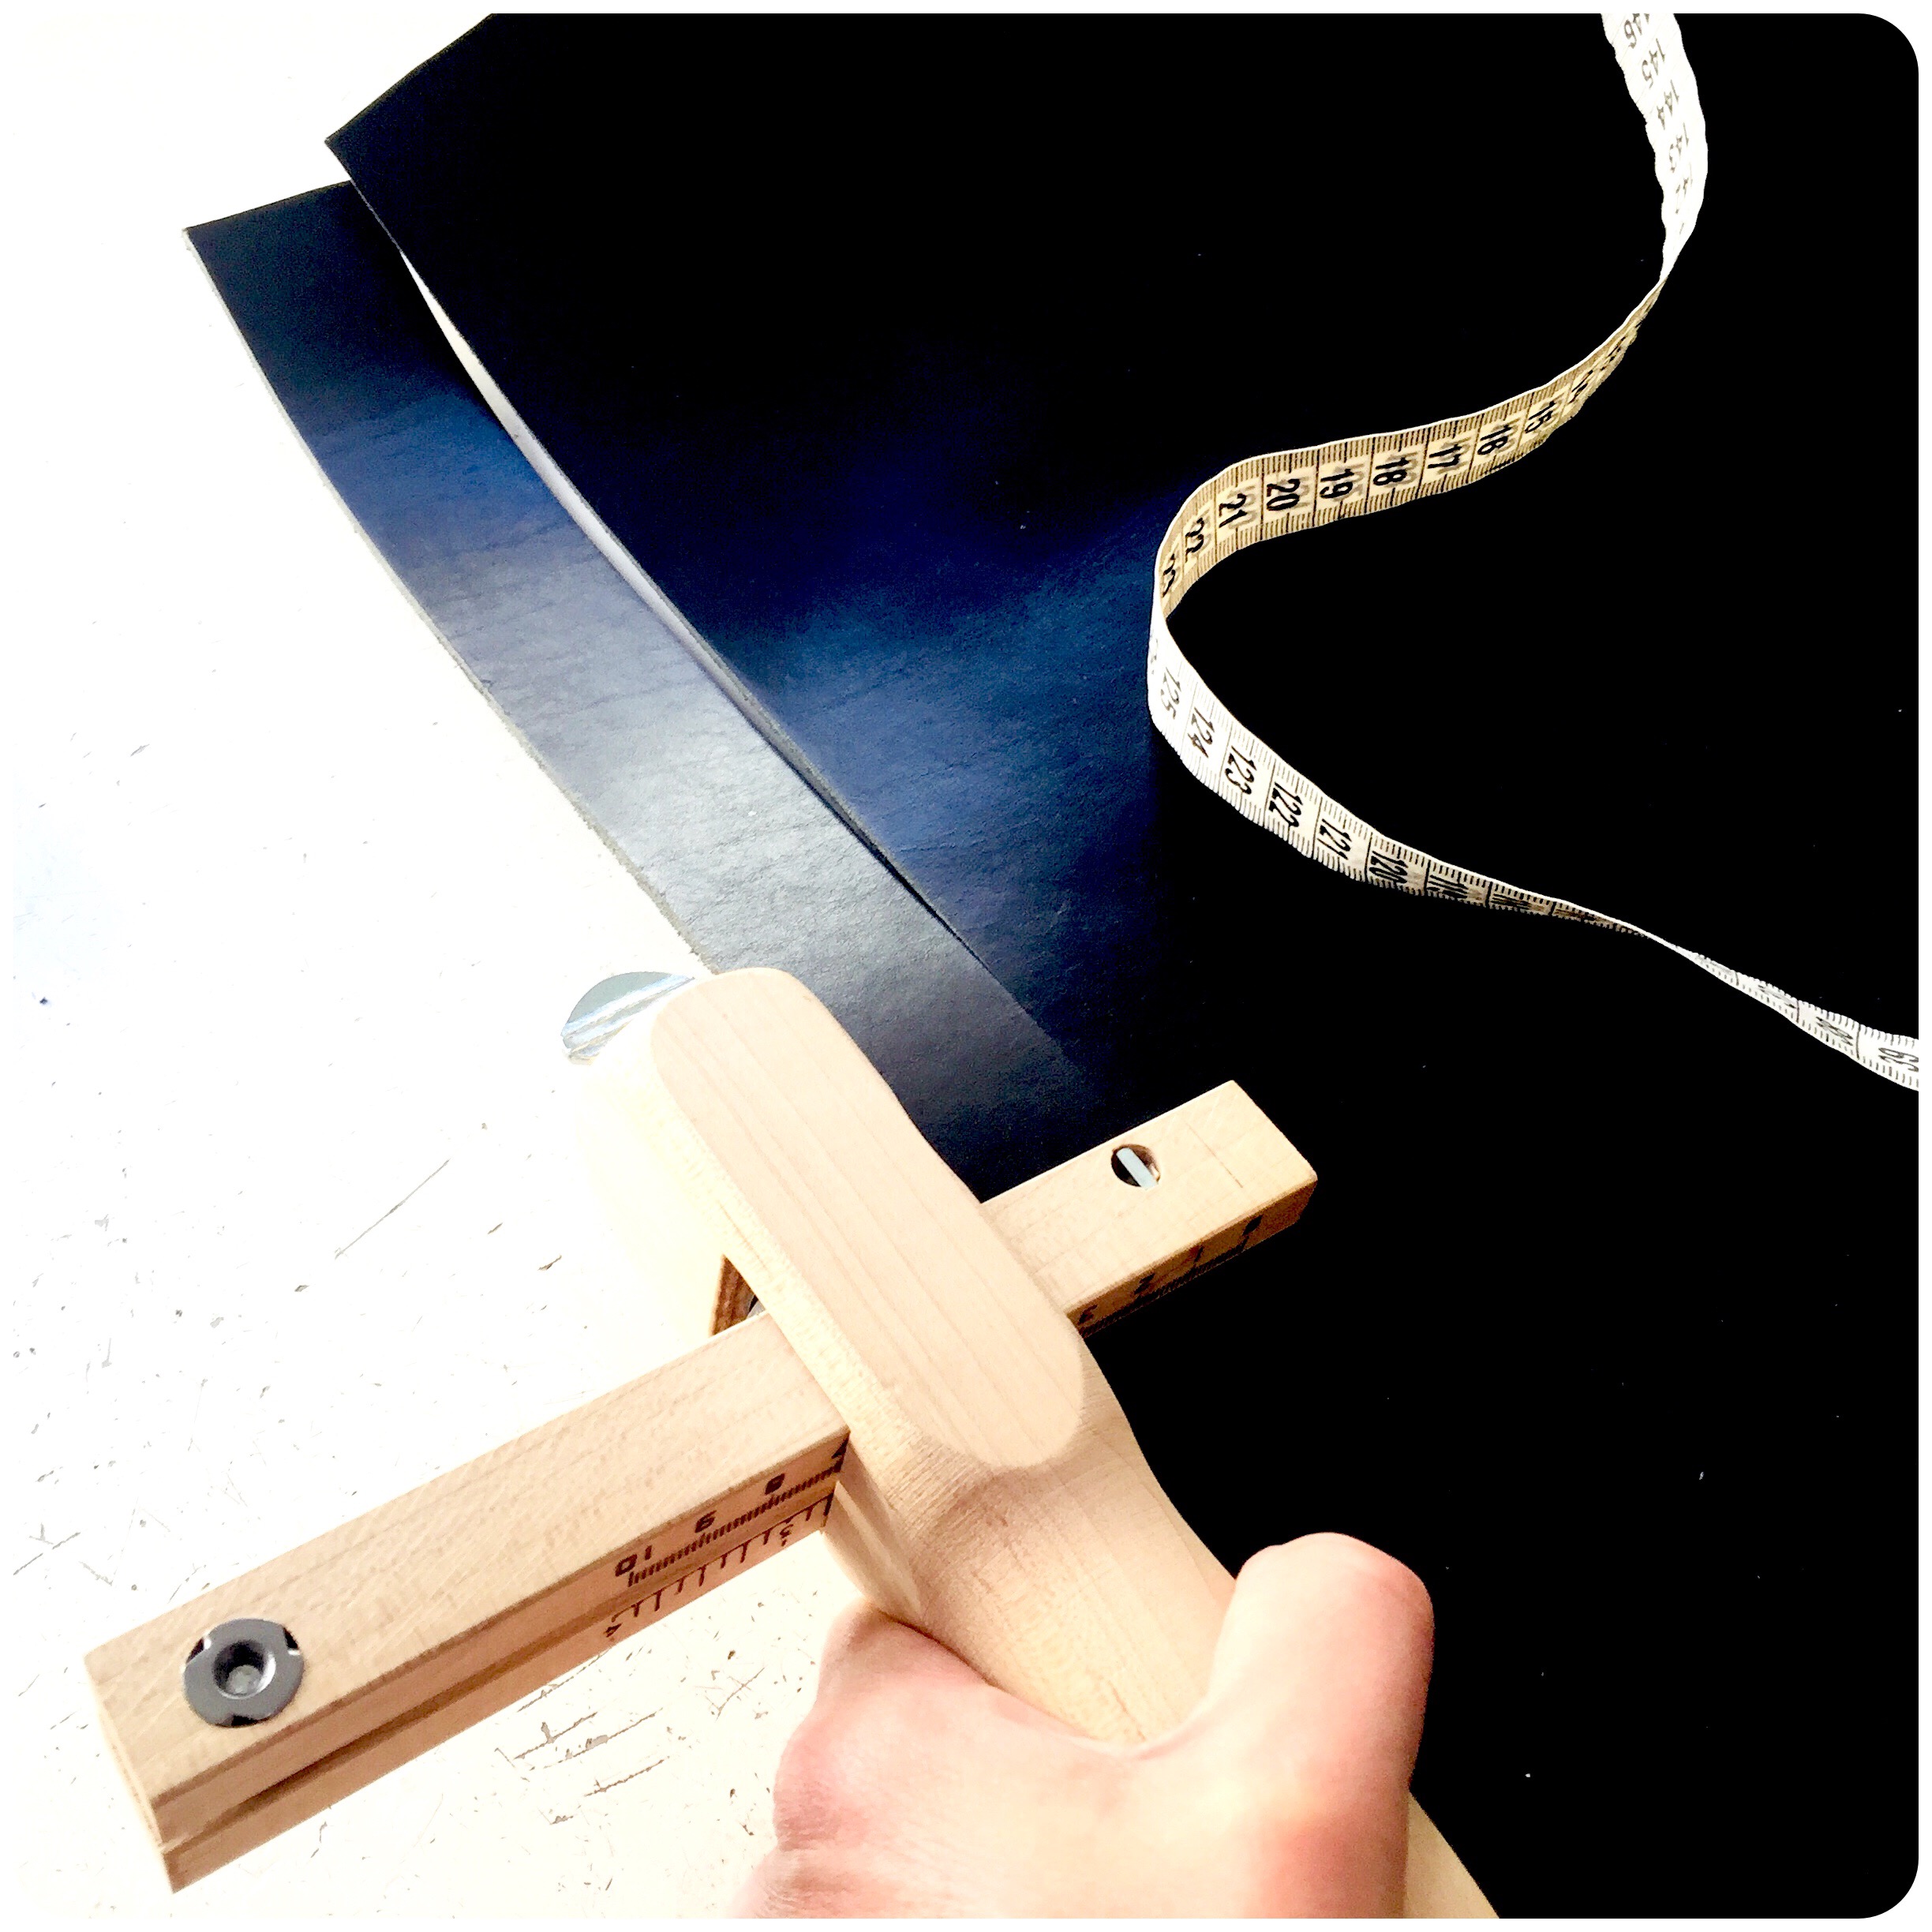
Measuring and marking the length of the belt, and then adding an underlay to be folded in under the buckle. Also marking the additional holes needed for assembling the belt.
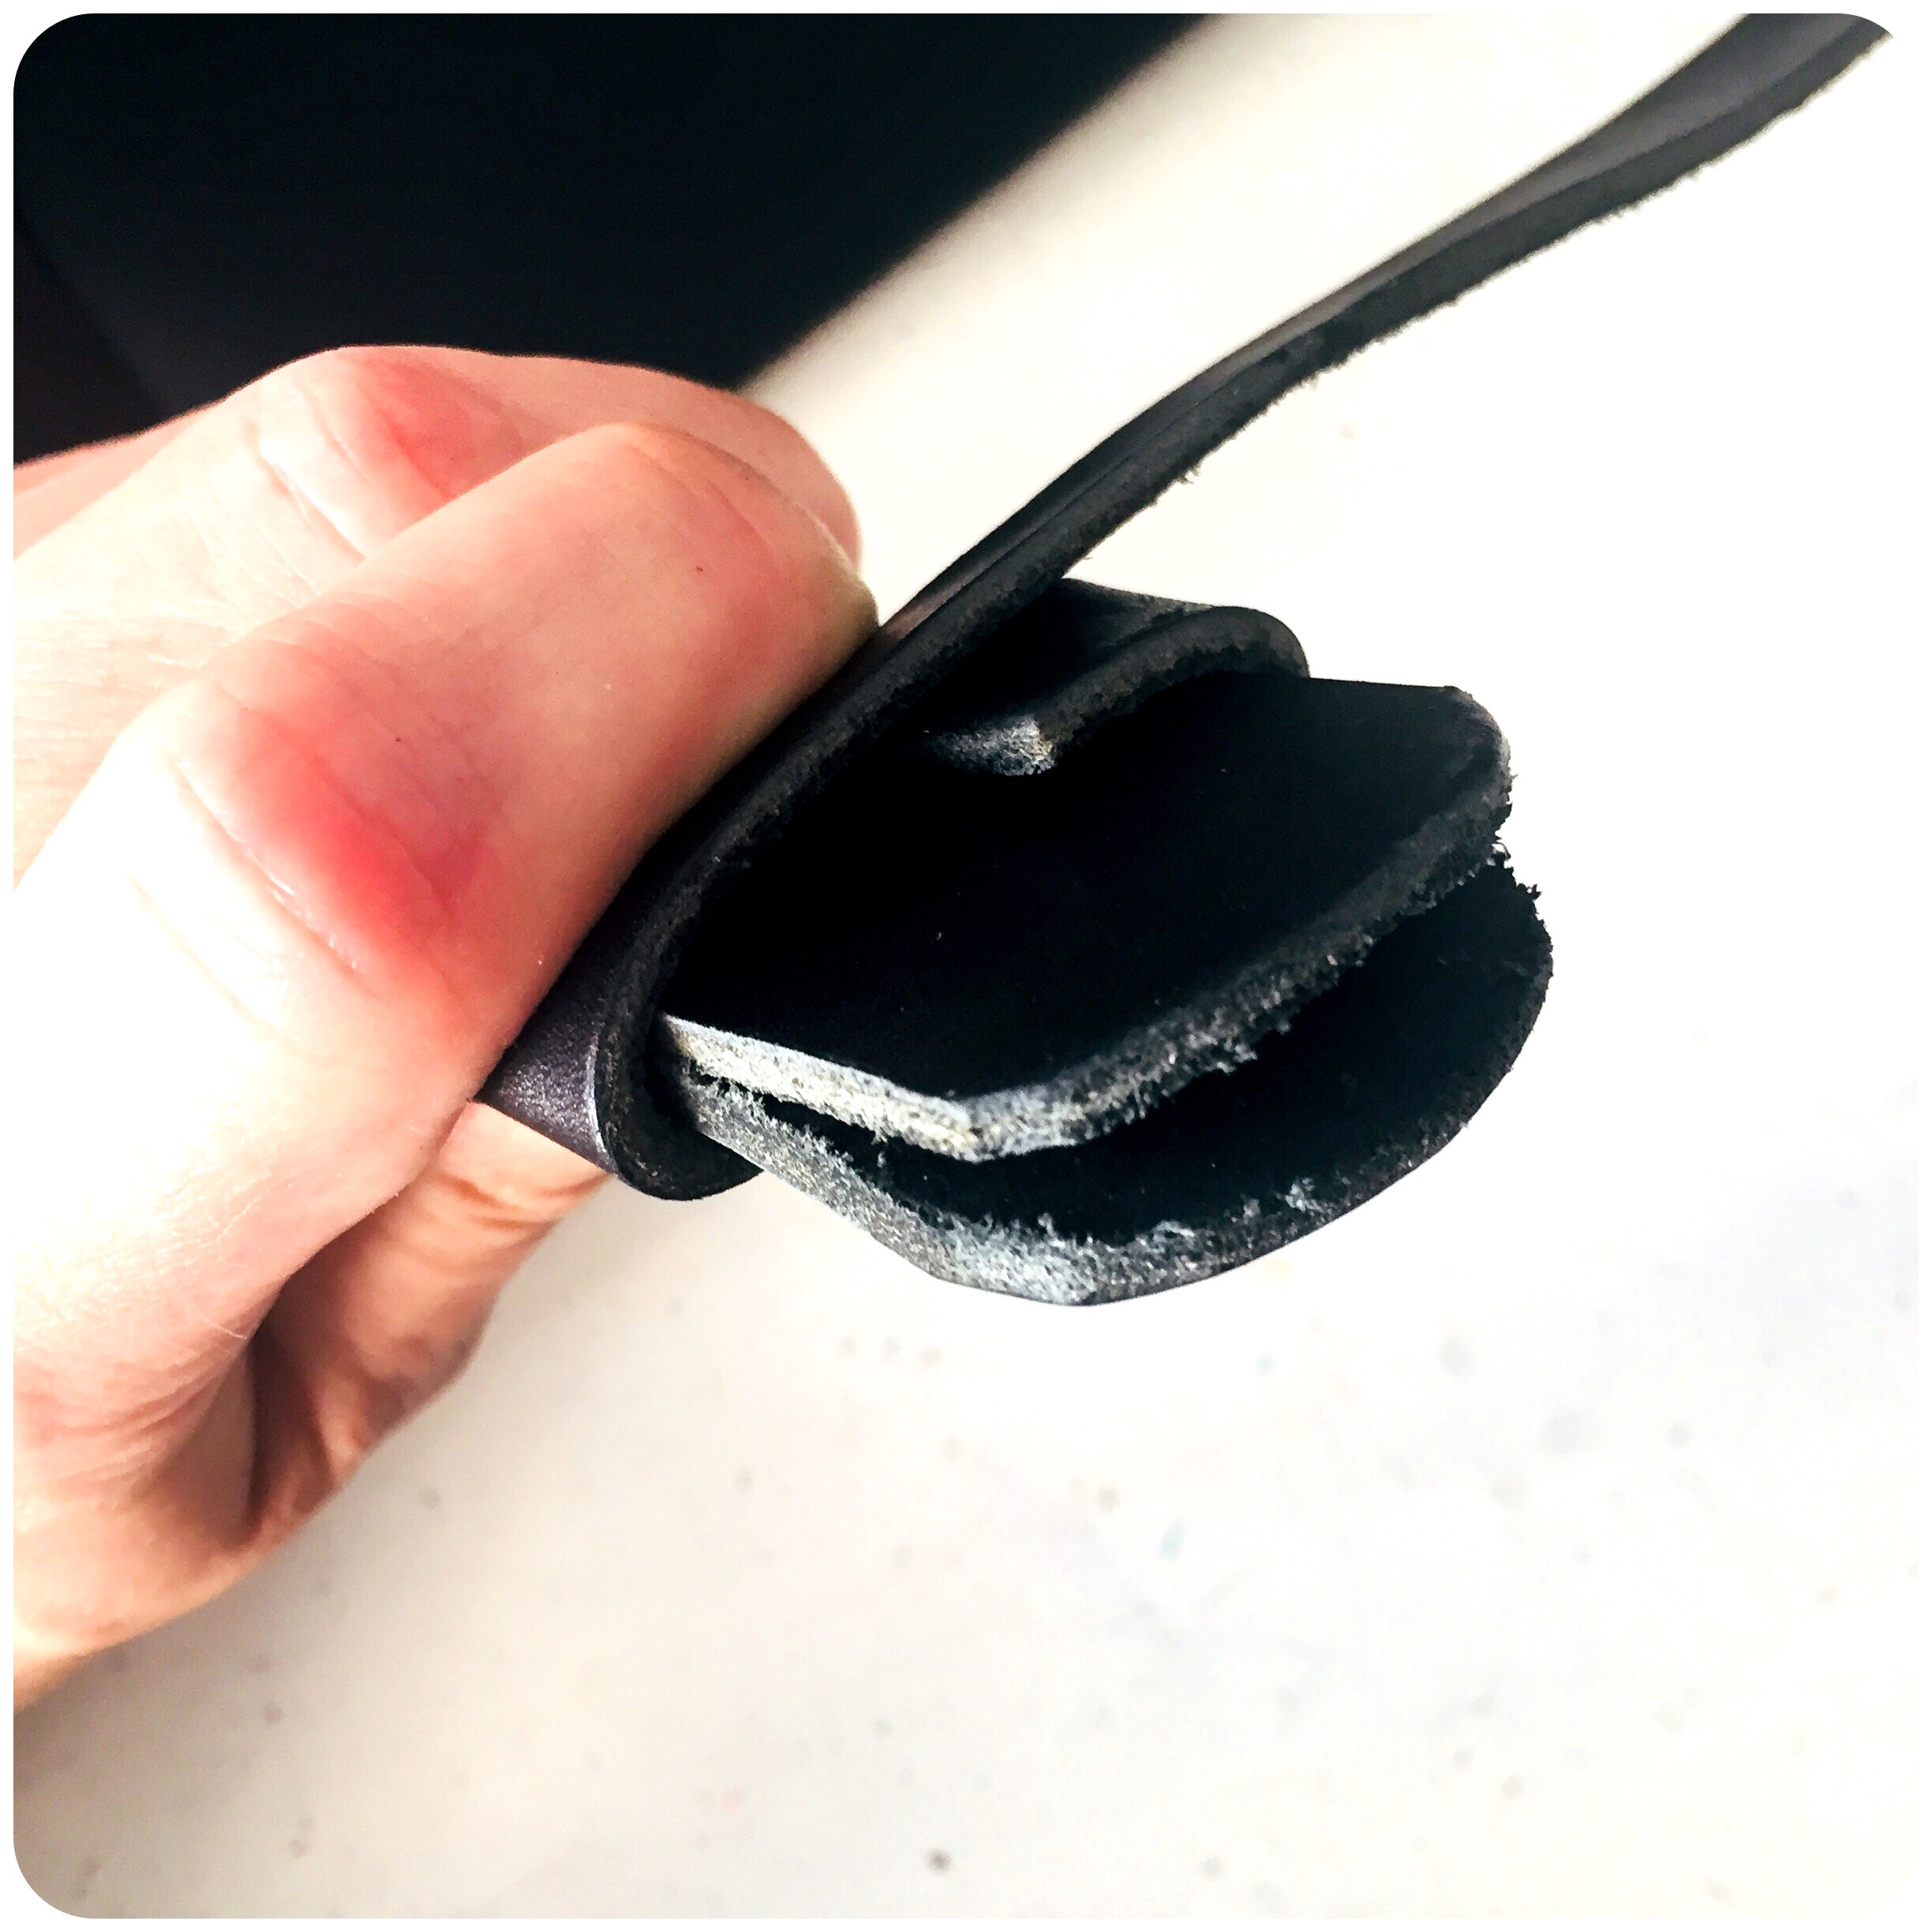
Checking the width (or length) of the (belt) loop that’s being included into the belt. It has to cover two layers of belt effortlessly.
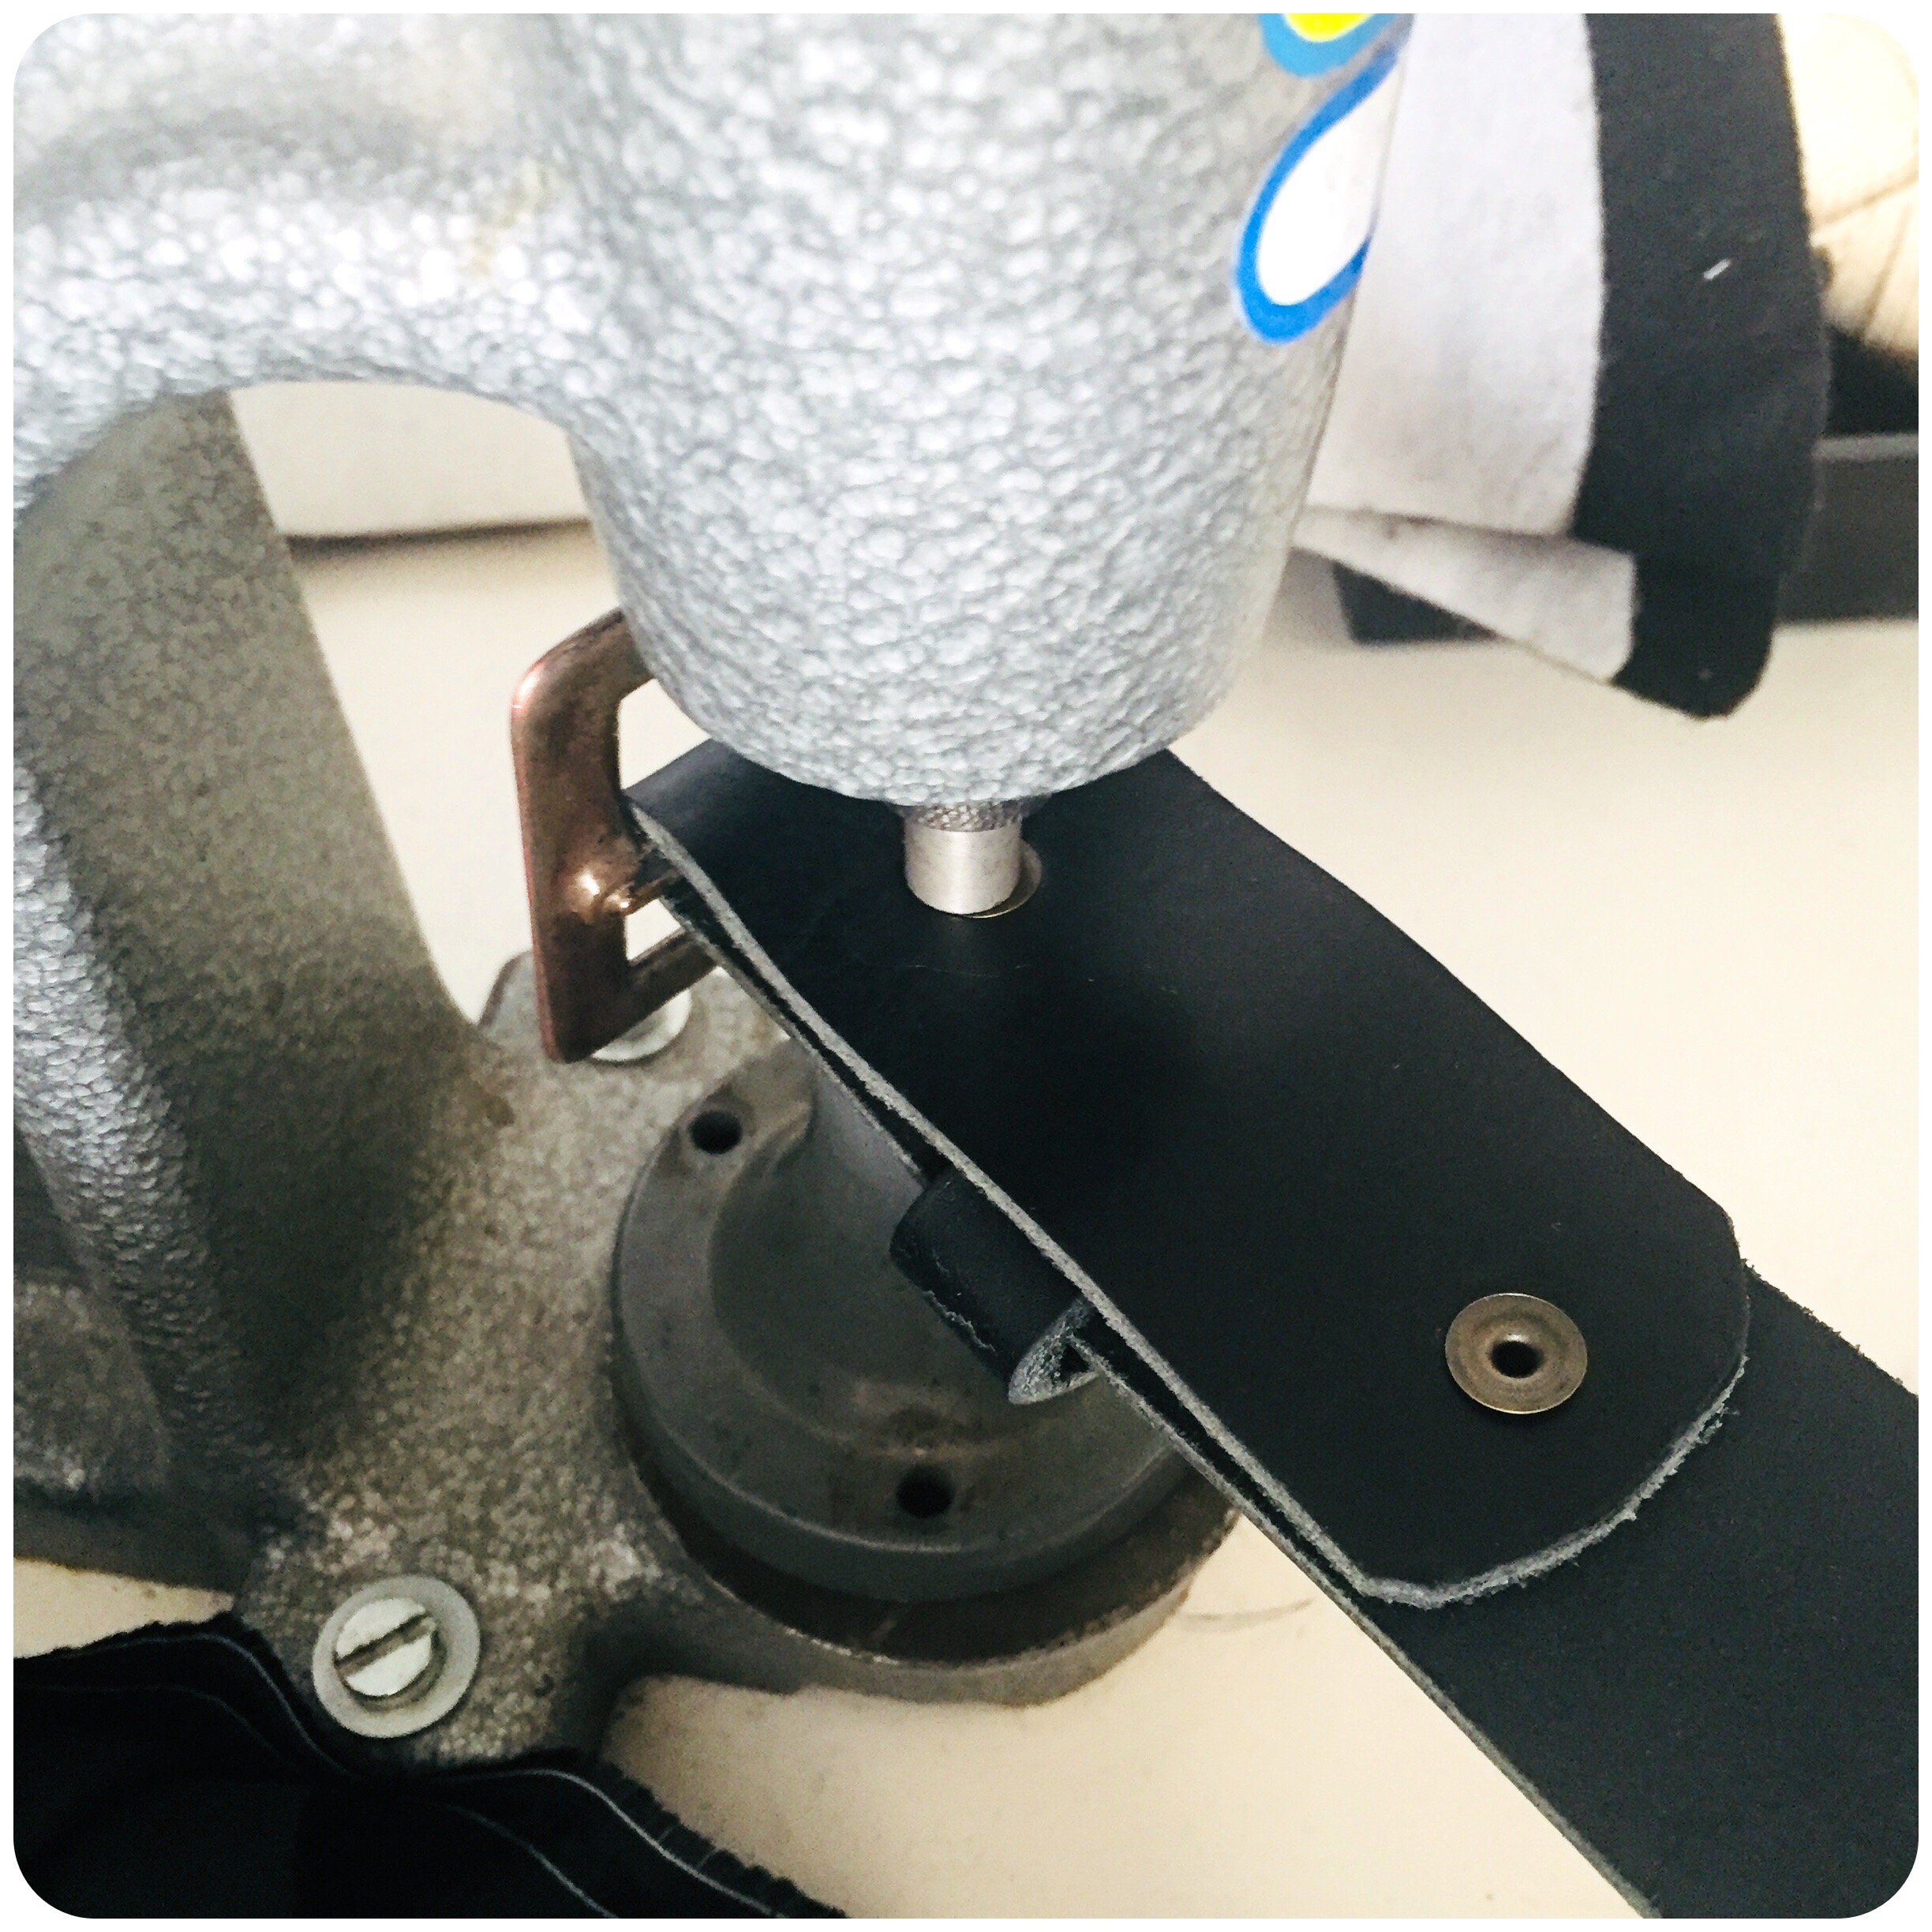
Punching holes in the edges of the belt loop.
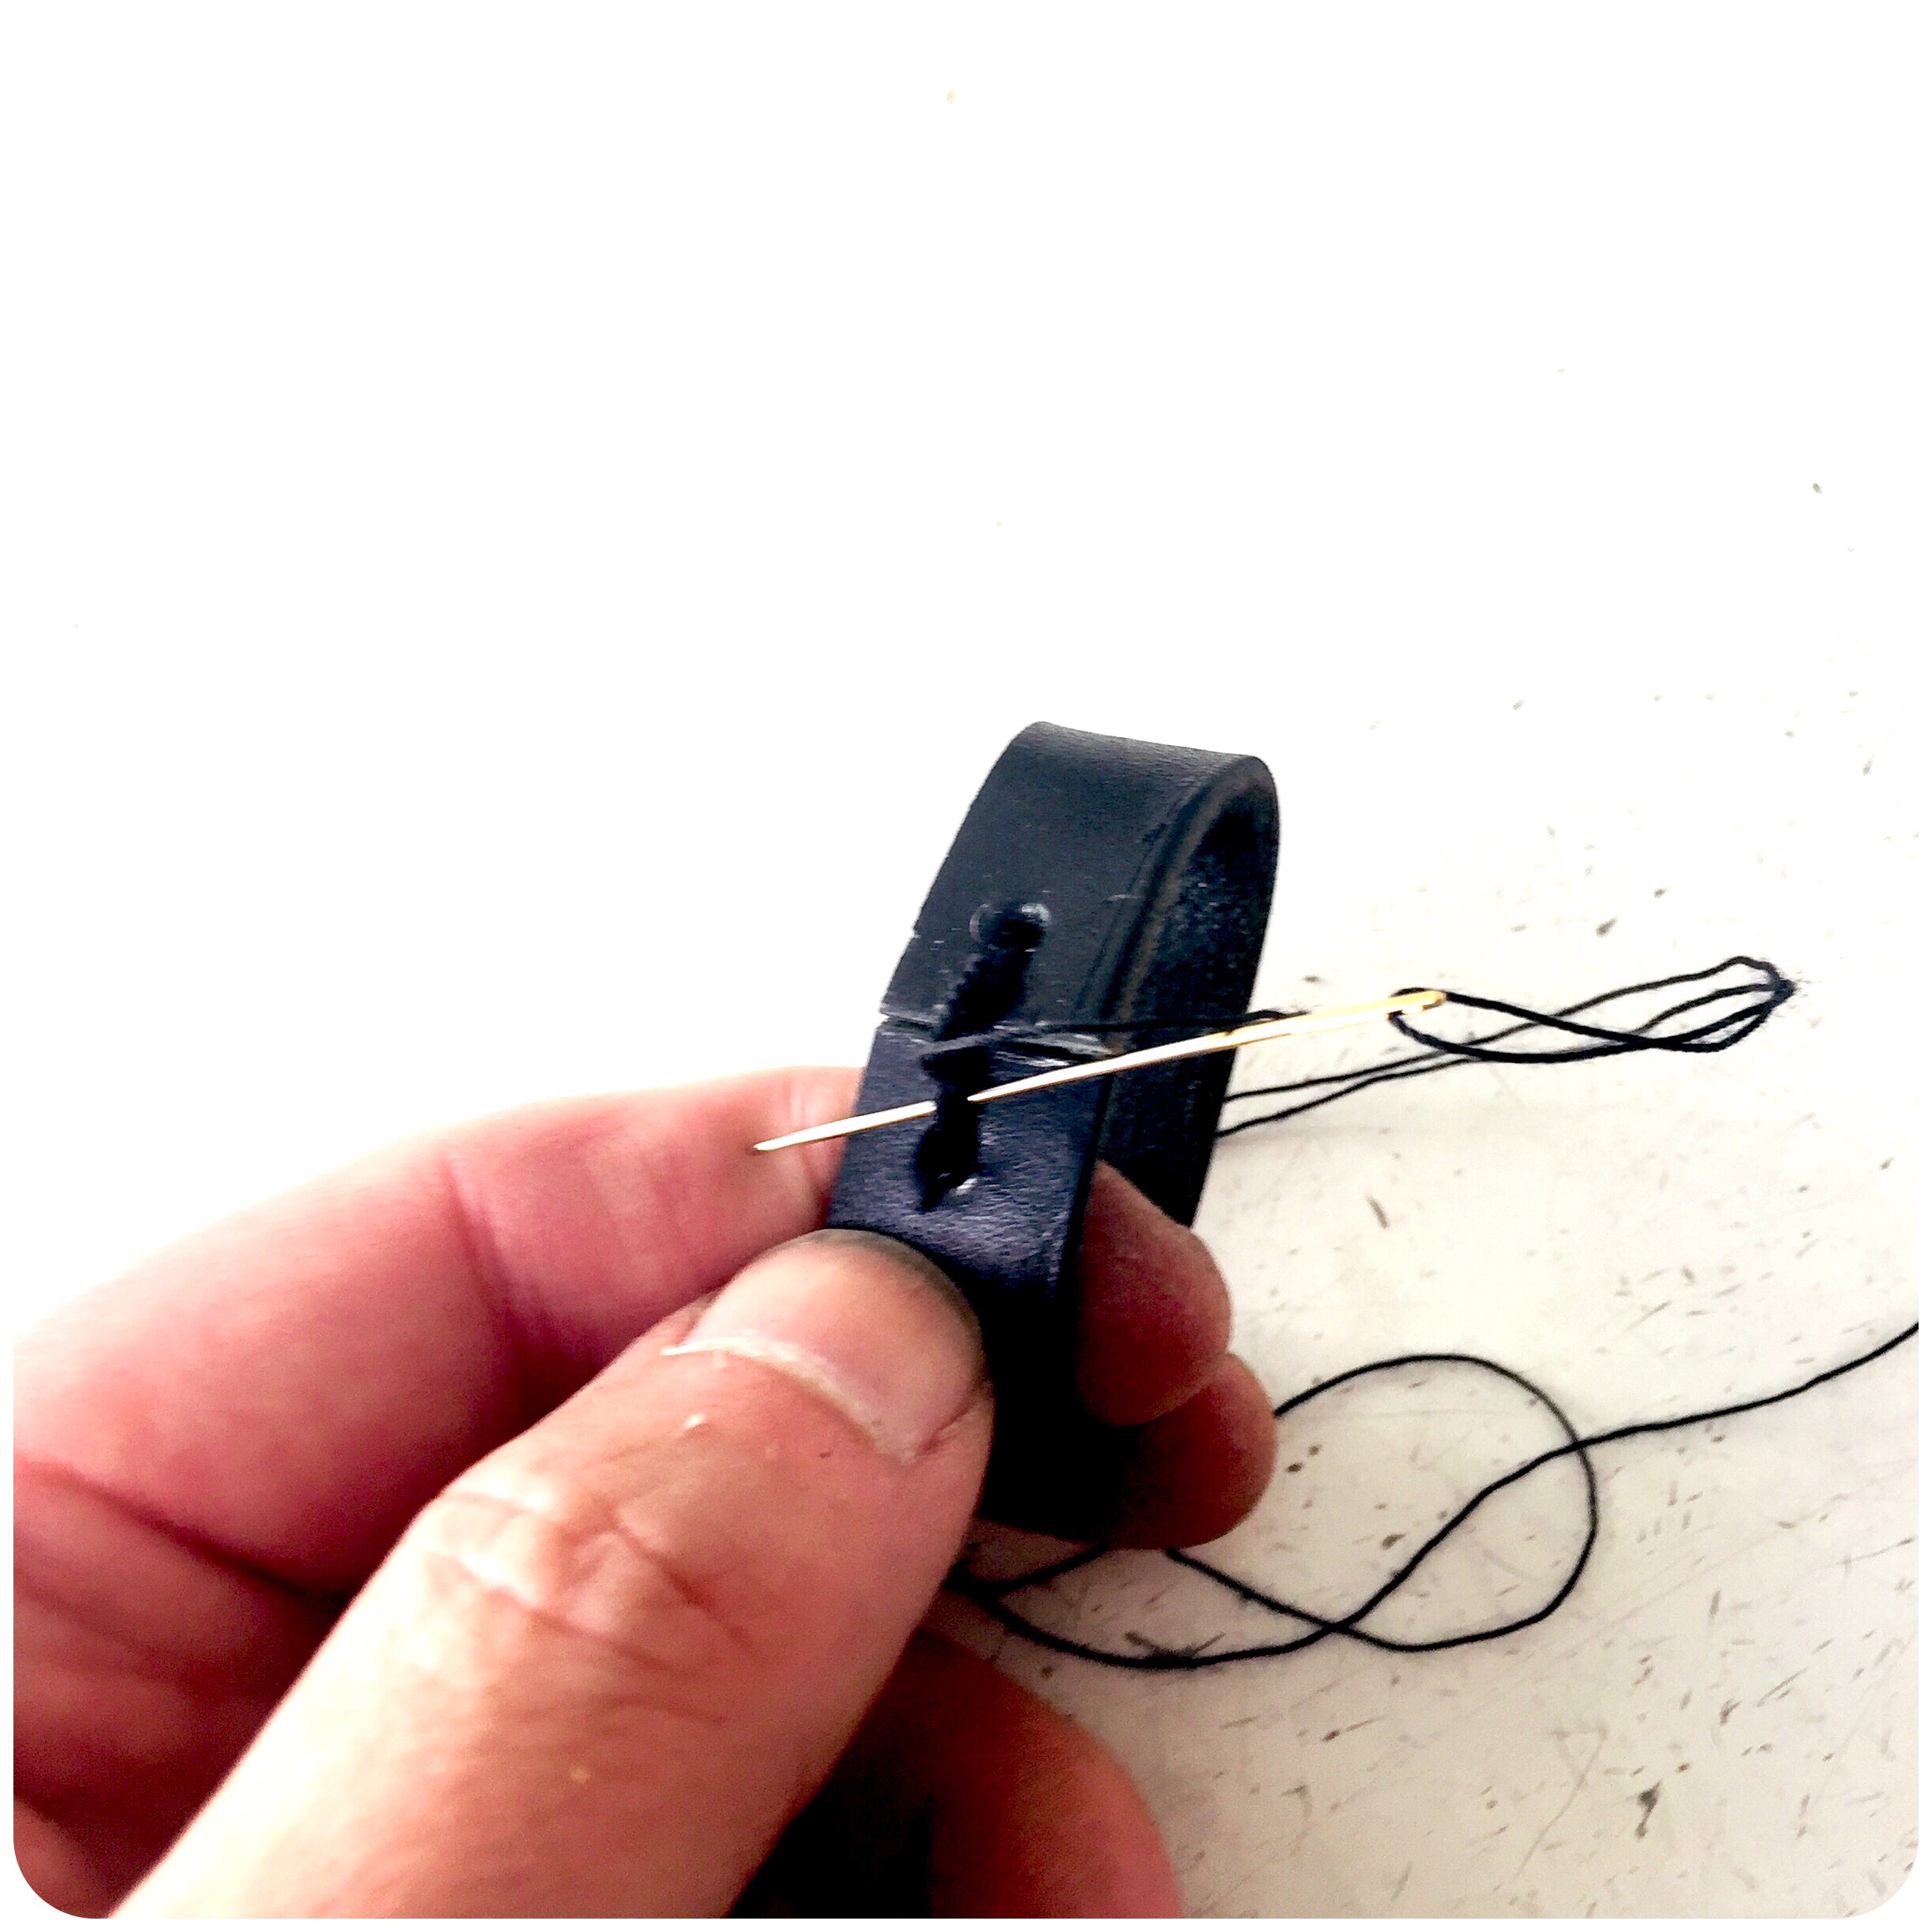
Stitching the belt loop together.
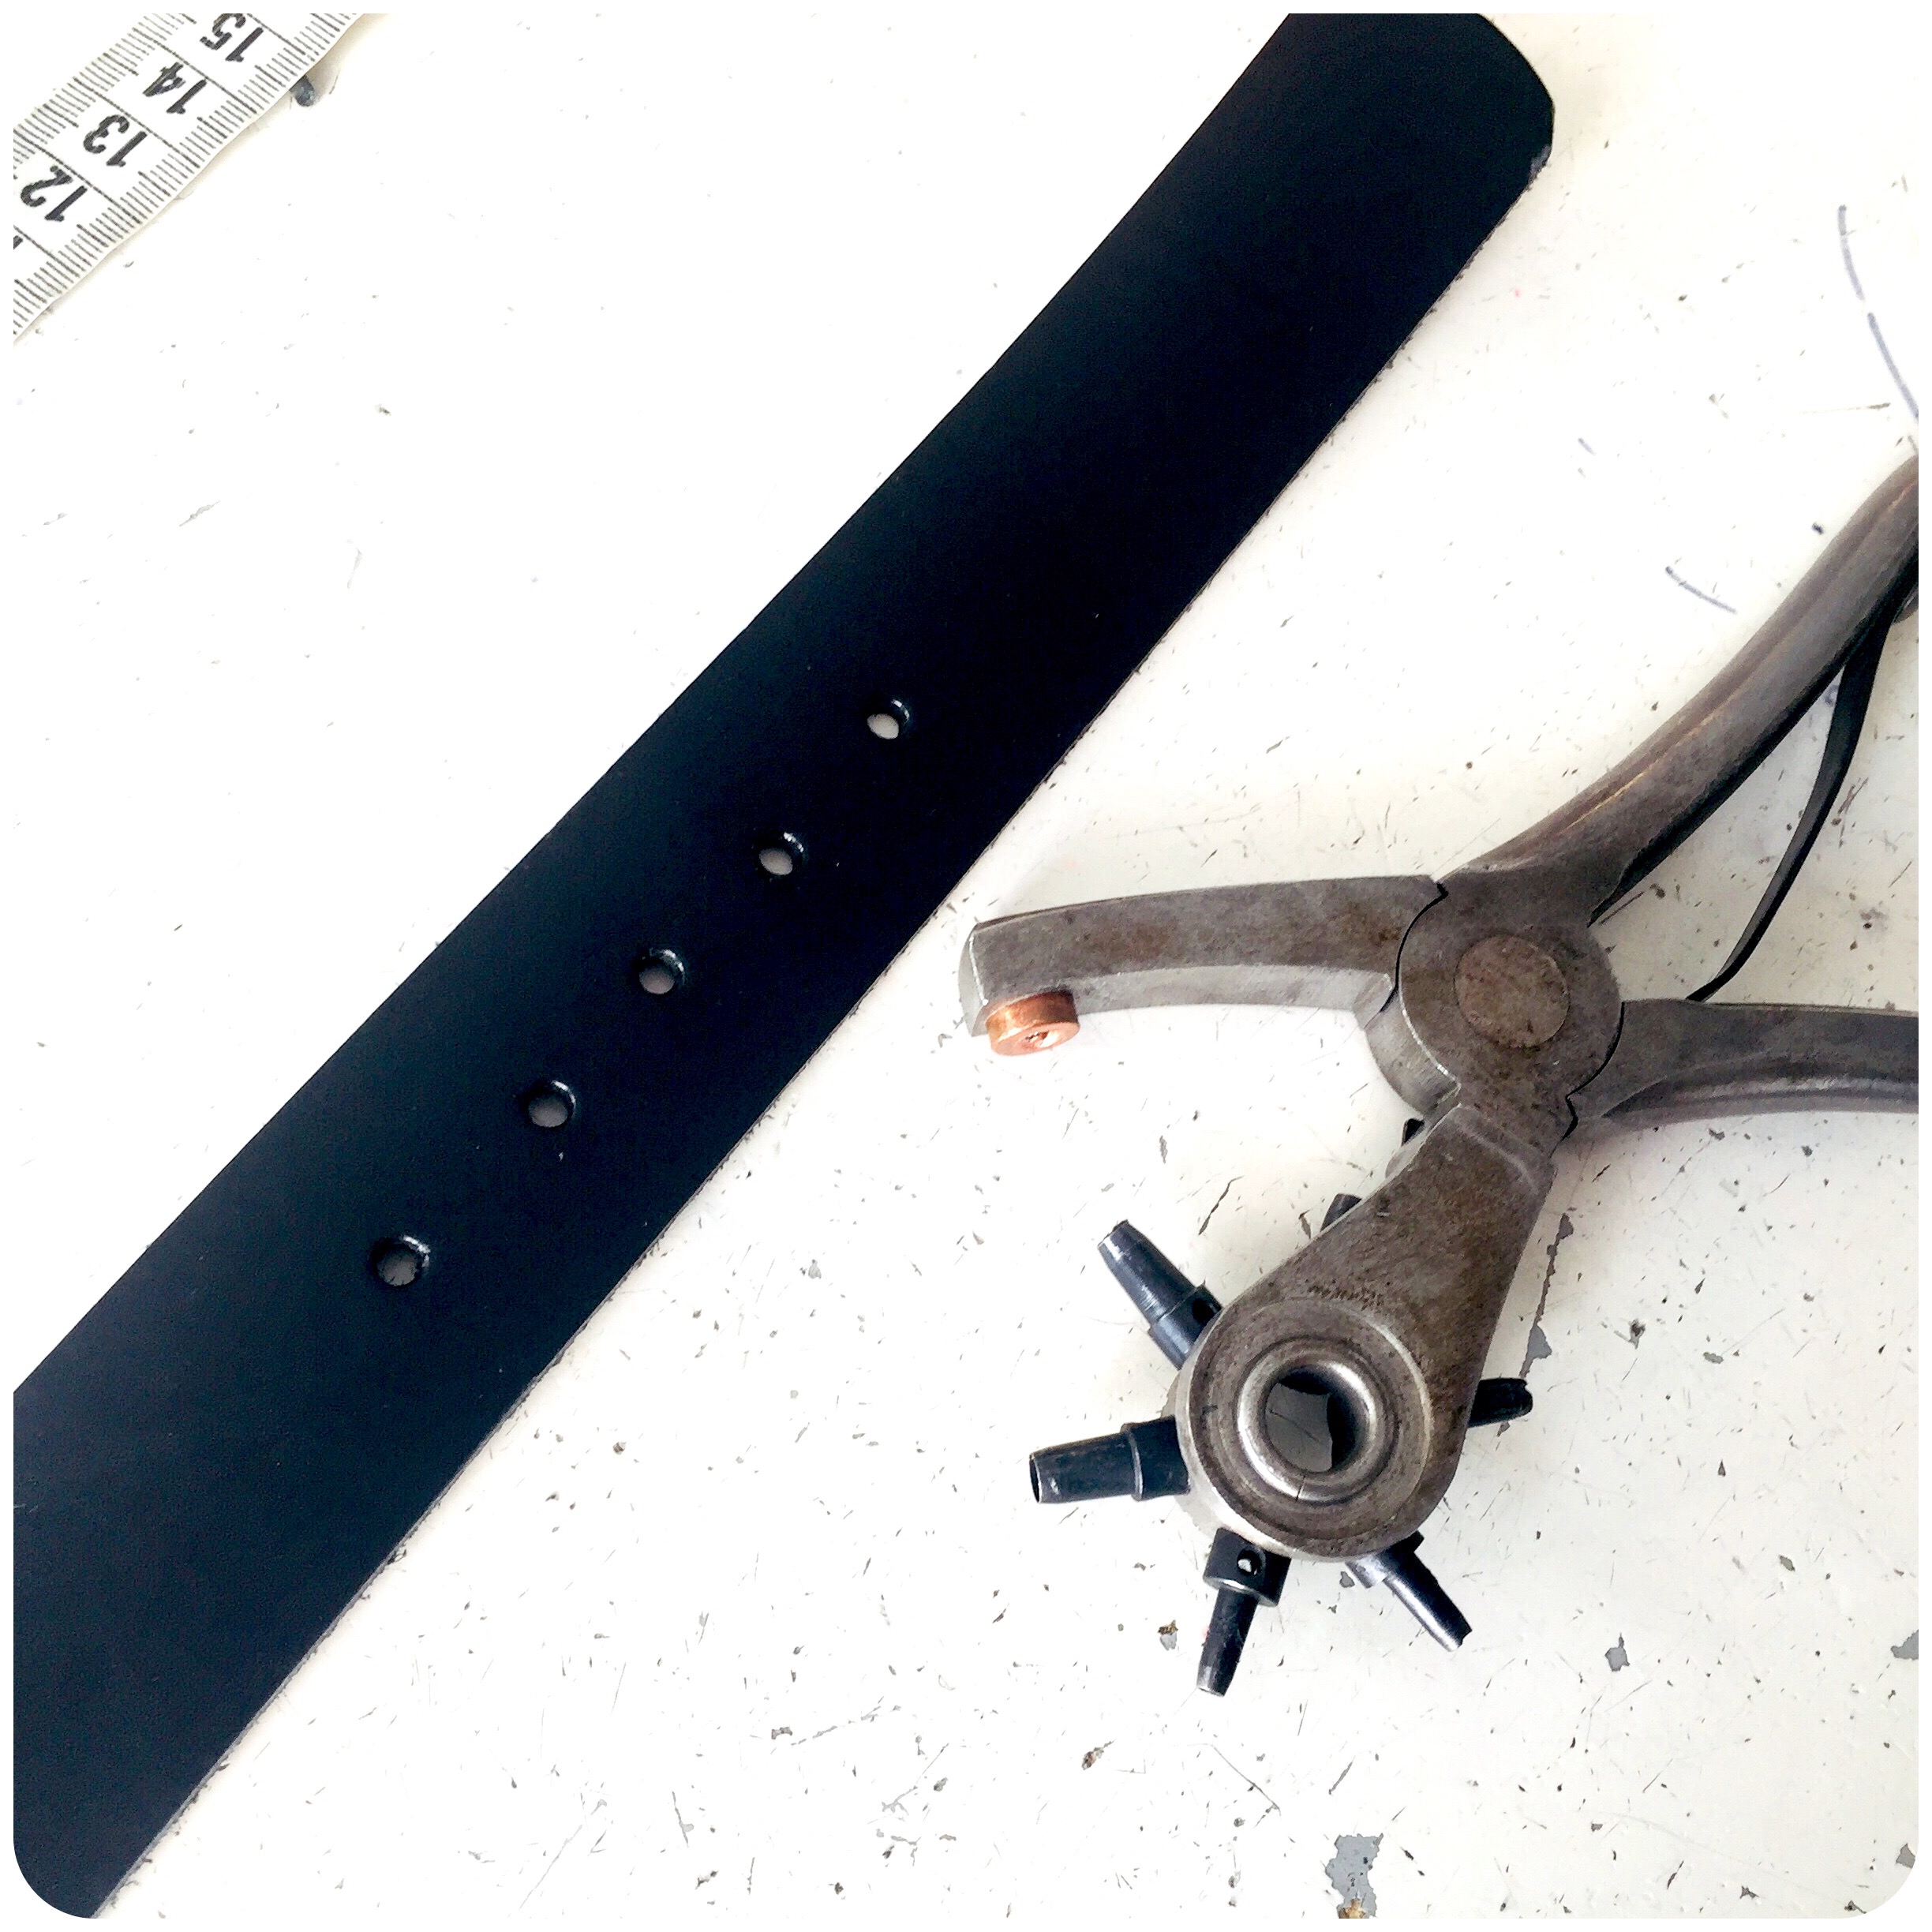
Punching out the additional holes earlier marked.
Folding in the belt underlay and copying over the two “locking the buckle in” holes onto the other side.
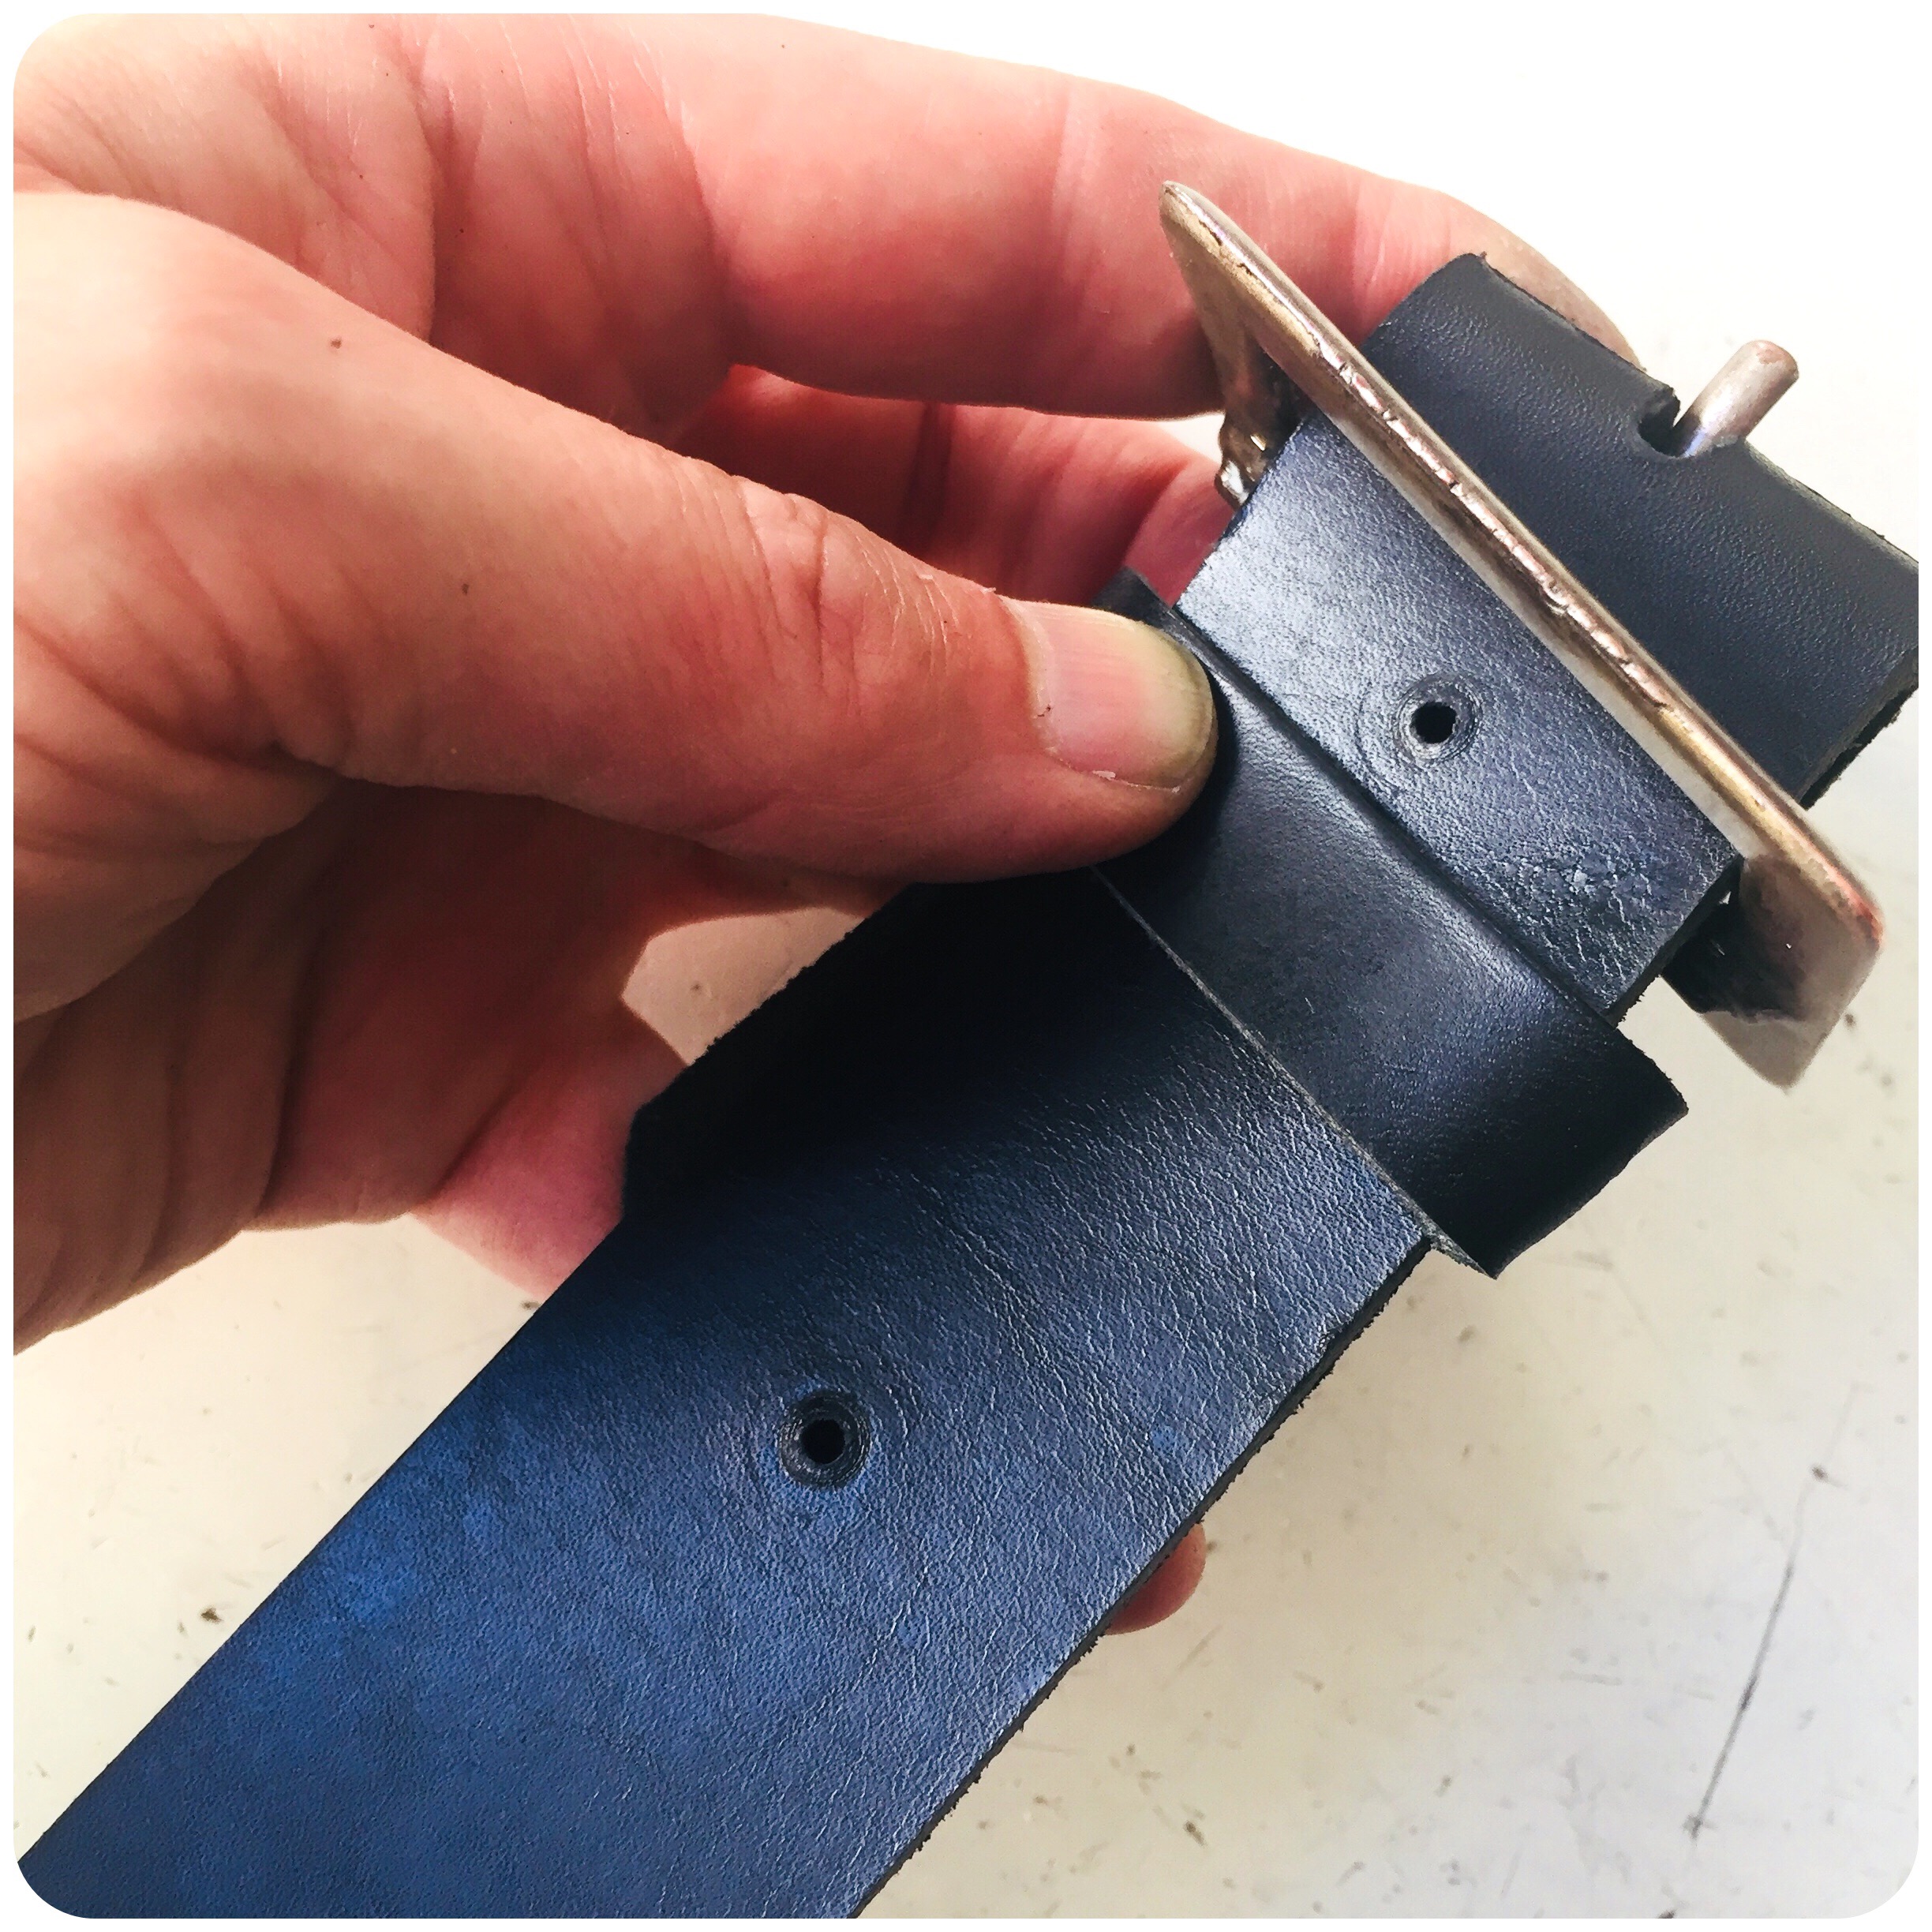
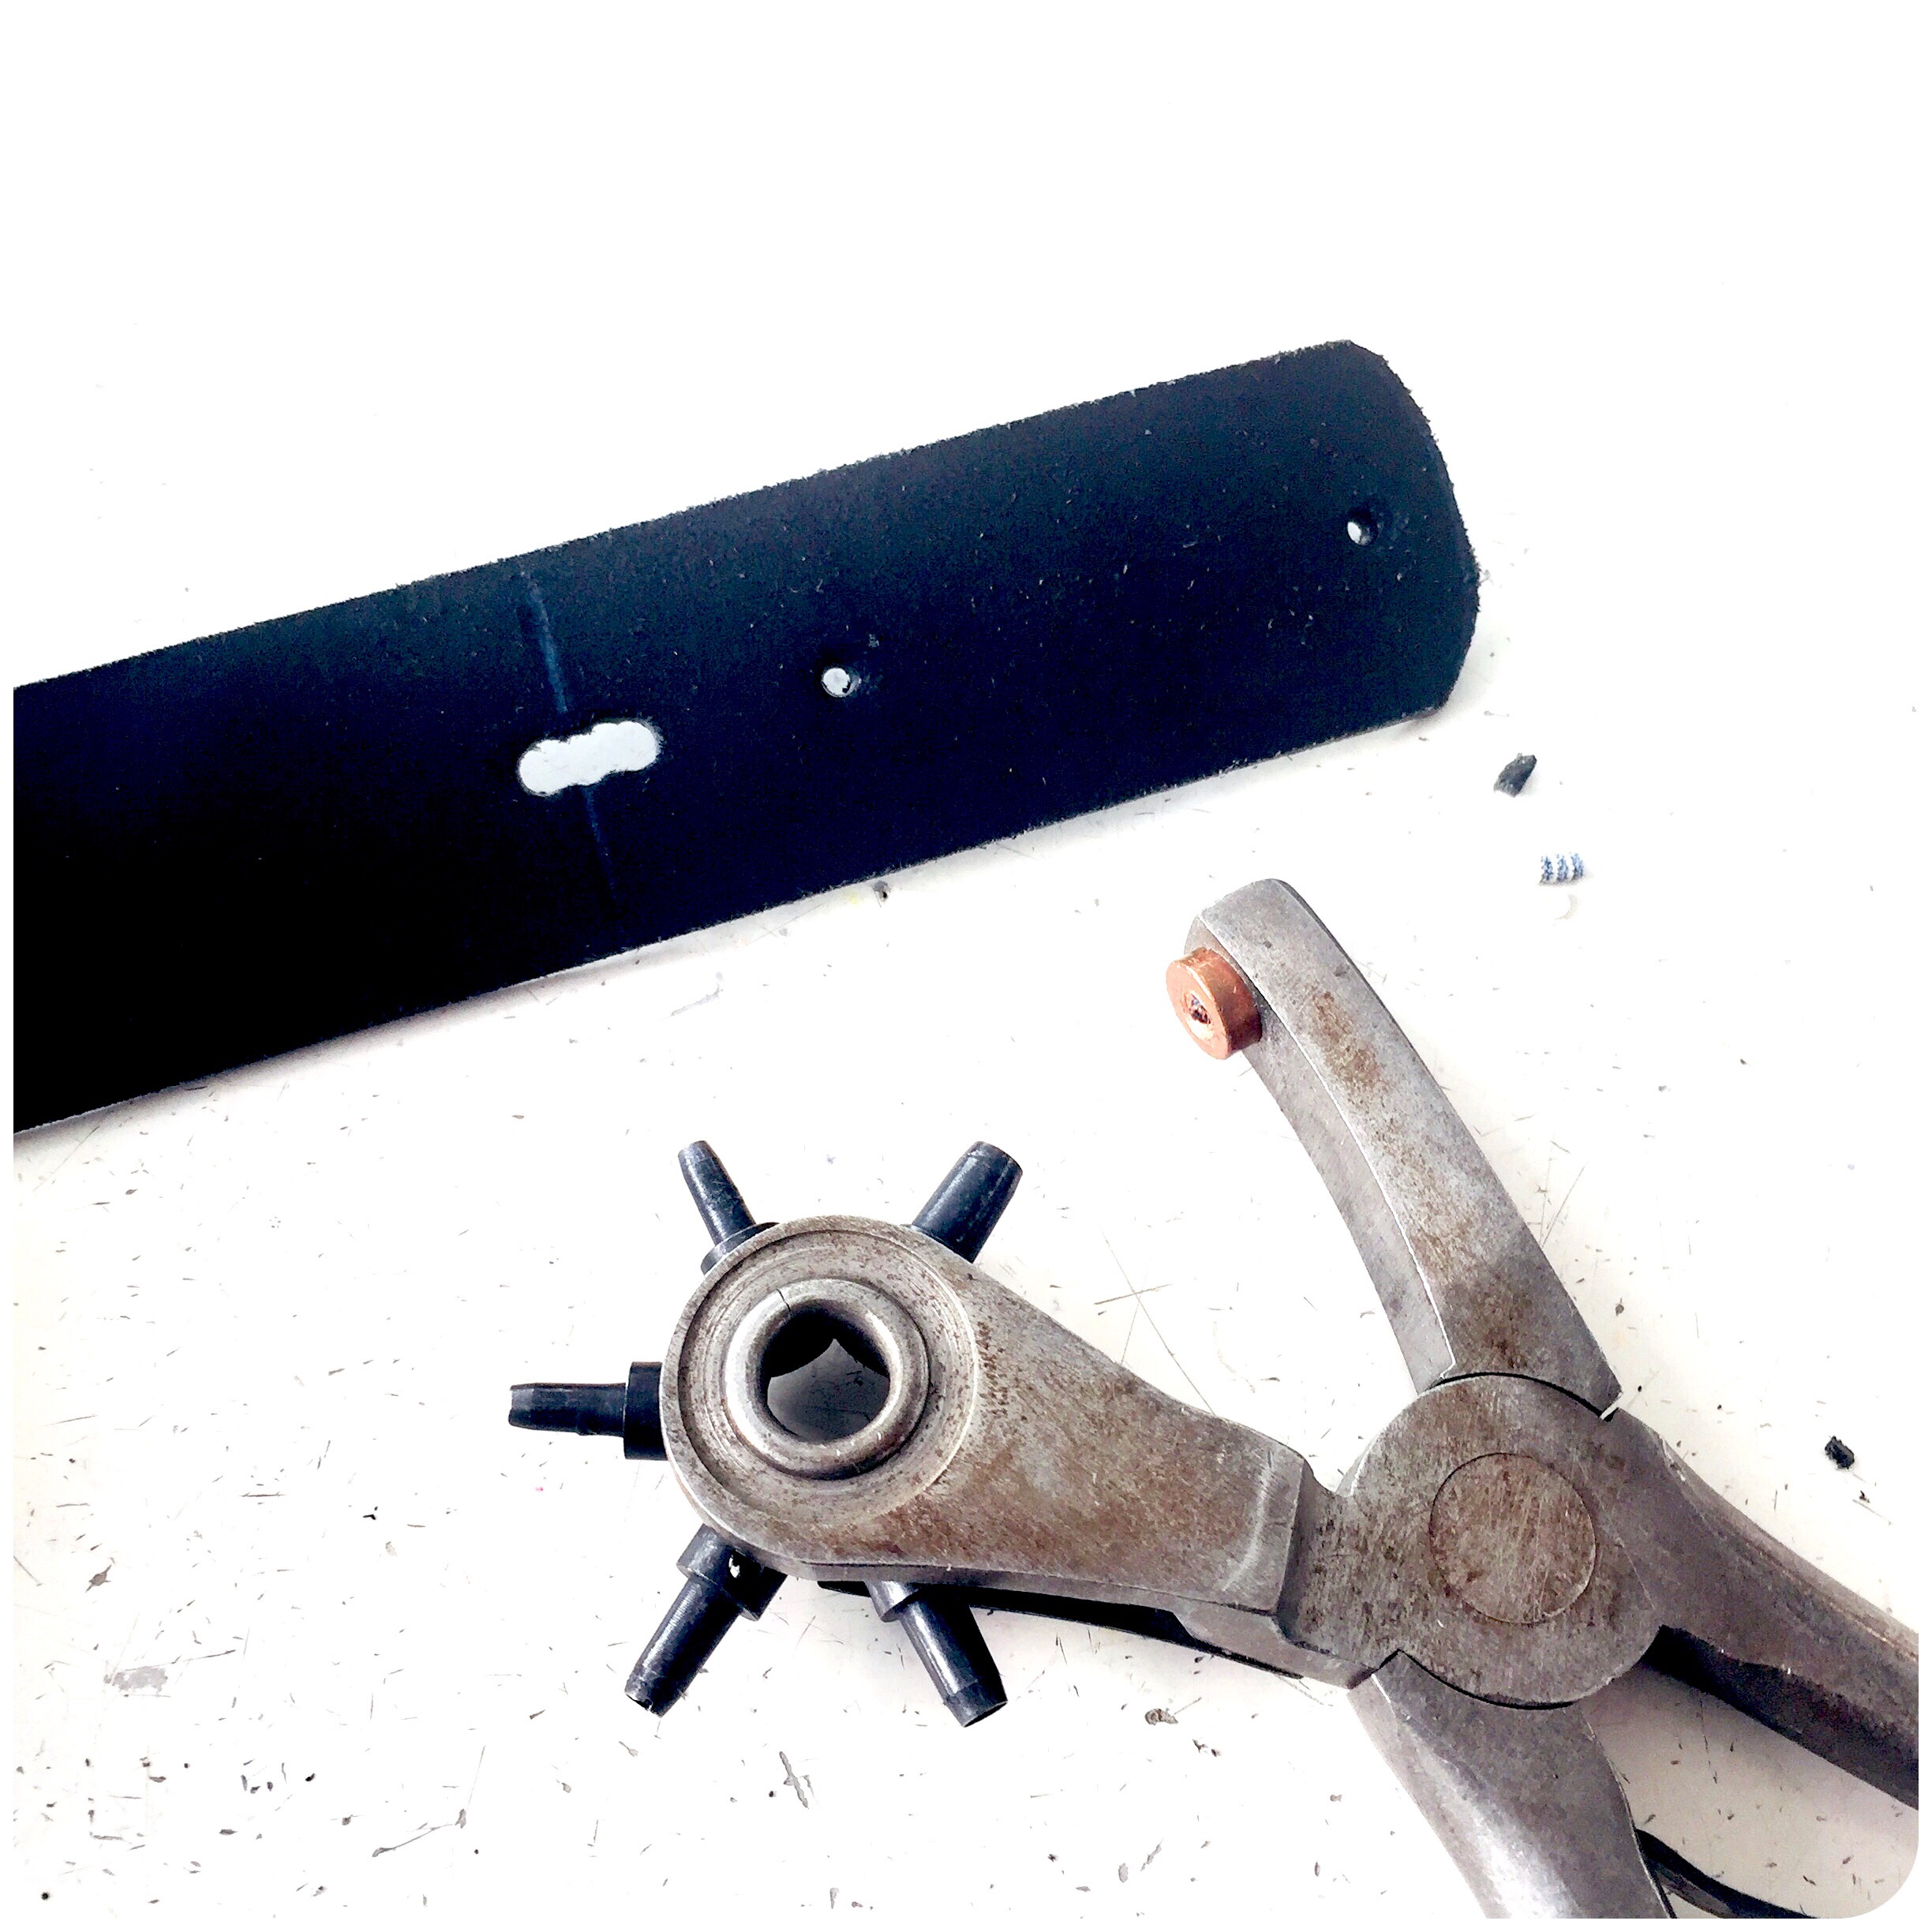
Punching out the copied hole-markings.
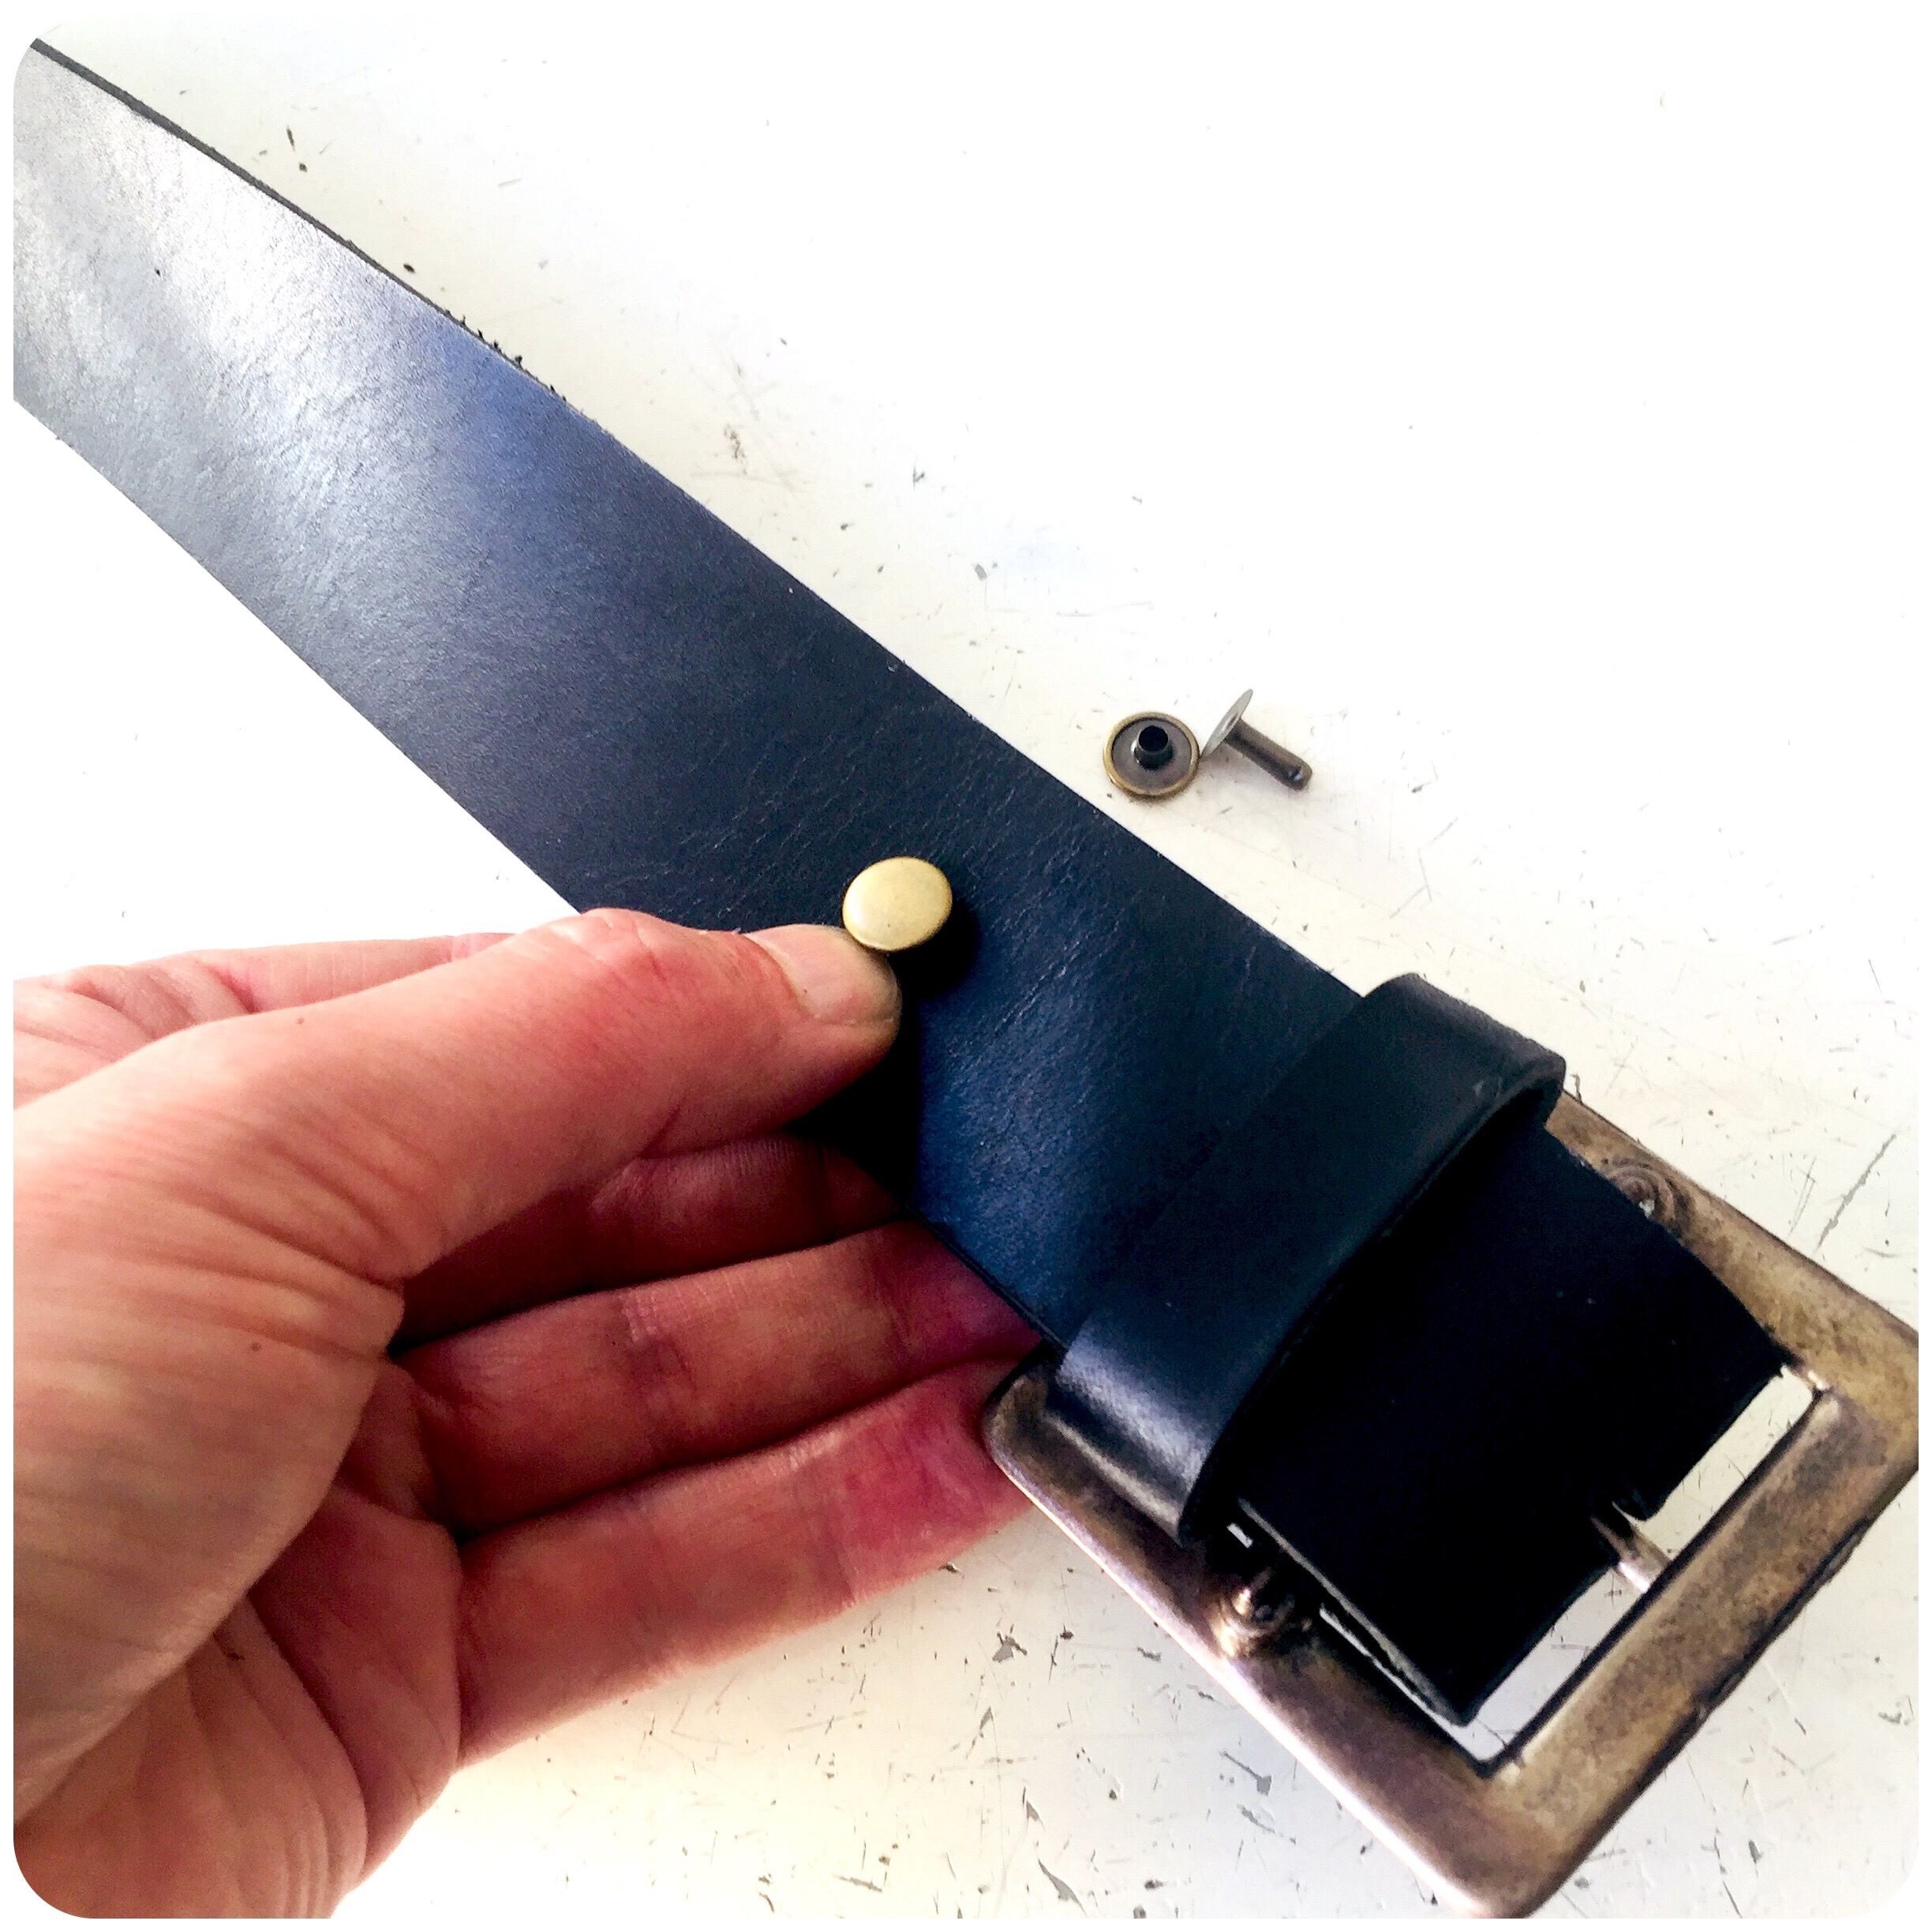
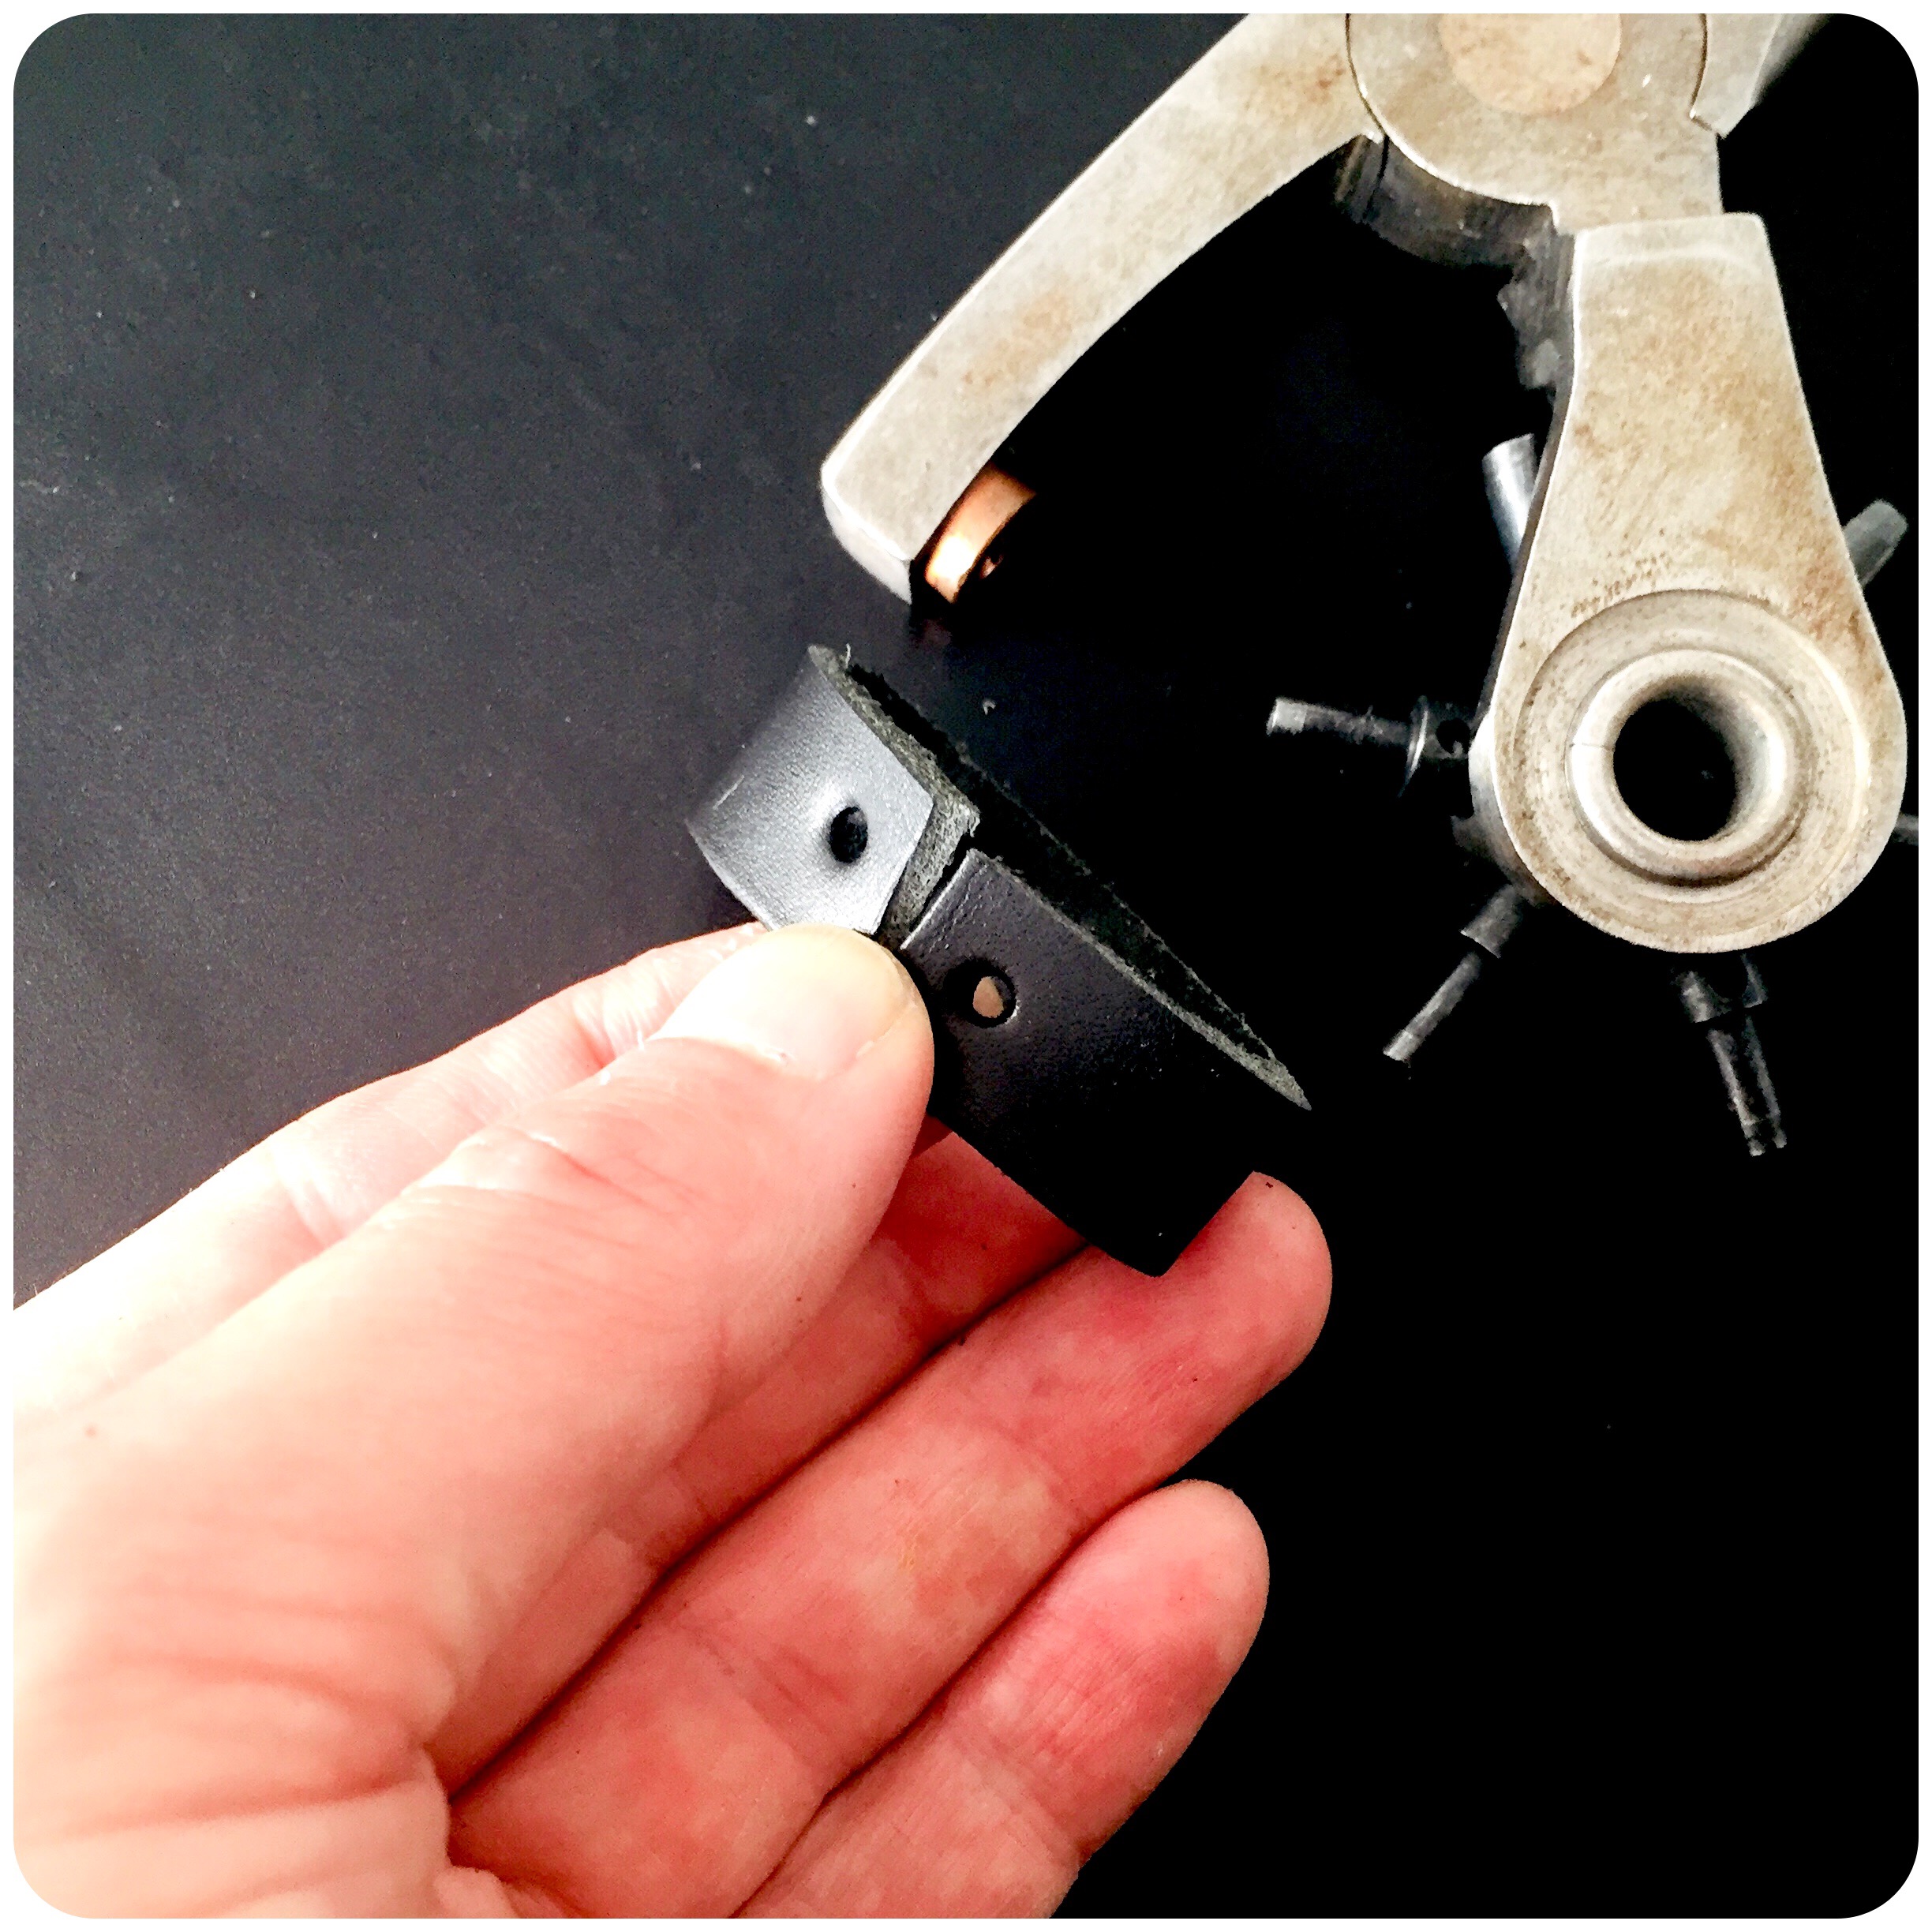
Adding rivets, to lock in both the buckle and the loop.
Pressing the rivets in place.
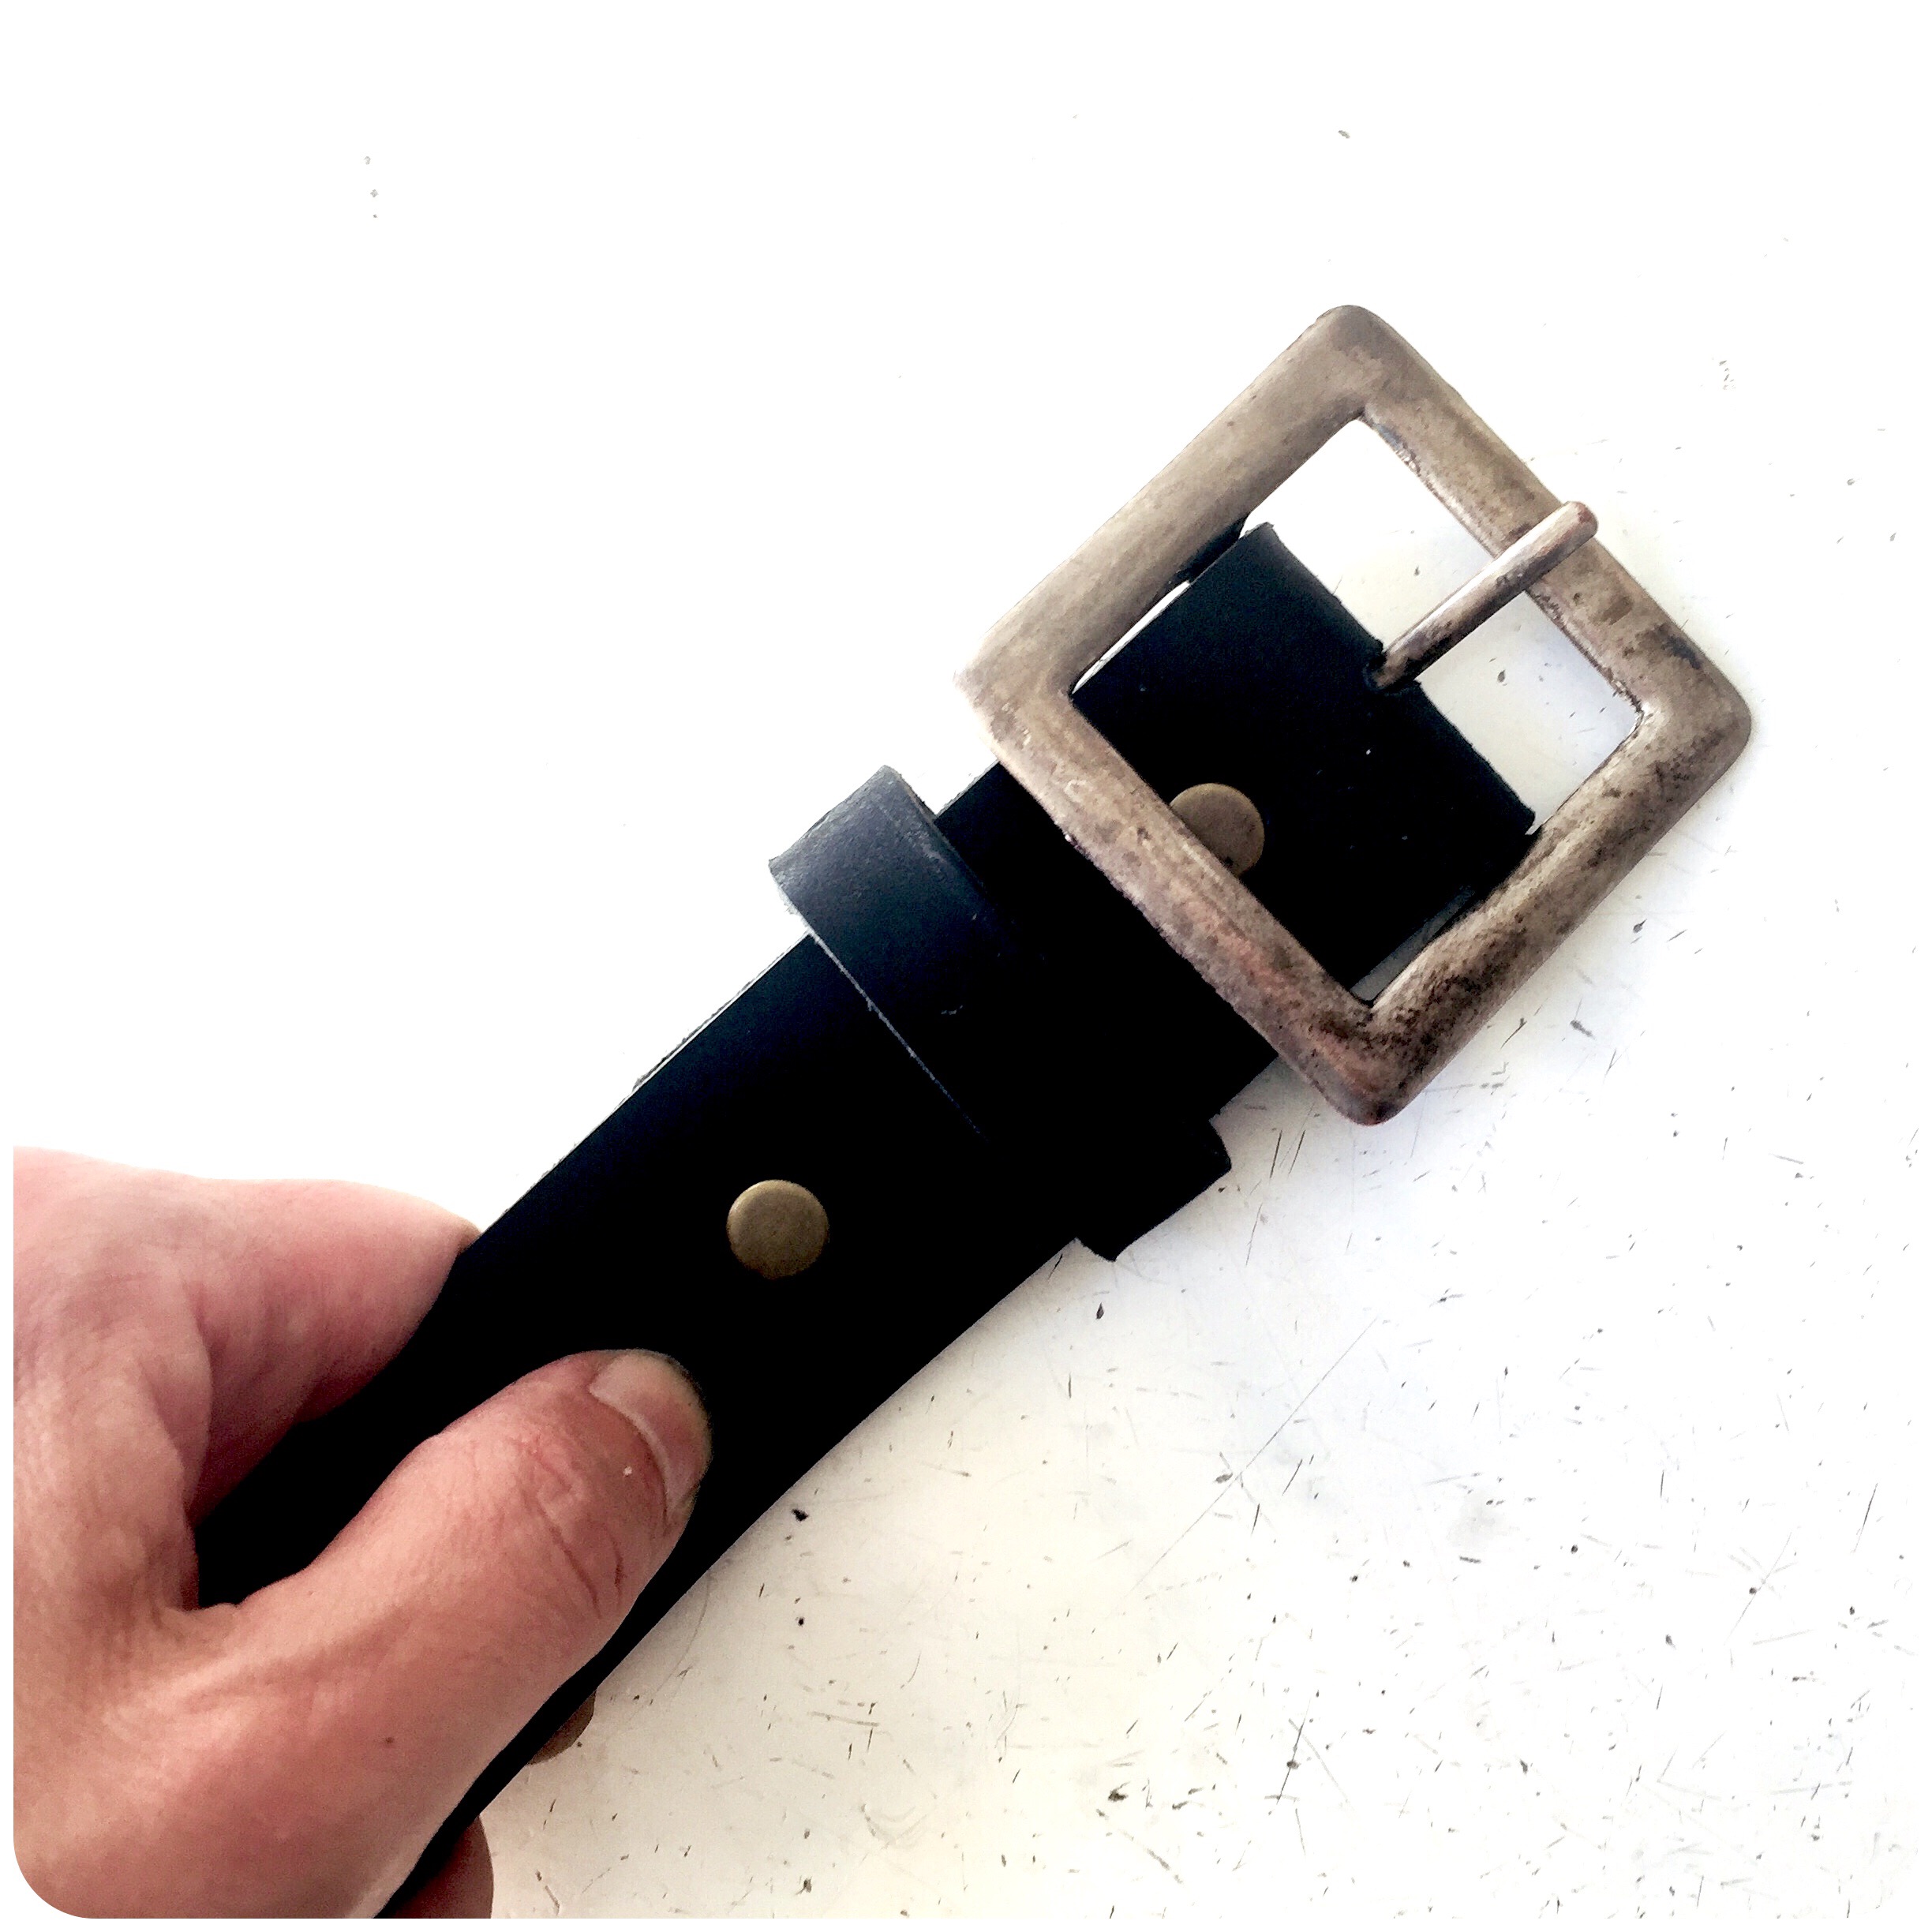
How the locked in buckle and loop looks from the right side…
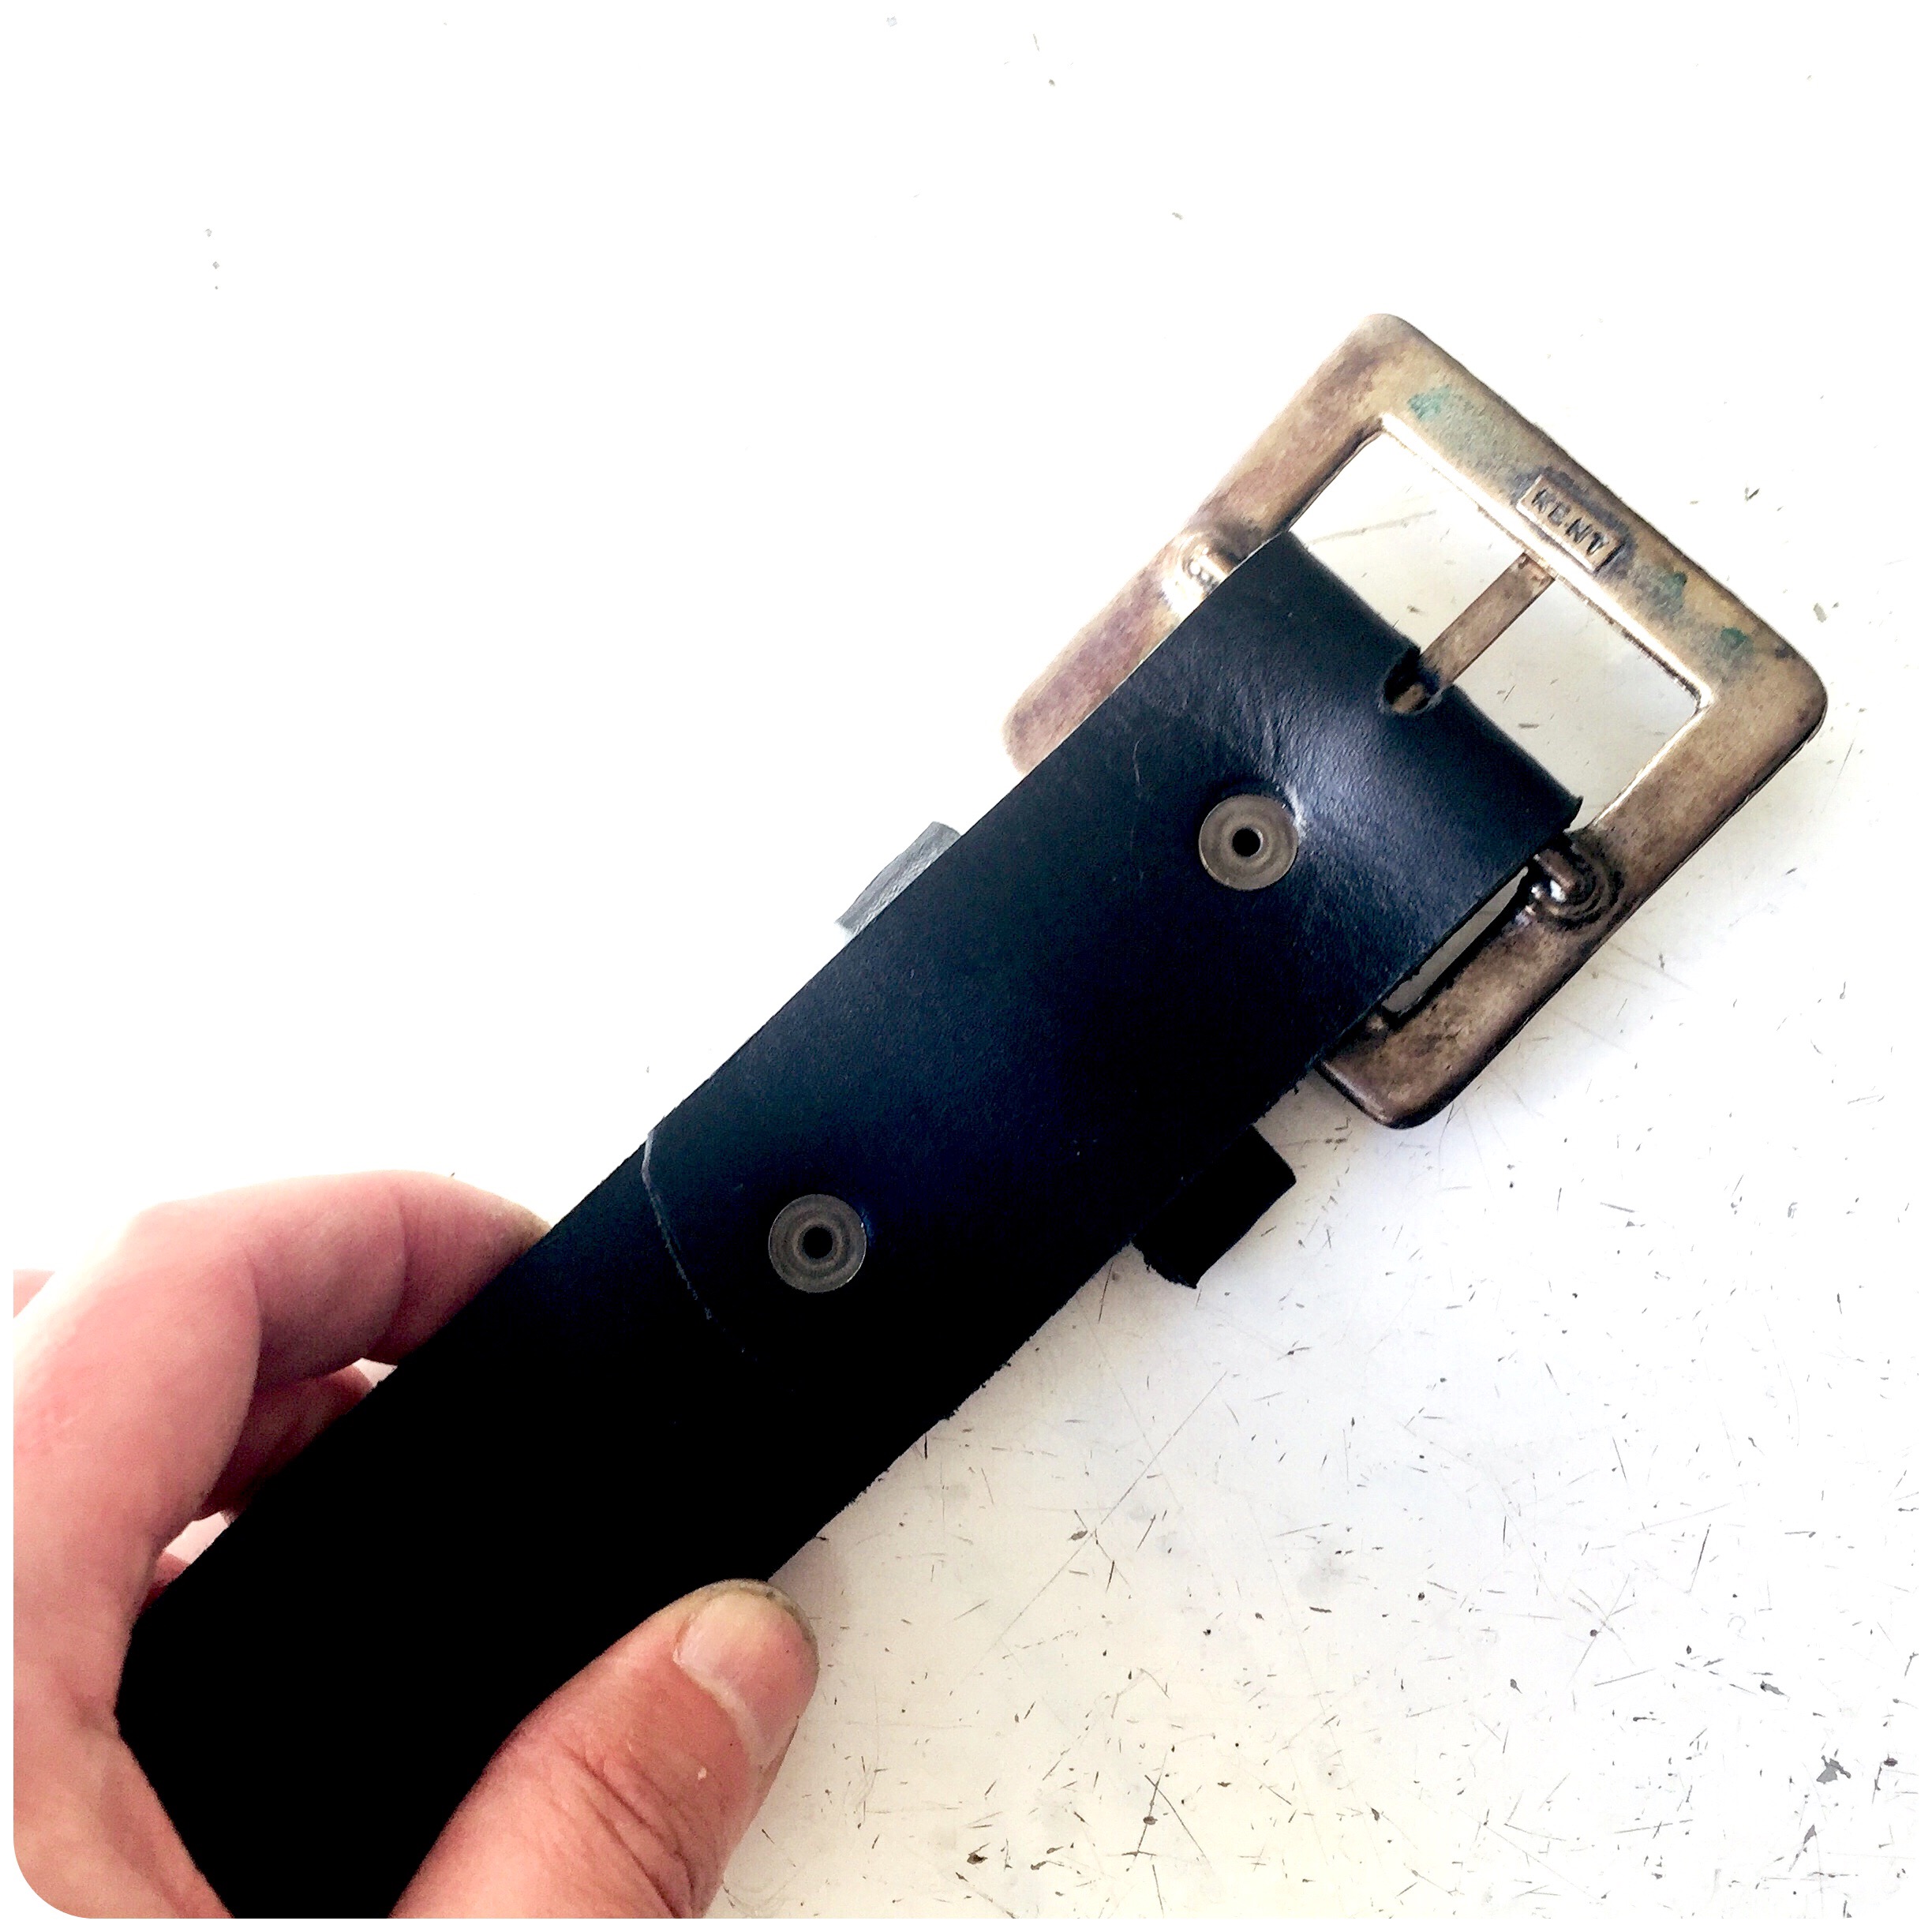
… and how it looks from the reversed side.
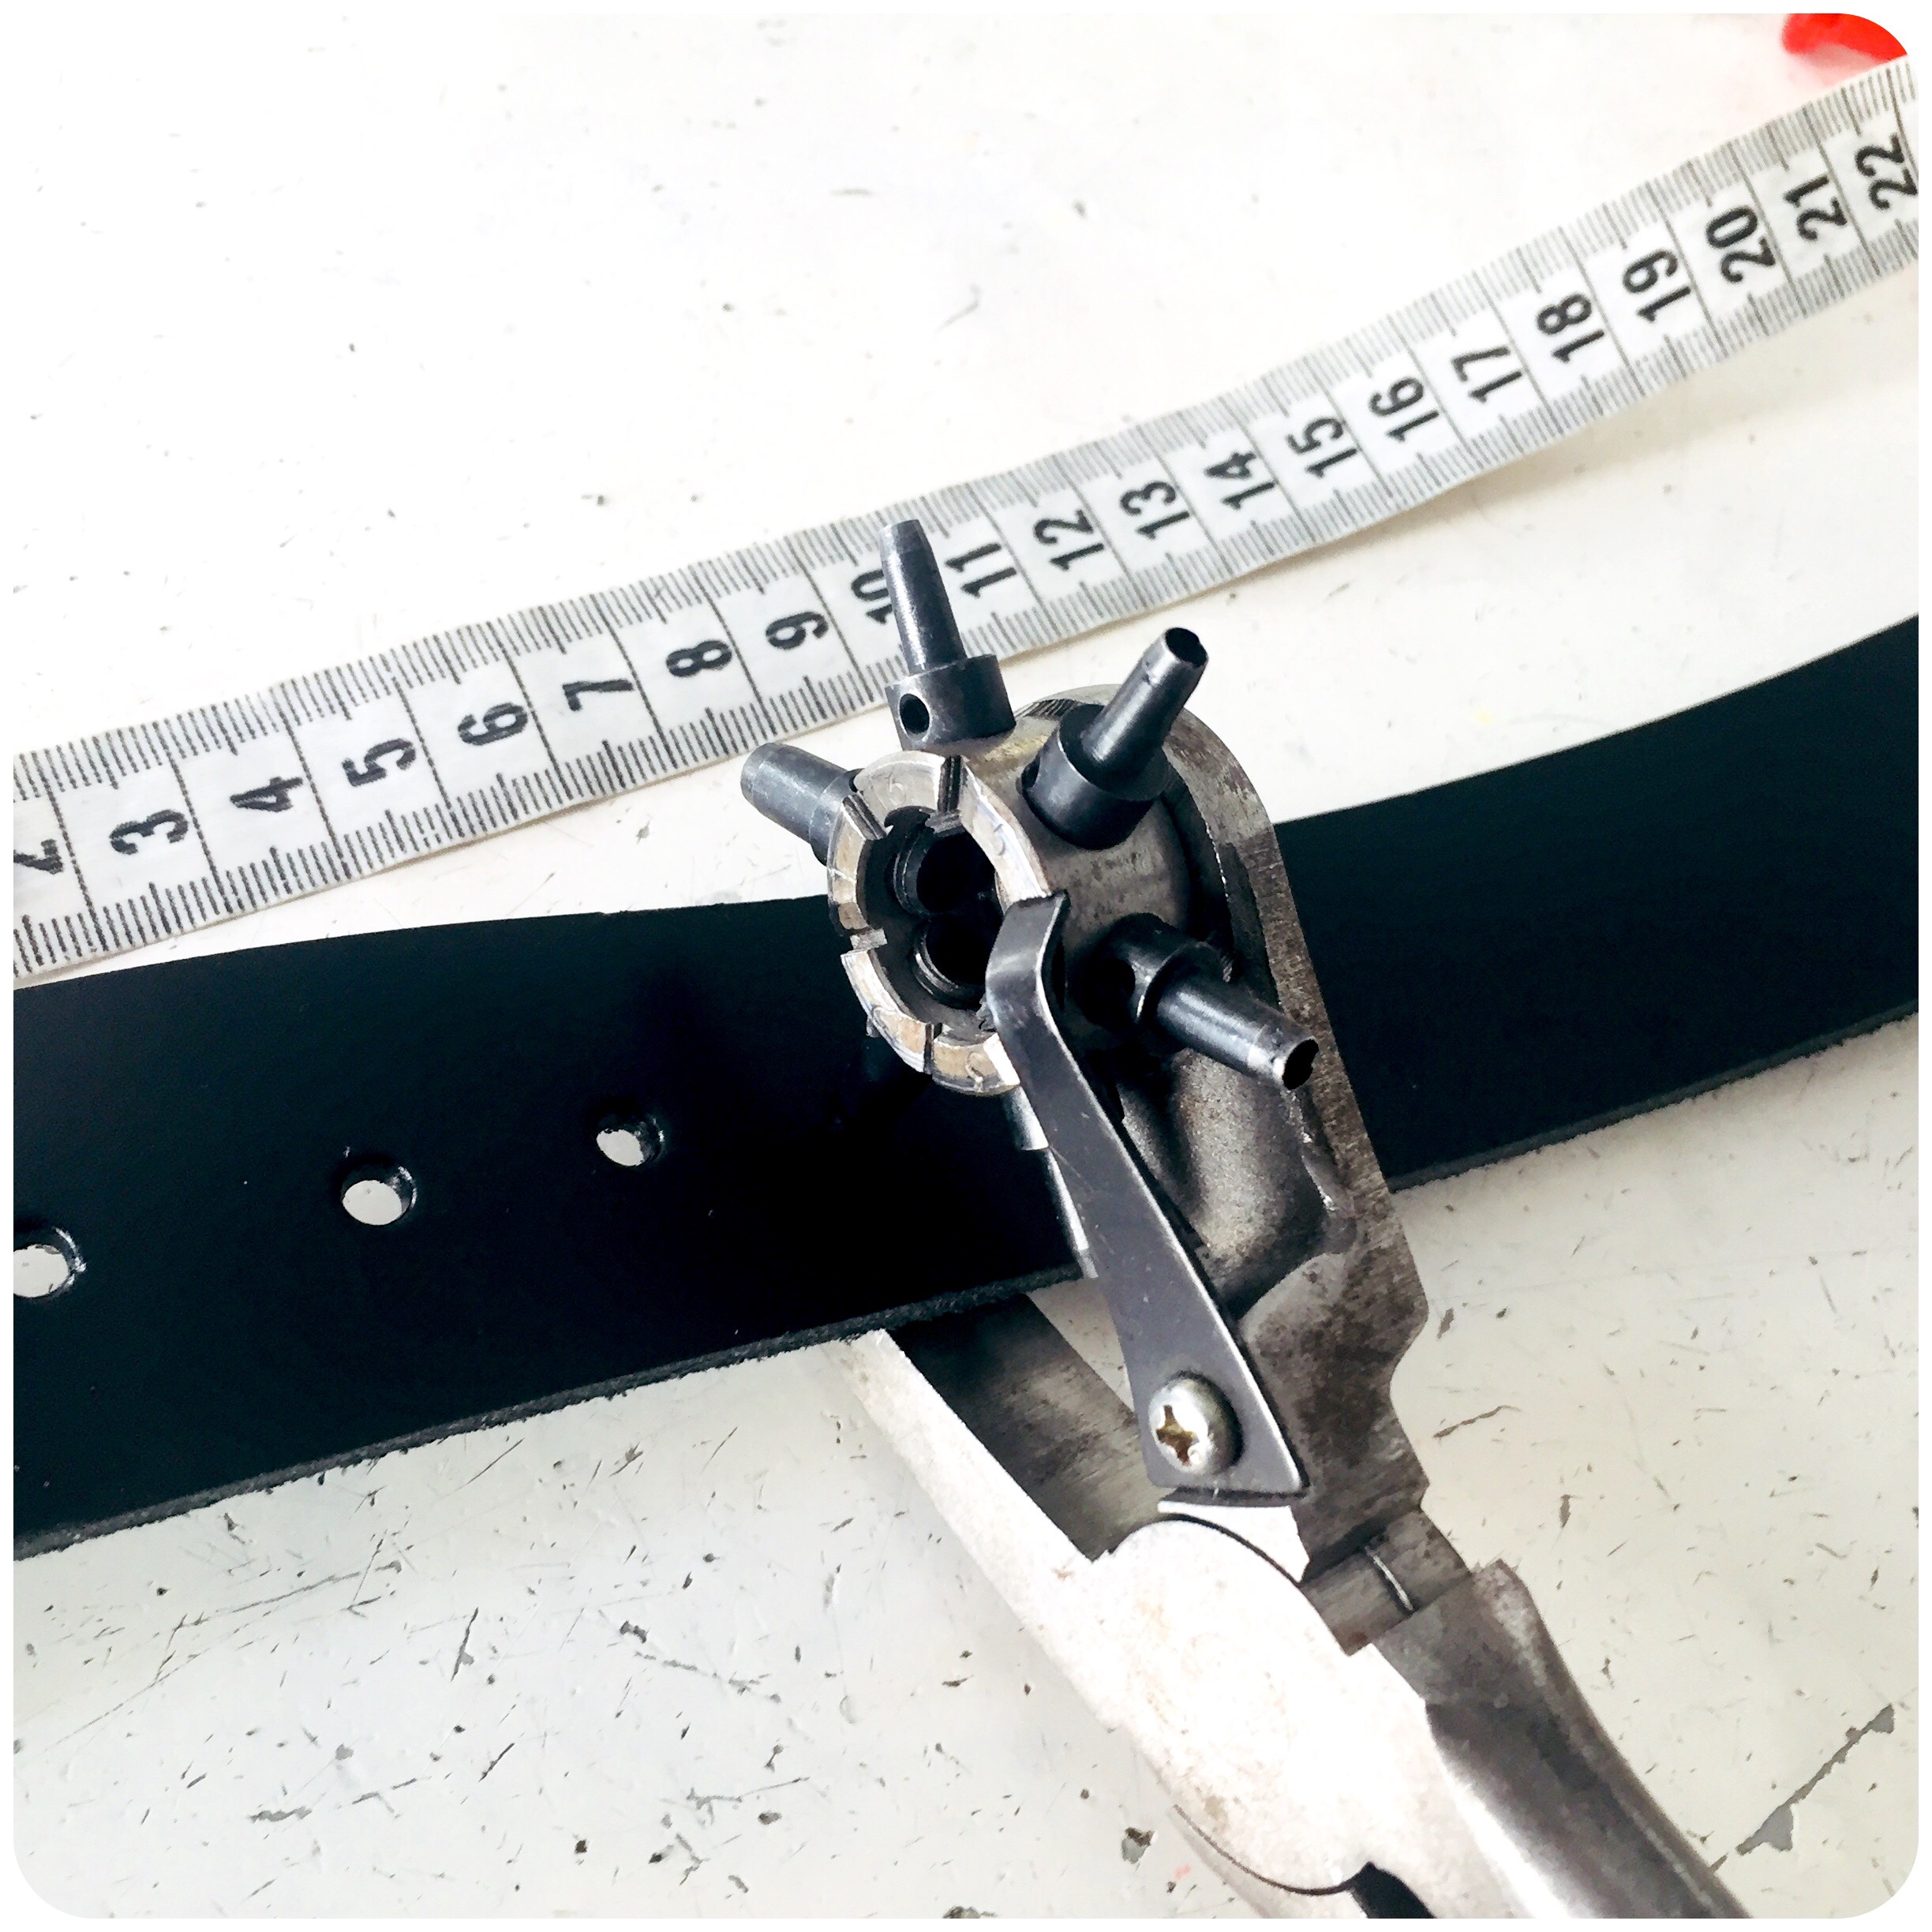
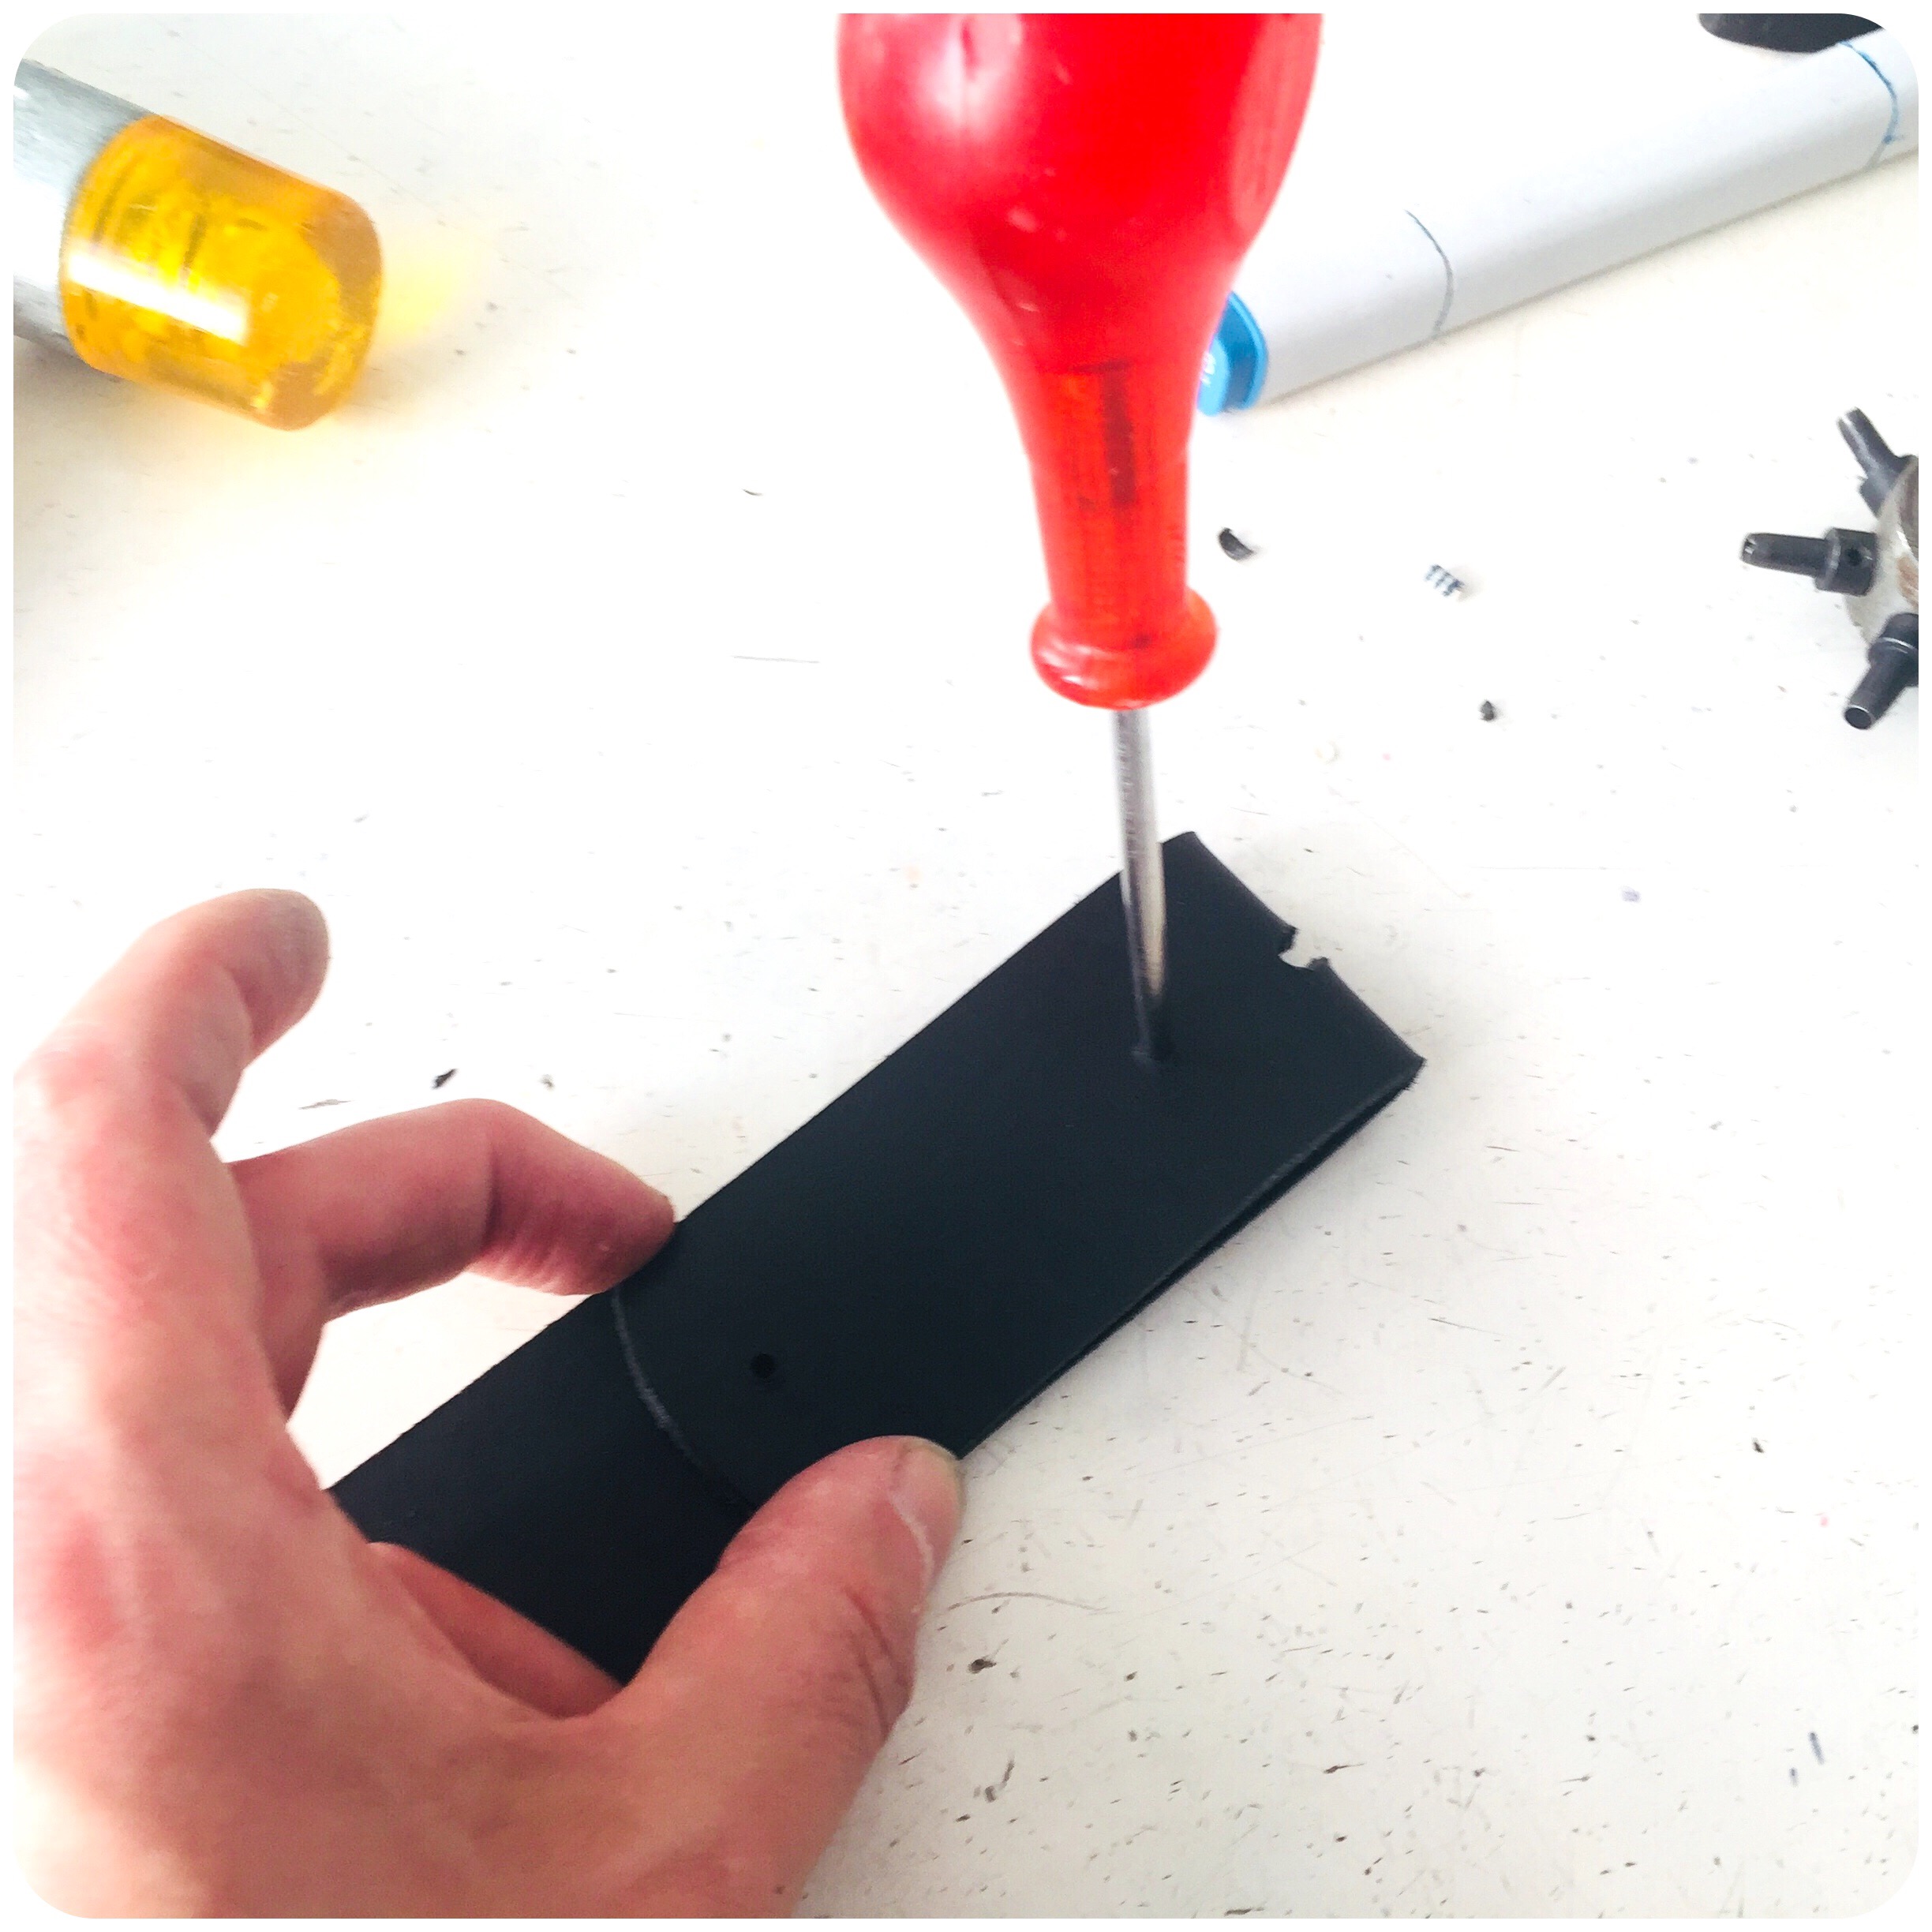
Punching out additional holes at the edge of the belt, for closure.
There! Finished the belt technically. Now it’s time for prepping!
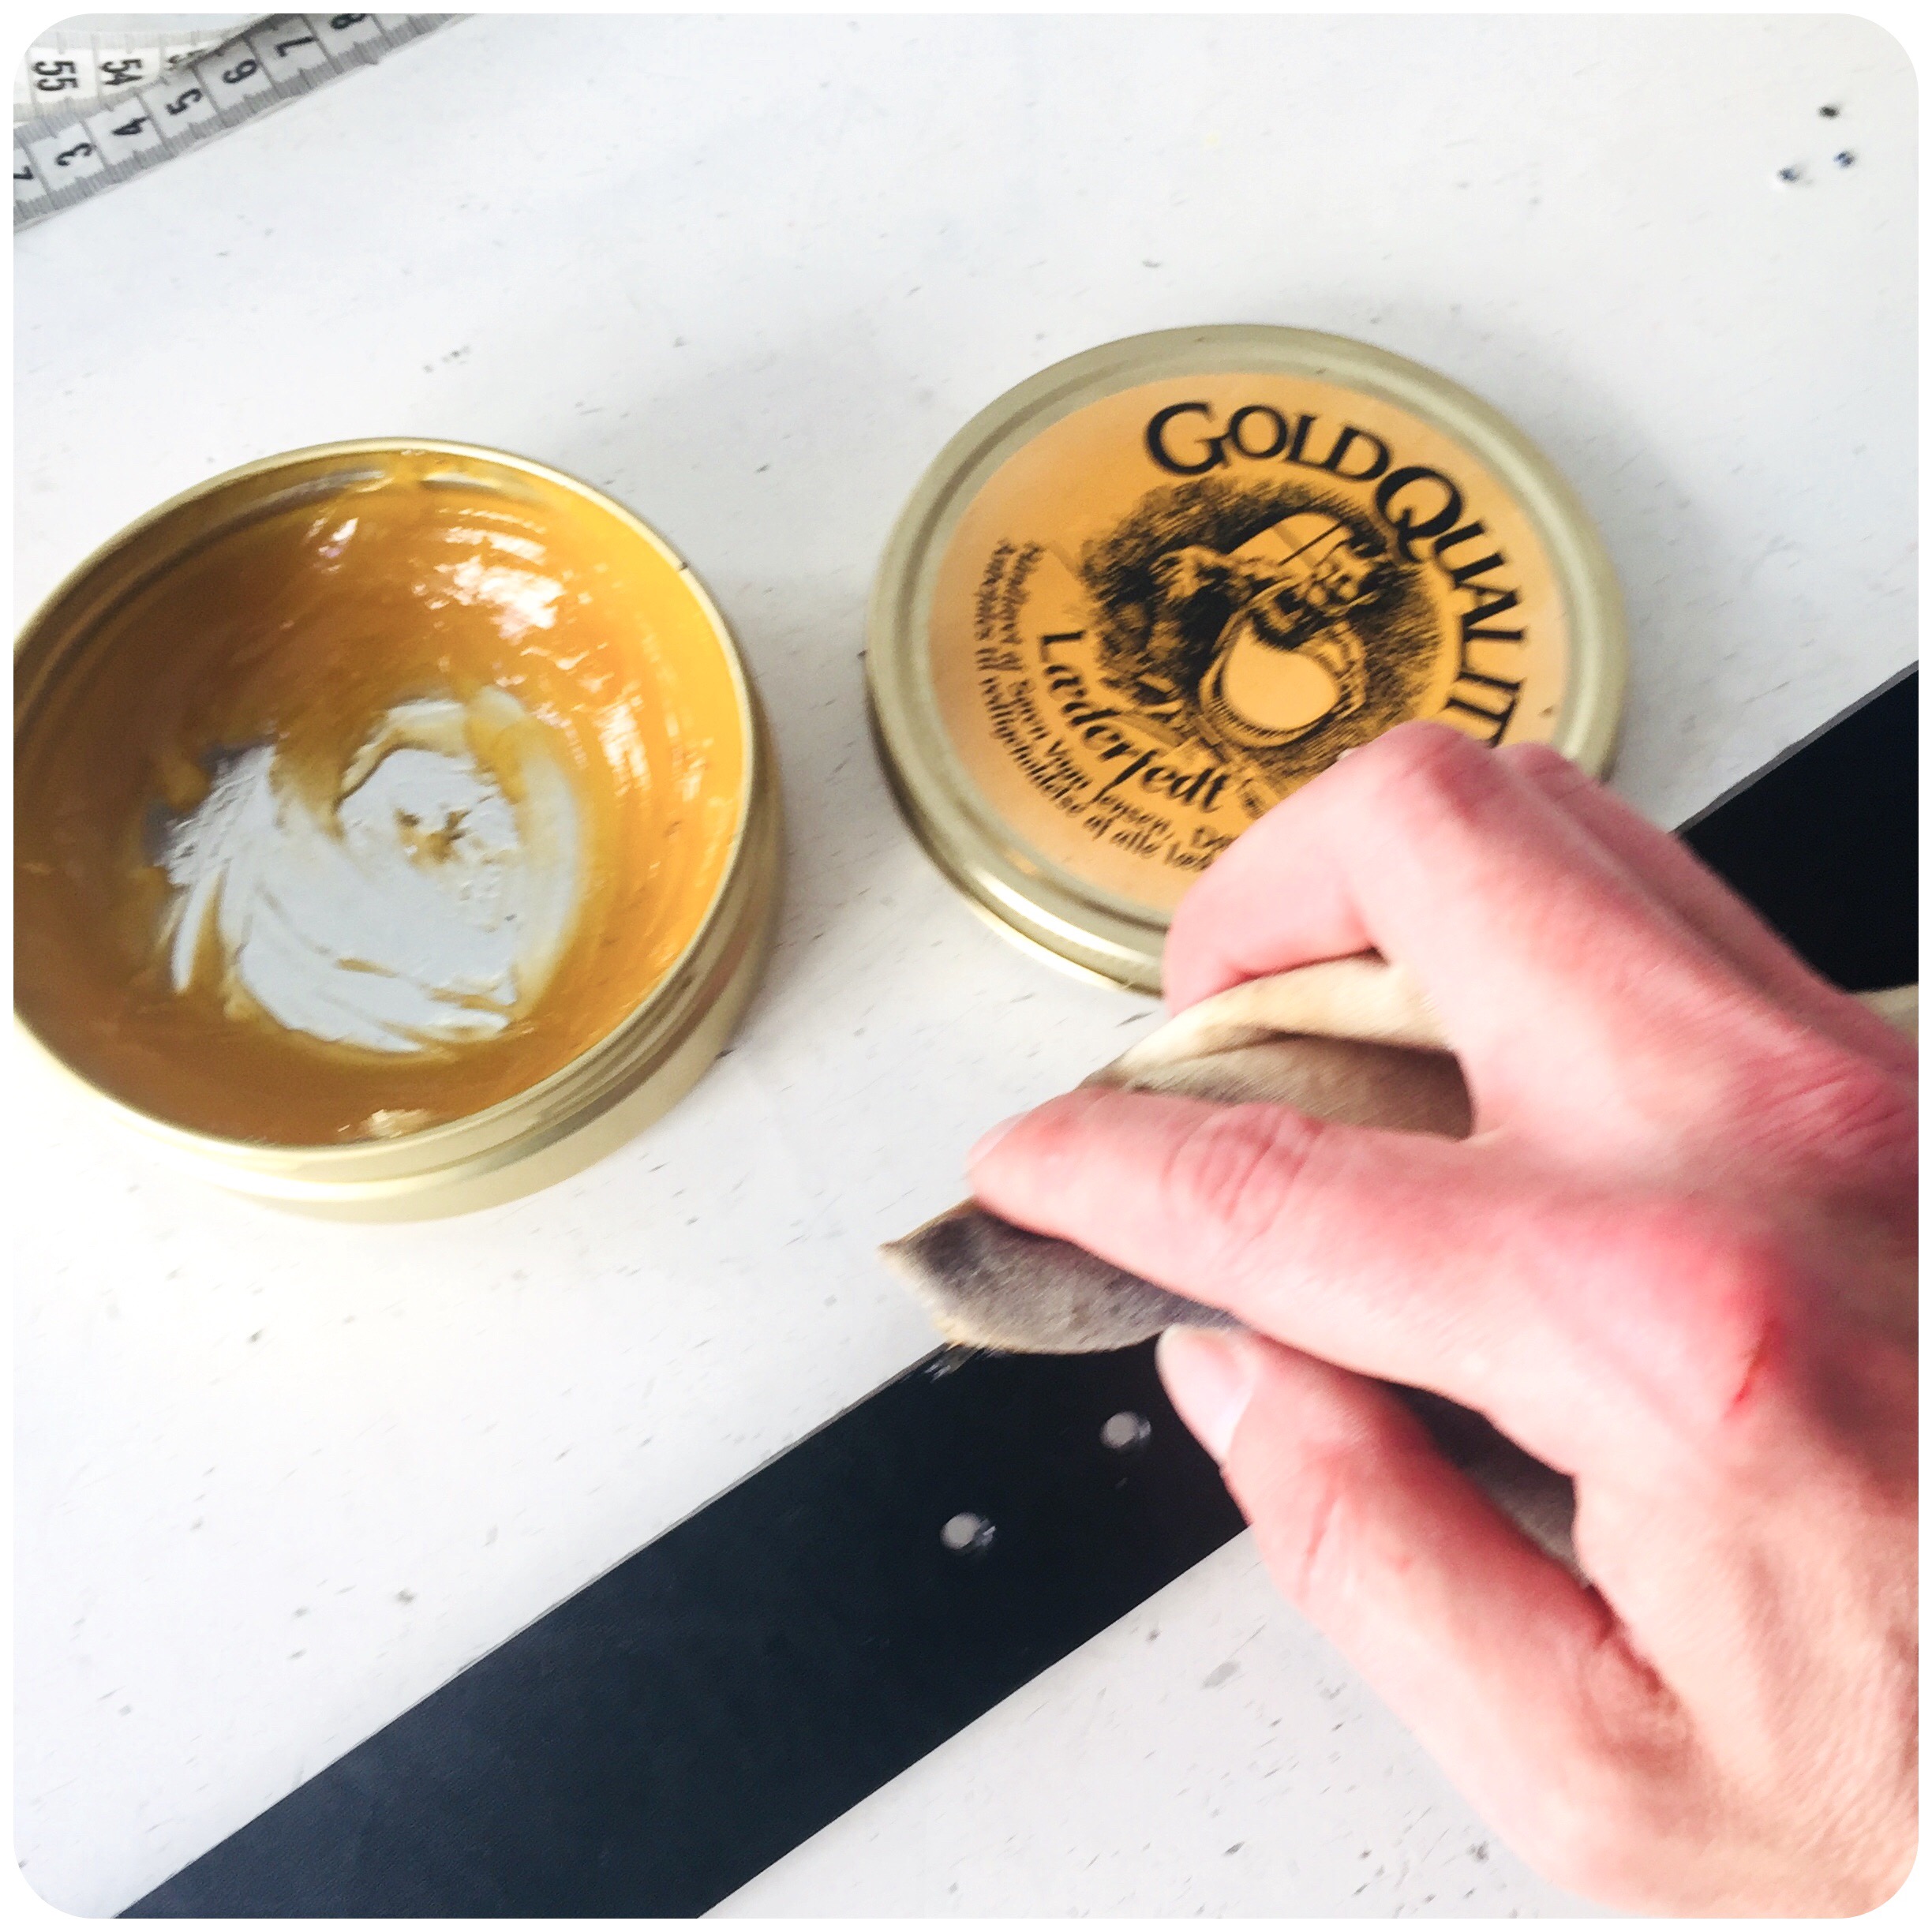
Adding grease on both top and underside for softening and shine, and on the sides for additional smoothness.
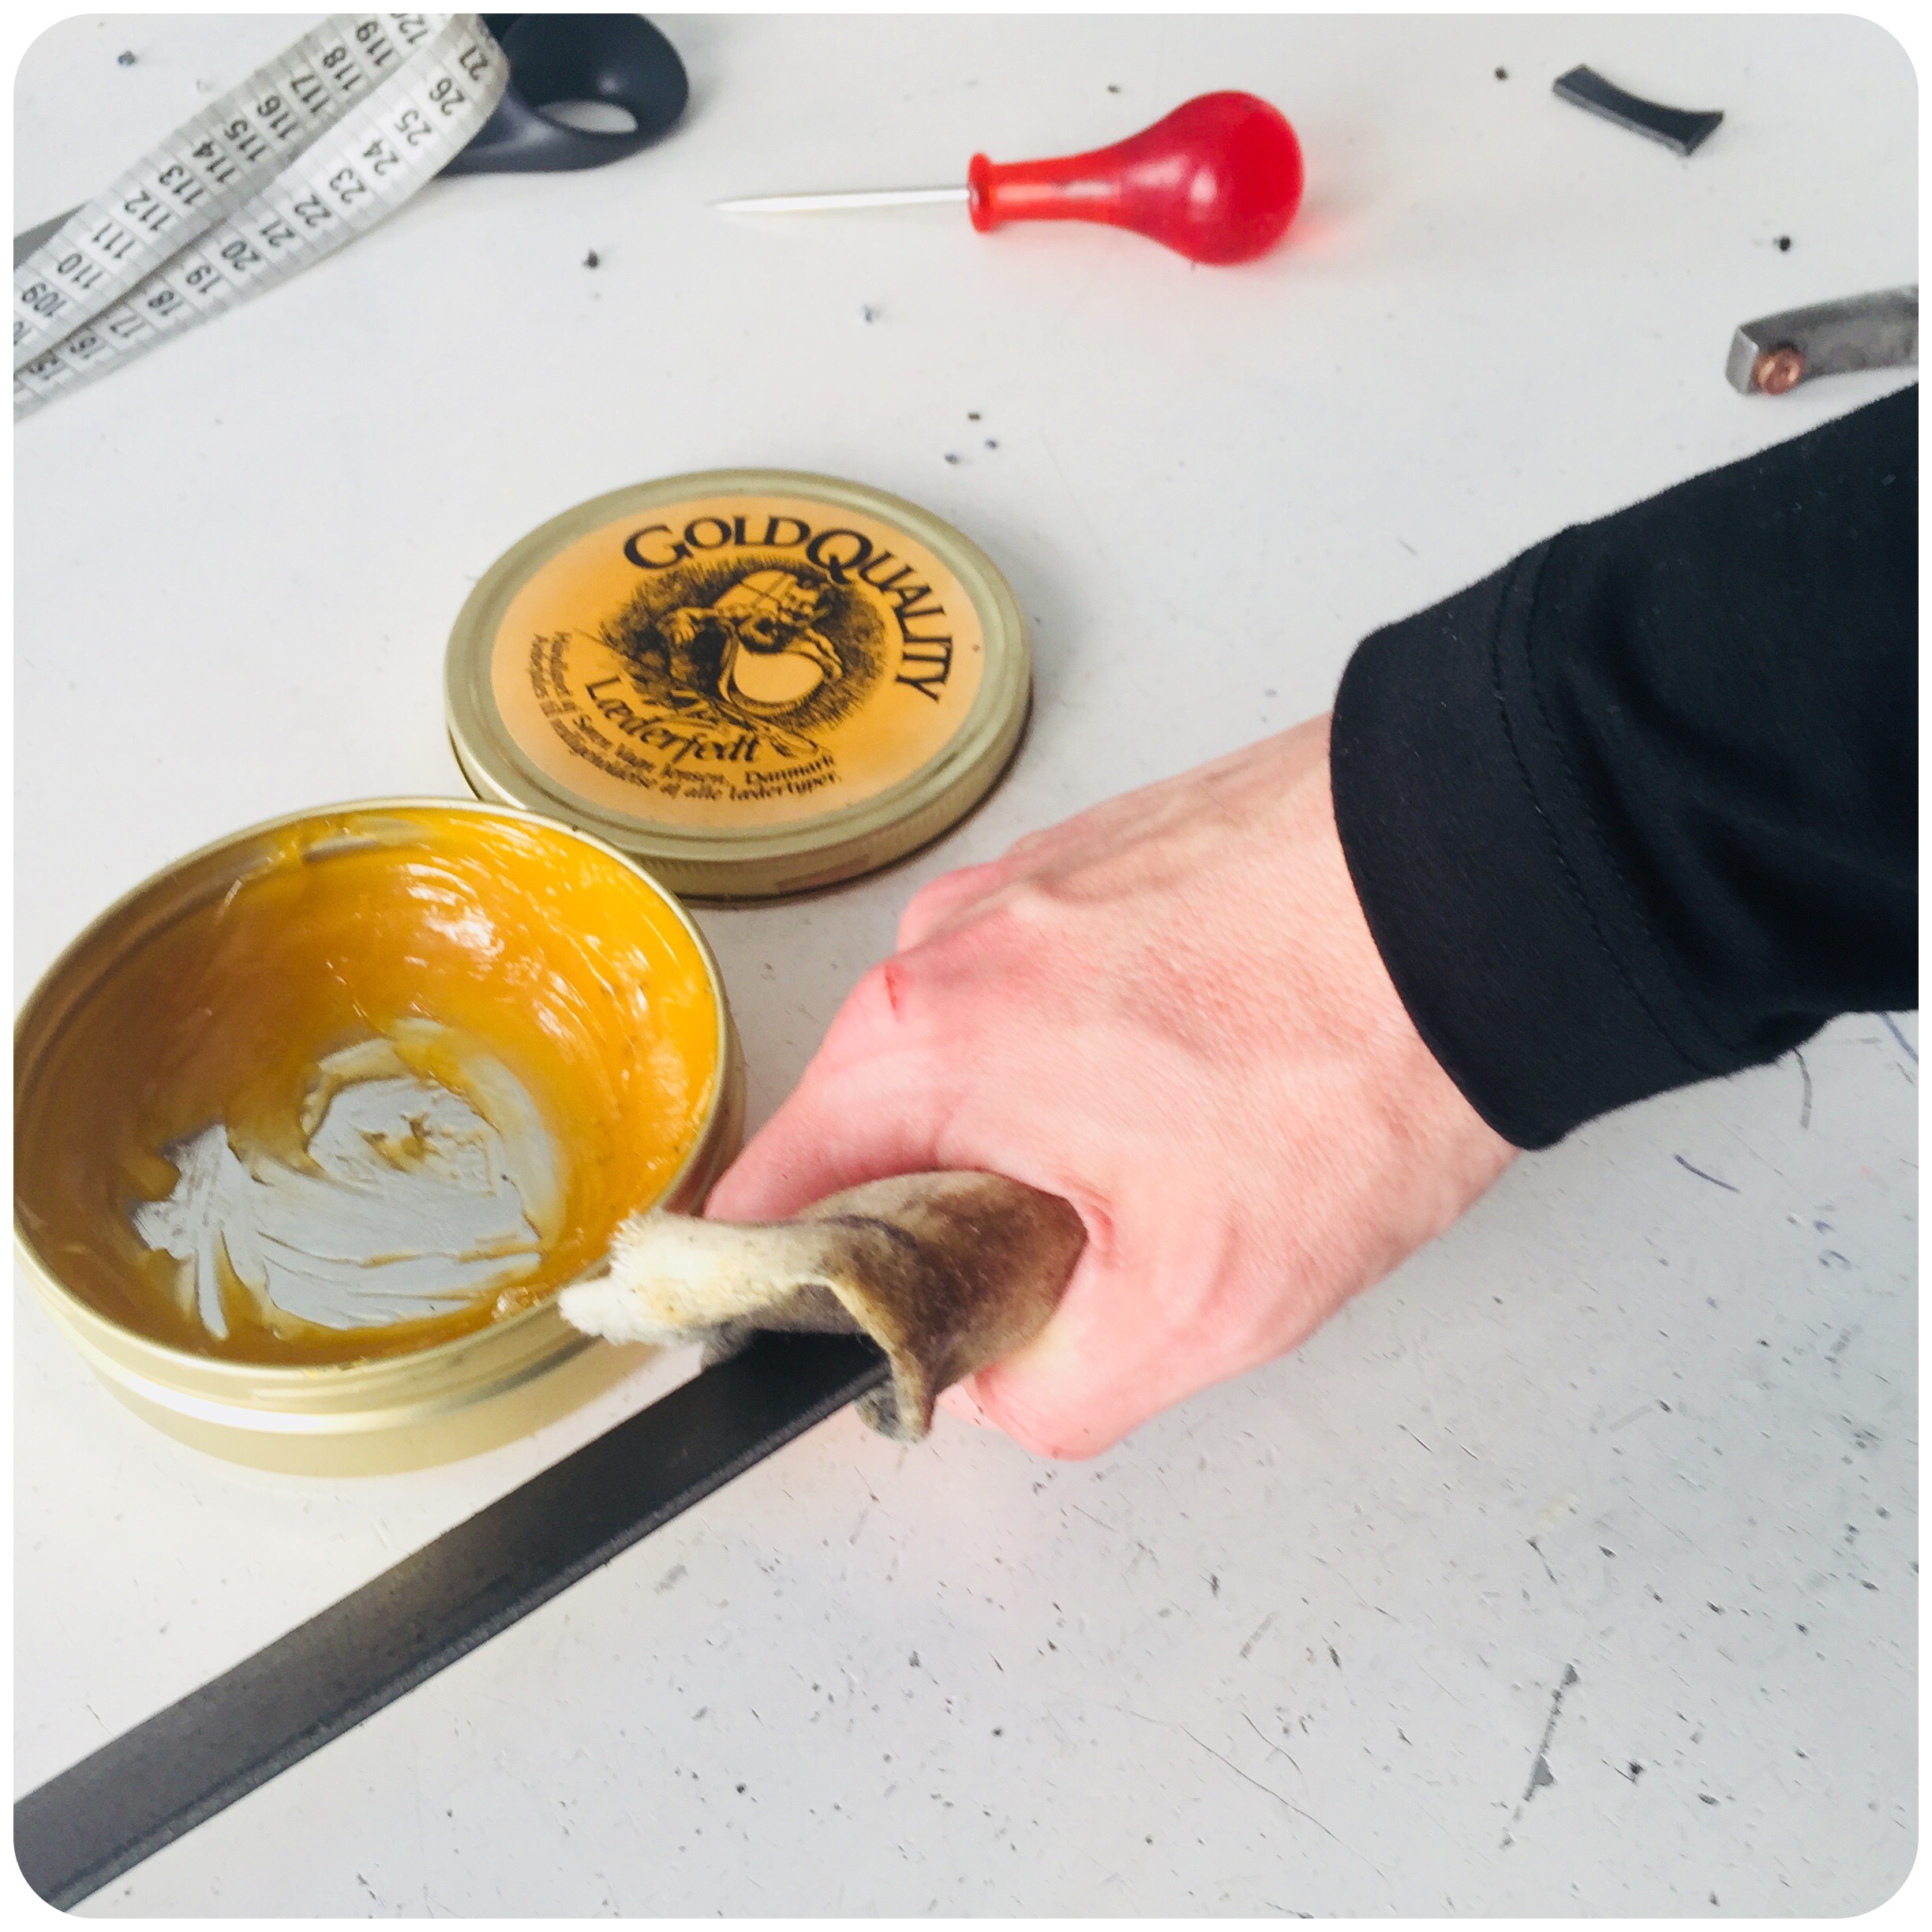
Make sure to remove excess grease after it has been resting for a couple of hours.
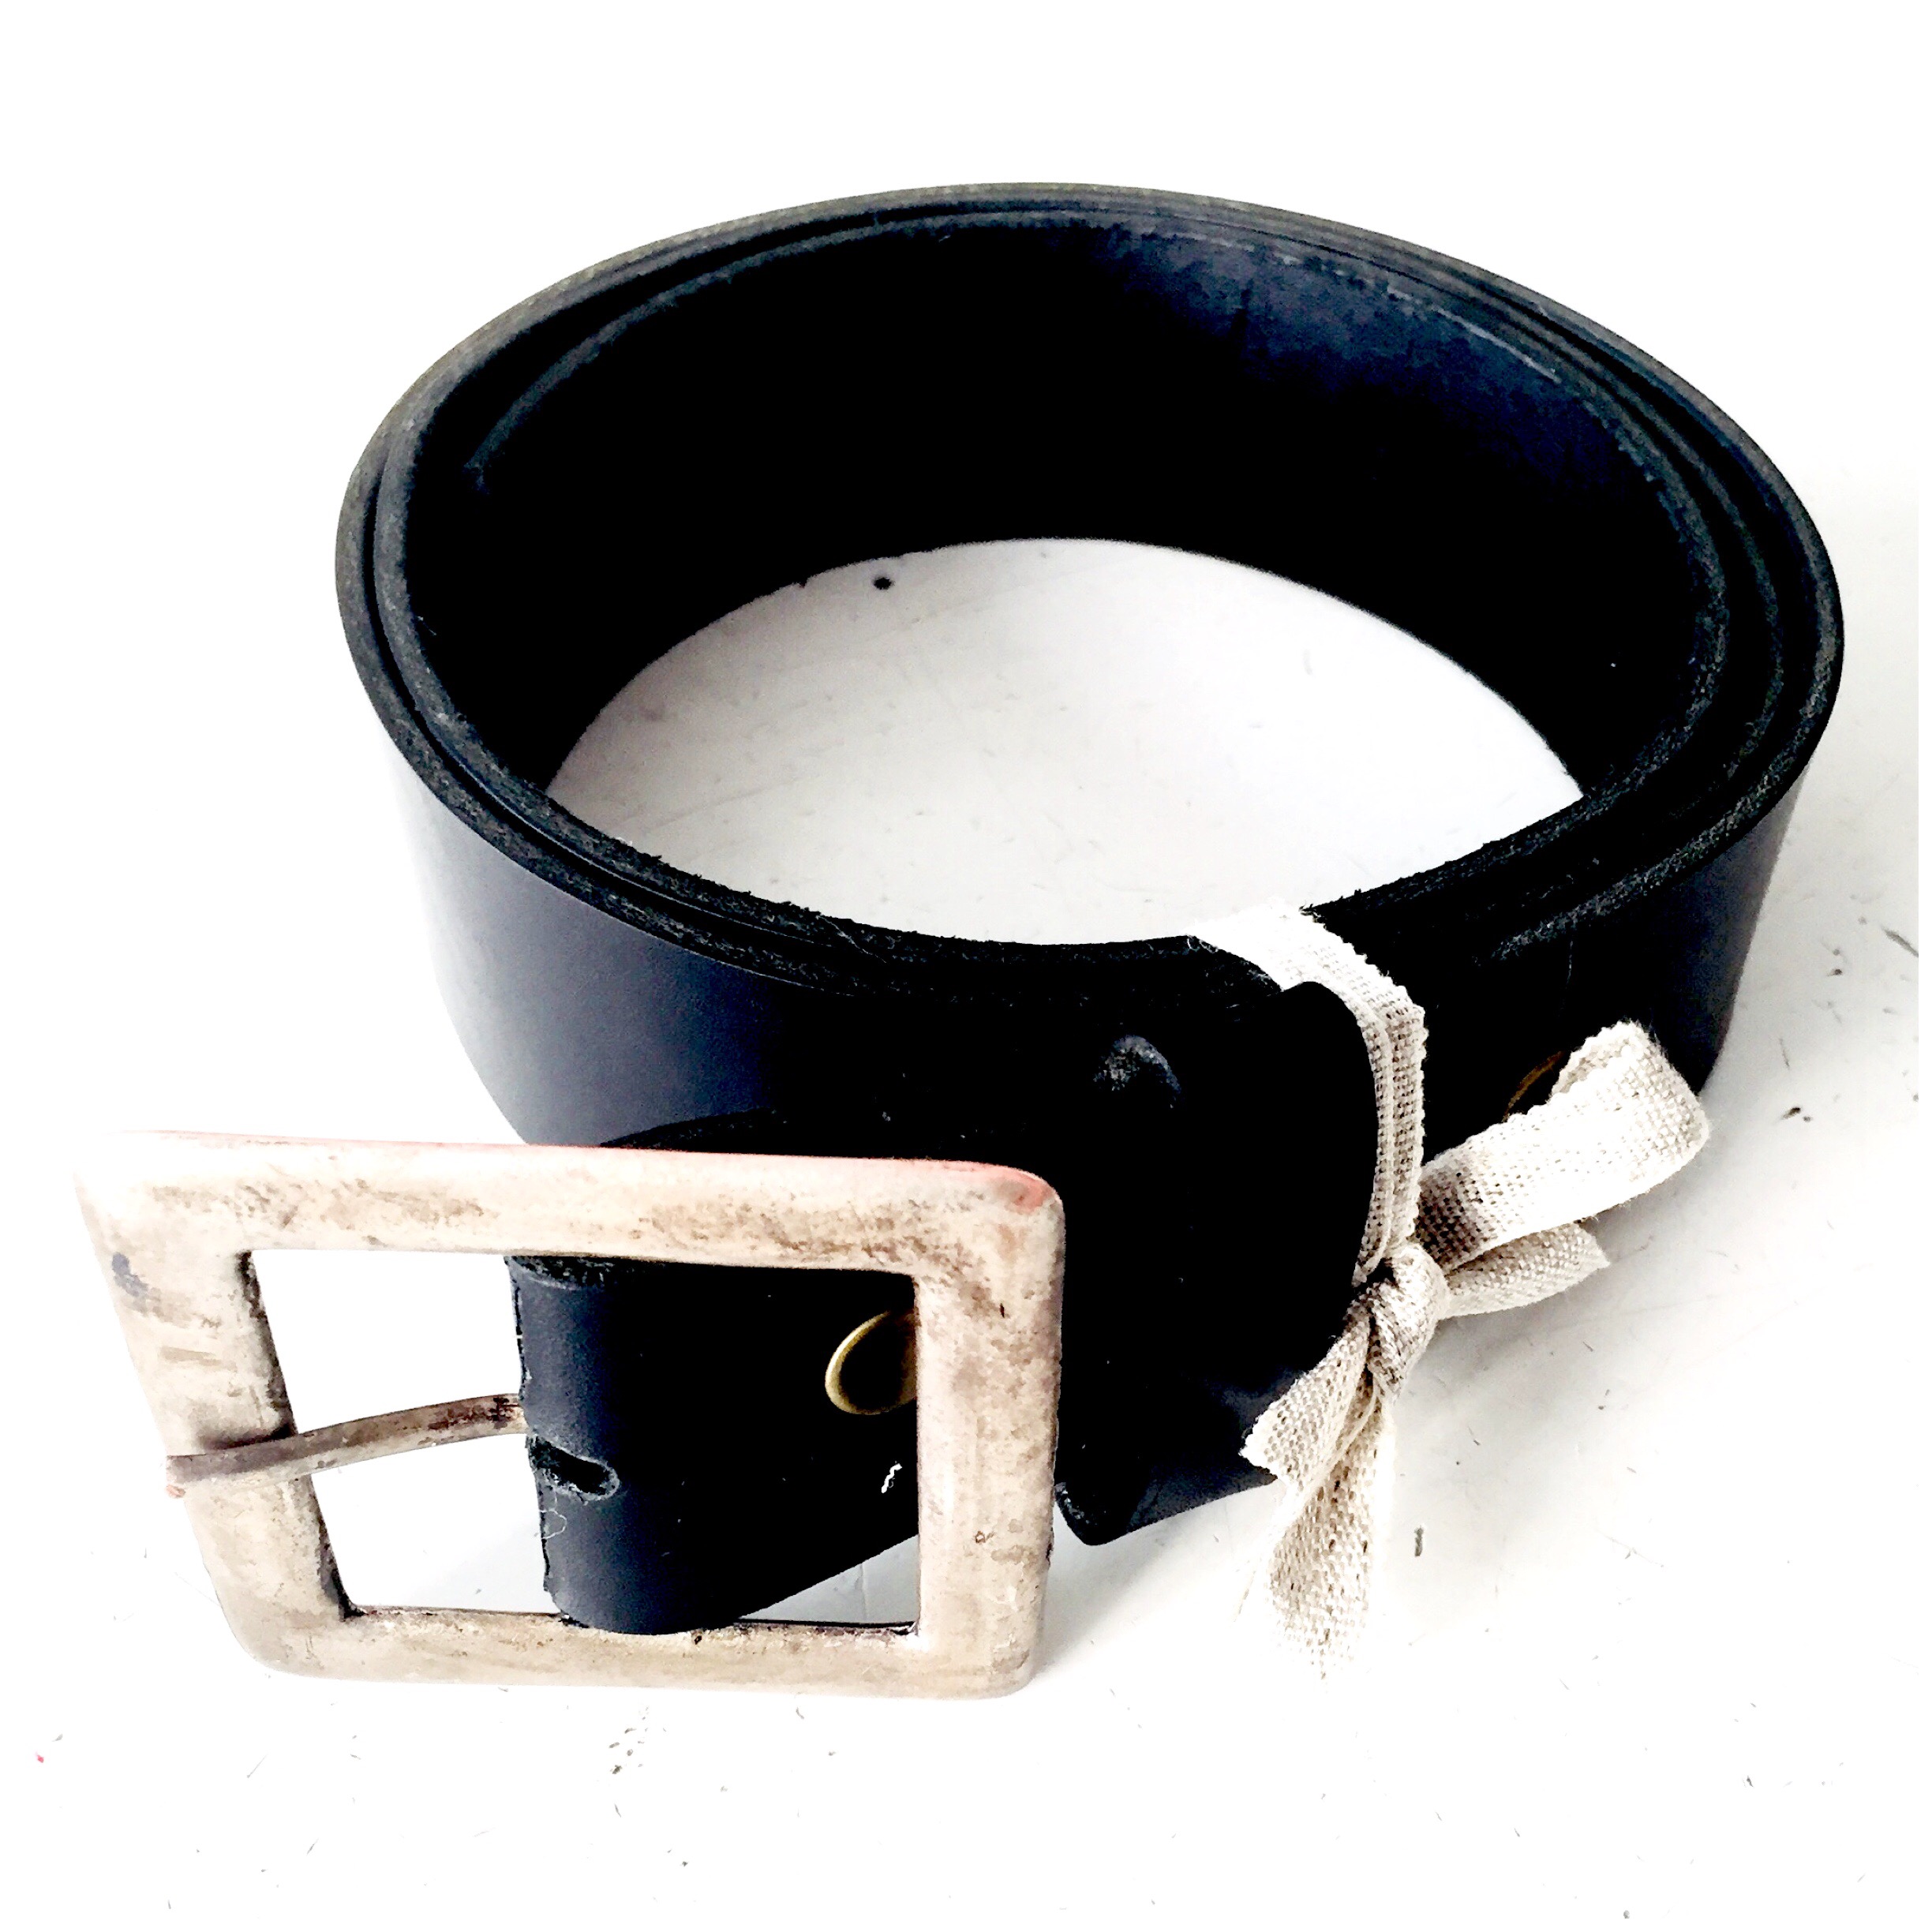
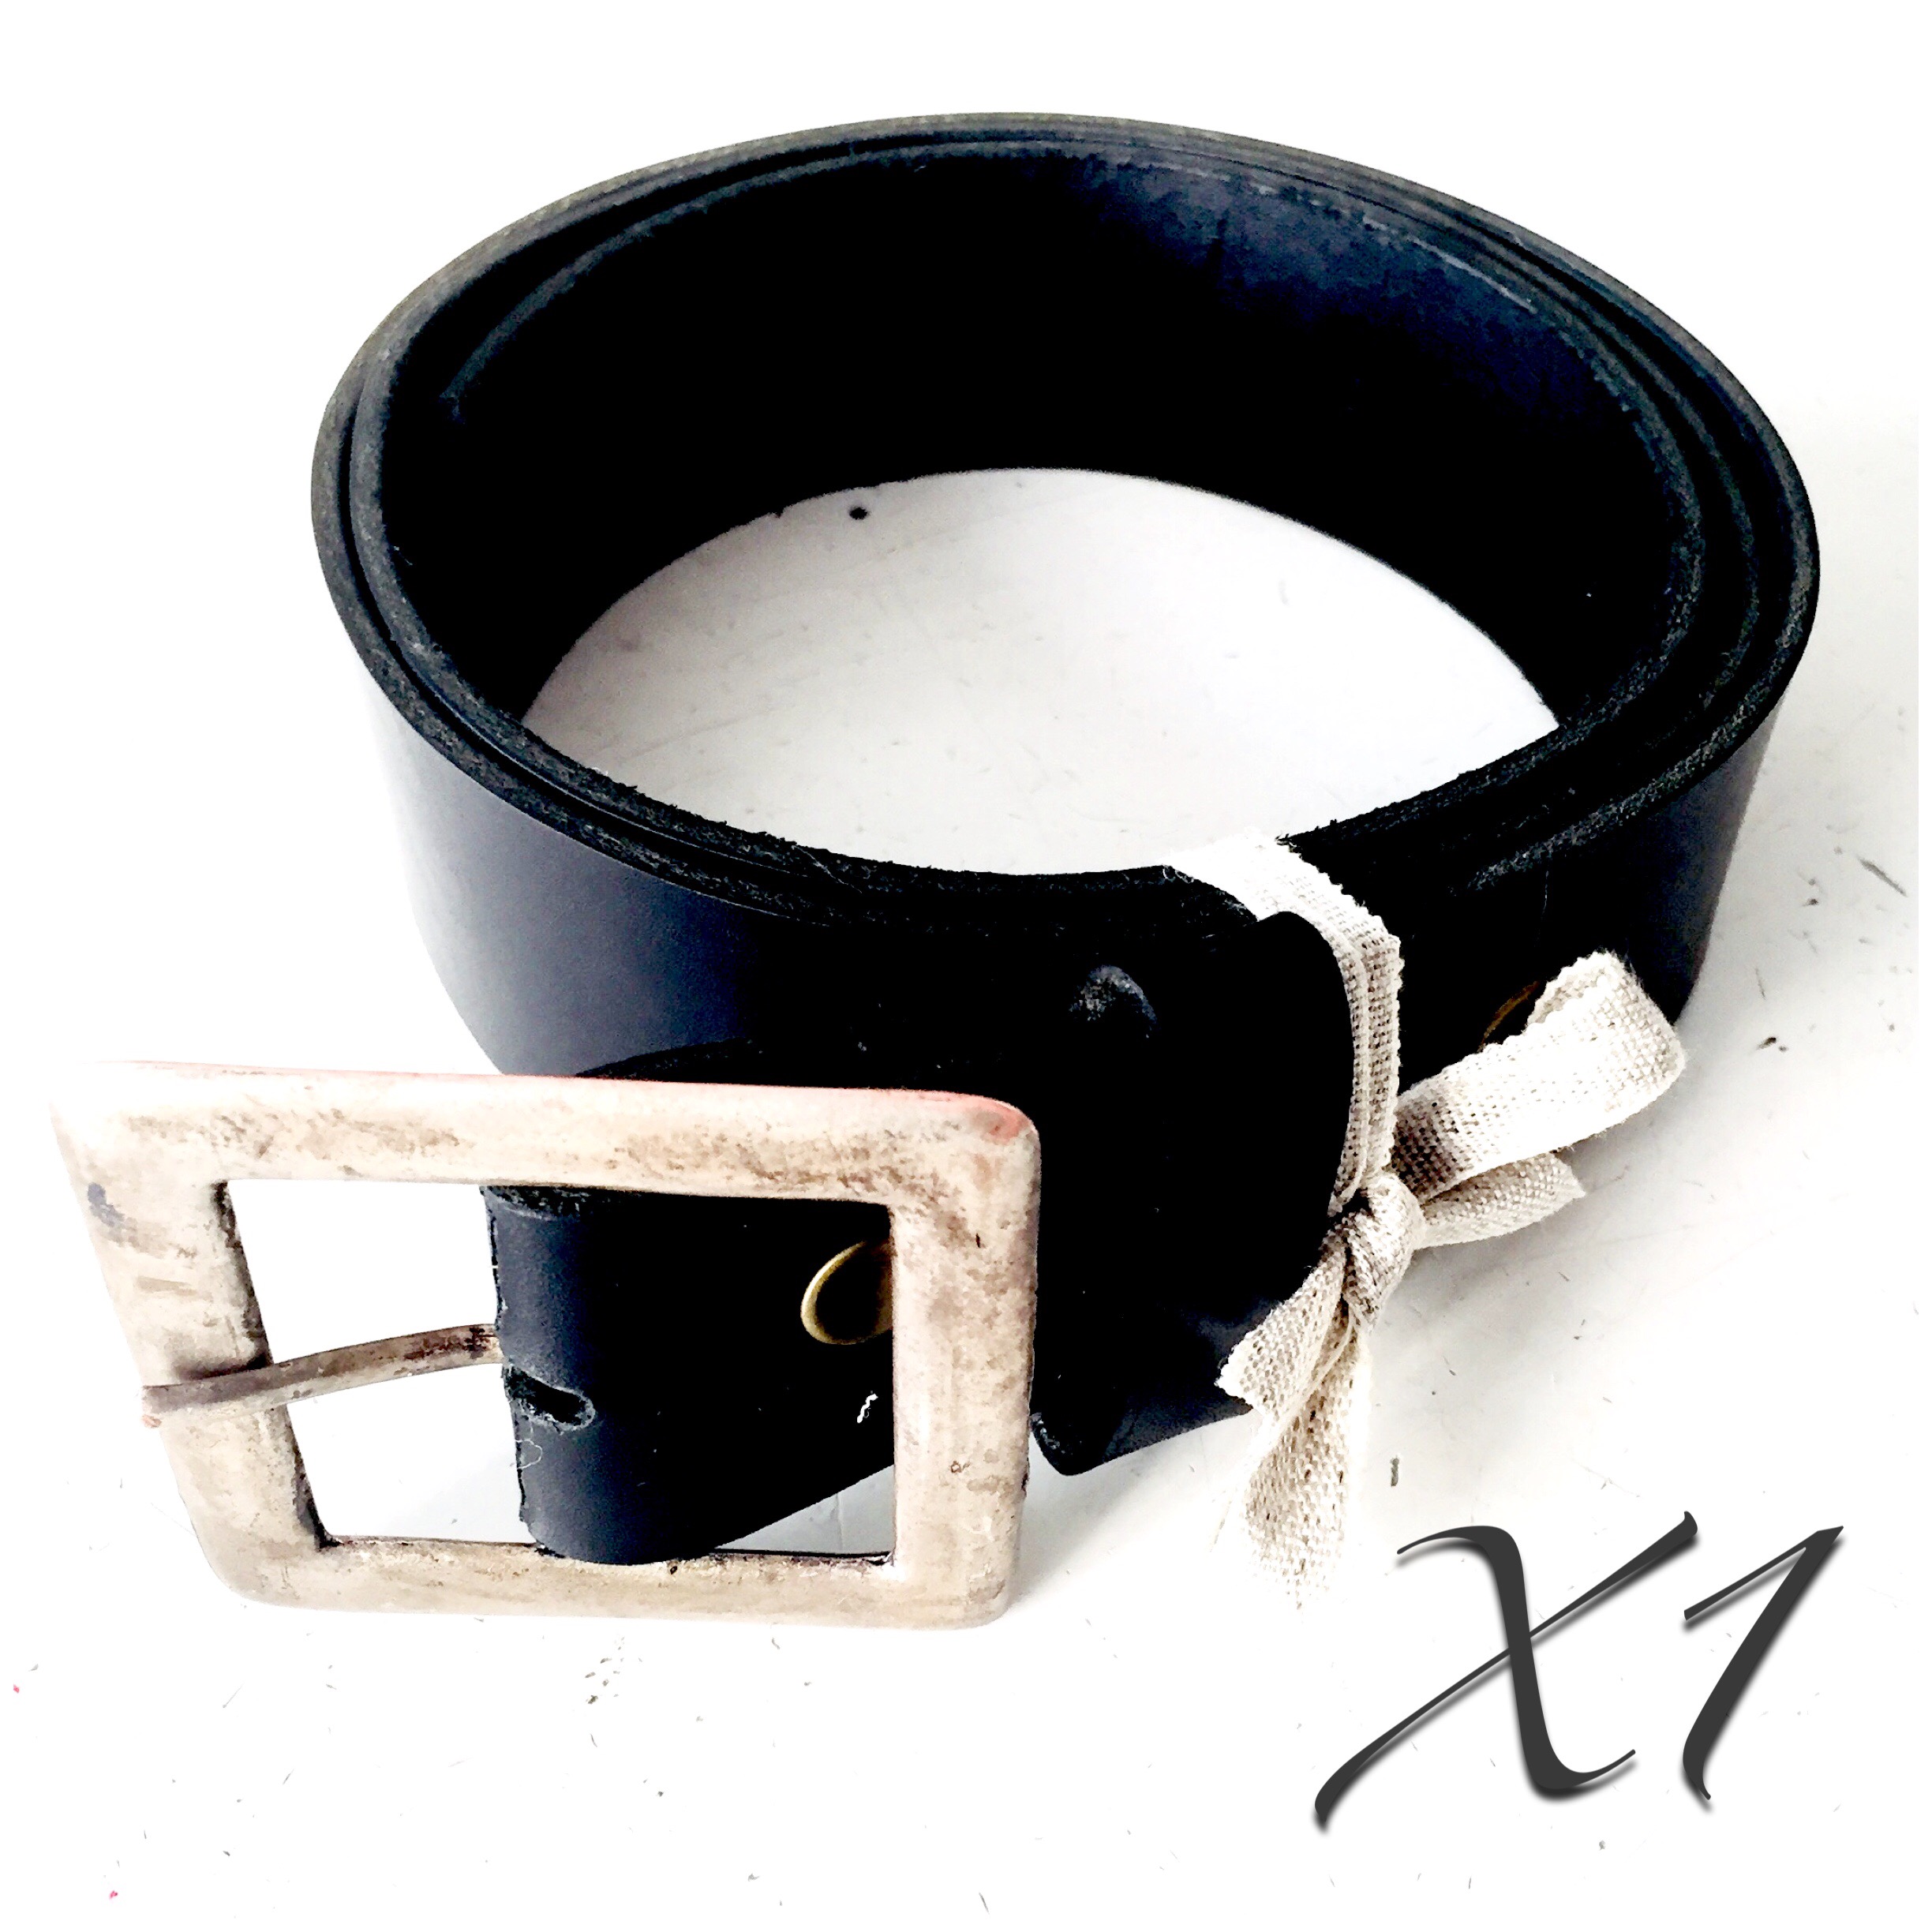
The X1 belt completed. All ready for use!
So what has a belt got to do with tailoring? A lot, I think. I like the idea of making things that add up together. And I like products that fulfill my needs of simplicity, practicality and basic silhouettes.
See you tomorrow! We have 993 more looks and combinations to create! I’m so looking forward to it!
– Sten Martin / DTTA
__________
If you enjoyed this content, feel free to support us by sharing this article, subscribe to one or two of our different platforms with informative content on tailoring and design, or, by just donating a sum. As a small independent company, we’re always greatful for your support!
If you would like to comment, ask questions or suggest upcoming topics, remember to log in with your subscription code. See you over there!