


How do you take care of your clothes when they’re tailor-made? Isn’t it expensive with all that dry-cleaning? That’s the questions I’m often asked. And the fact is, that I never use dry-cleaning services. I wash in machine, or by hand, depending on the item. All done at home. (Or at work.) It’s very inexpensive! And easy on the garments too.
Chapter 1 – The basic hand-wash guide.
So how do you wash by hand then? Well, it’s actually quite easy if you follow some really basic steps. Let’s go through them here!
1. First, preferably use a mild detergent. I myself often use those specifically made for hand-wash. And that’s usually a combined wool-silk detergent. They aren’t ’t quite that harsh, and doesn’t rip the products – or your hands – of their “natural” oils, or coating.
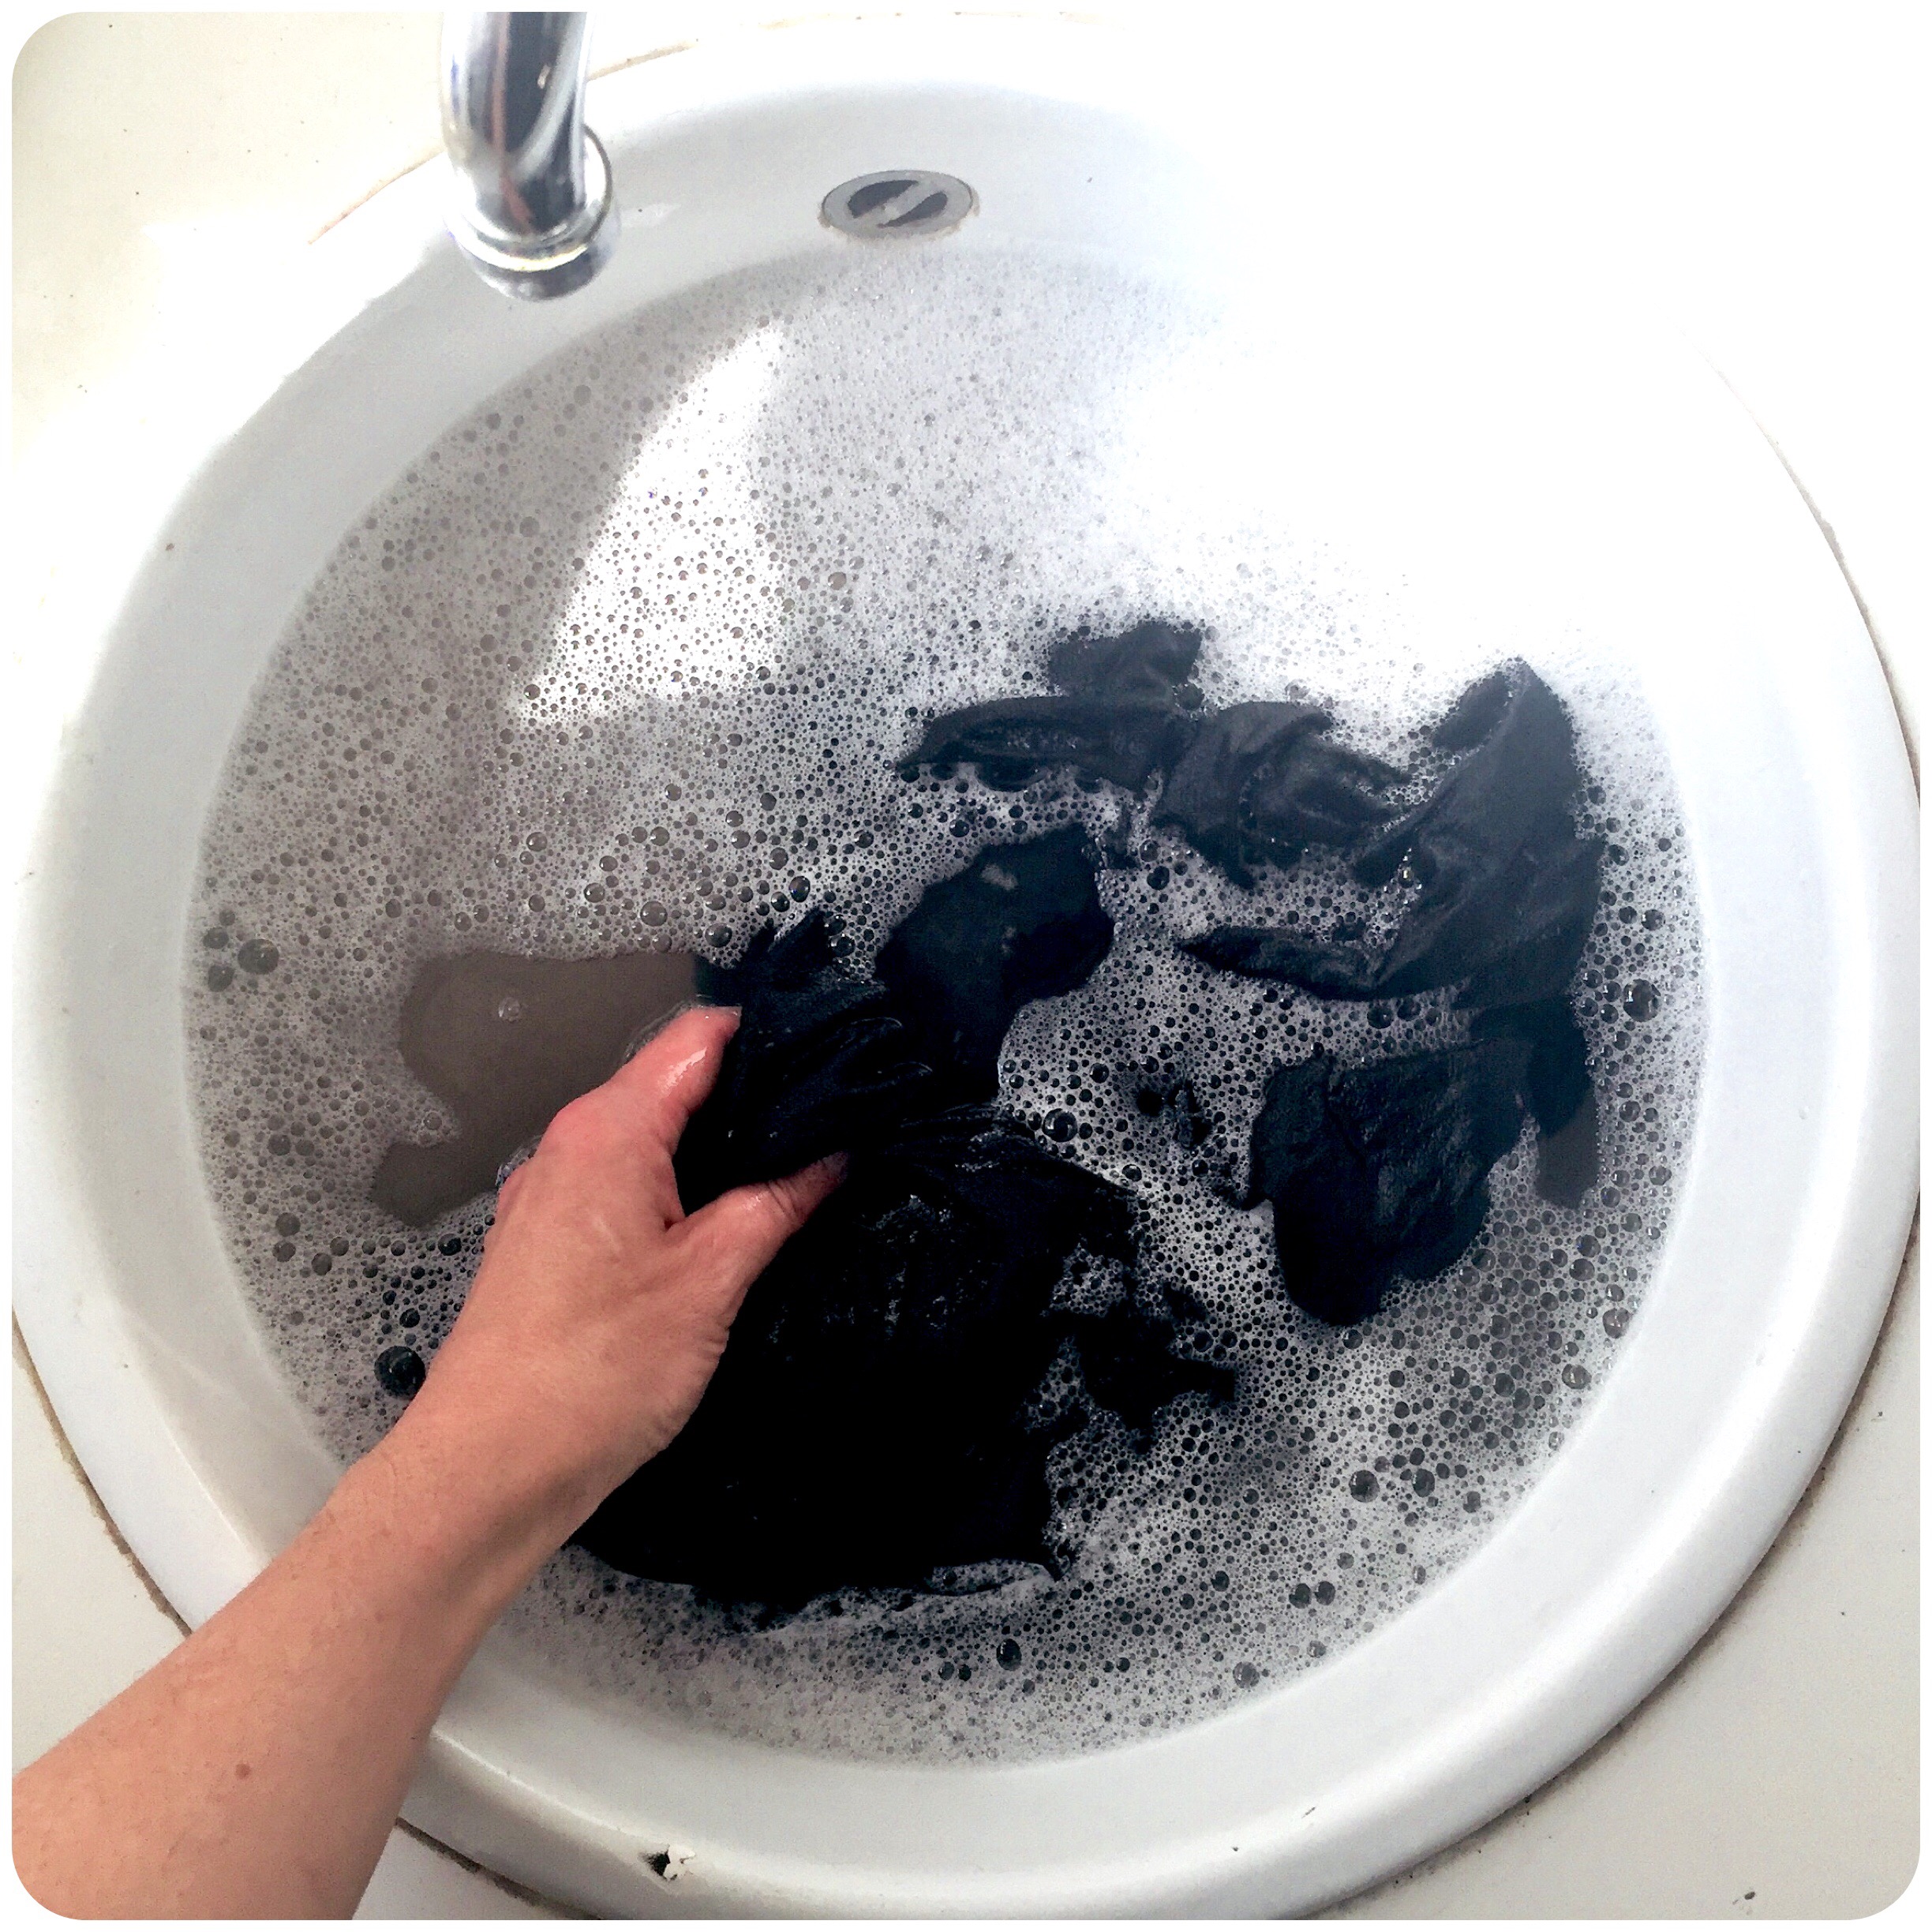
2. Dissolve the detergent into a good amount of warm water. And then soak the garment into that mix. With soaking, I mean letting the water into the fabric by gently spreading the garment under the water surface, and maybe lift it once or twice up over the surface for circulation.
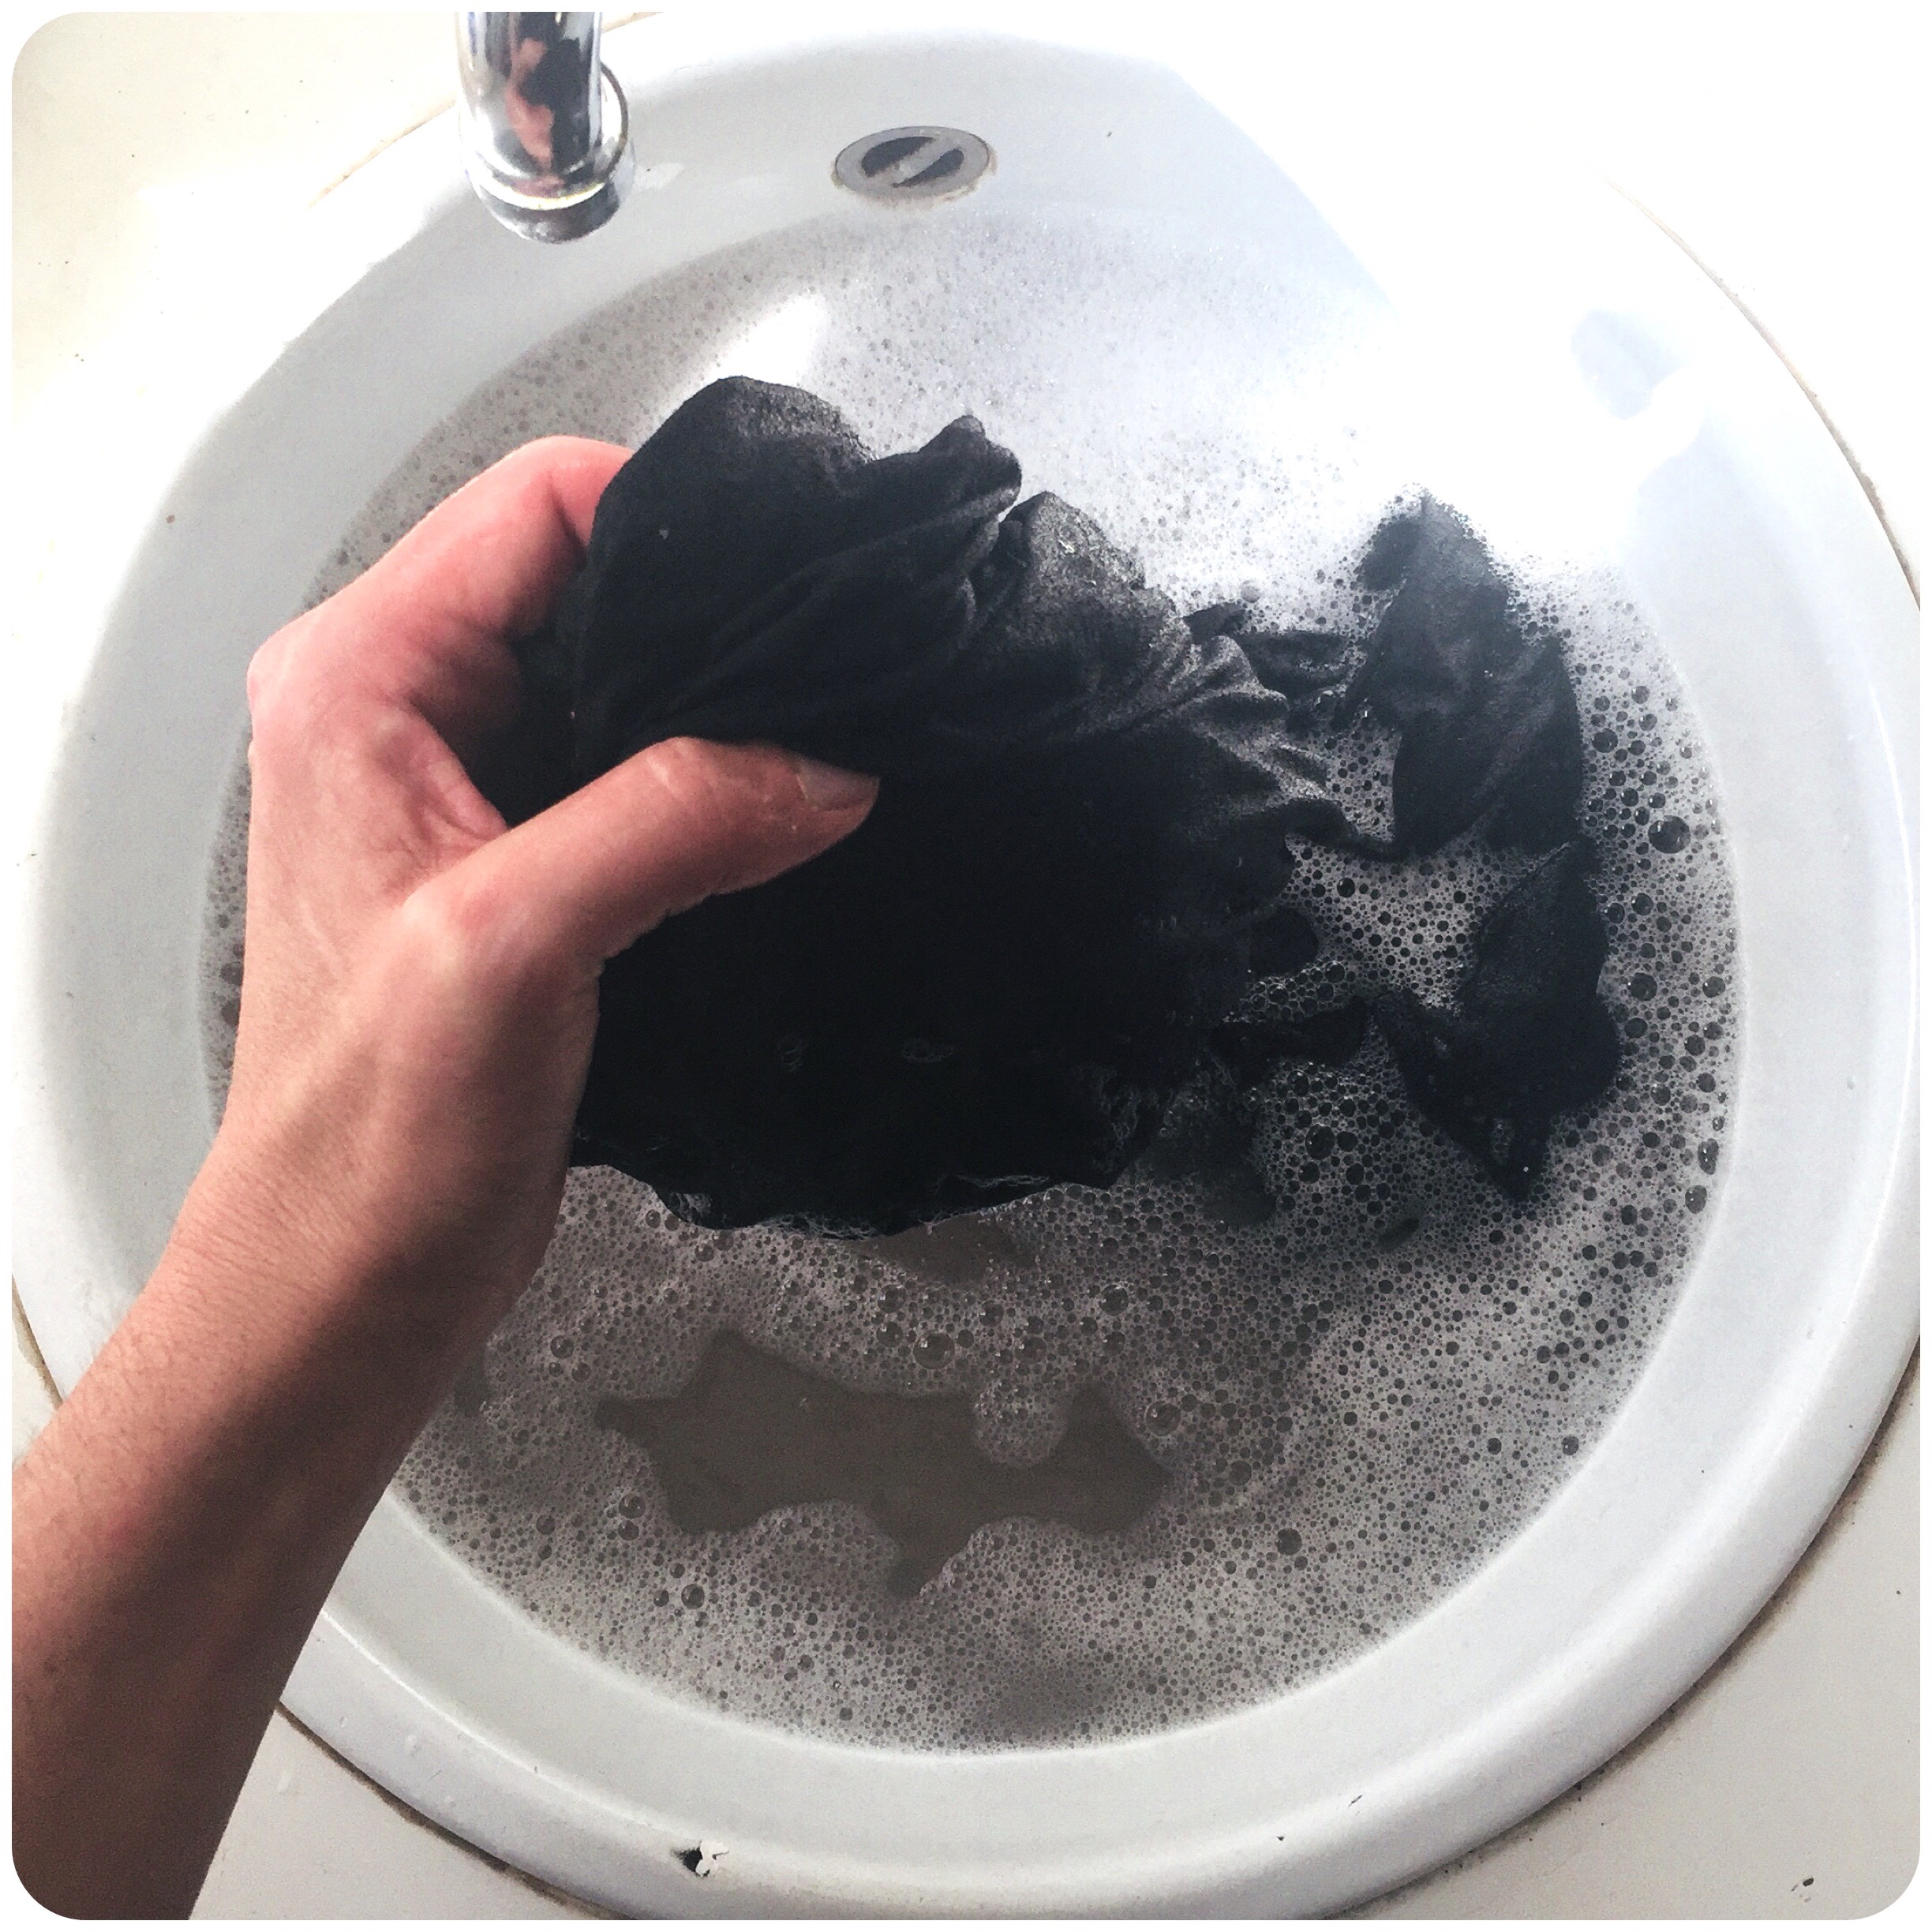
3. Now start the actual washing process by allowing the water-detergent mix to pass through the garment’s fabric fibers. This is achieved by repeatedly soaking – letting the water “into” the garment by spreading it out under the surface – and gripping (squeezing) the water out of the garment. Repeat over and over again in a gentle fashion about 10 times.
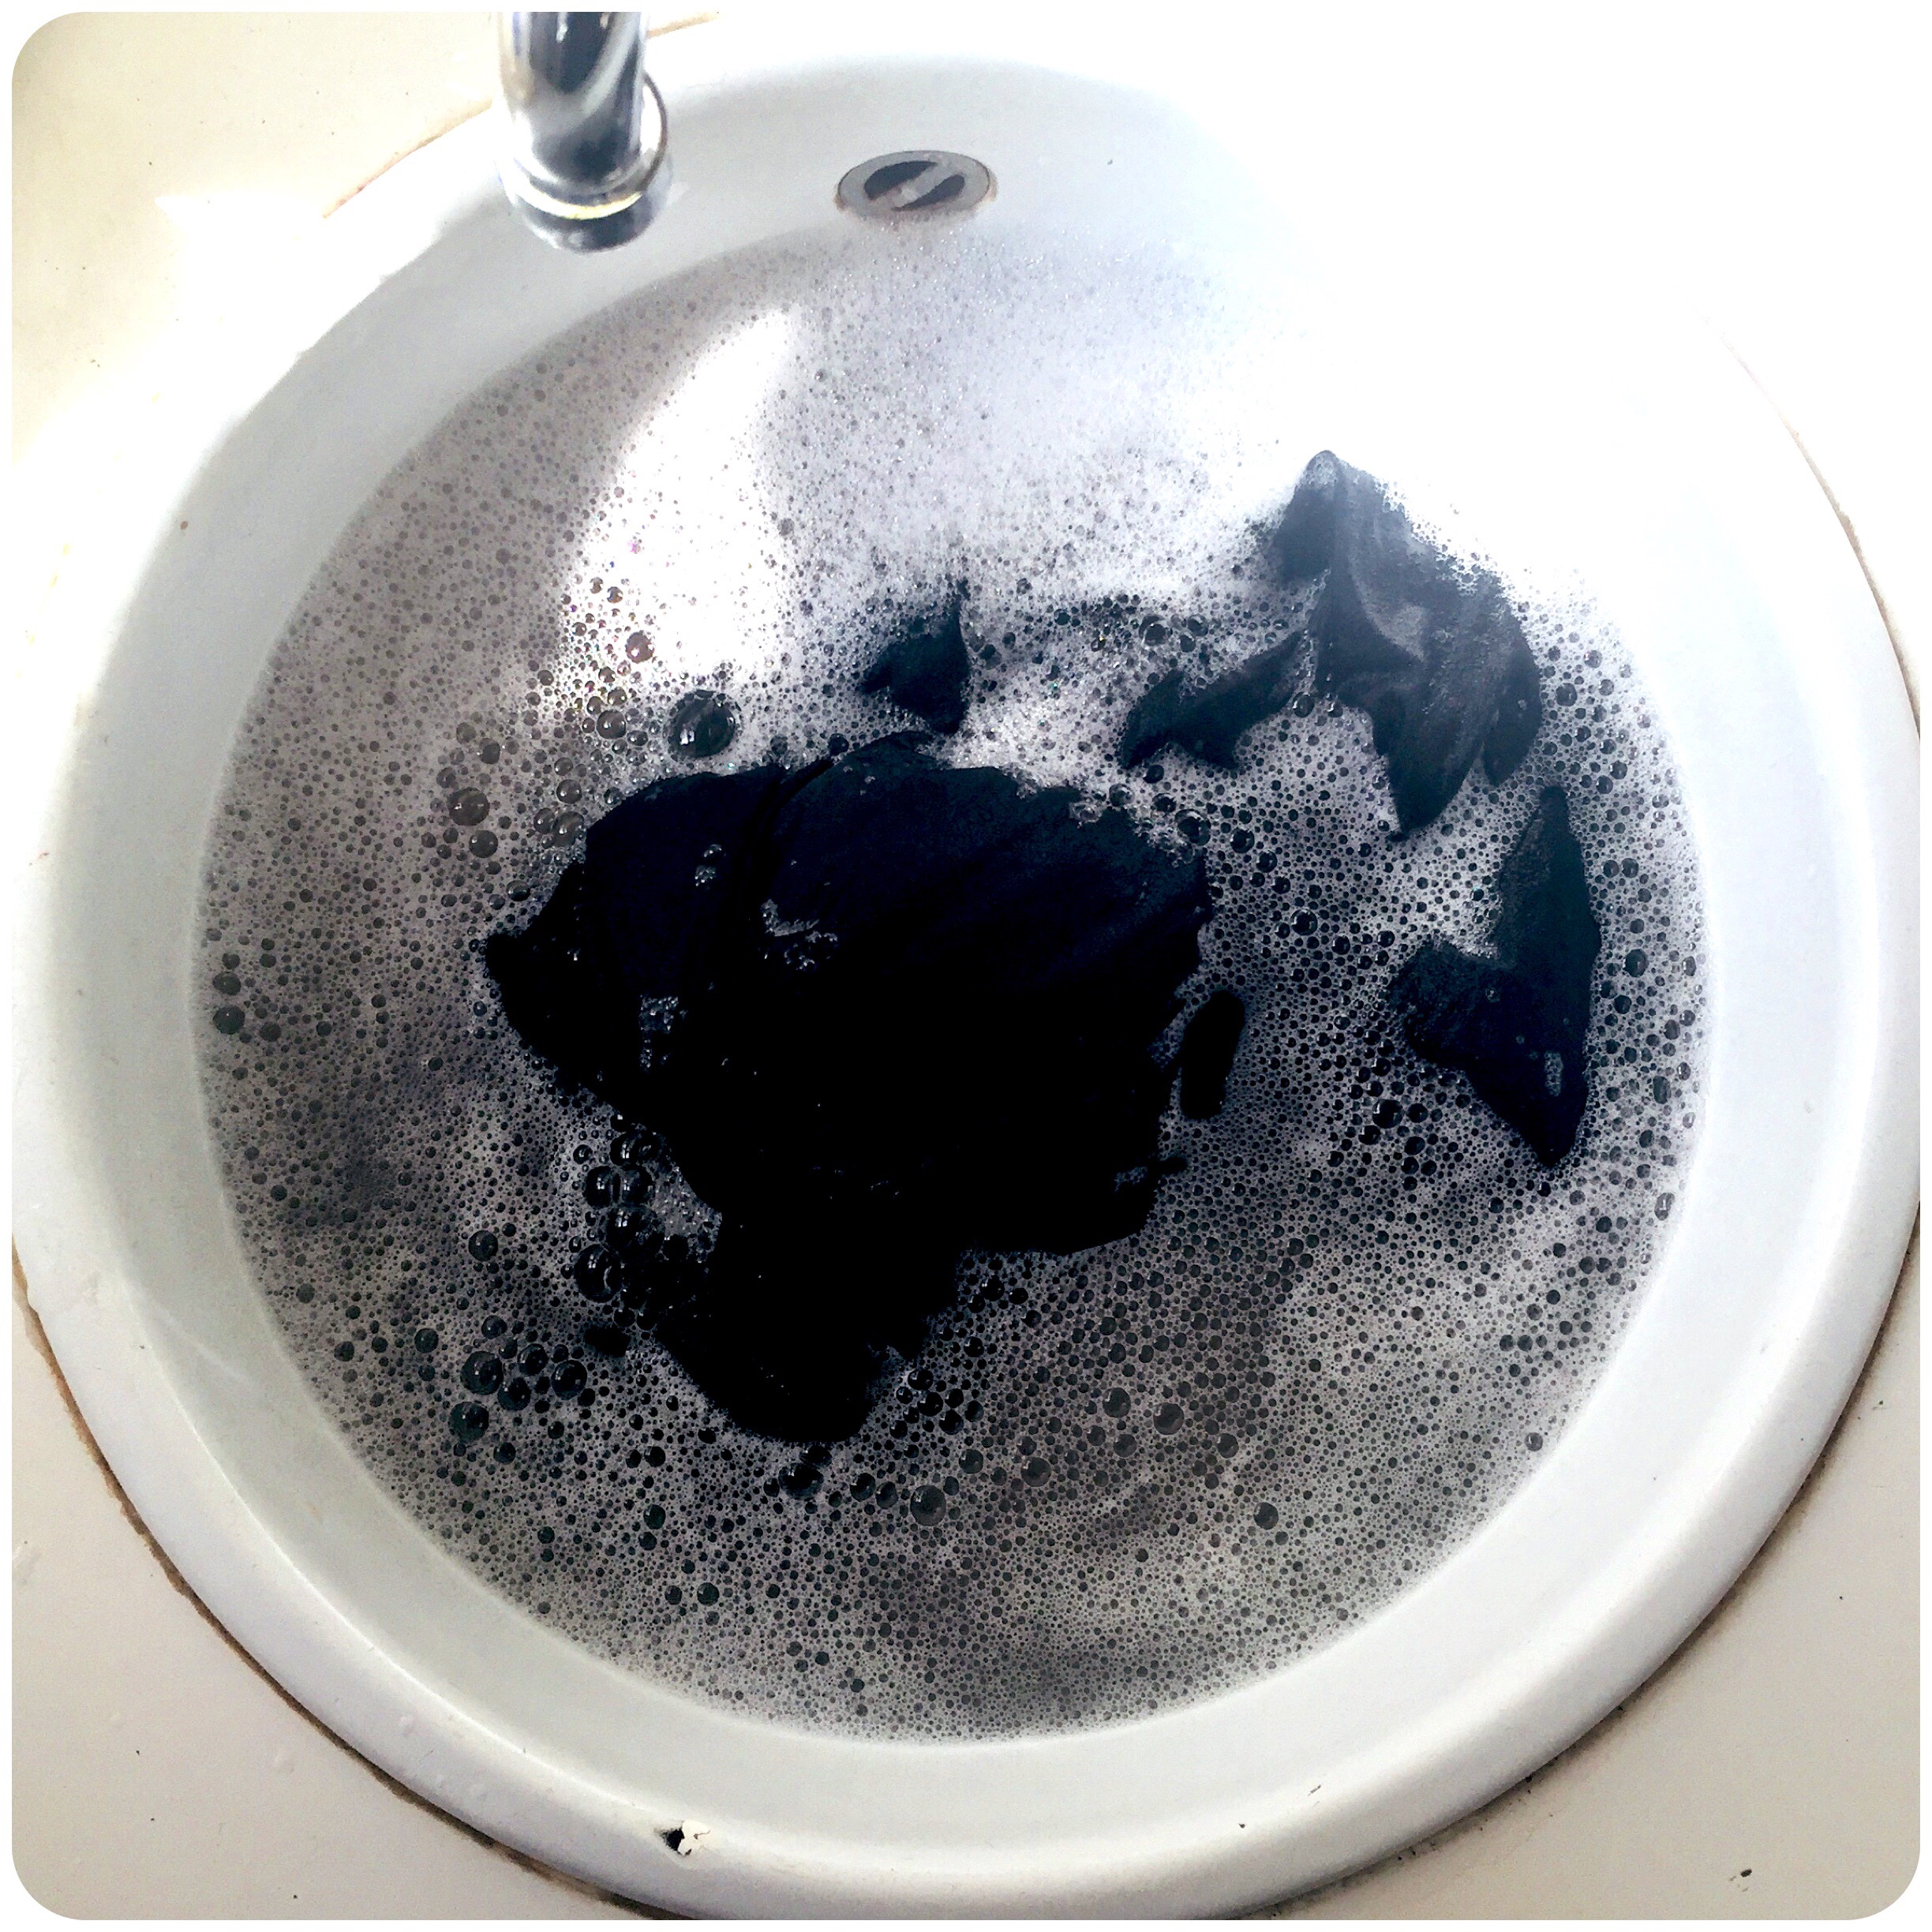
4. Let the garment rest for a while in the mixed water, letting the enzymes (in the water) do their job with dissolving dirt and smell out of the fabric. You usually don’t have to leave it long with our modern day detergents – they’re quite effective! And for a more sensitive garment, the shorter you should let those enzymes/chemicals work, sometimes with no “resting” in the mixed water at all. (Try to balance the time used with the intensity of the detergent and the sensitivity of the garment.)
5. Repeat the technique in step 3, the actual washing routine, while checking the garment for cleanness. If there still dirt or possible smell, just rub gently a bit extra in those areas.
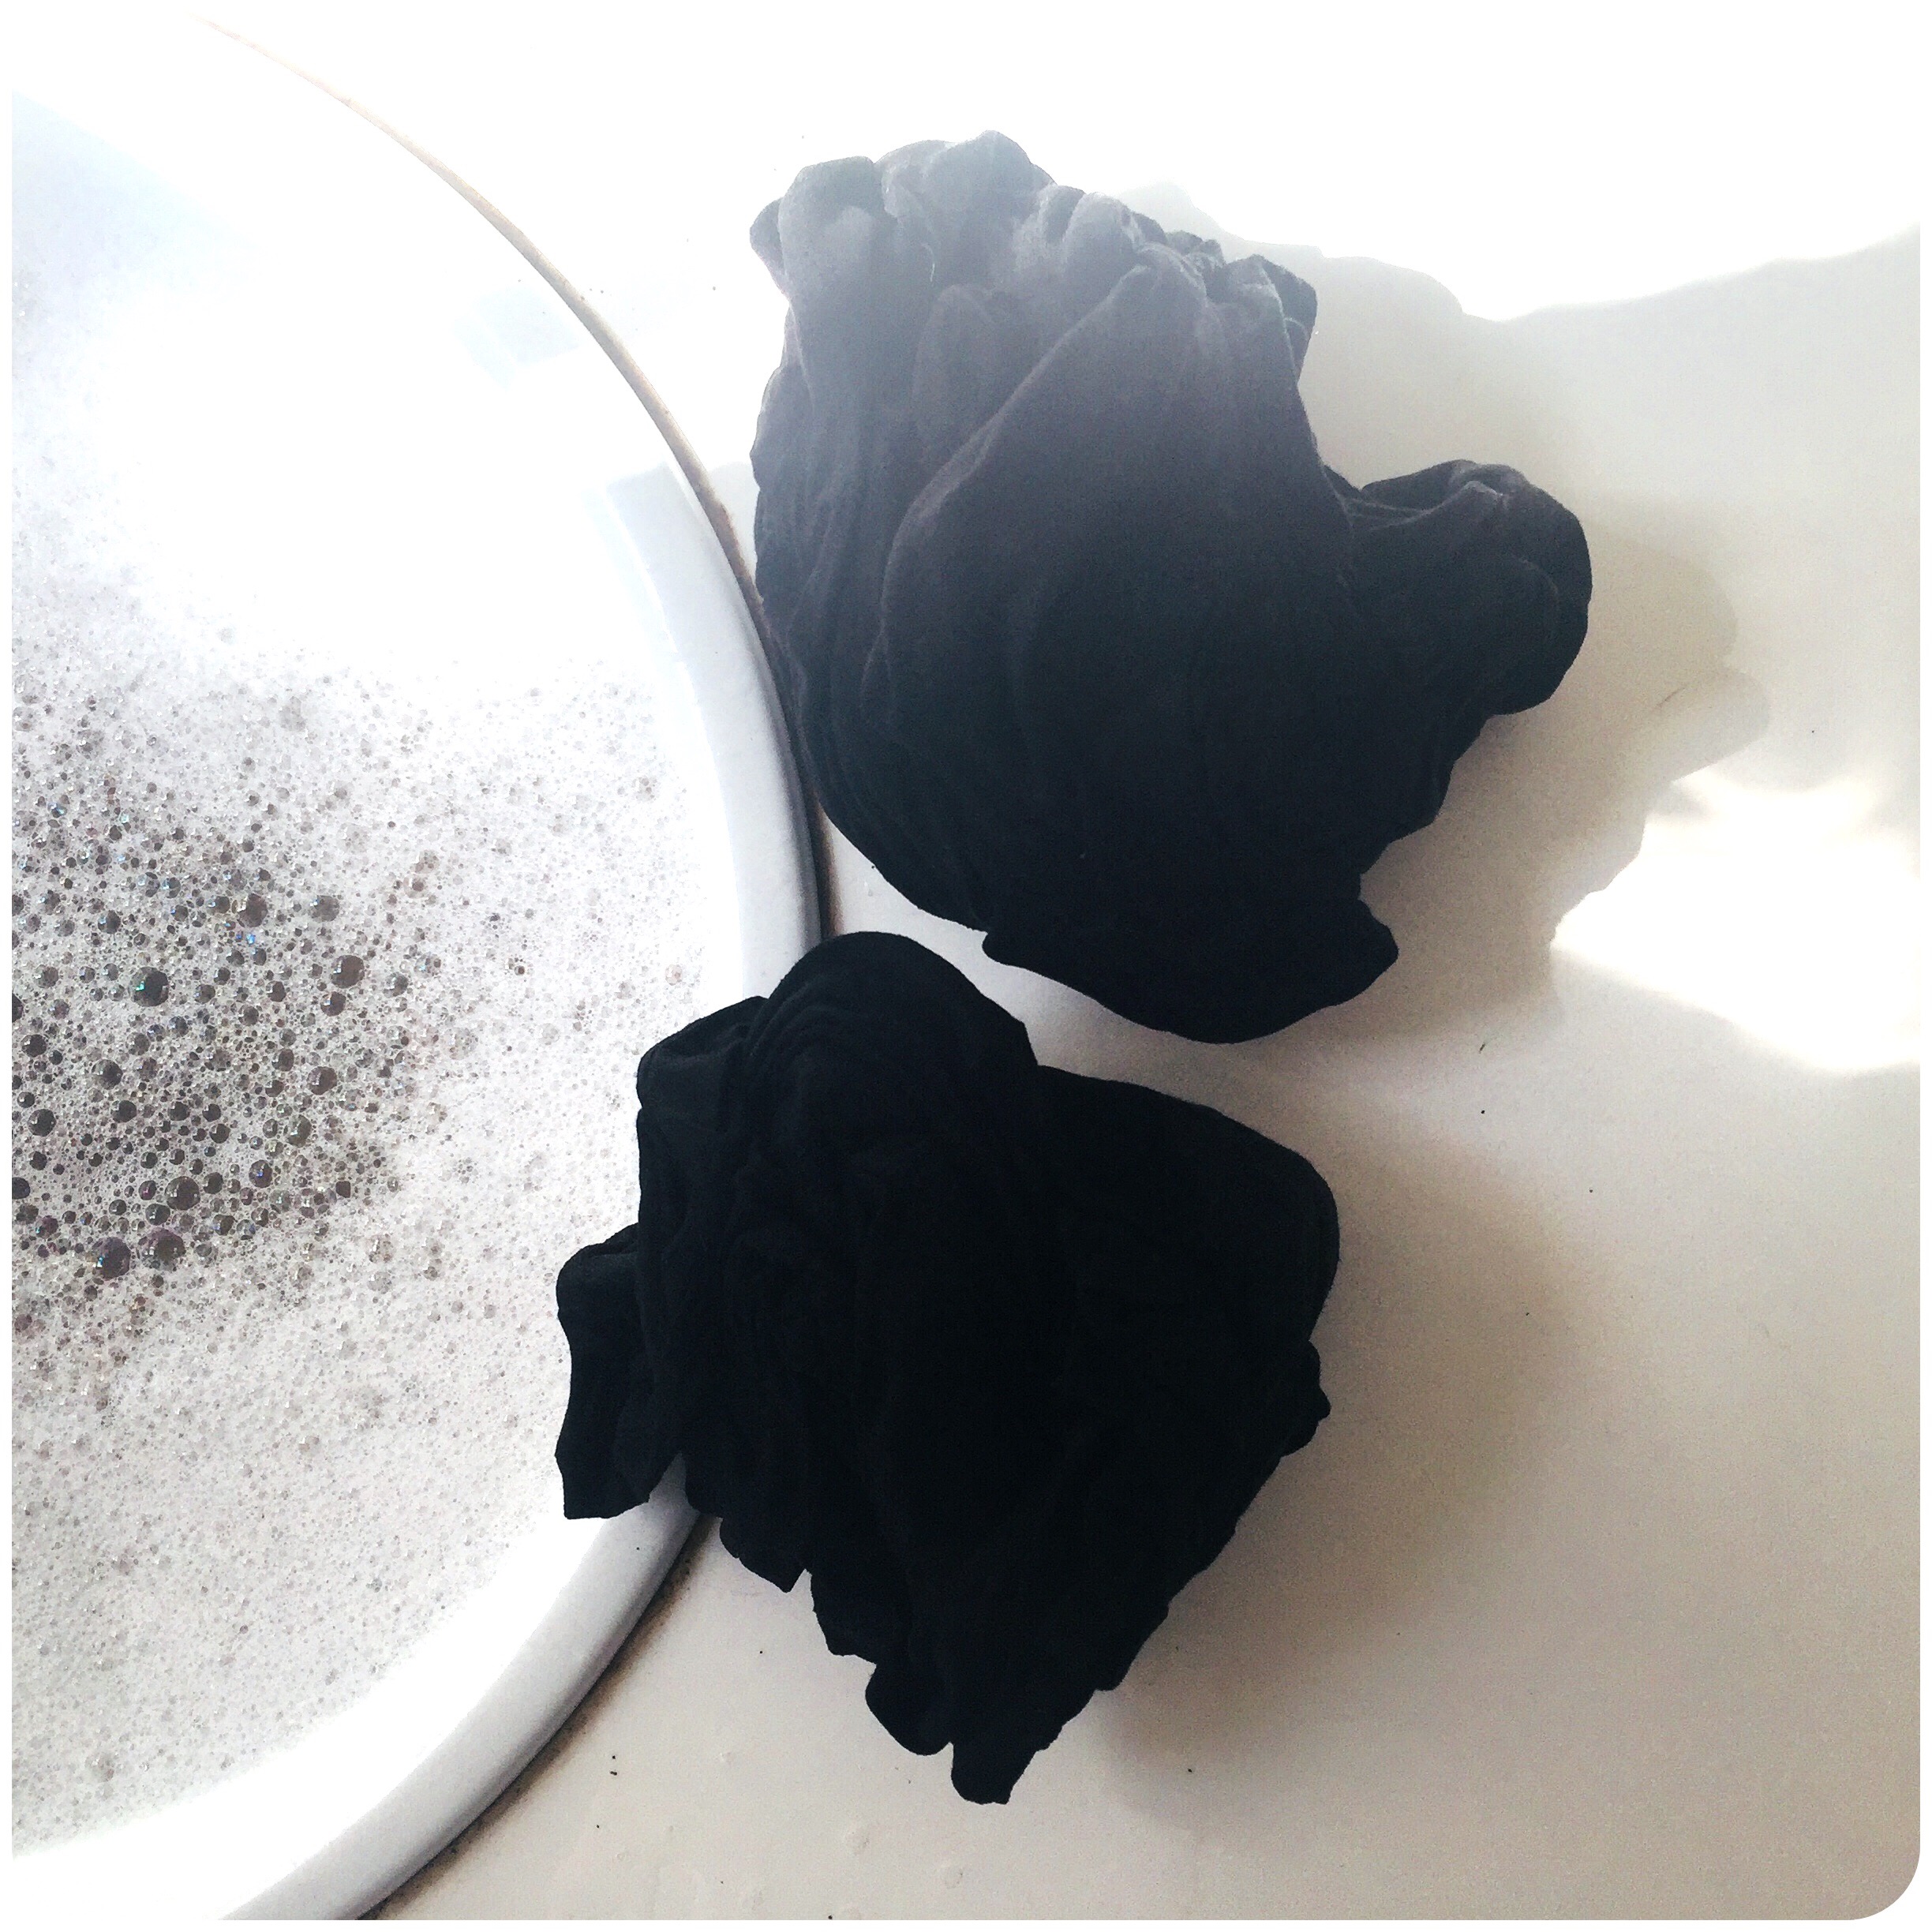
6. Now when the garment or garments are washed clean, we have to remove the detergent from them. First we twist the garments to remove as much of the tainted water as possible. Then get rid of that used detergent-mixed water.
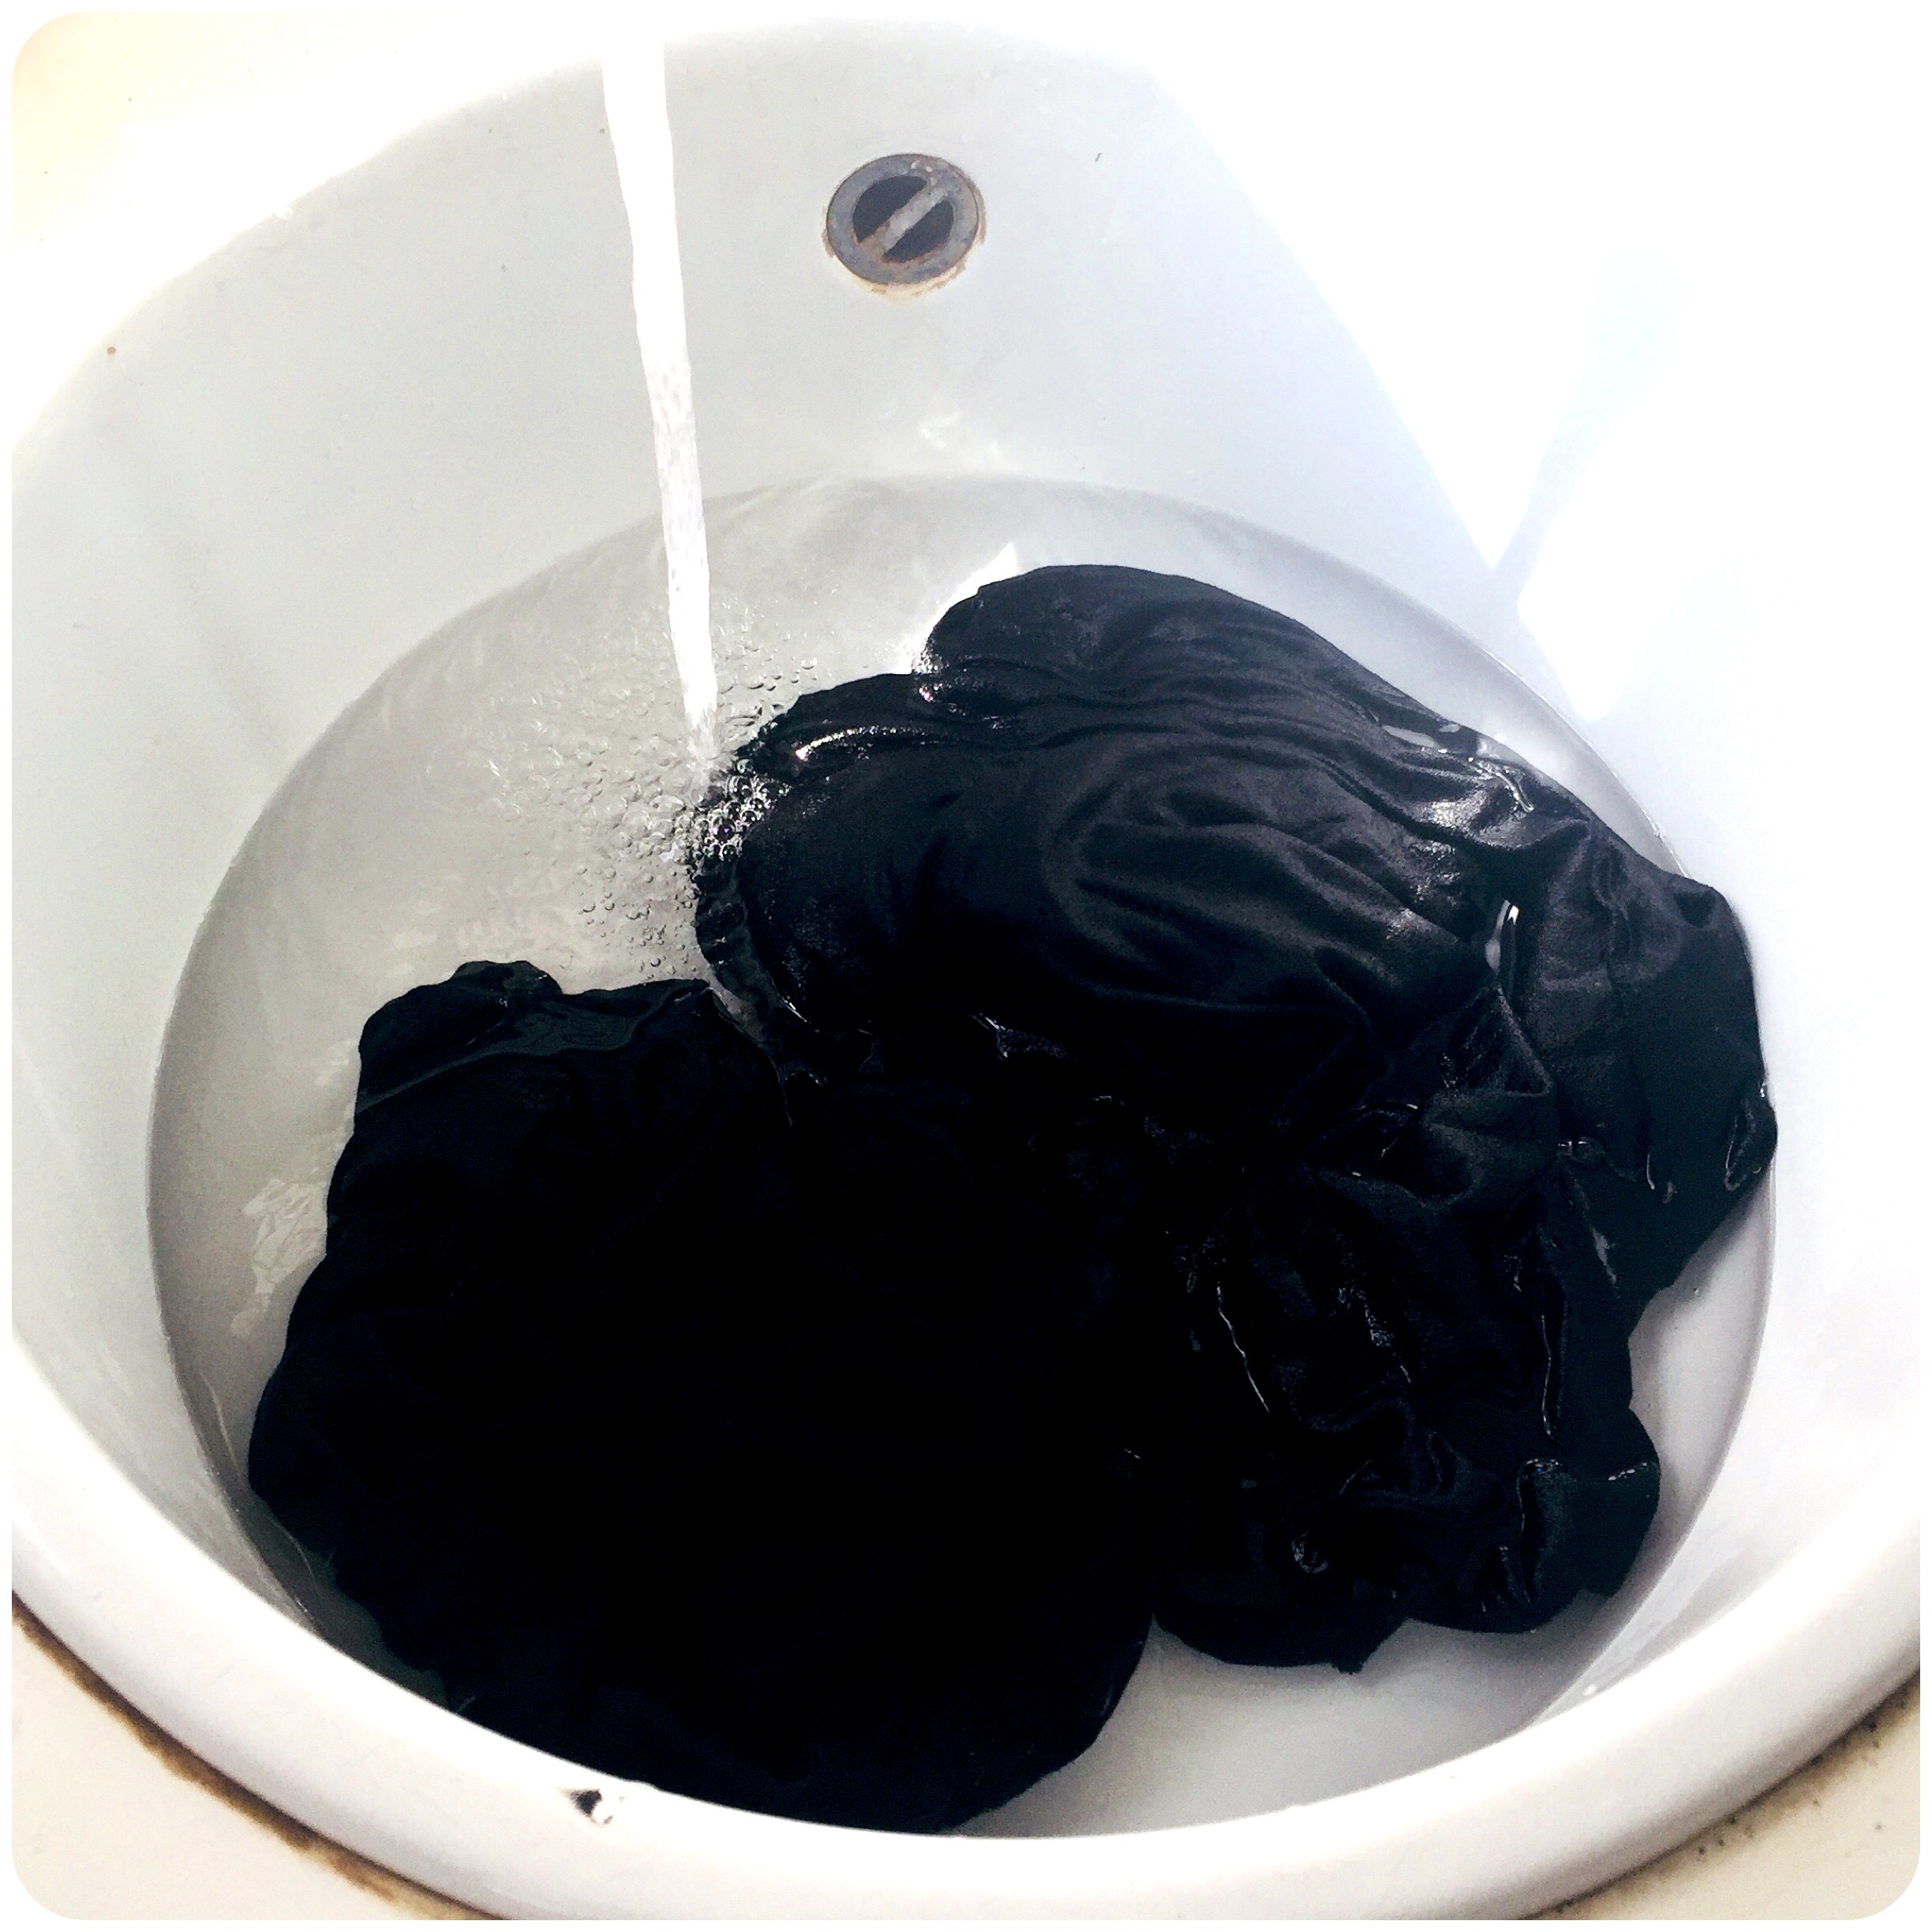
7. Time to cleanse the garments! Pour fresh cold water into your container and soak and squeeze the garments repeatedly in the clear water. You will se the water get a bit tainted, and that’s actually exactly what we want – to get the rest of the used water and detergent out of the garment and into the more fresh water.
8. Repeat step 6 and 7 about two times more, in all a three time rinsing. But be sure to check the water. When the rinsing water stays clear, that’s when you know the garment is fully rinsed.
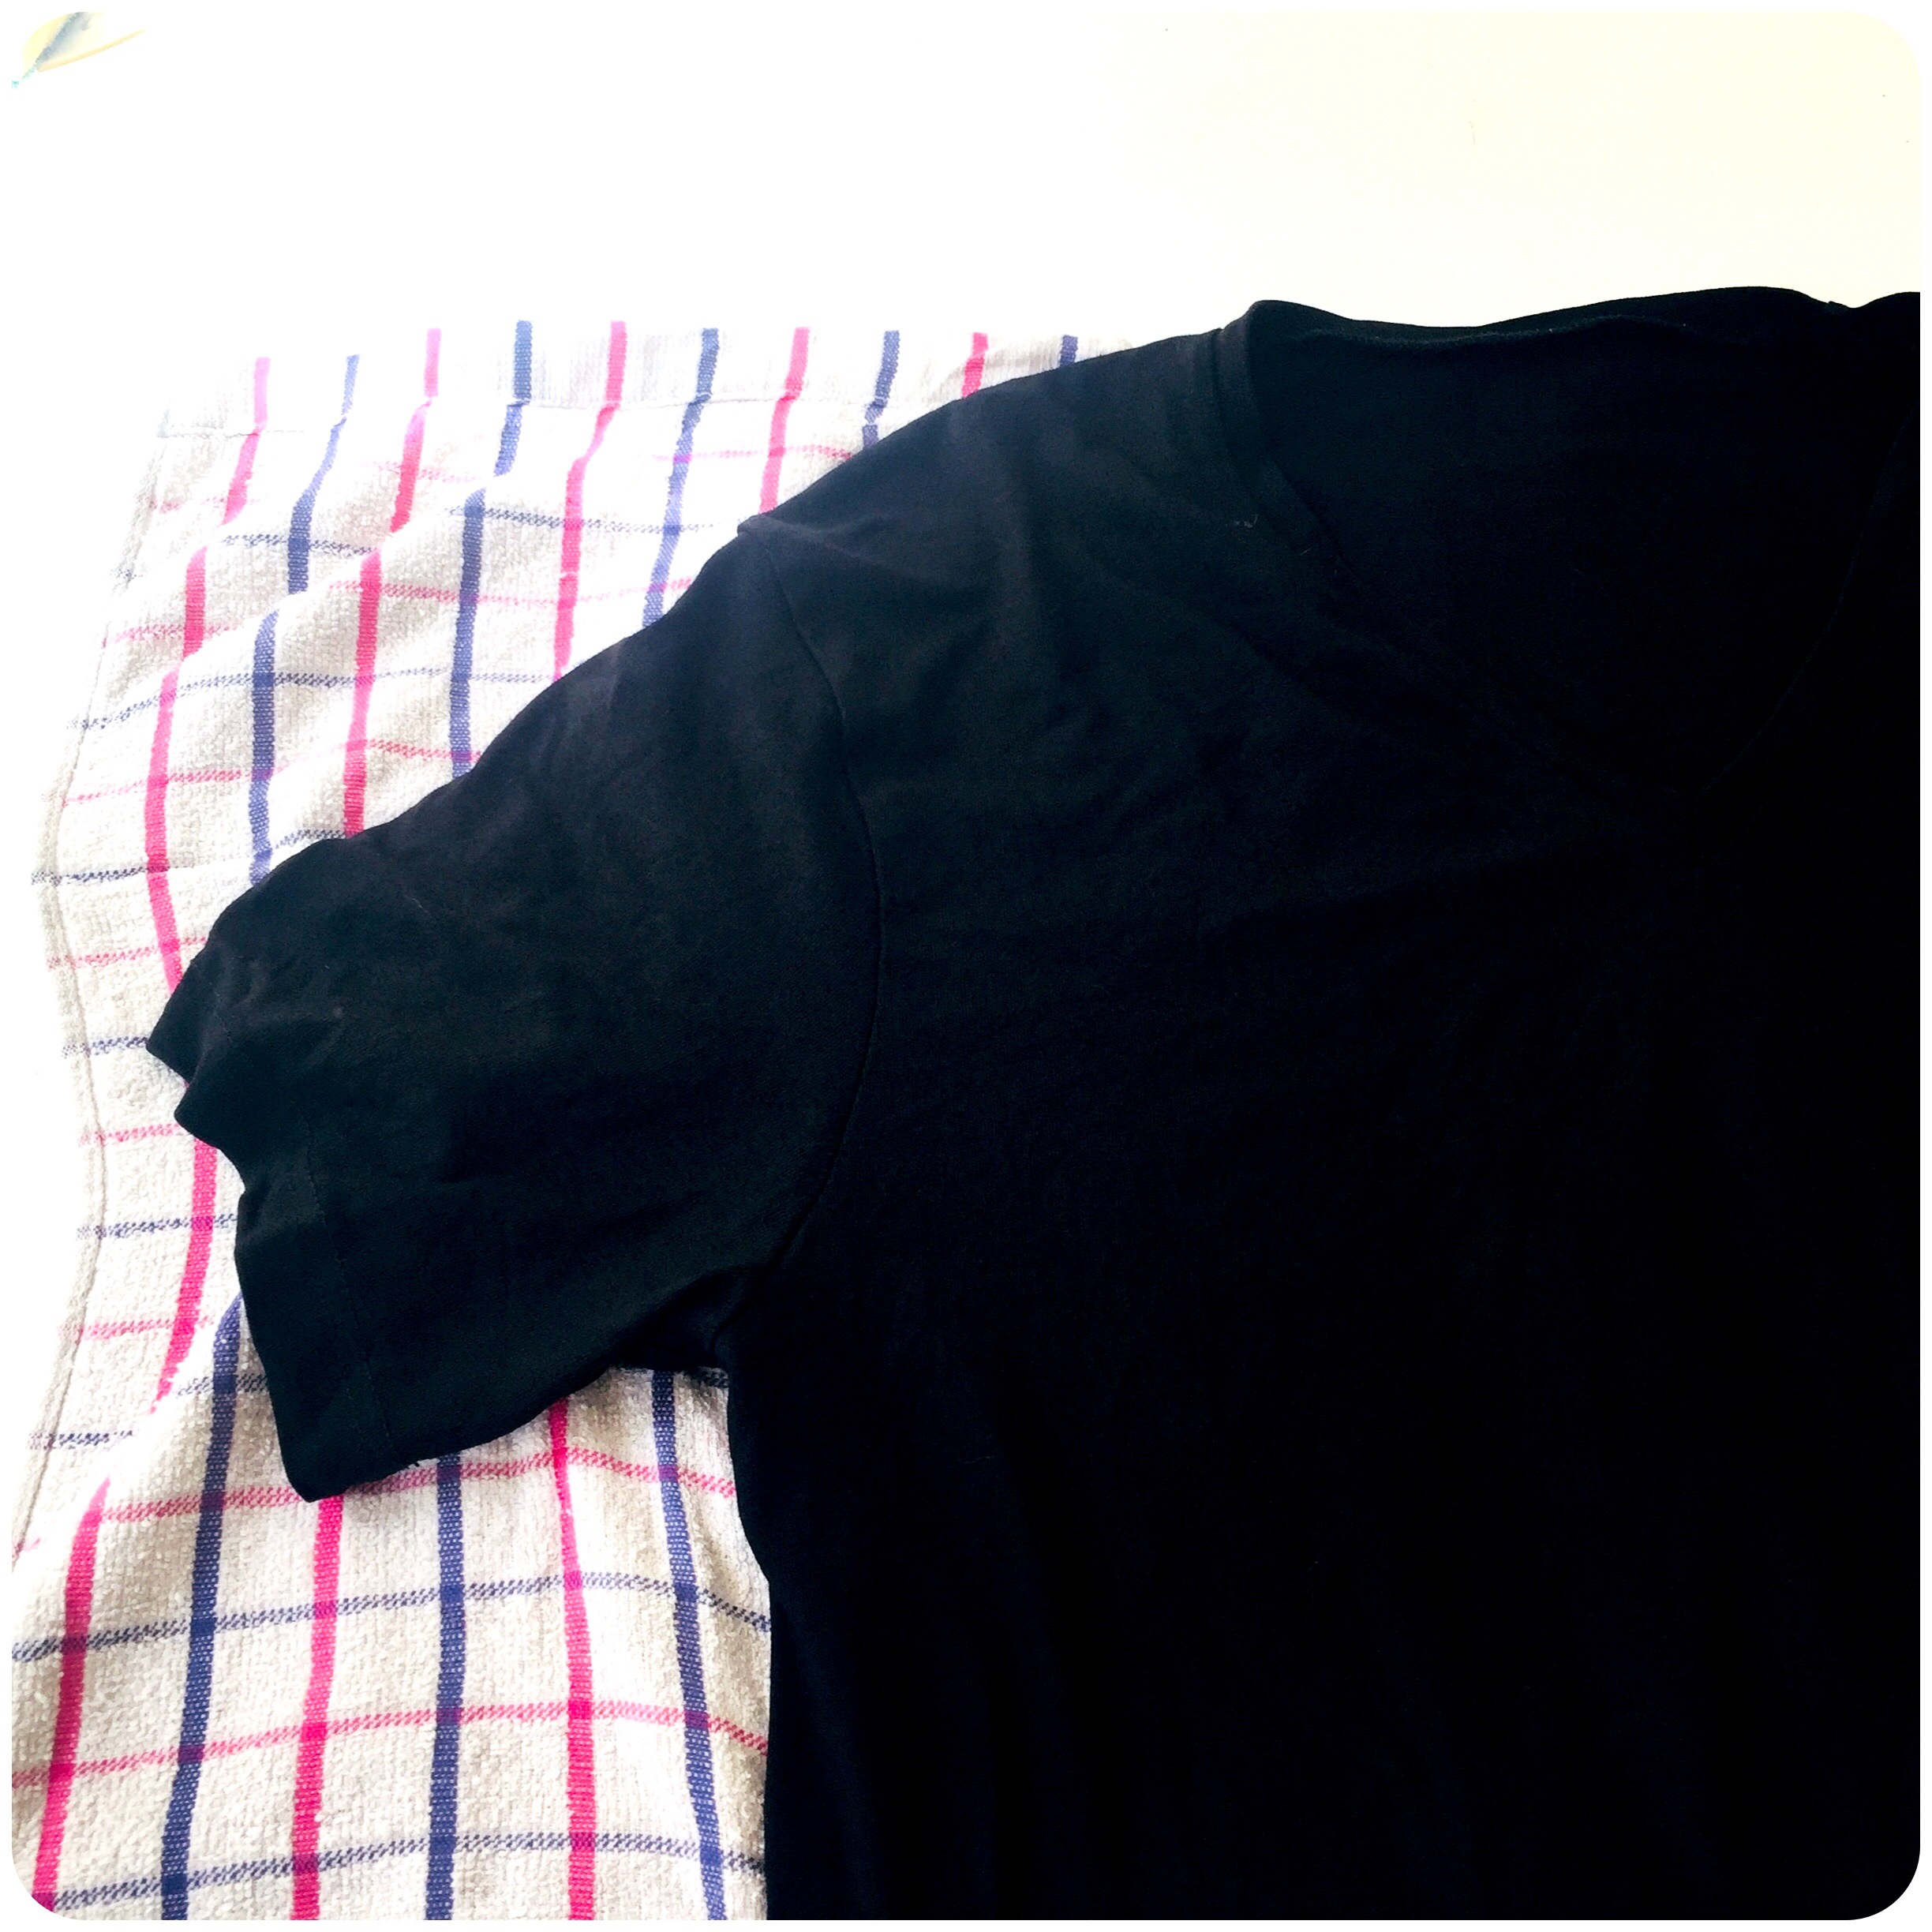
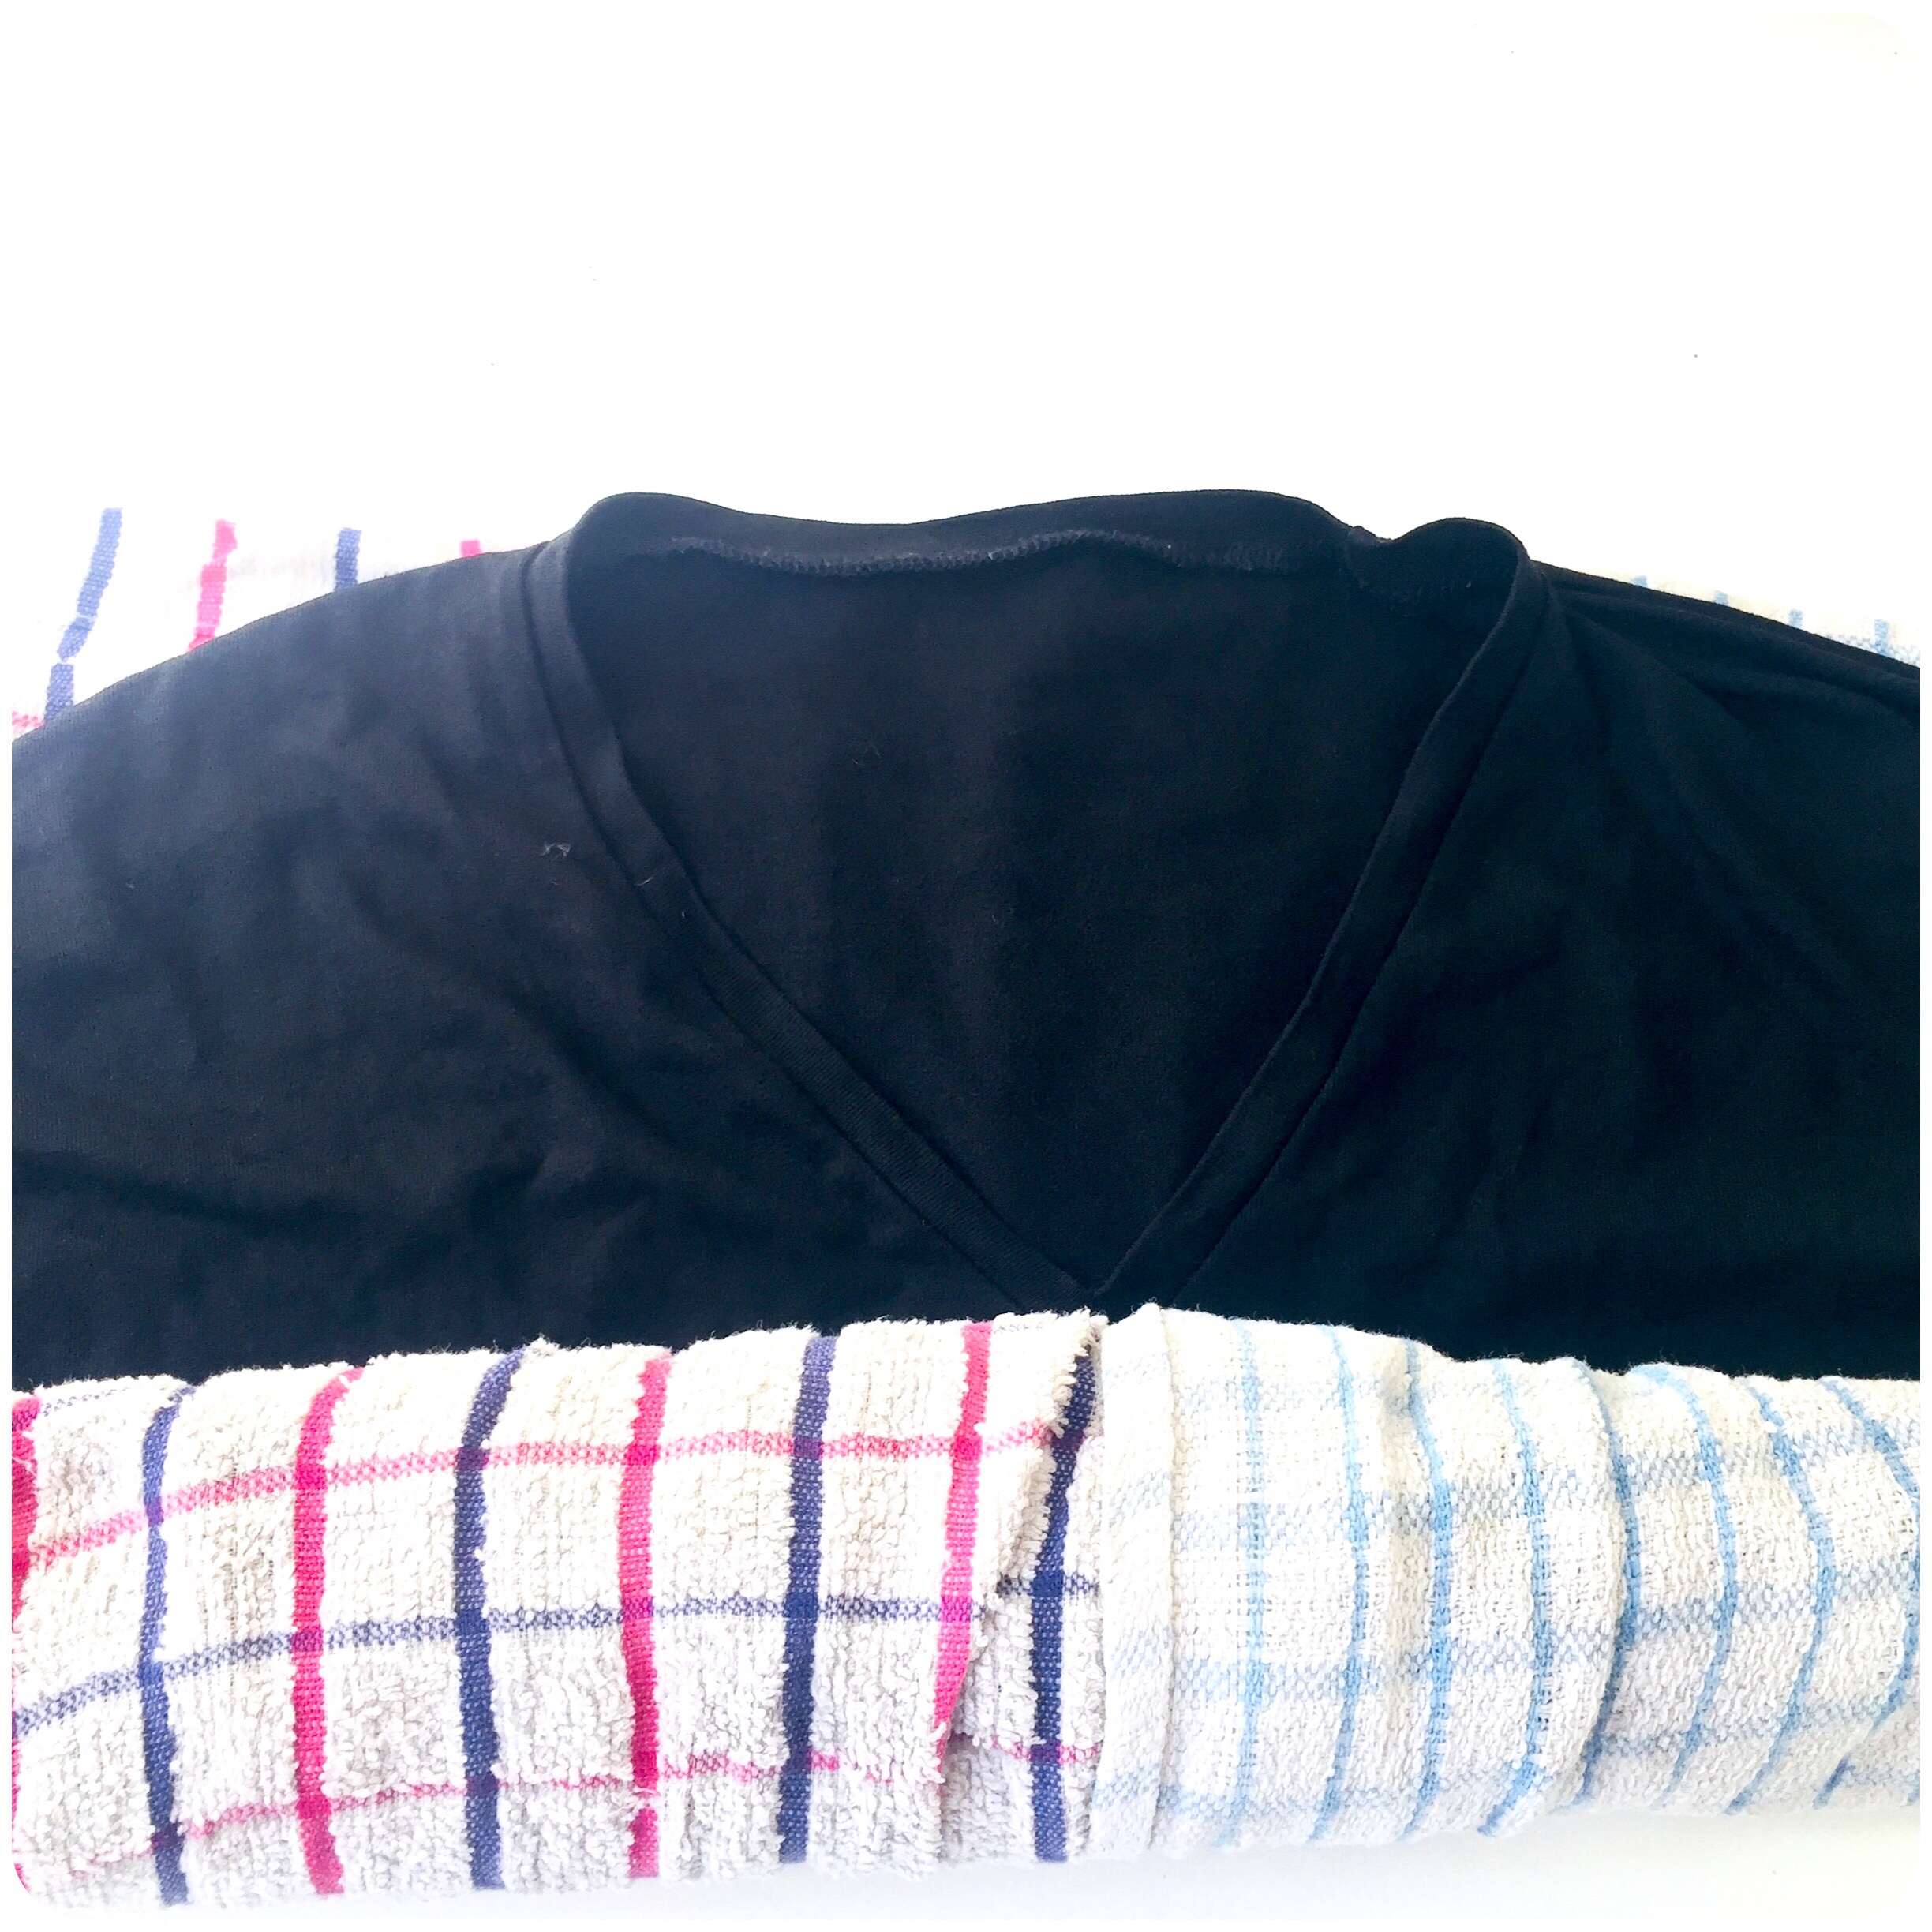
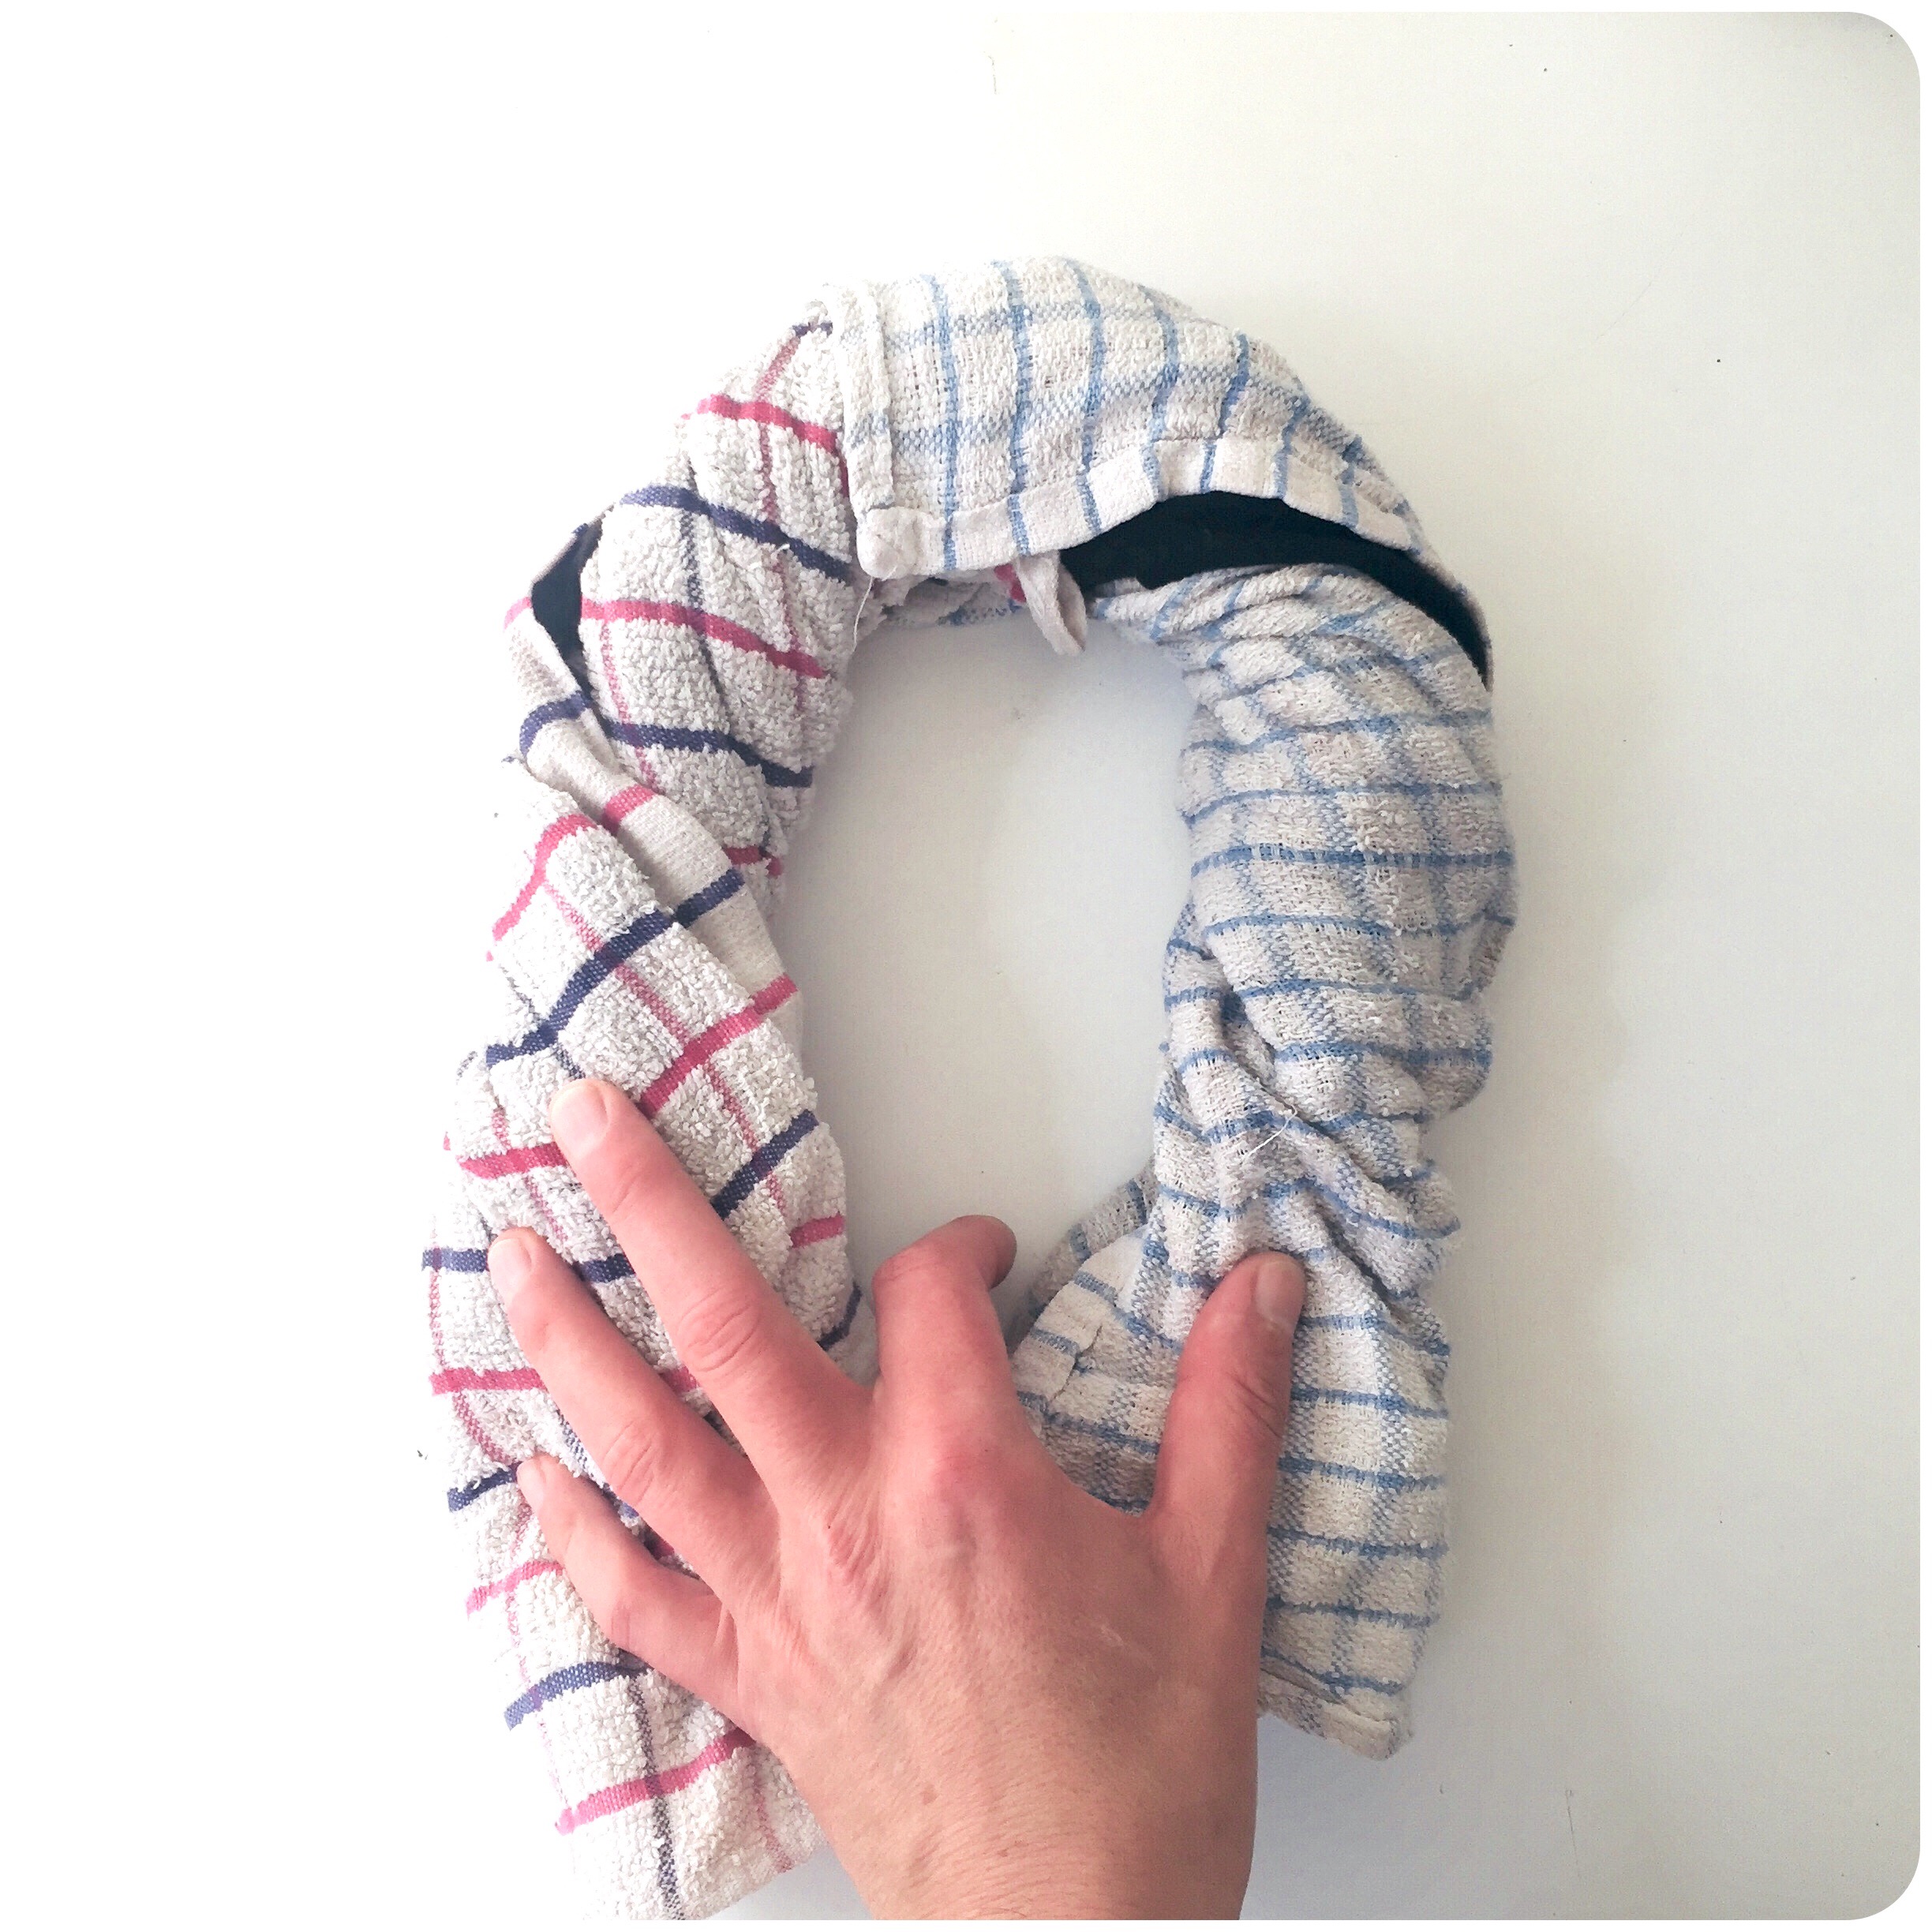
9. Time for the spin! To remove excess water. So, after having twisted the garment as well as you can, after the last rinse, the garment usually still feels rather wet. To help us out with that, we use a couple of (clean) towels. Preferably fluffy ones that soak up a lot of water. Place the garment on top of the open towel, or towels overlapping each other, and just roll it up as tight as you can…
… and then twist it as good as you can. To help you out you can either use one hand in each side, or place your foot at one side and then twist with both hands. But be gentle with sensitive garments! Some garments hardly need any spinnng/twisting at all. Be aware of that the process can give coarse wrinkles. Just as a machine spin would do. And also be aware of the very strong force the hand-spinning actually gives!
10. Finished! Good job! Just hang, or lay, the garment to dry natural. Some wind would help you speeding up the process. Be sure to place the garment in the style and shape you would like it to be, since it will dry into that shape. Feel free to mold, stretch and pat it into your favorite preferable fashion. It’s actually rather surprising how much a moist garment can be reshaped! Also pay attention to your hanger’s shape – it should preferably mirror your own shoulders, and hopefully not be too pointy.
Well done! A gentle but effective wash just copleated. Feel good about it, and be proud of taking care of your garments in a good way.
Chapter 2 – The Project, Day 20.
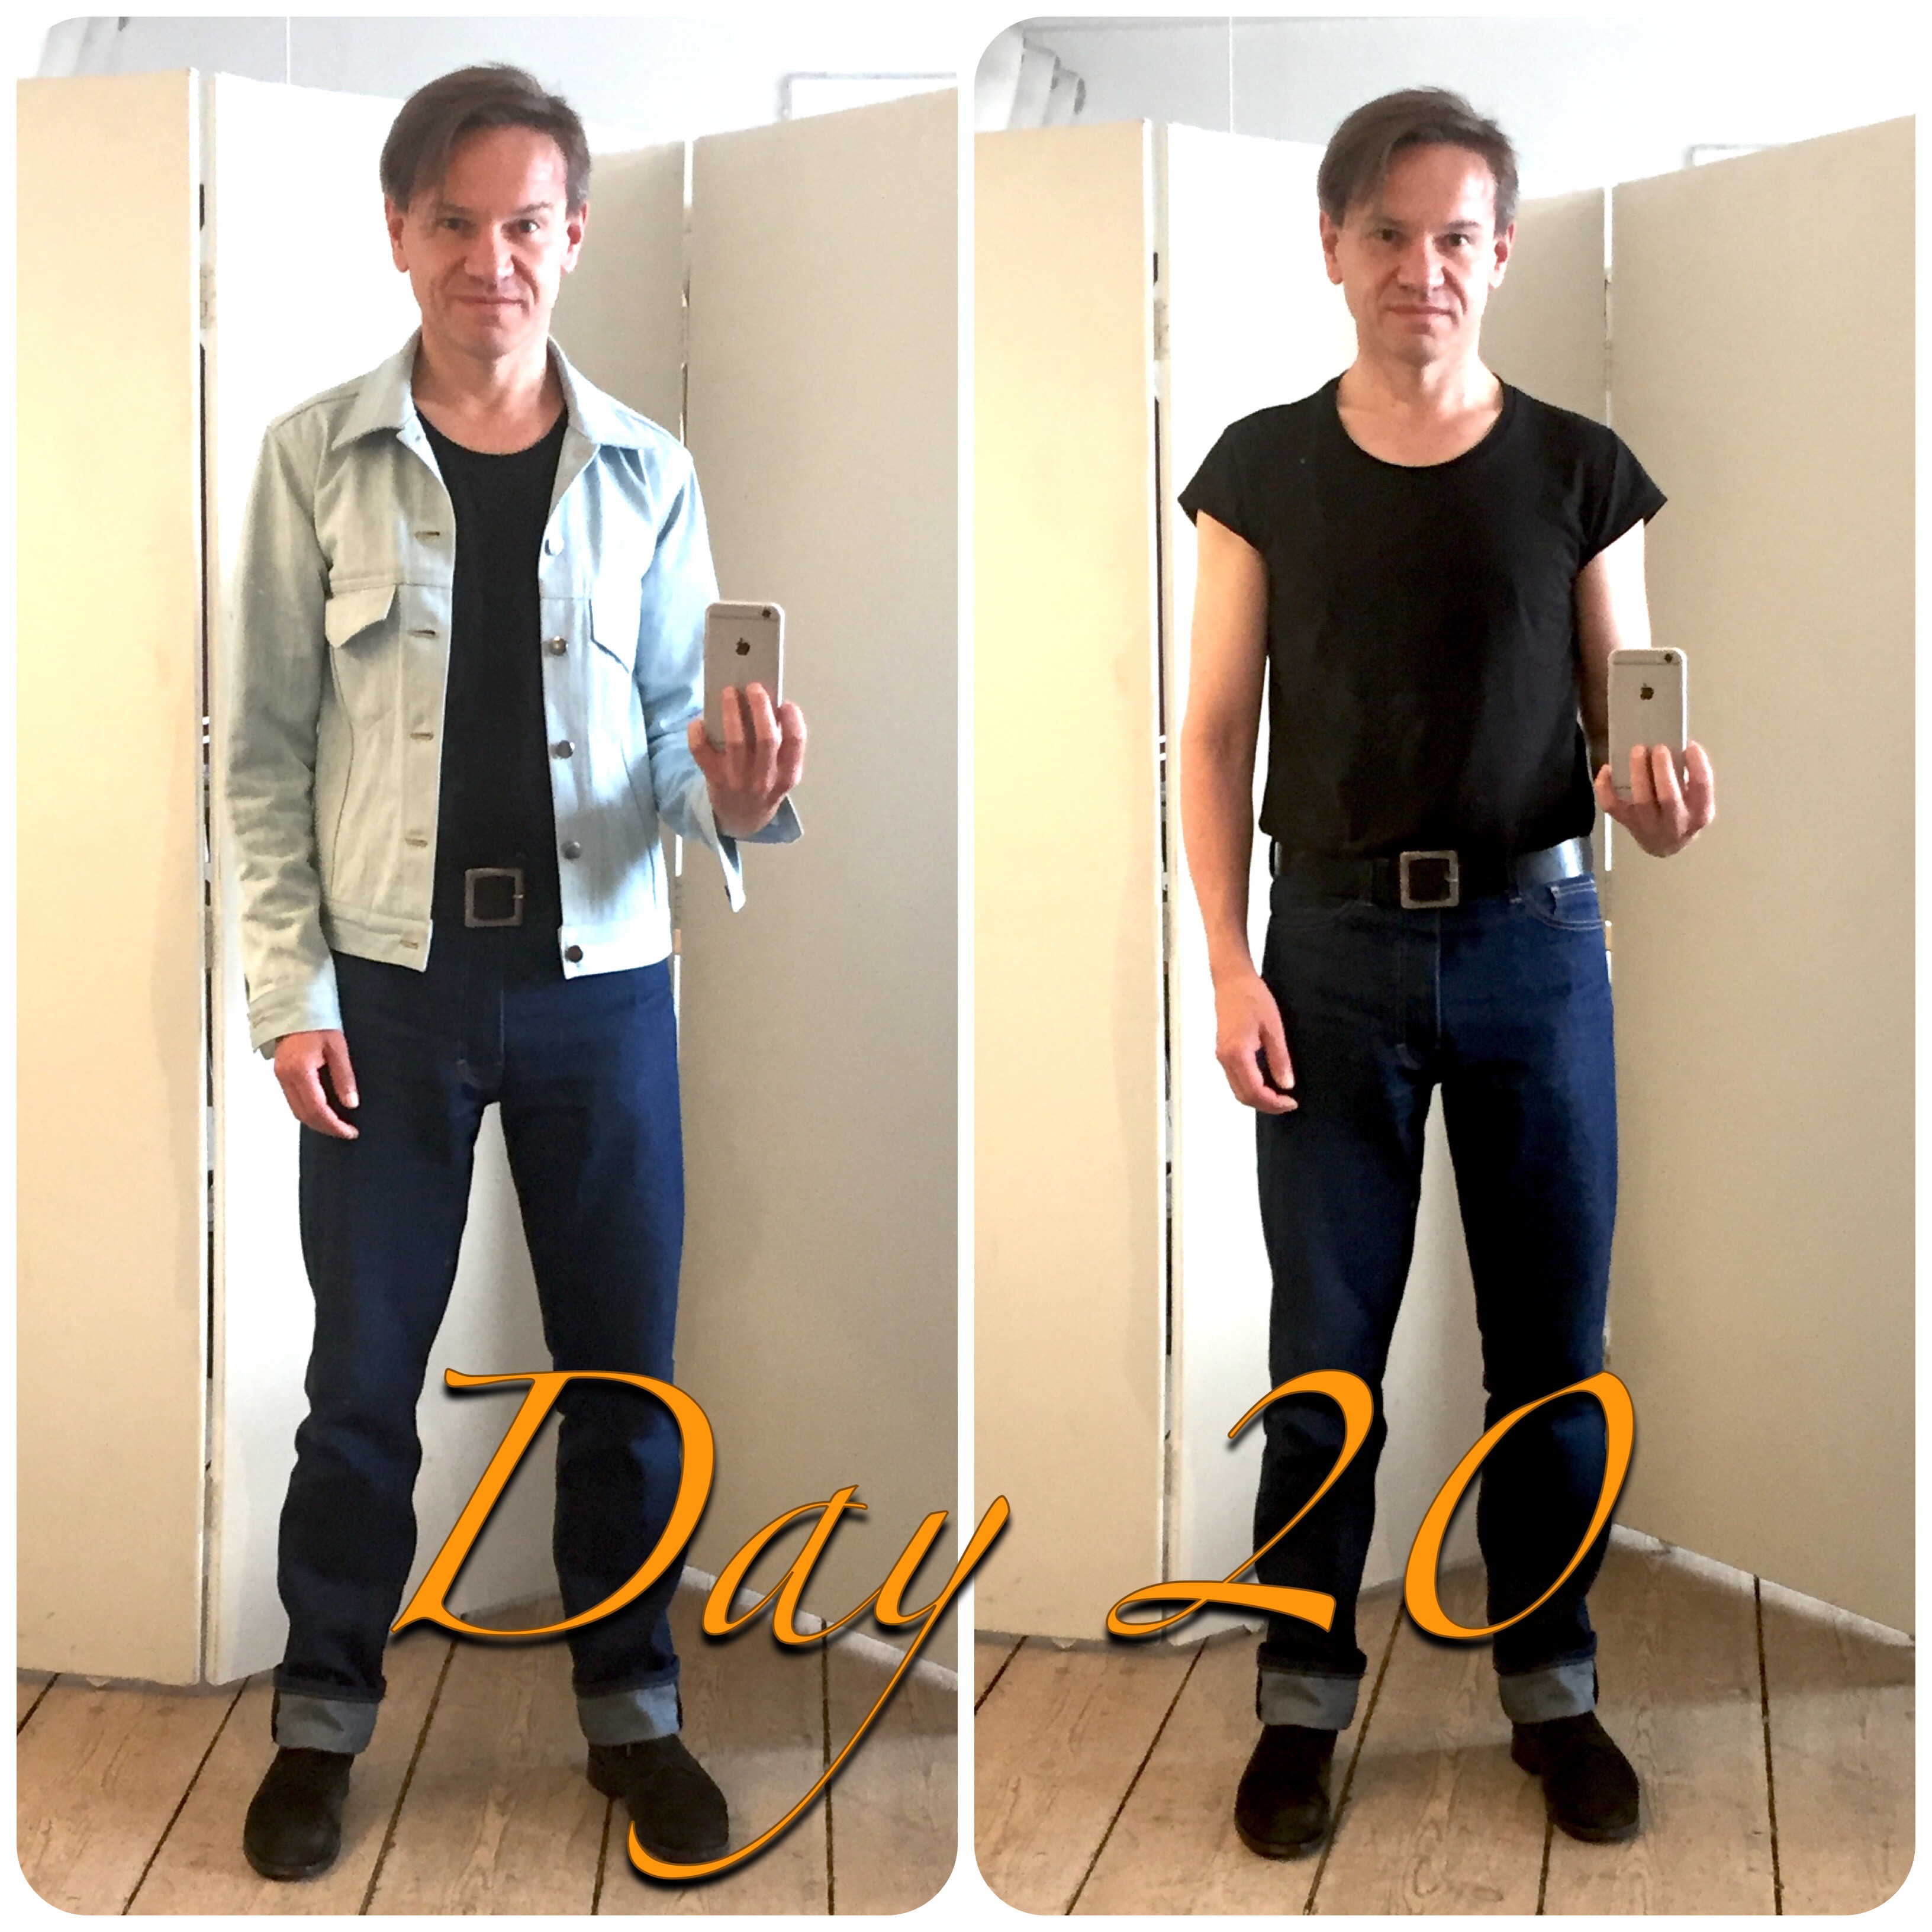
The 20th day mark reached! And now there’re no more combination possibilities left with the nine garments I currently have. This was the last one. So high time to make a new garment! Let’s do it! And… See you tomorrow!
– Sten Martin / DTTA
__________
If you enjoyed this content, feel free to support us by sharing this article, subscribe to one or two of our different platforms with informative content on tailoring and design, or, by just donating a sum. As a small independent company, we’re always greatful for your support!
If you would like to comment, ask questions or suggest upcoming topics, remember to log in with your subscription code. See you over there!
One Reply to “Day 20 – Washing! Part 1. (A4, B2, C2)”
Comments are closed.