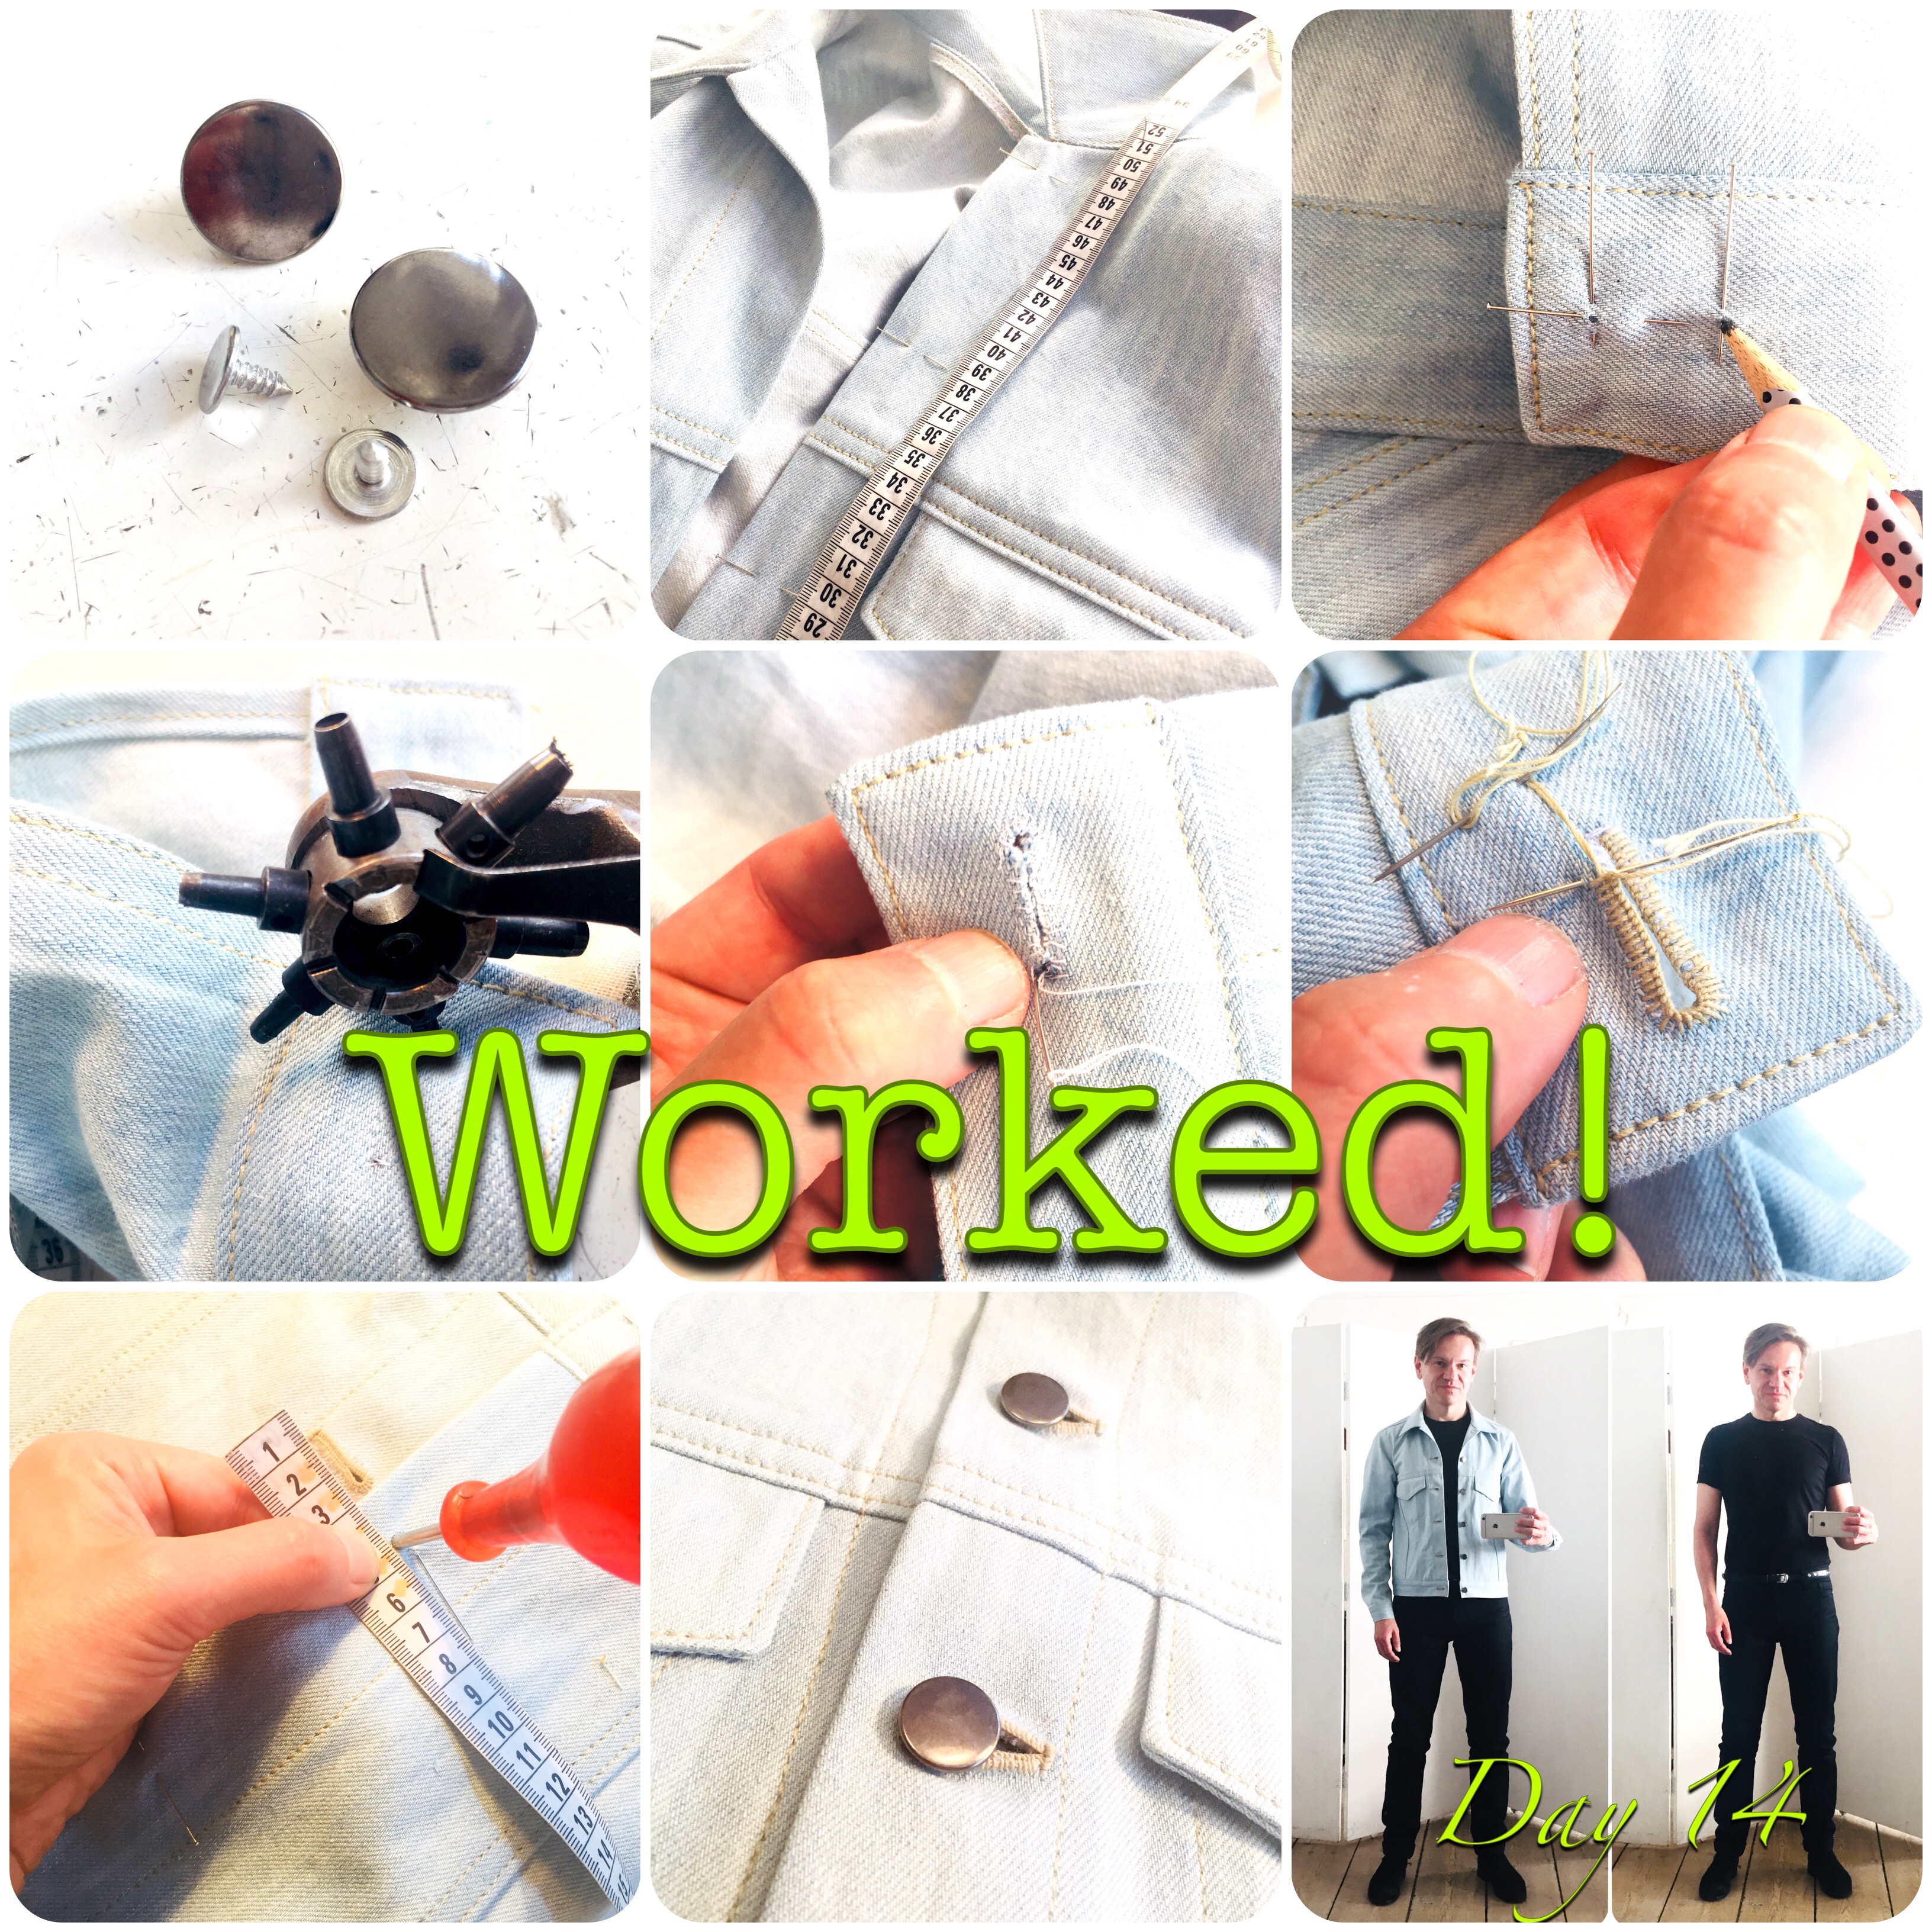
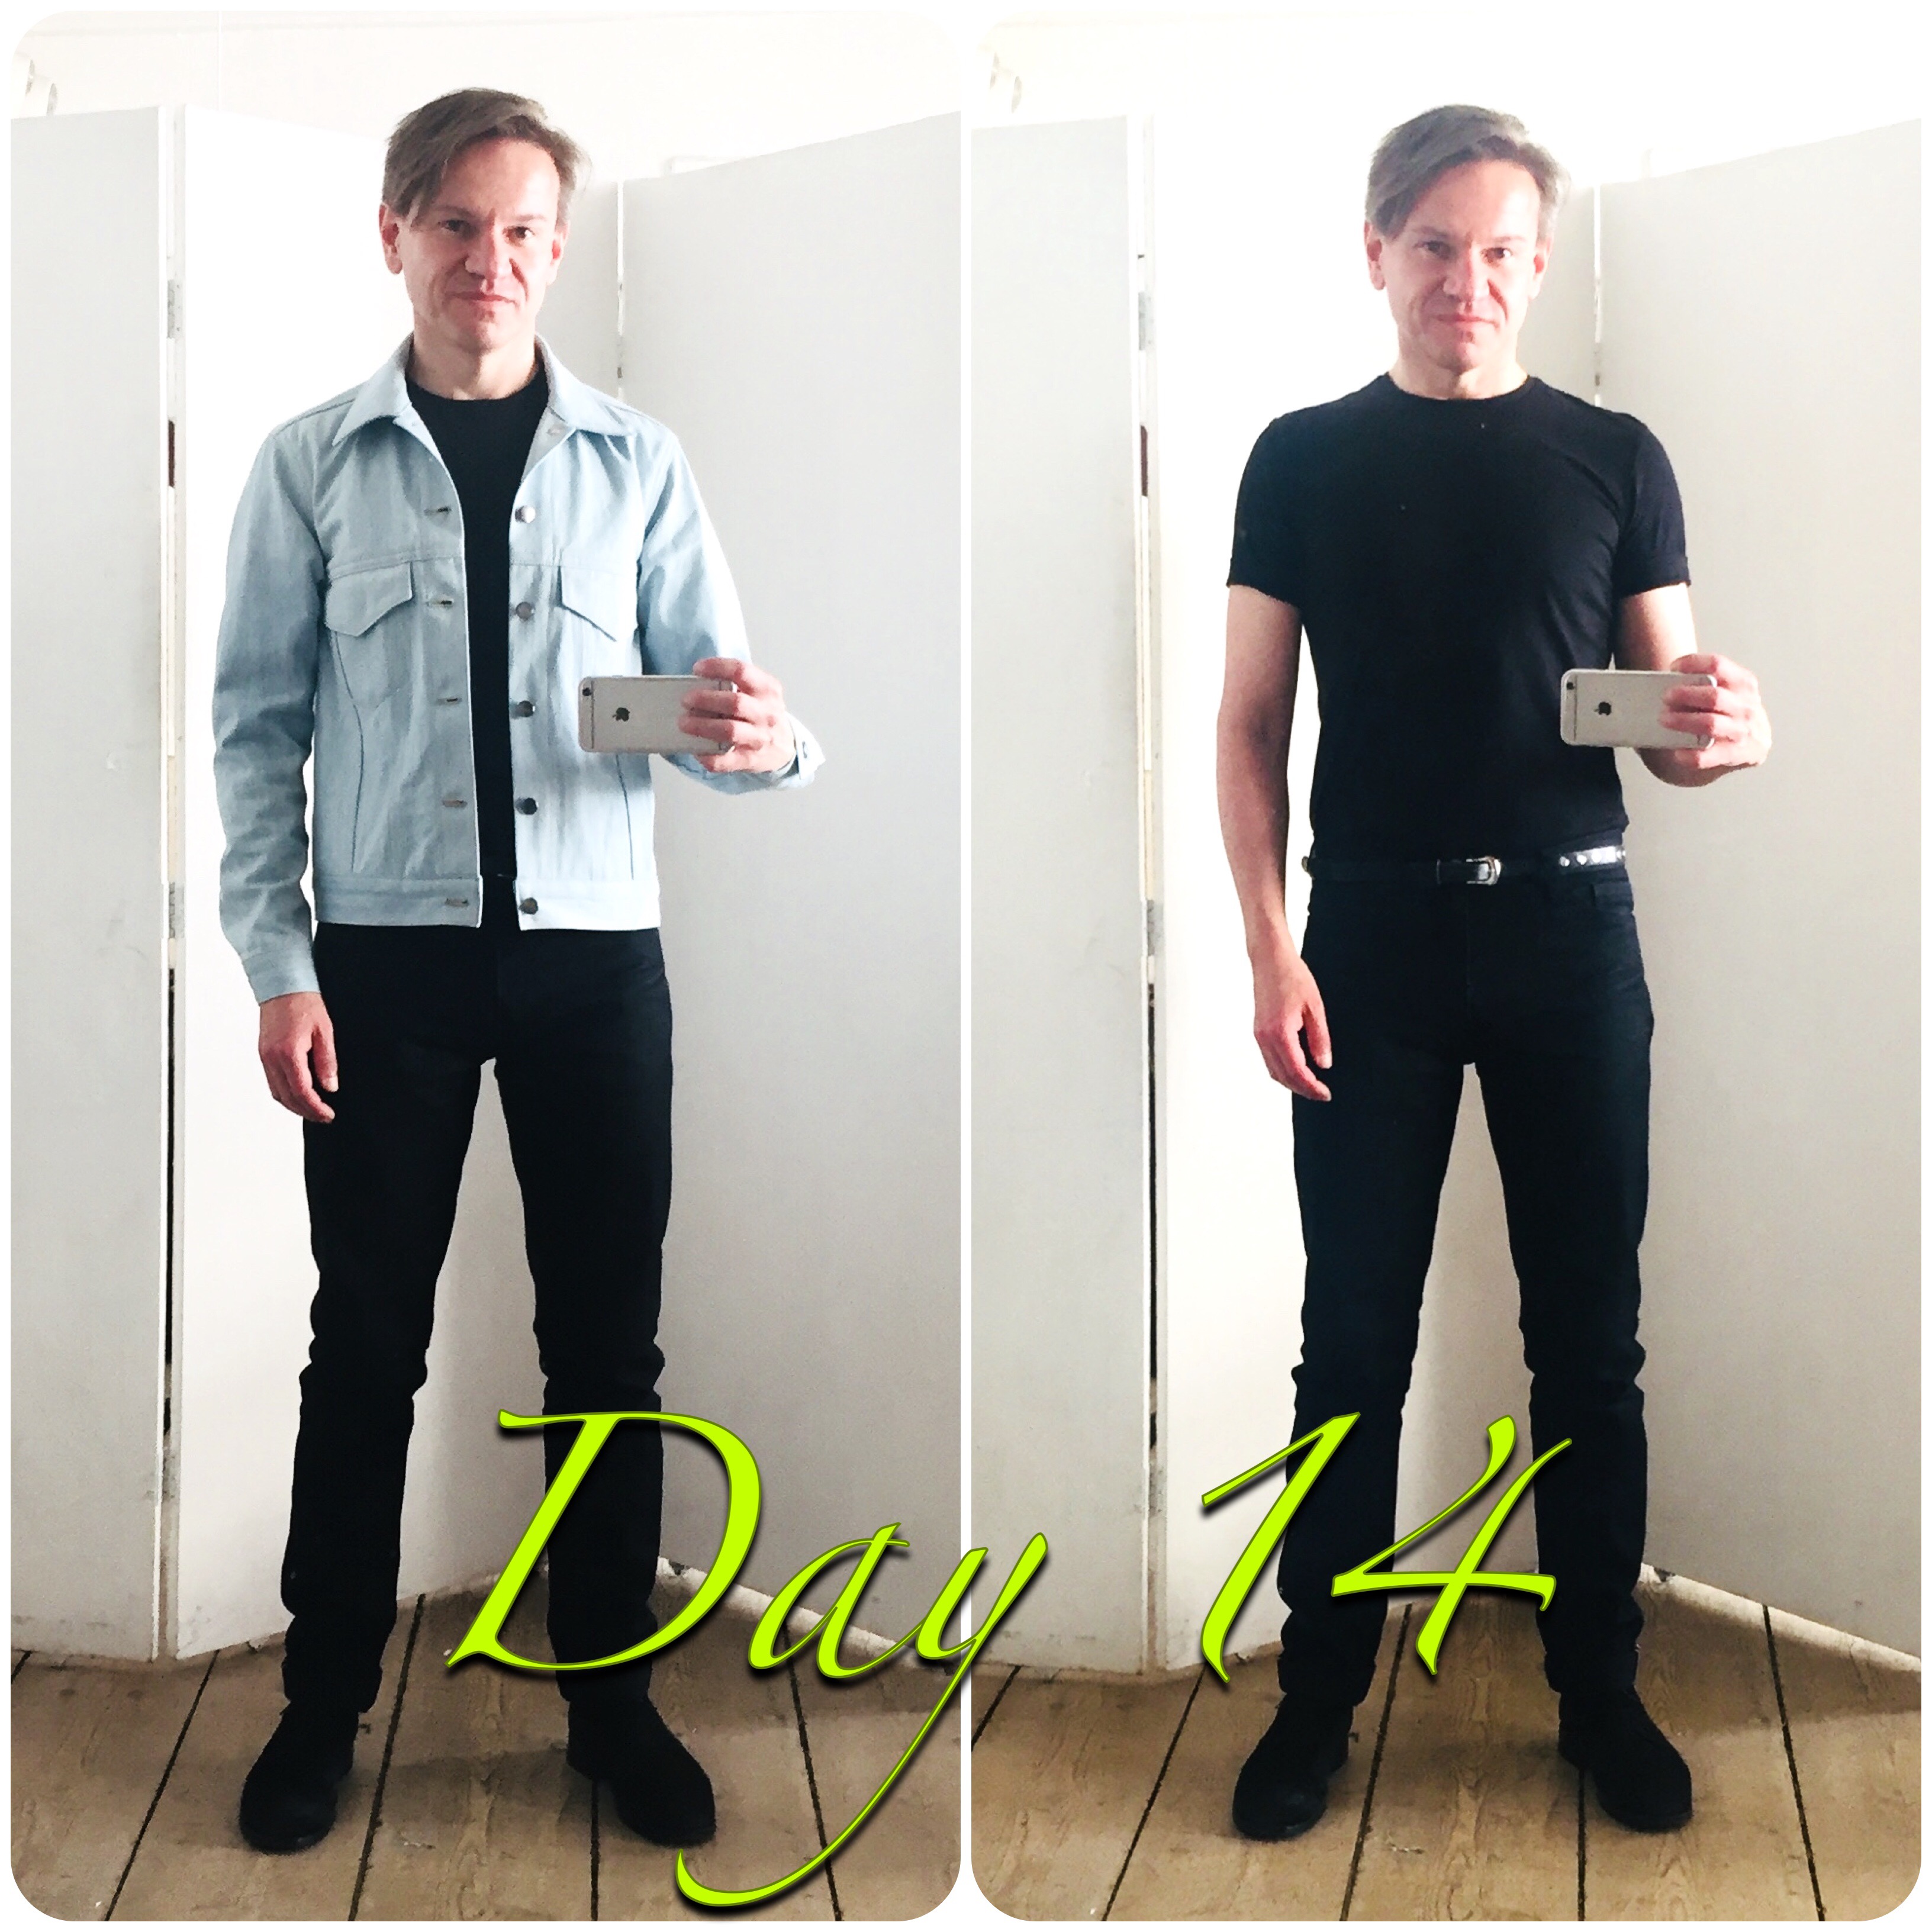
There are a lot of different techniques to master while tailoring and creating clothes, and also many decisions to make. A lot of them centers around quality. Do you want a quick fix, or do you want to reach a higher standard.
Usually the higher standard adds on an enormous amount of extra time that has to be acounted for. But it’s also about signals to send – what you stand for and what your preferences are. Right?
Today I will show you how I made the A2 Denim Jacket’s hand-stitched buttonholes – also often called worked buttonholes – just to give you a glimpse of how much work that’s actually invested into them. And also, to show you how thoroughly they’re made, even though I went for a somewhat rougher look.
Here we go!
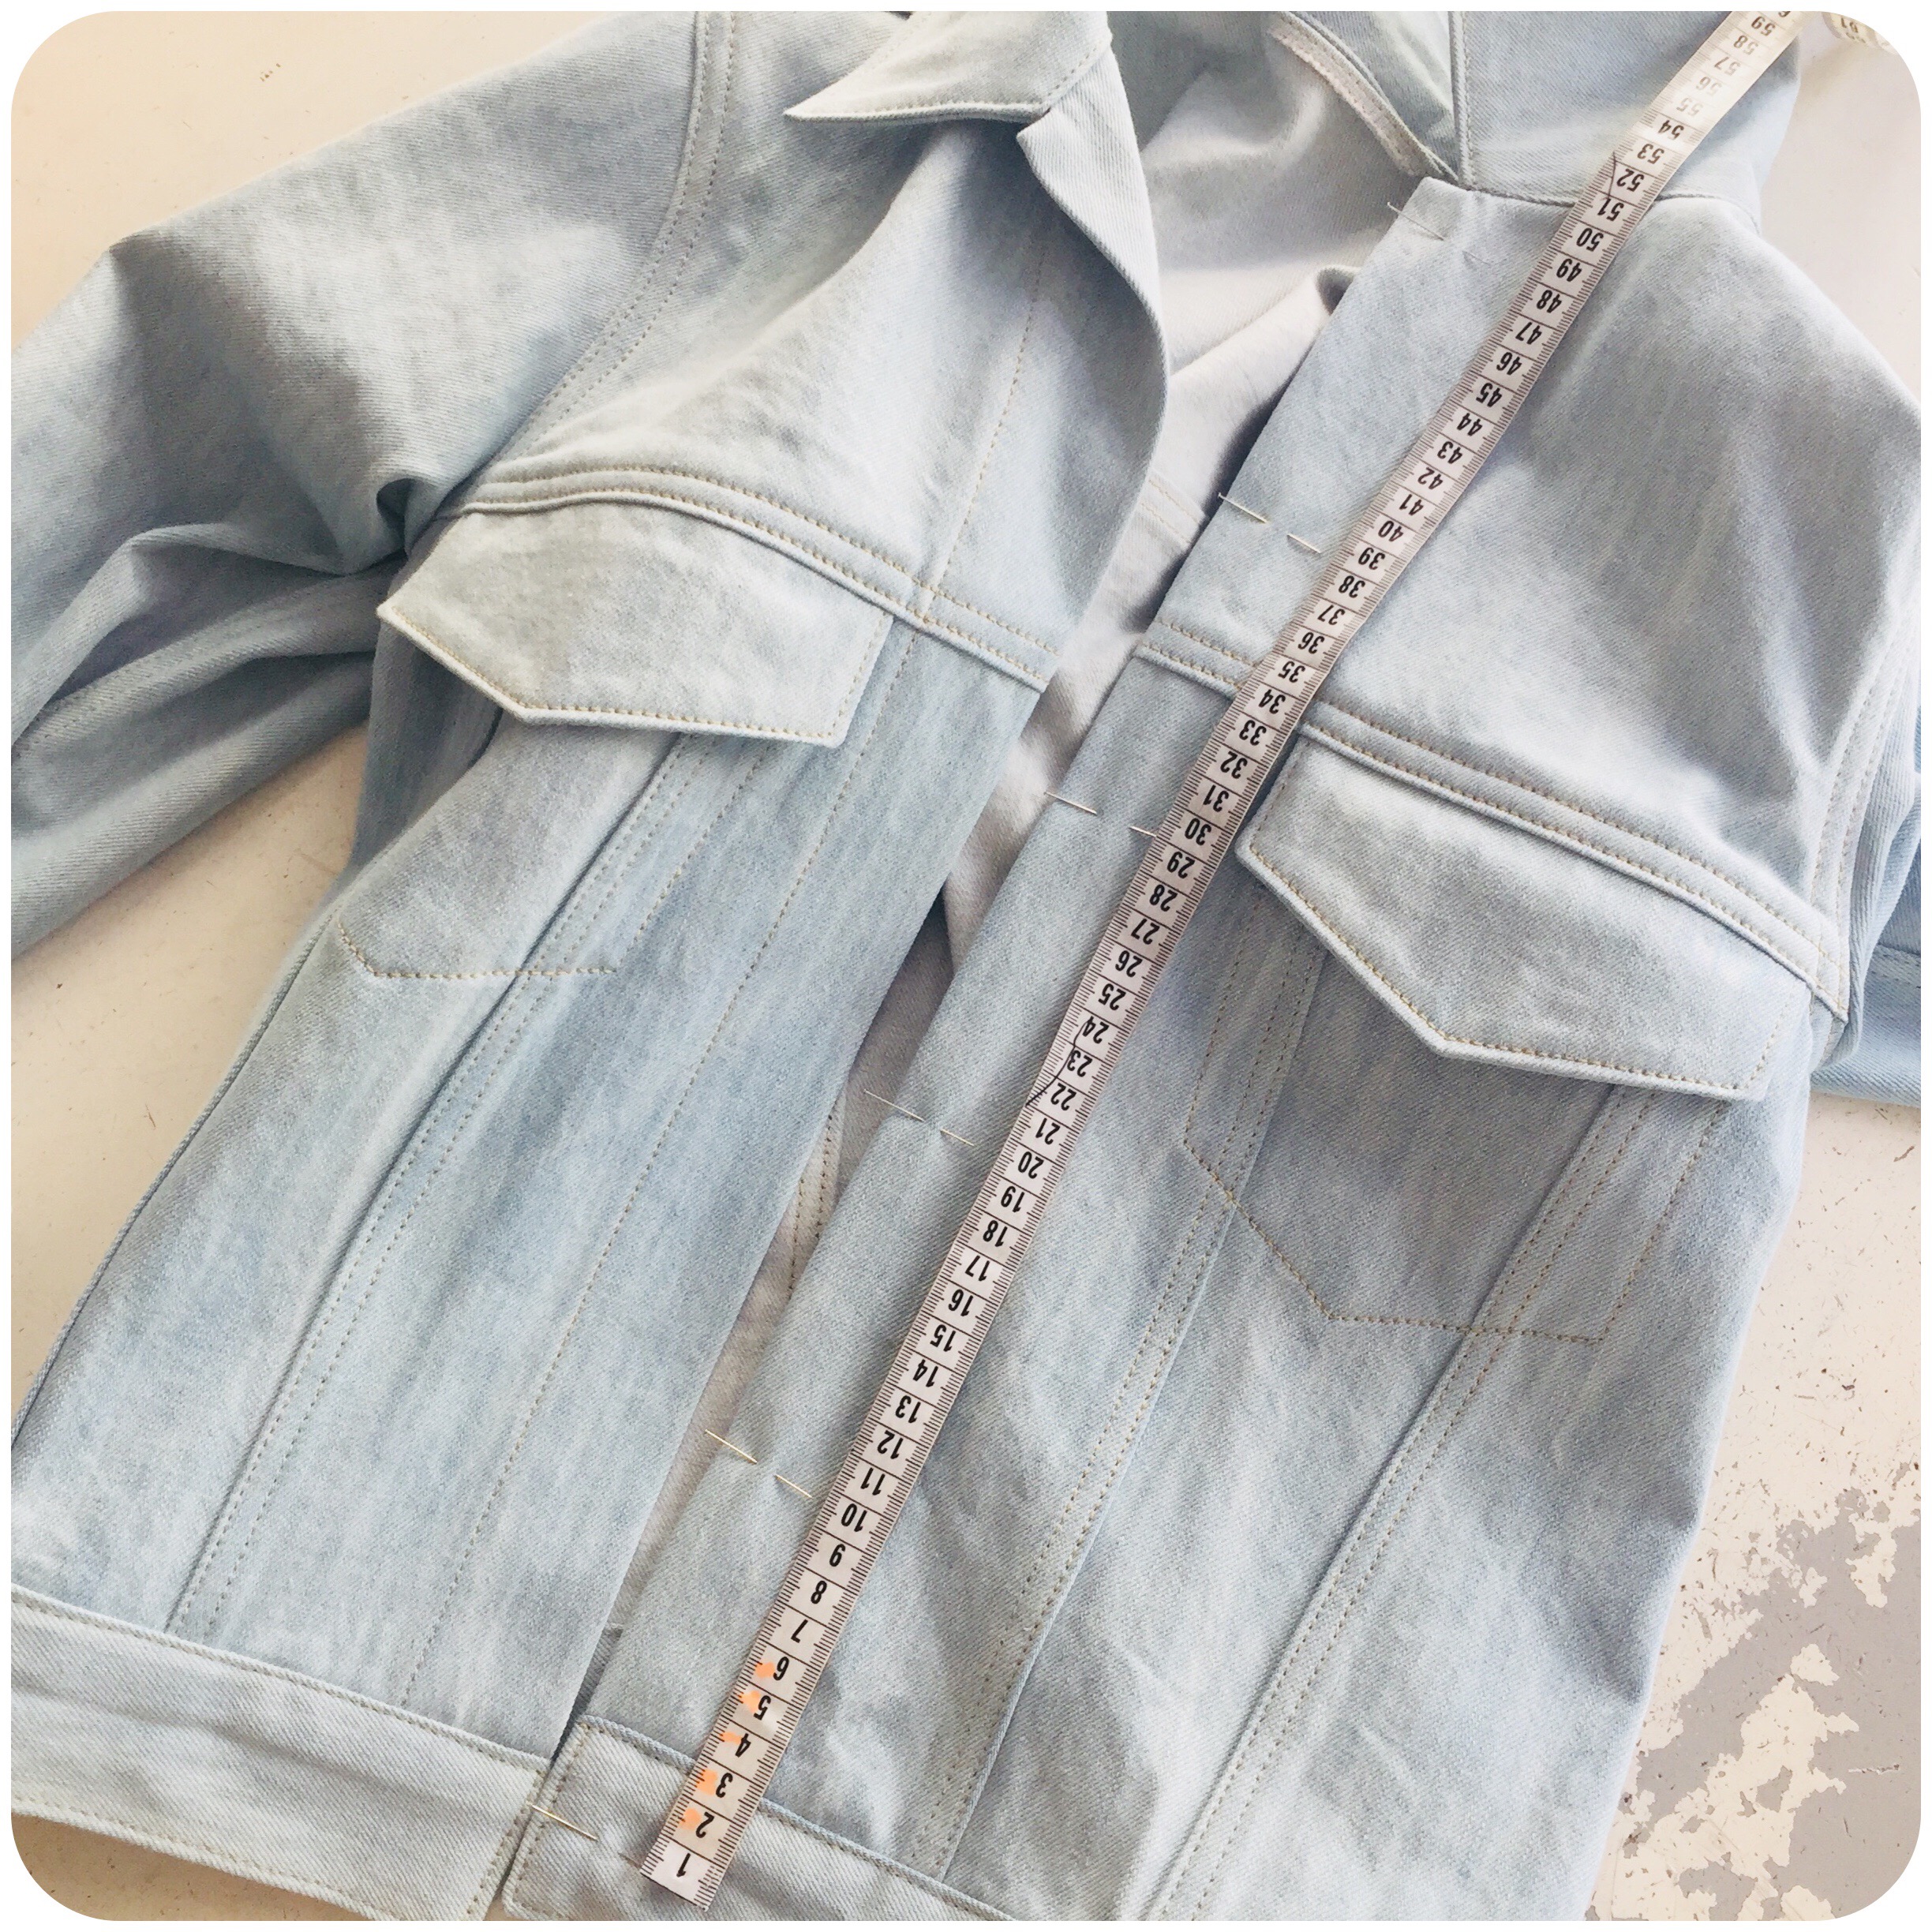
First we calculate all placements. Mark top and bottom and then devide with the amount of in-between distances.
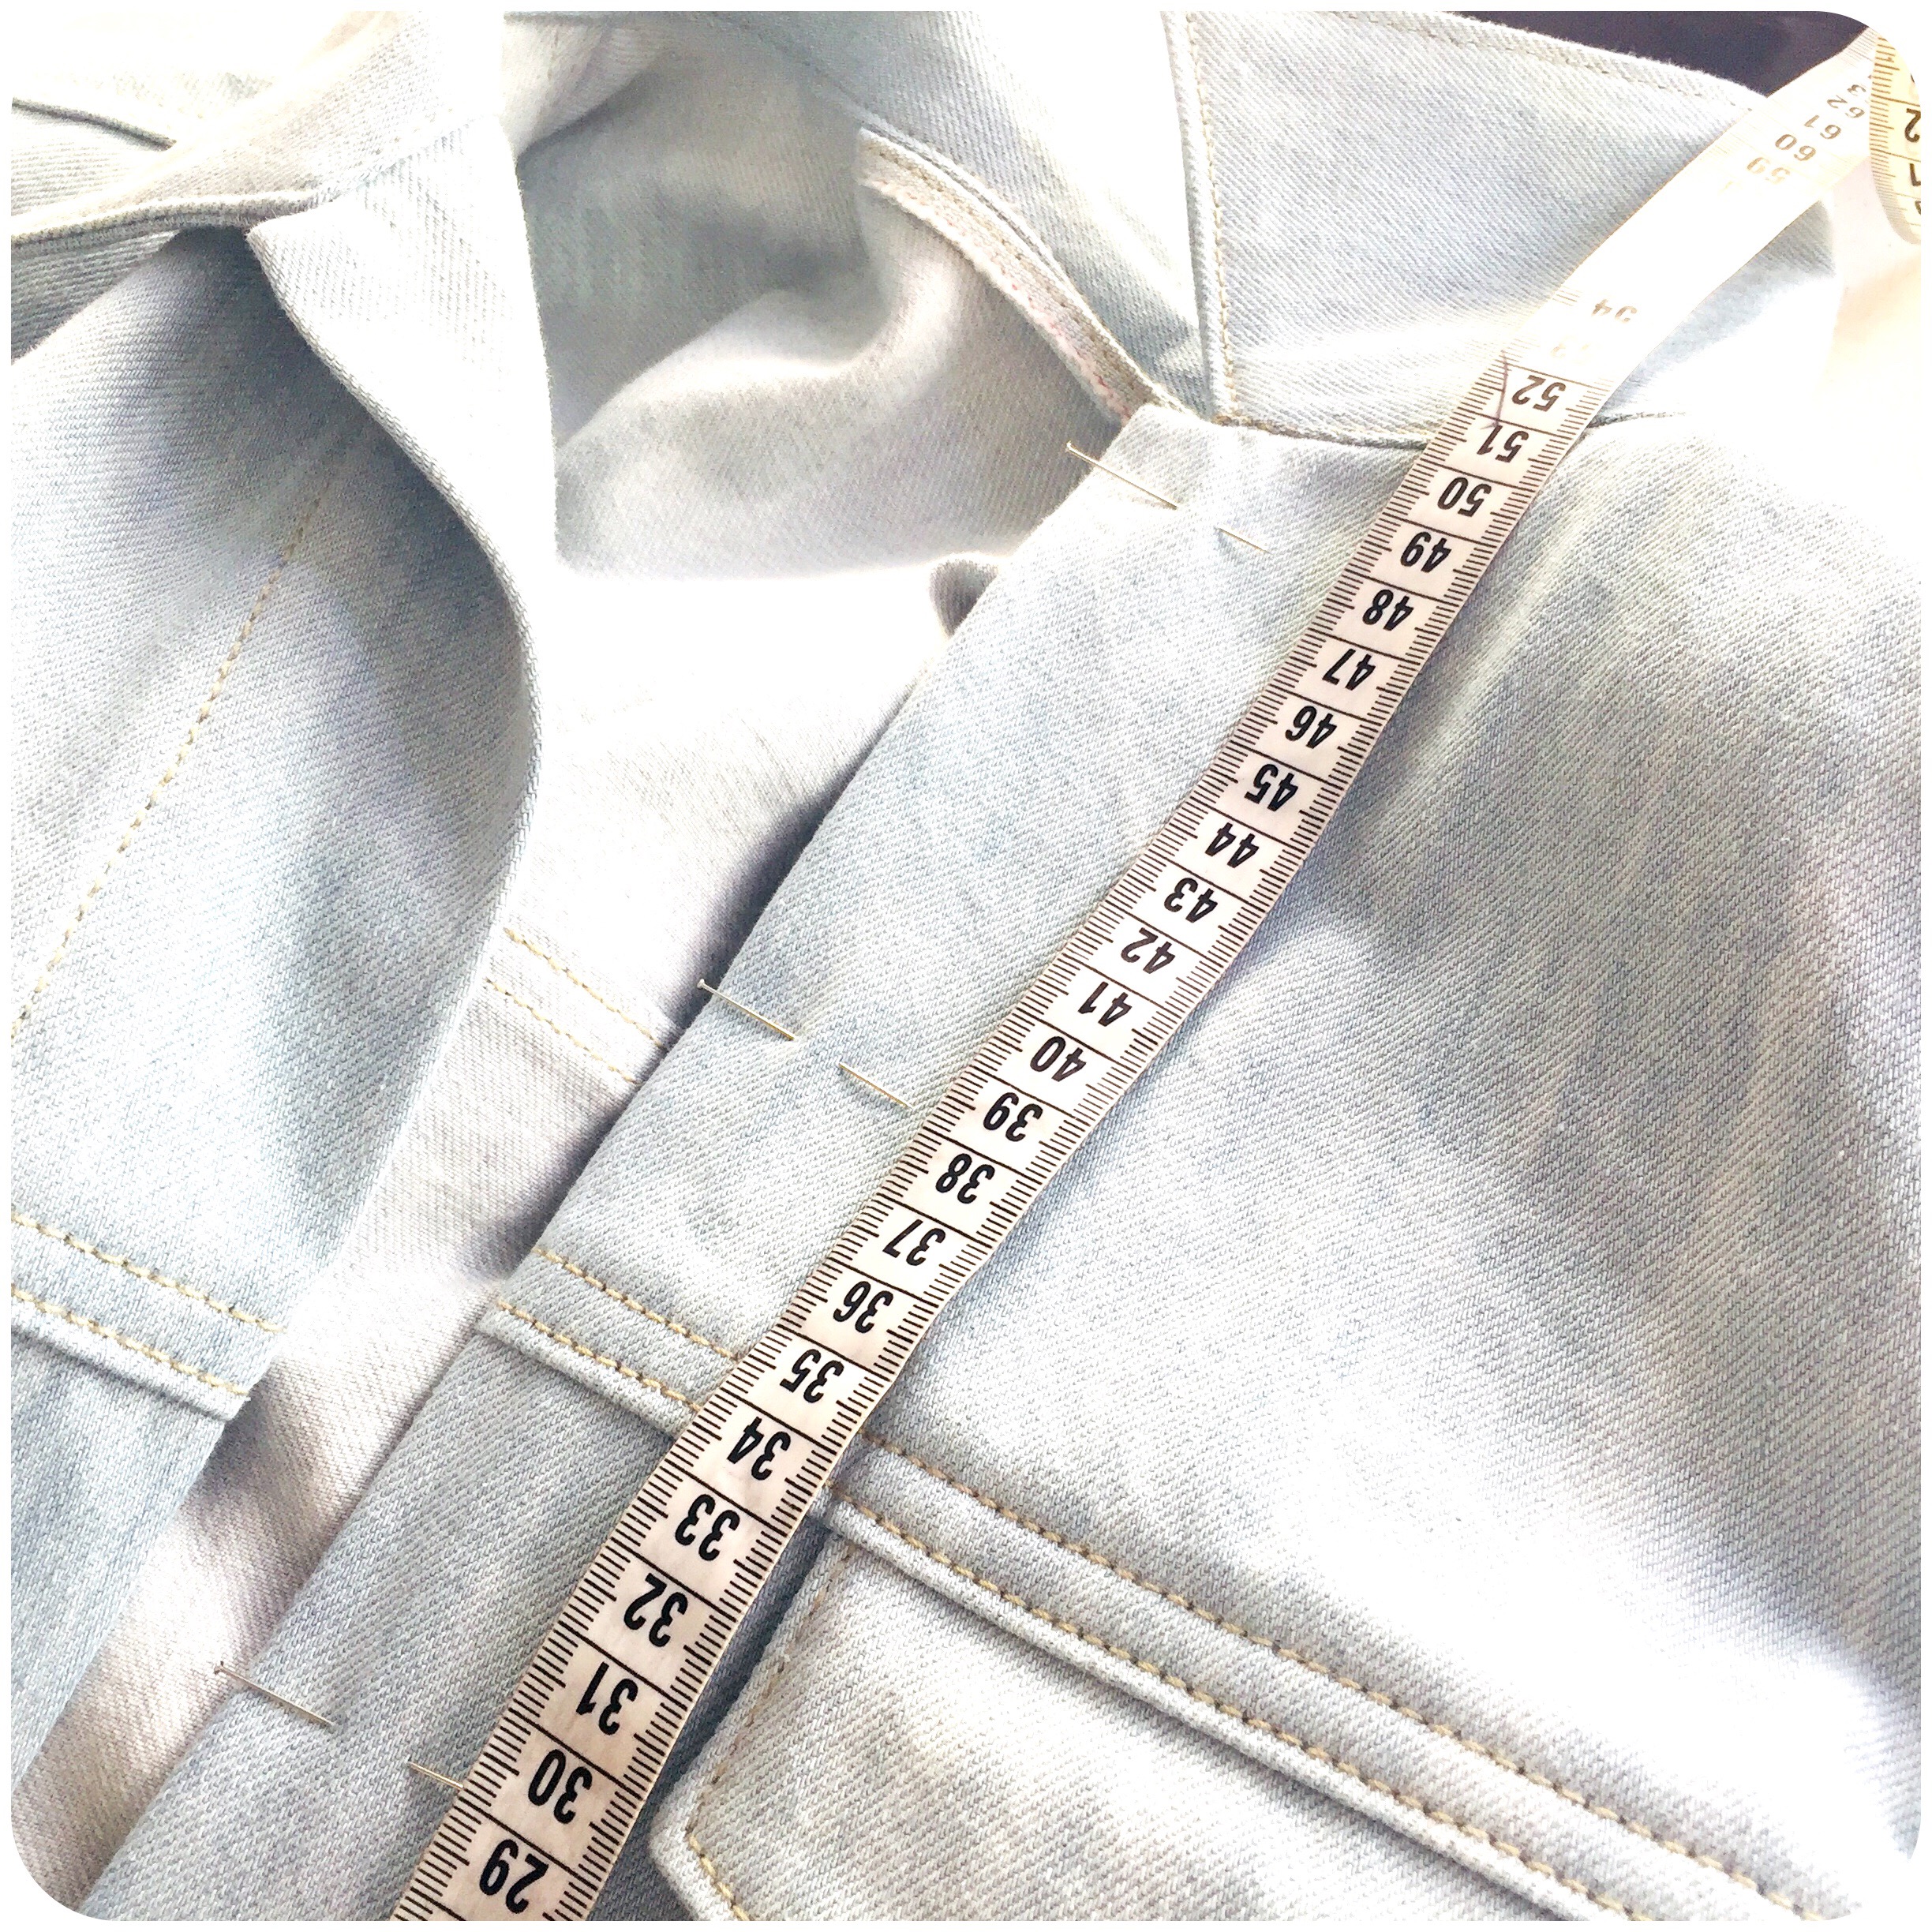
Mark each buttonhole’s placement.
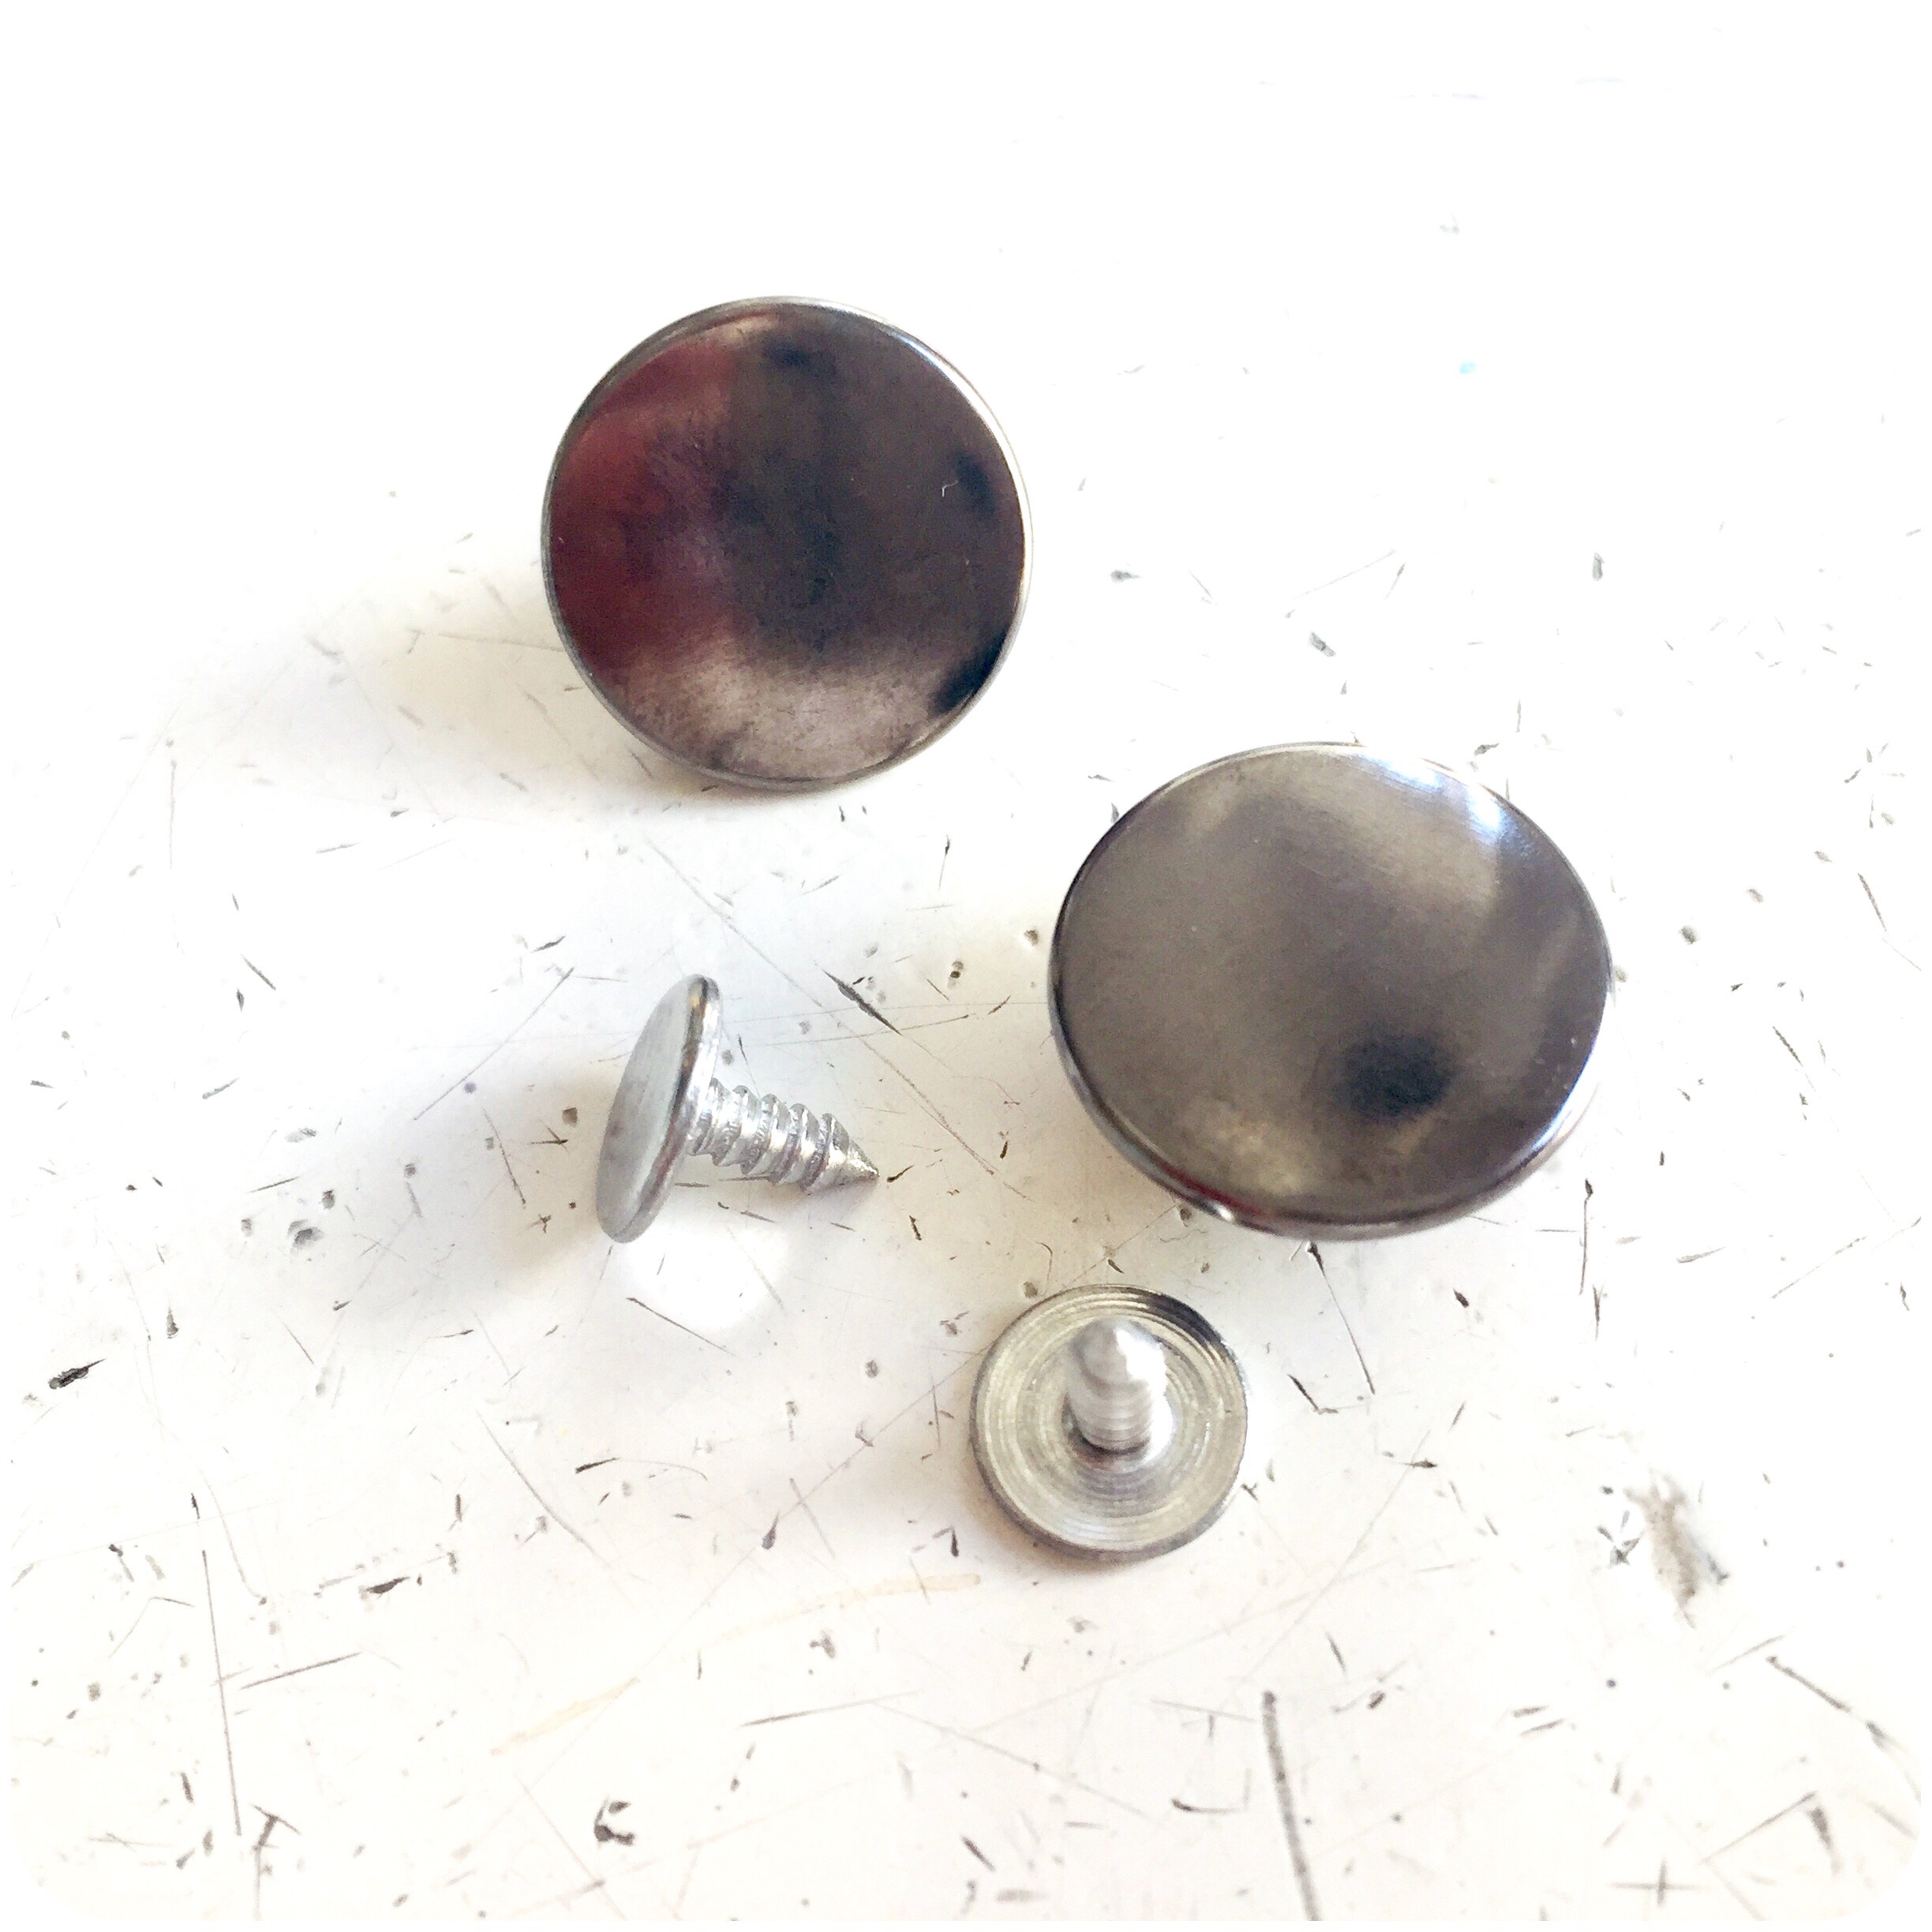
Measure the diameter – width – of your buttons, and just add a tiny bit for extra room.
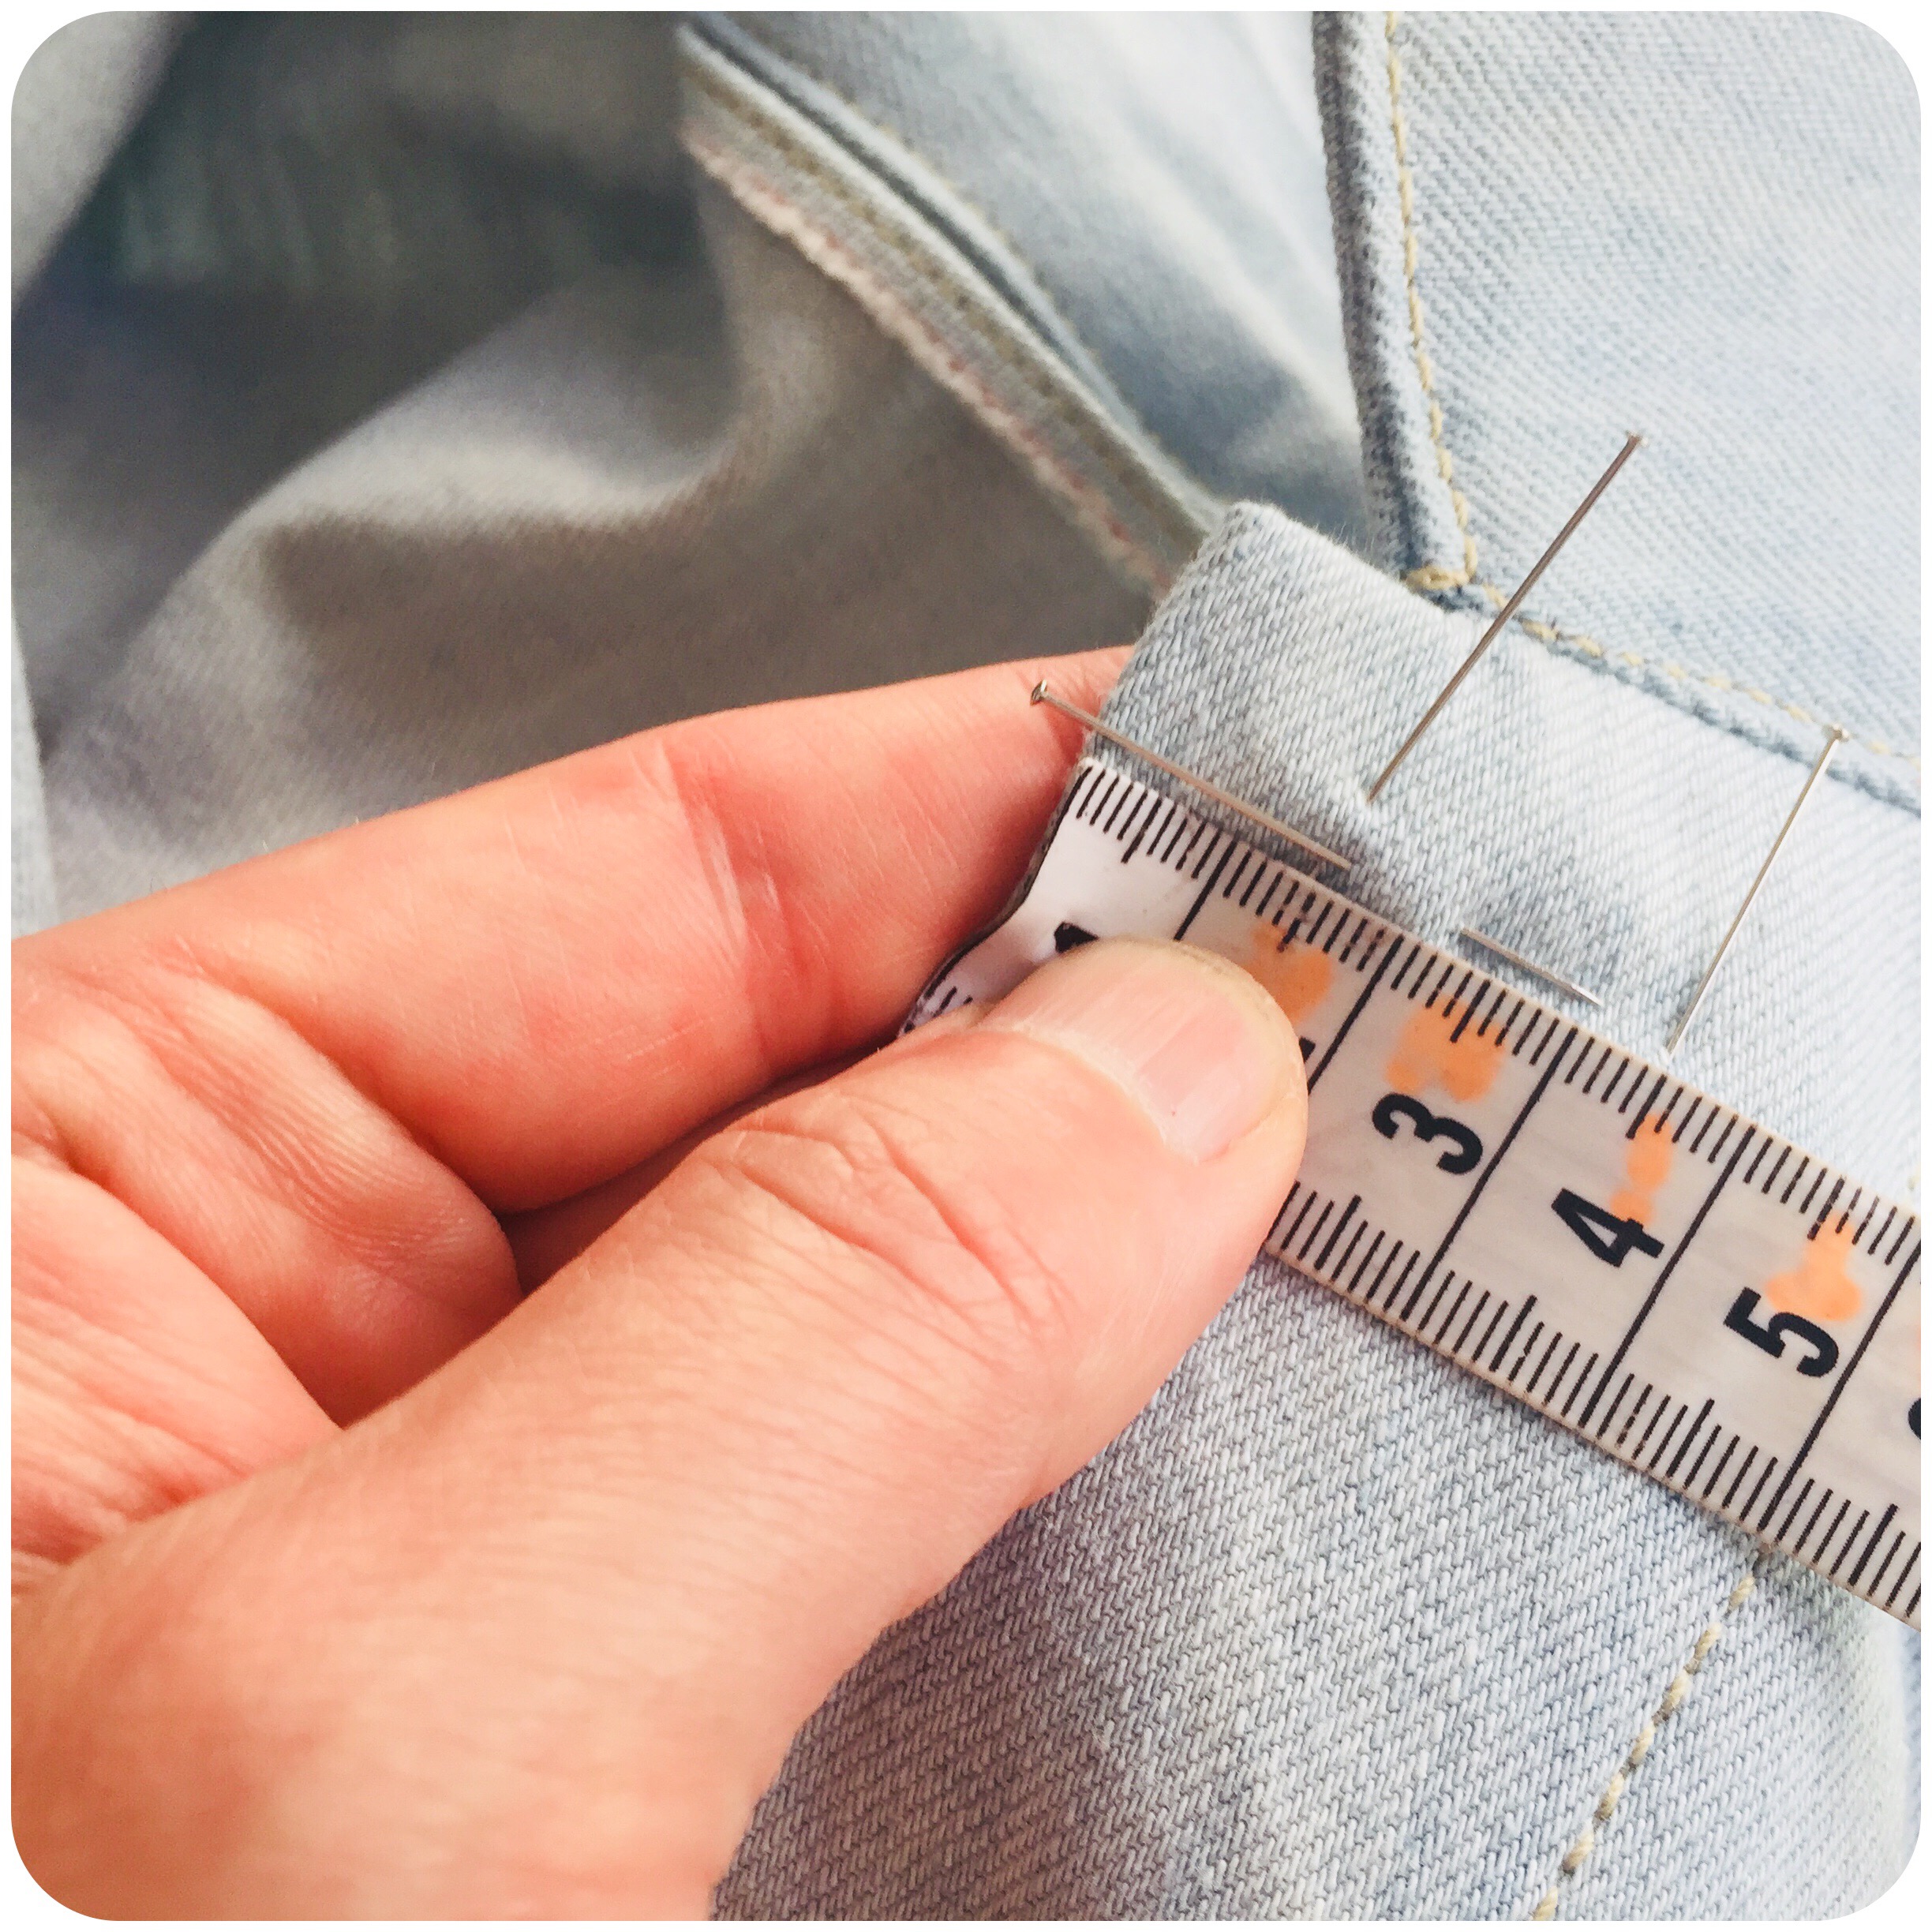
Measure the distance from front edge in, and then the width of the buttonhole.
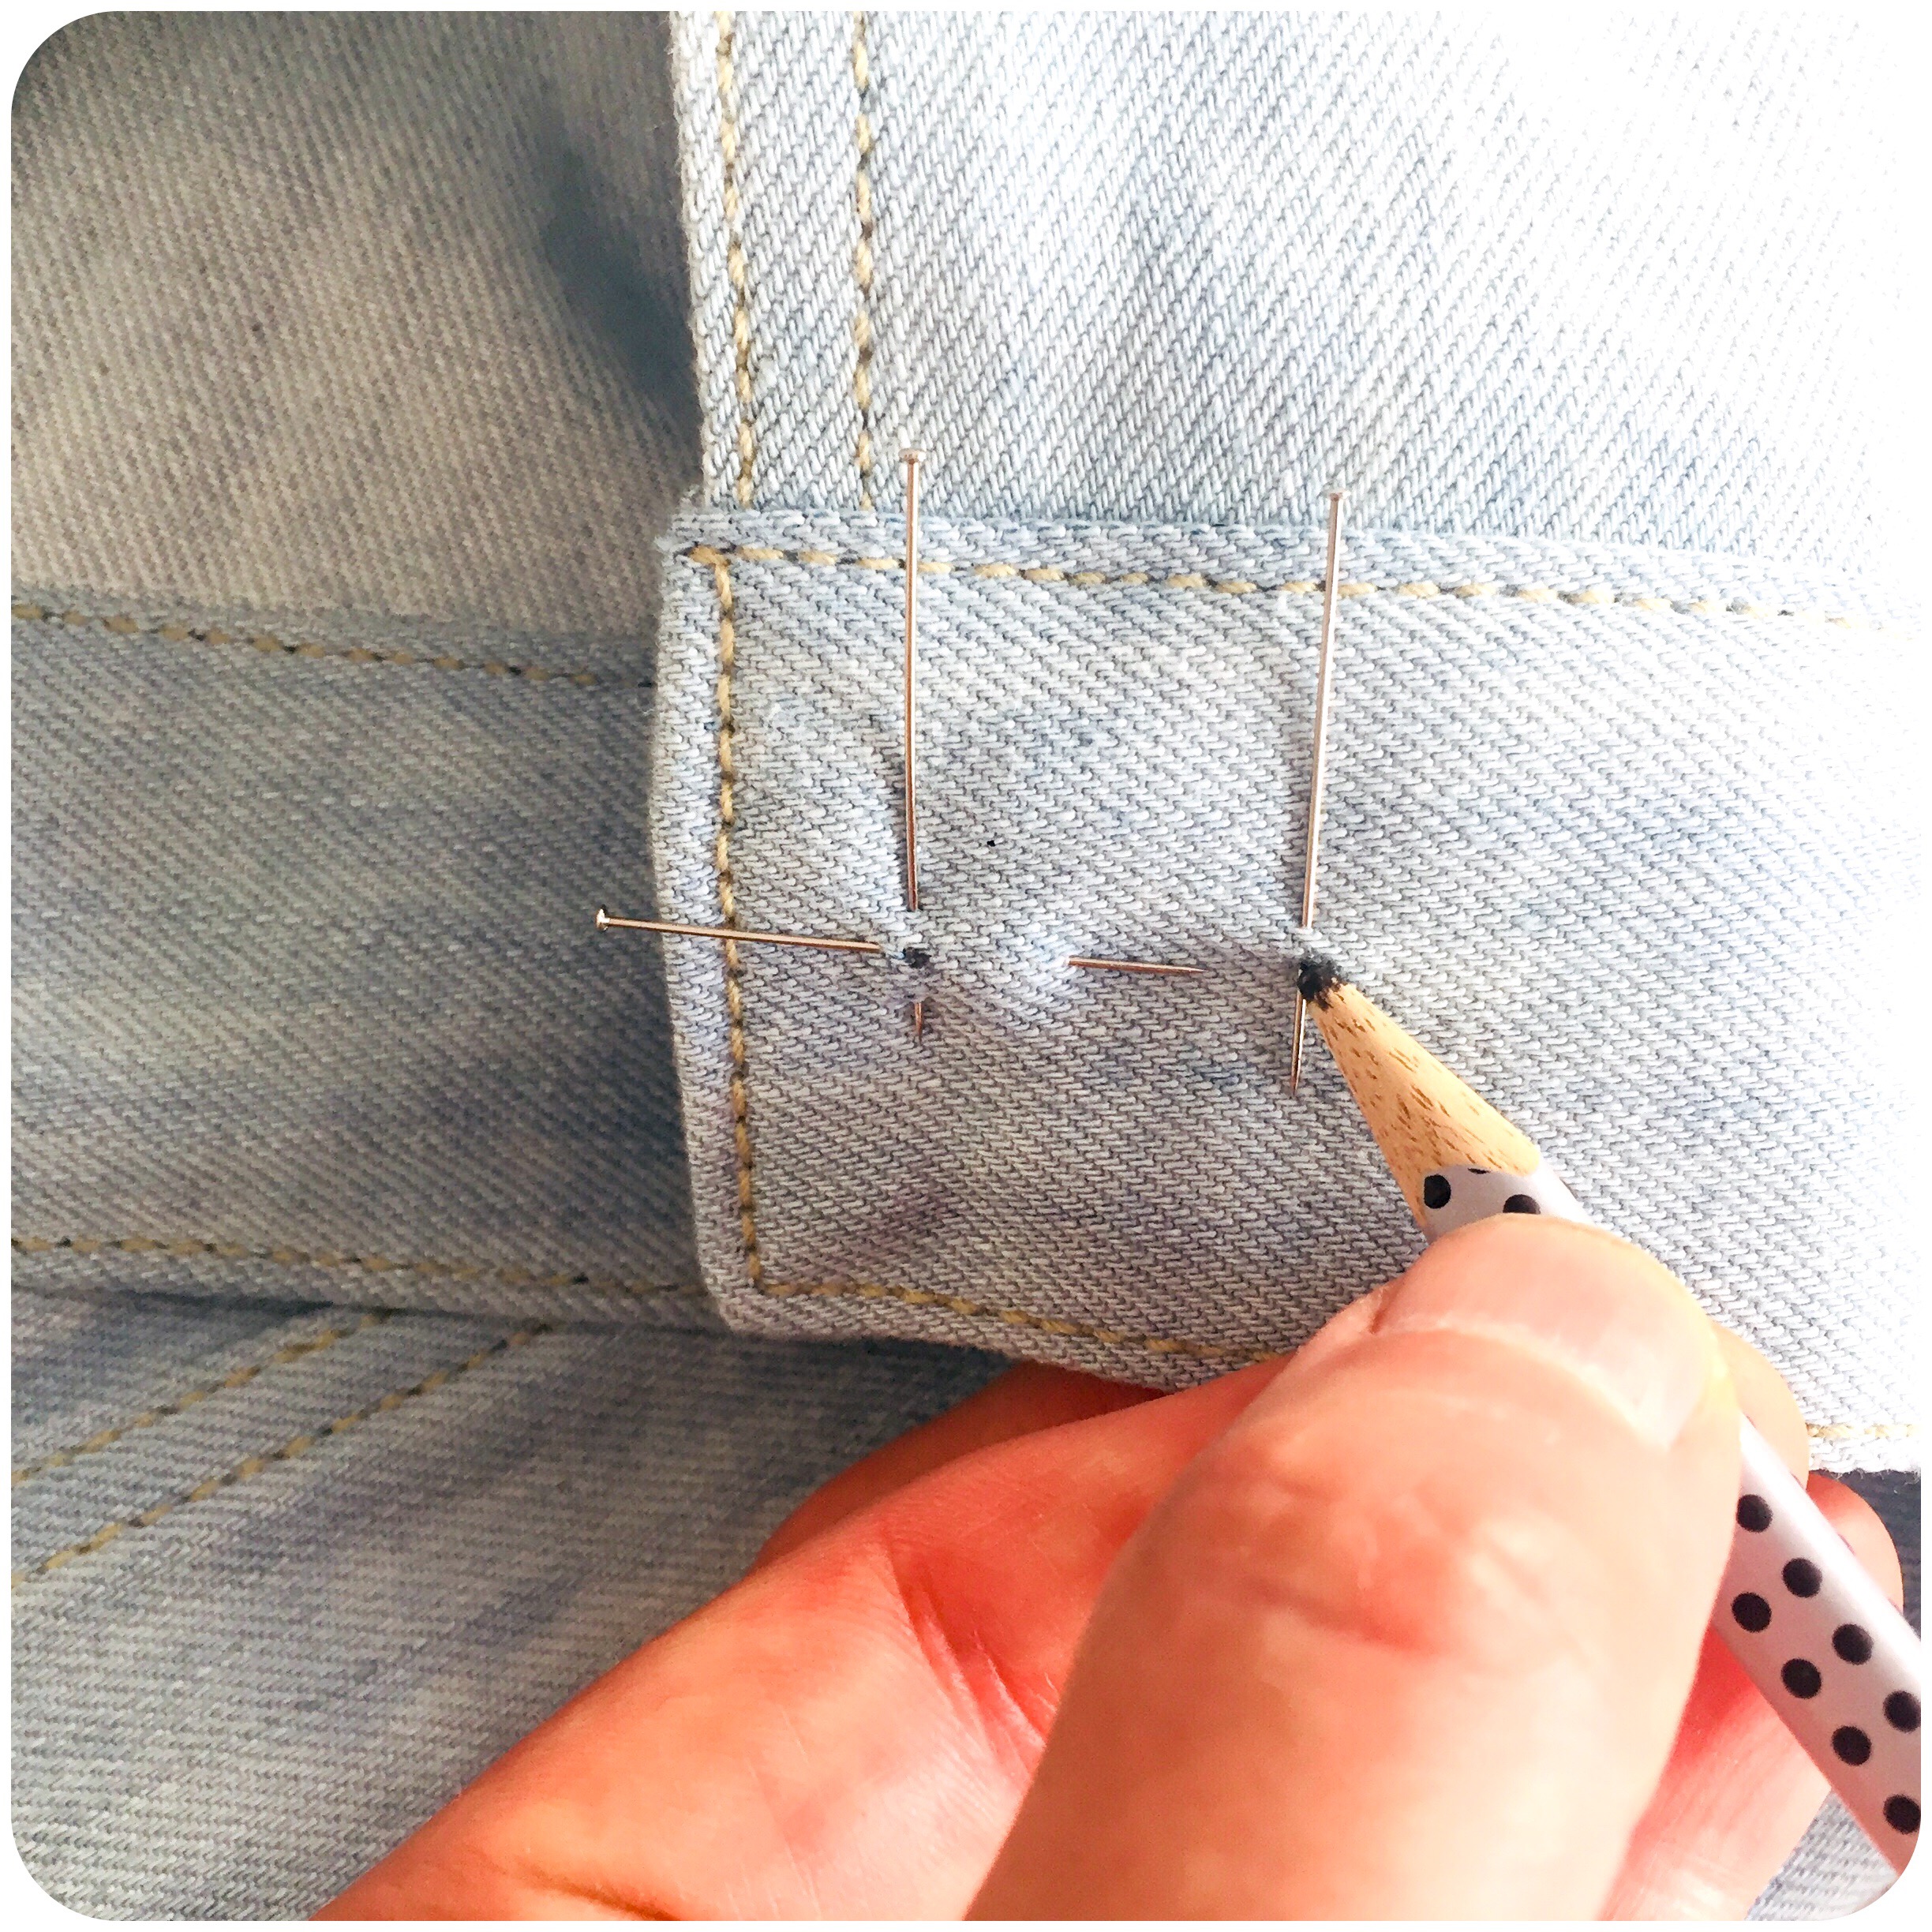
Mark the placement. (Here done a bit rough with a pencil since I know it will be covered later on. Otherwise you should use basting thread or a tailor’s chalk.)
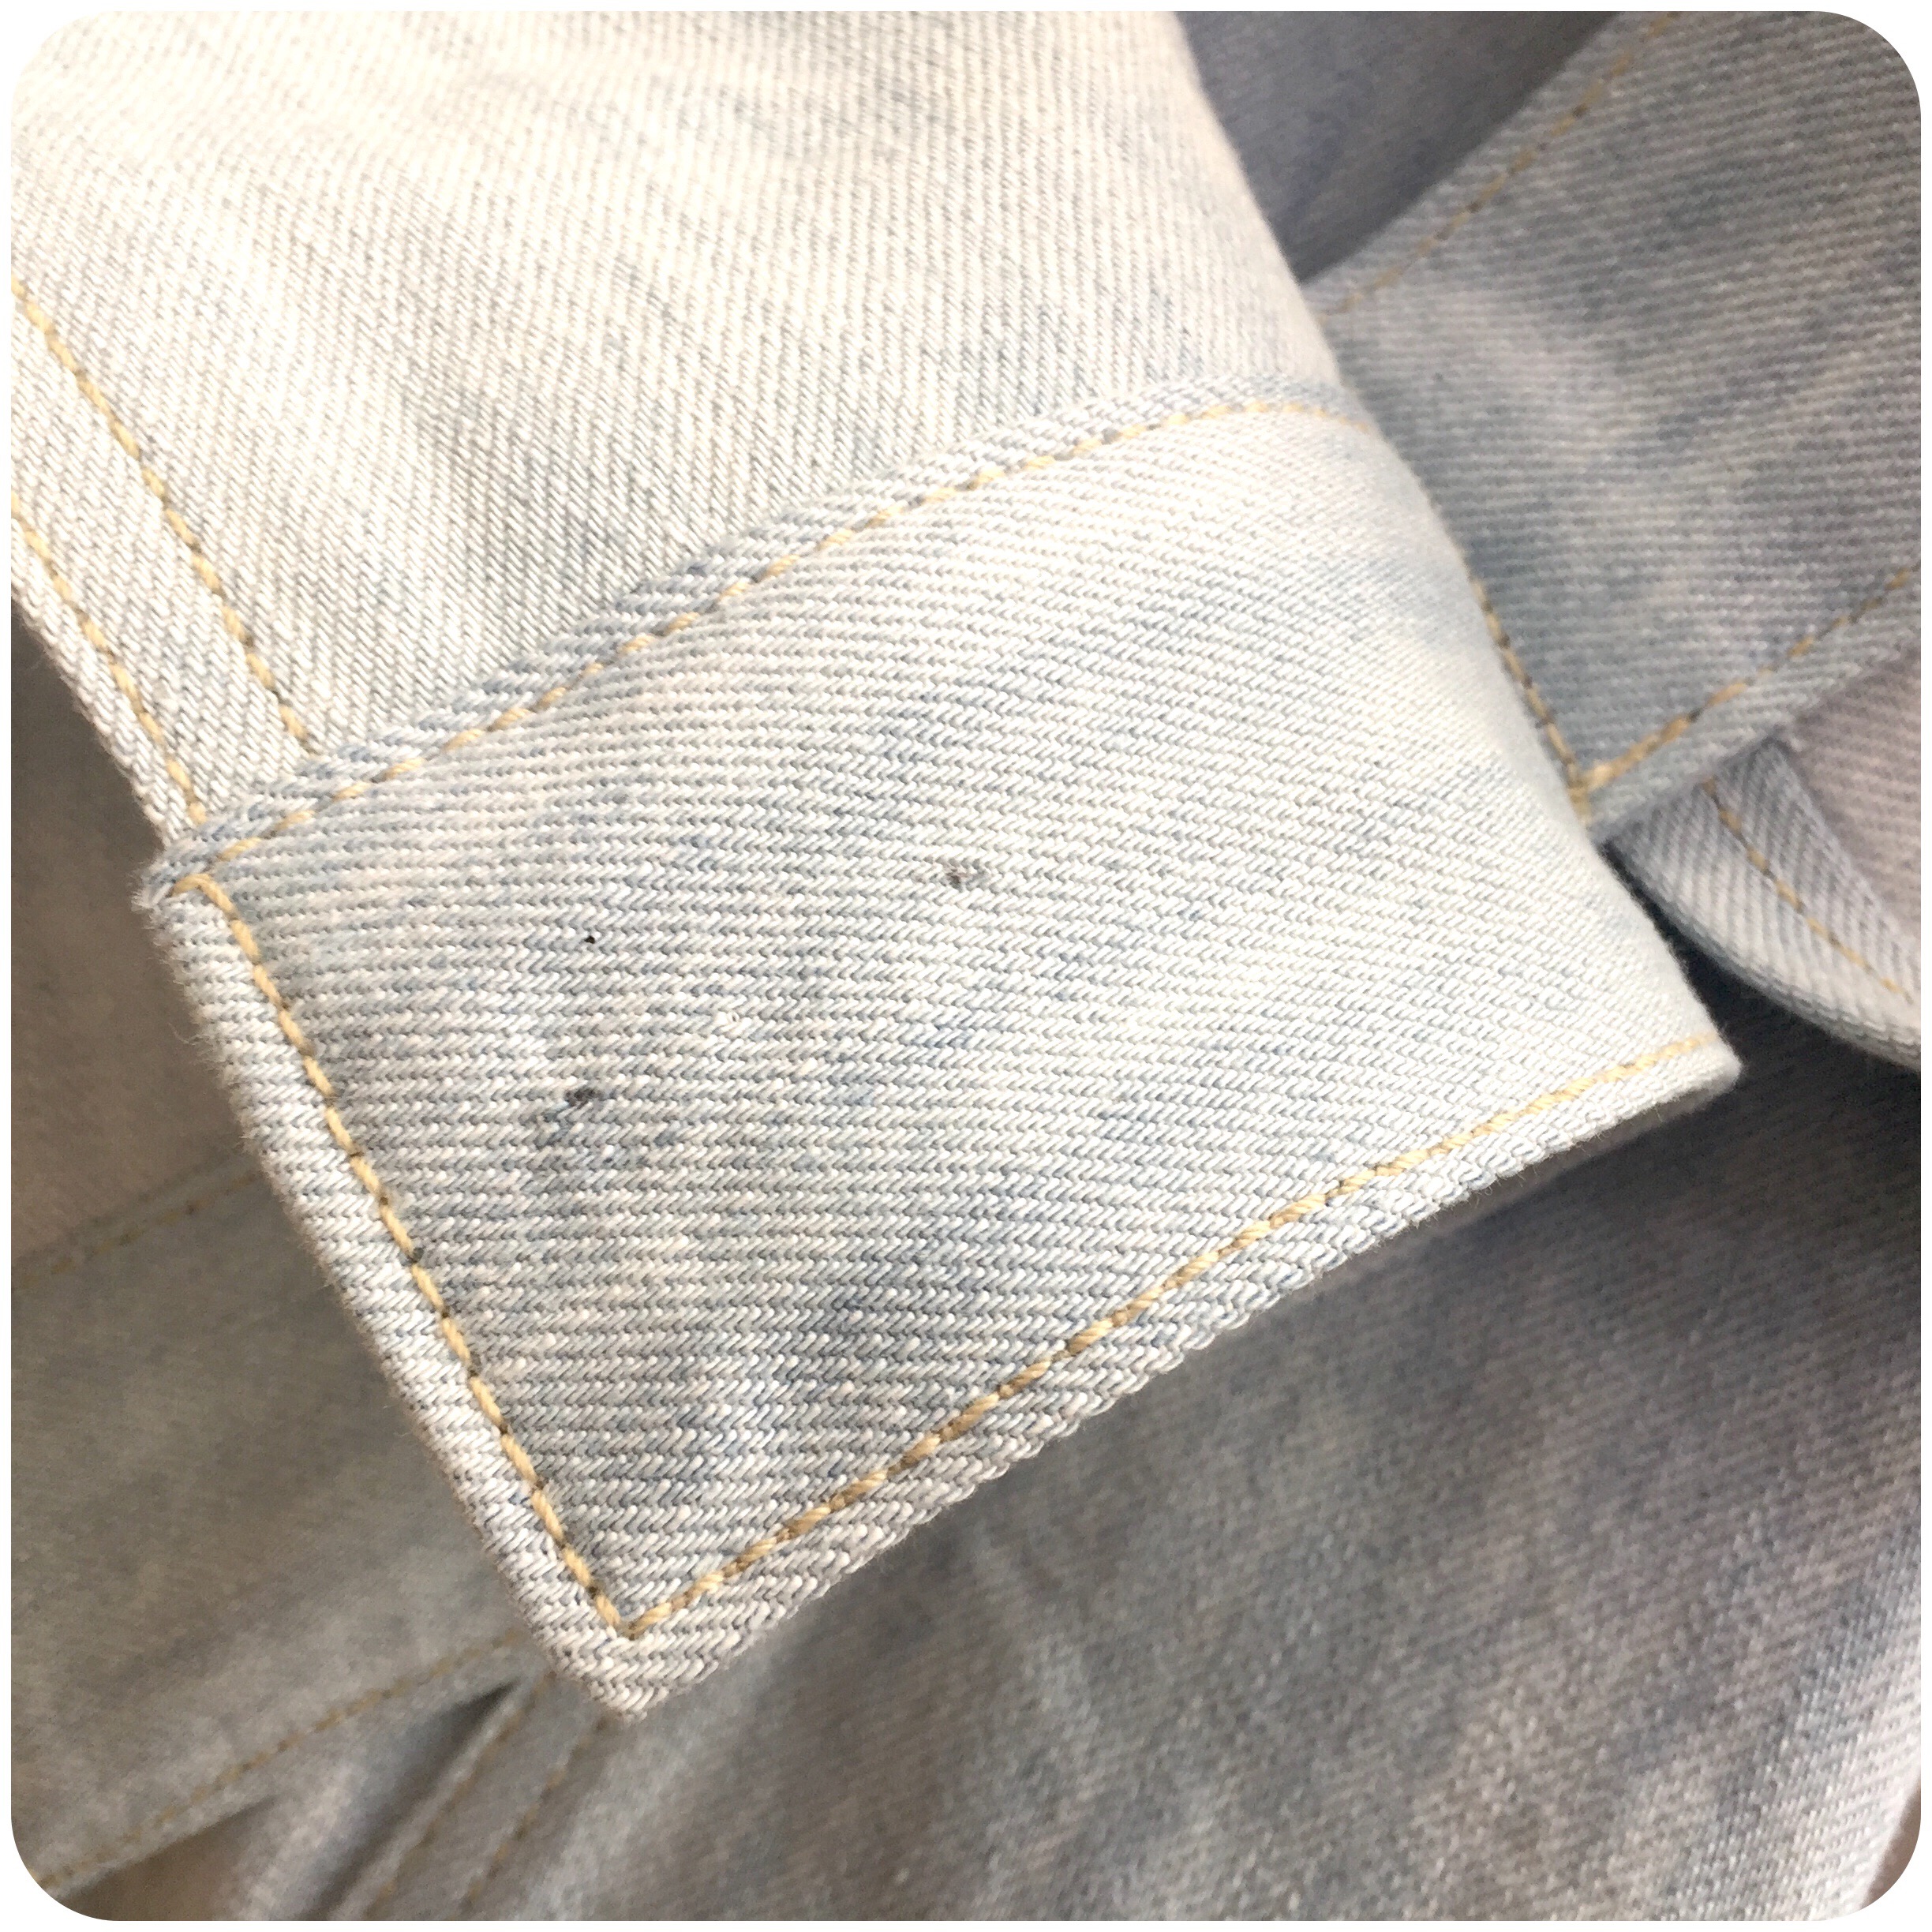
Marked cuff.
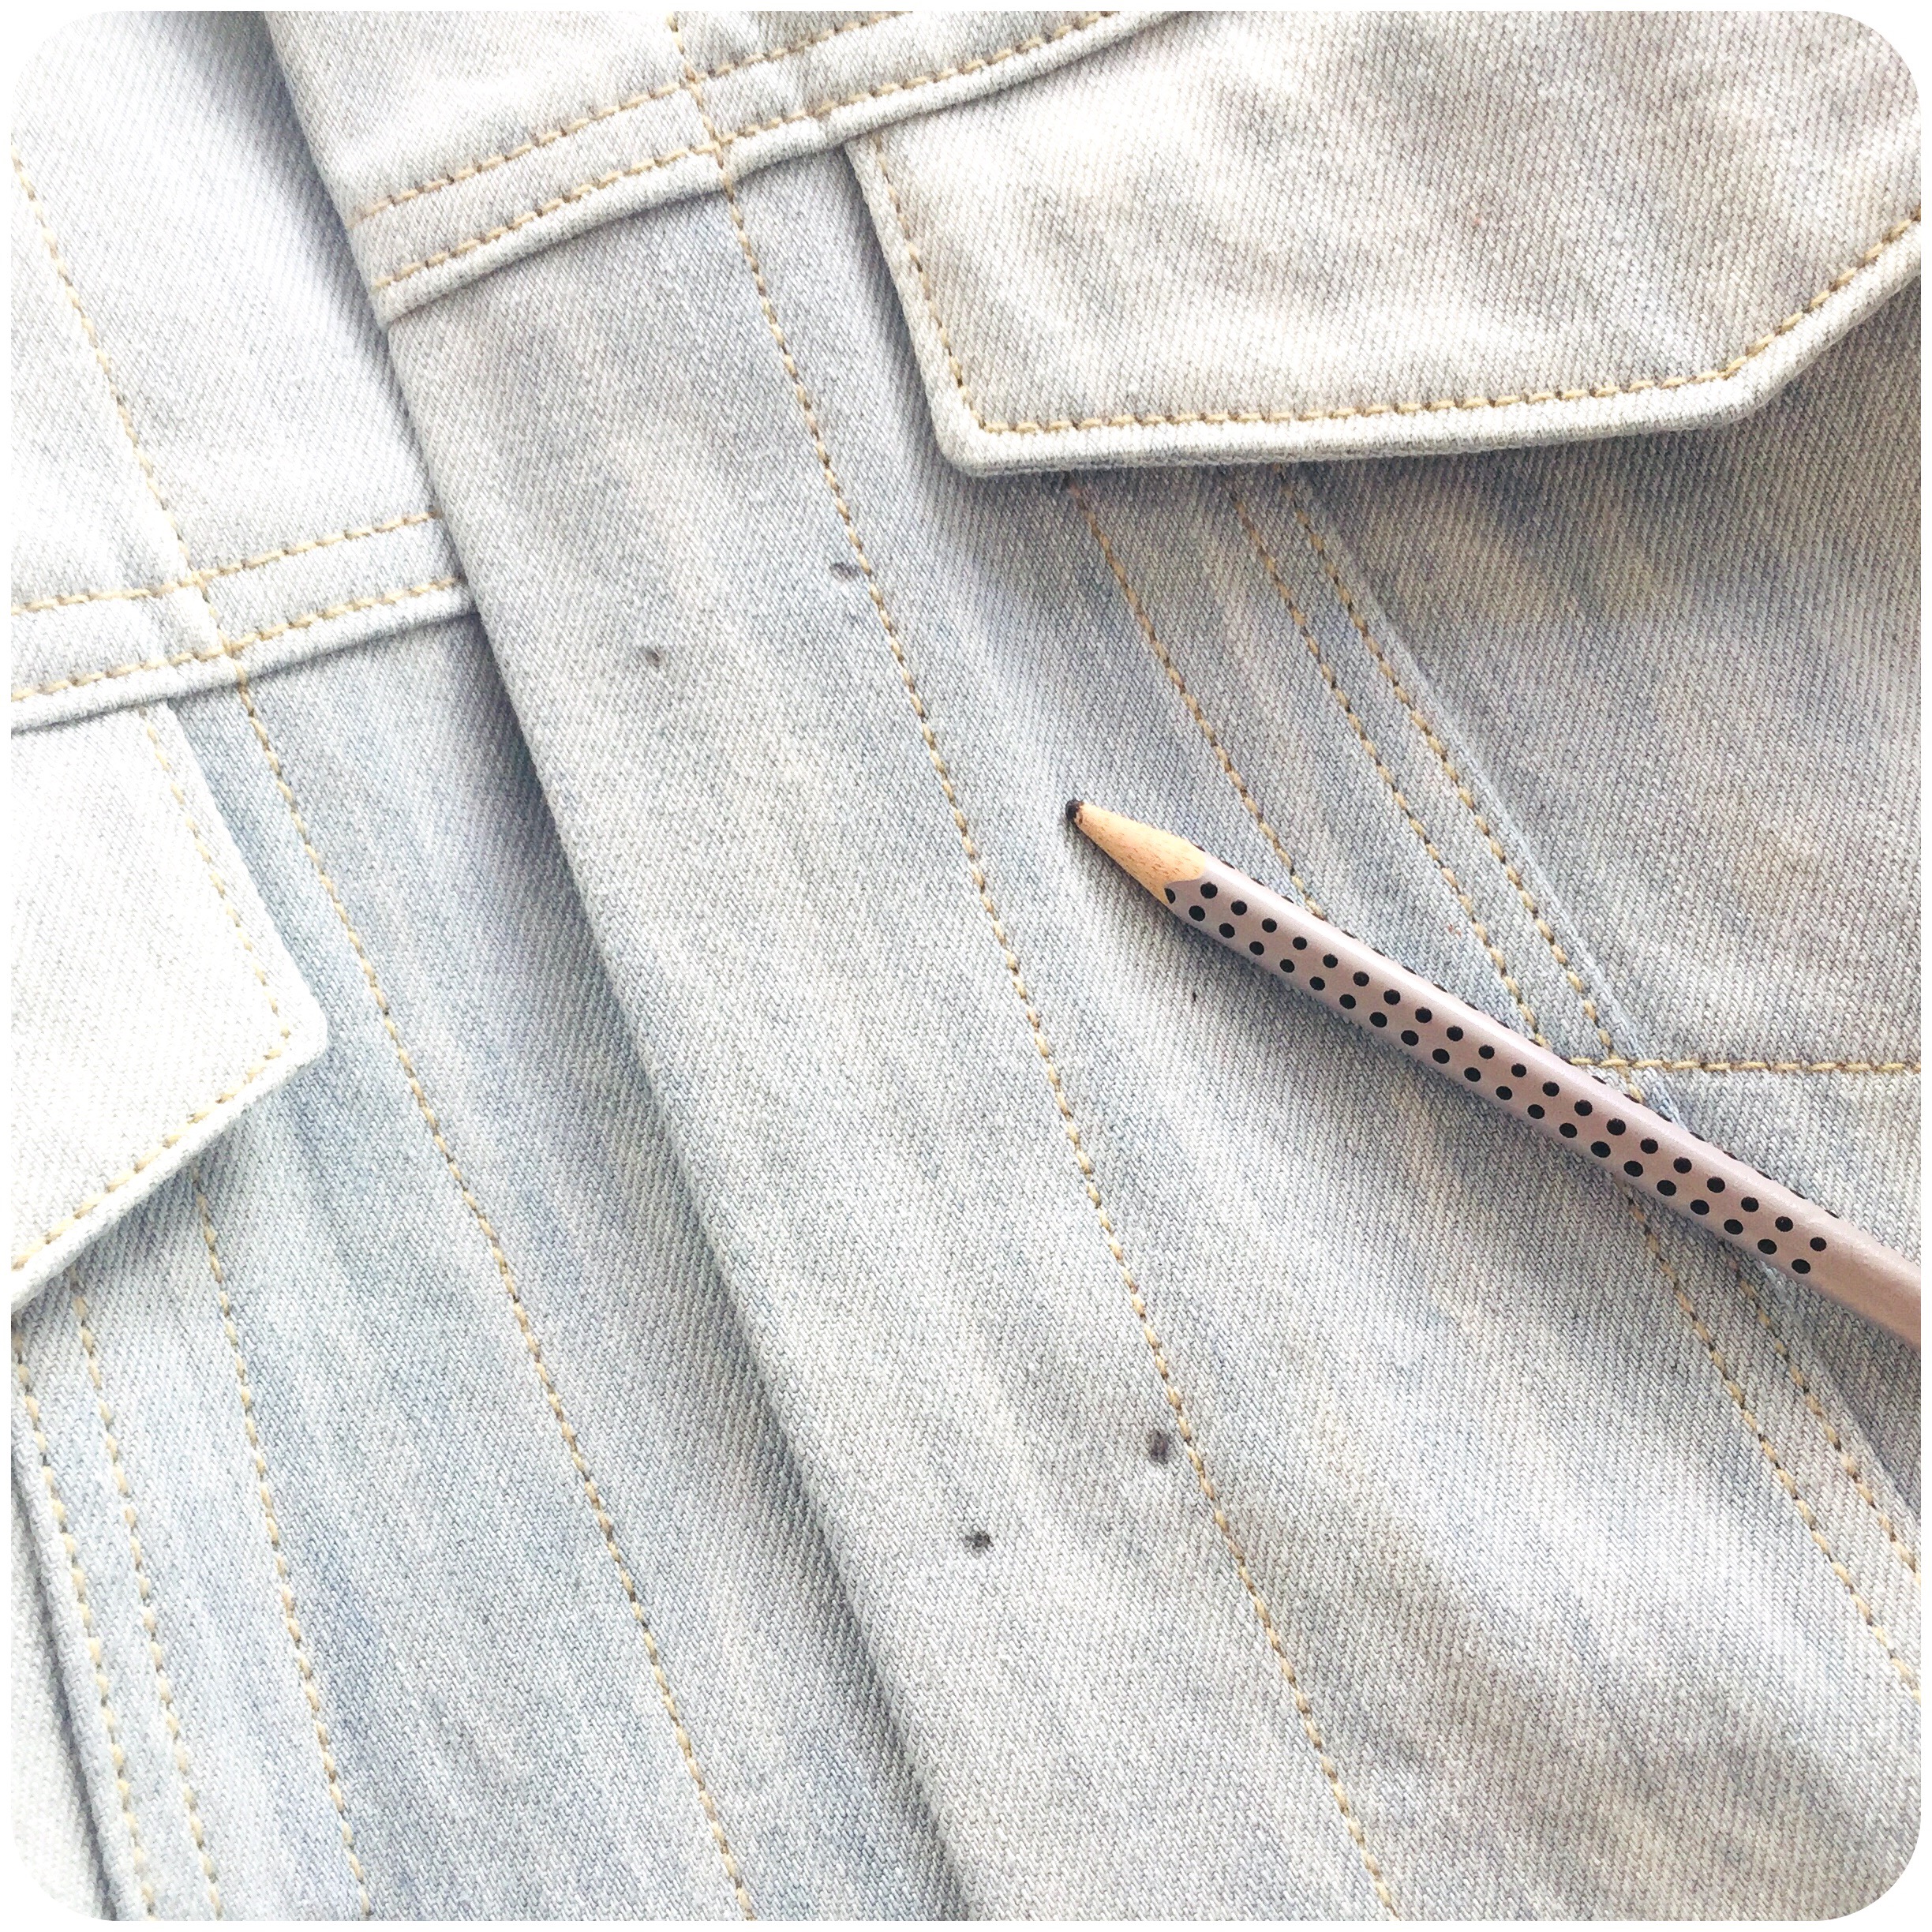
Marked front.
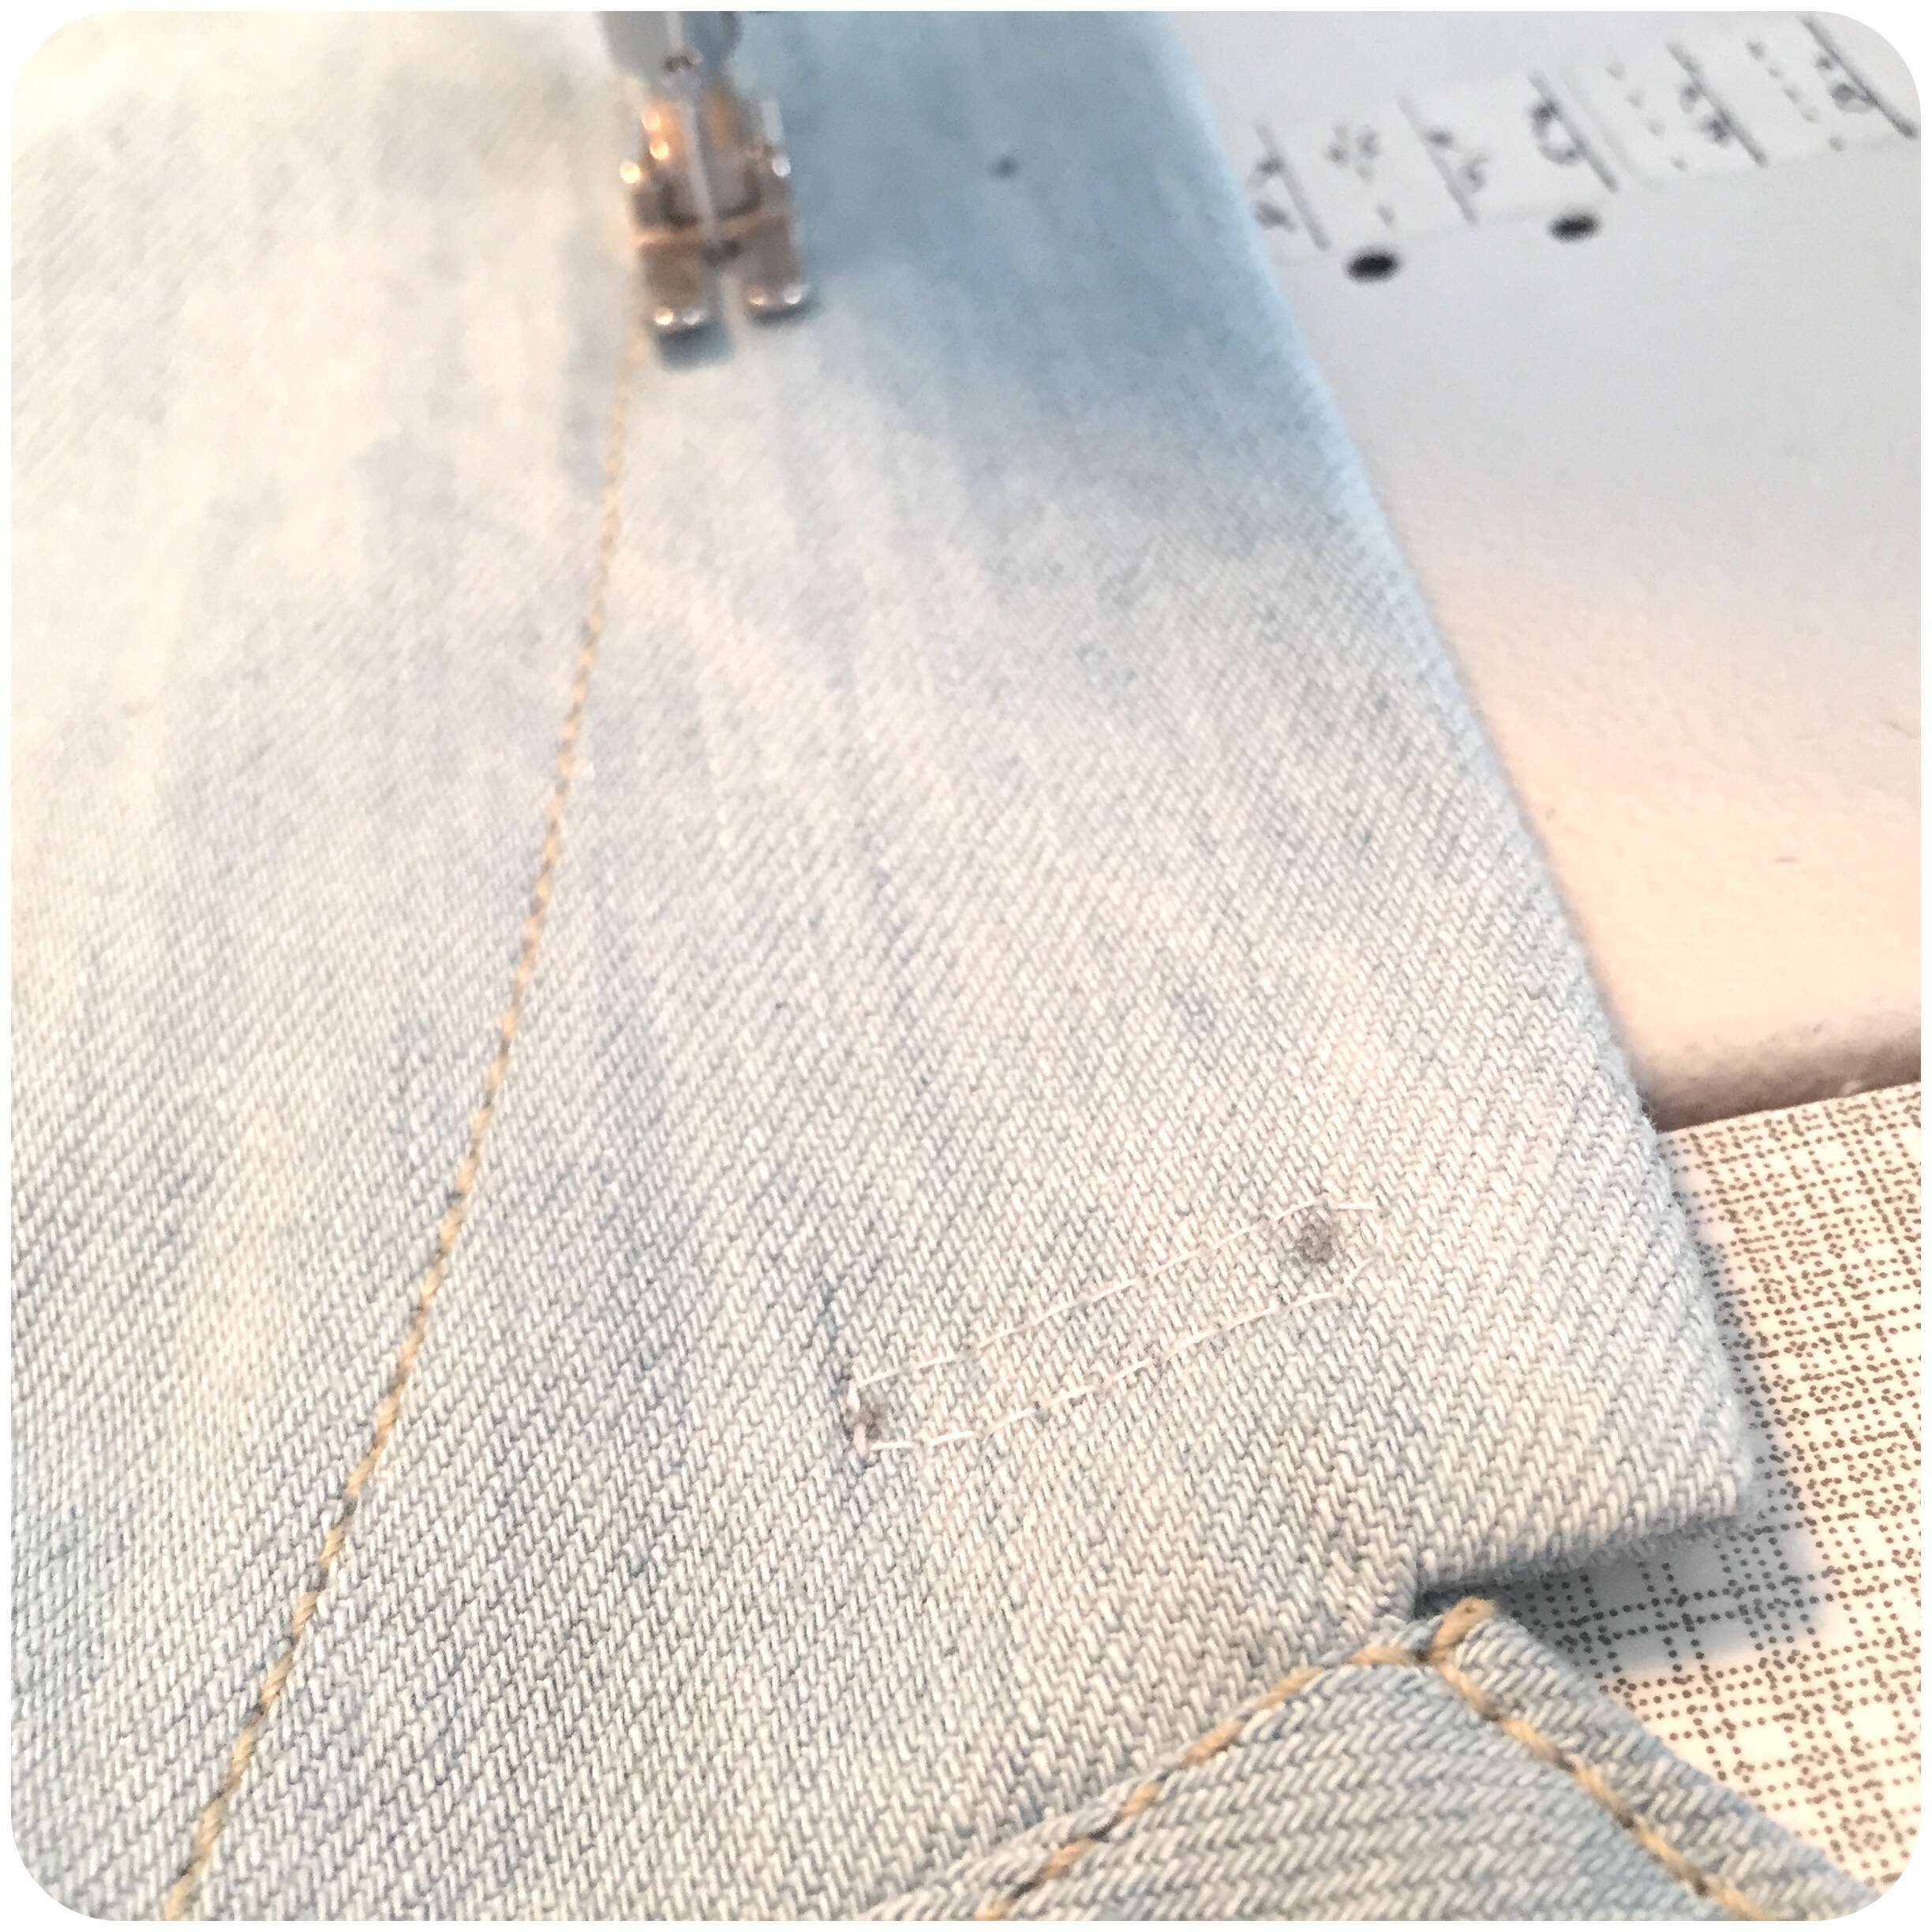
Stitch around each buttonhole either by hand or machine. This is just to keep the layers together while cutting and overcasting. This stitch will be fully covered later on.
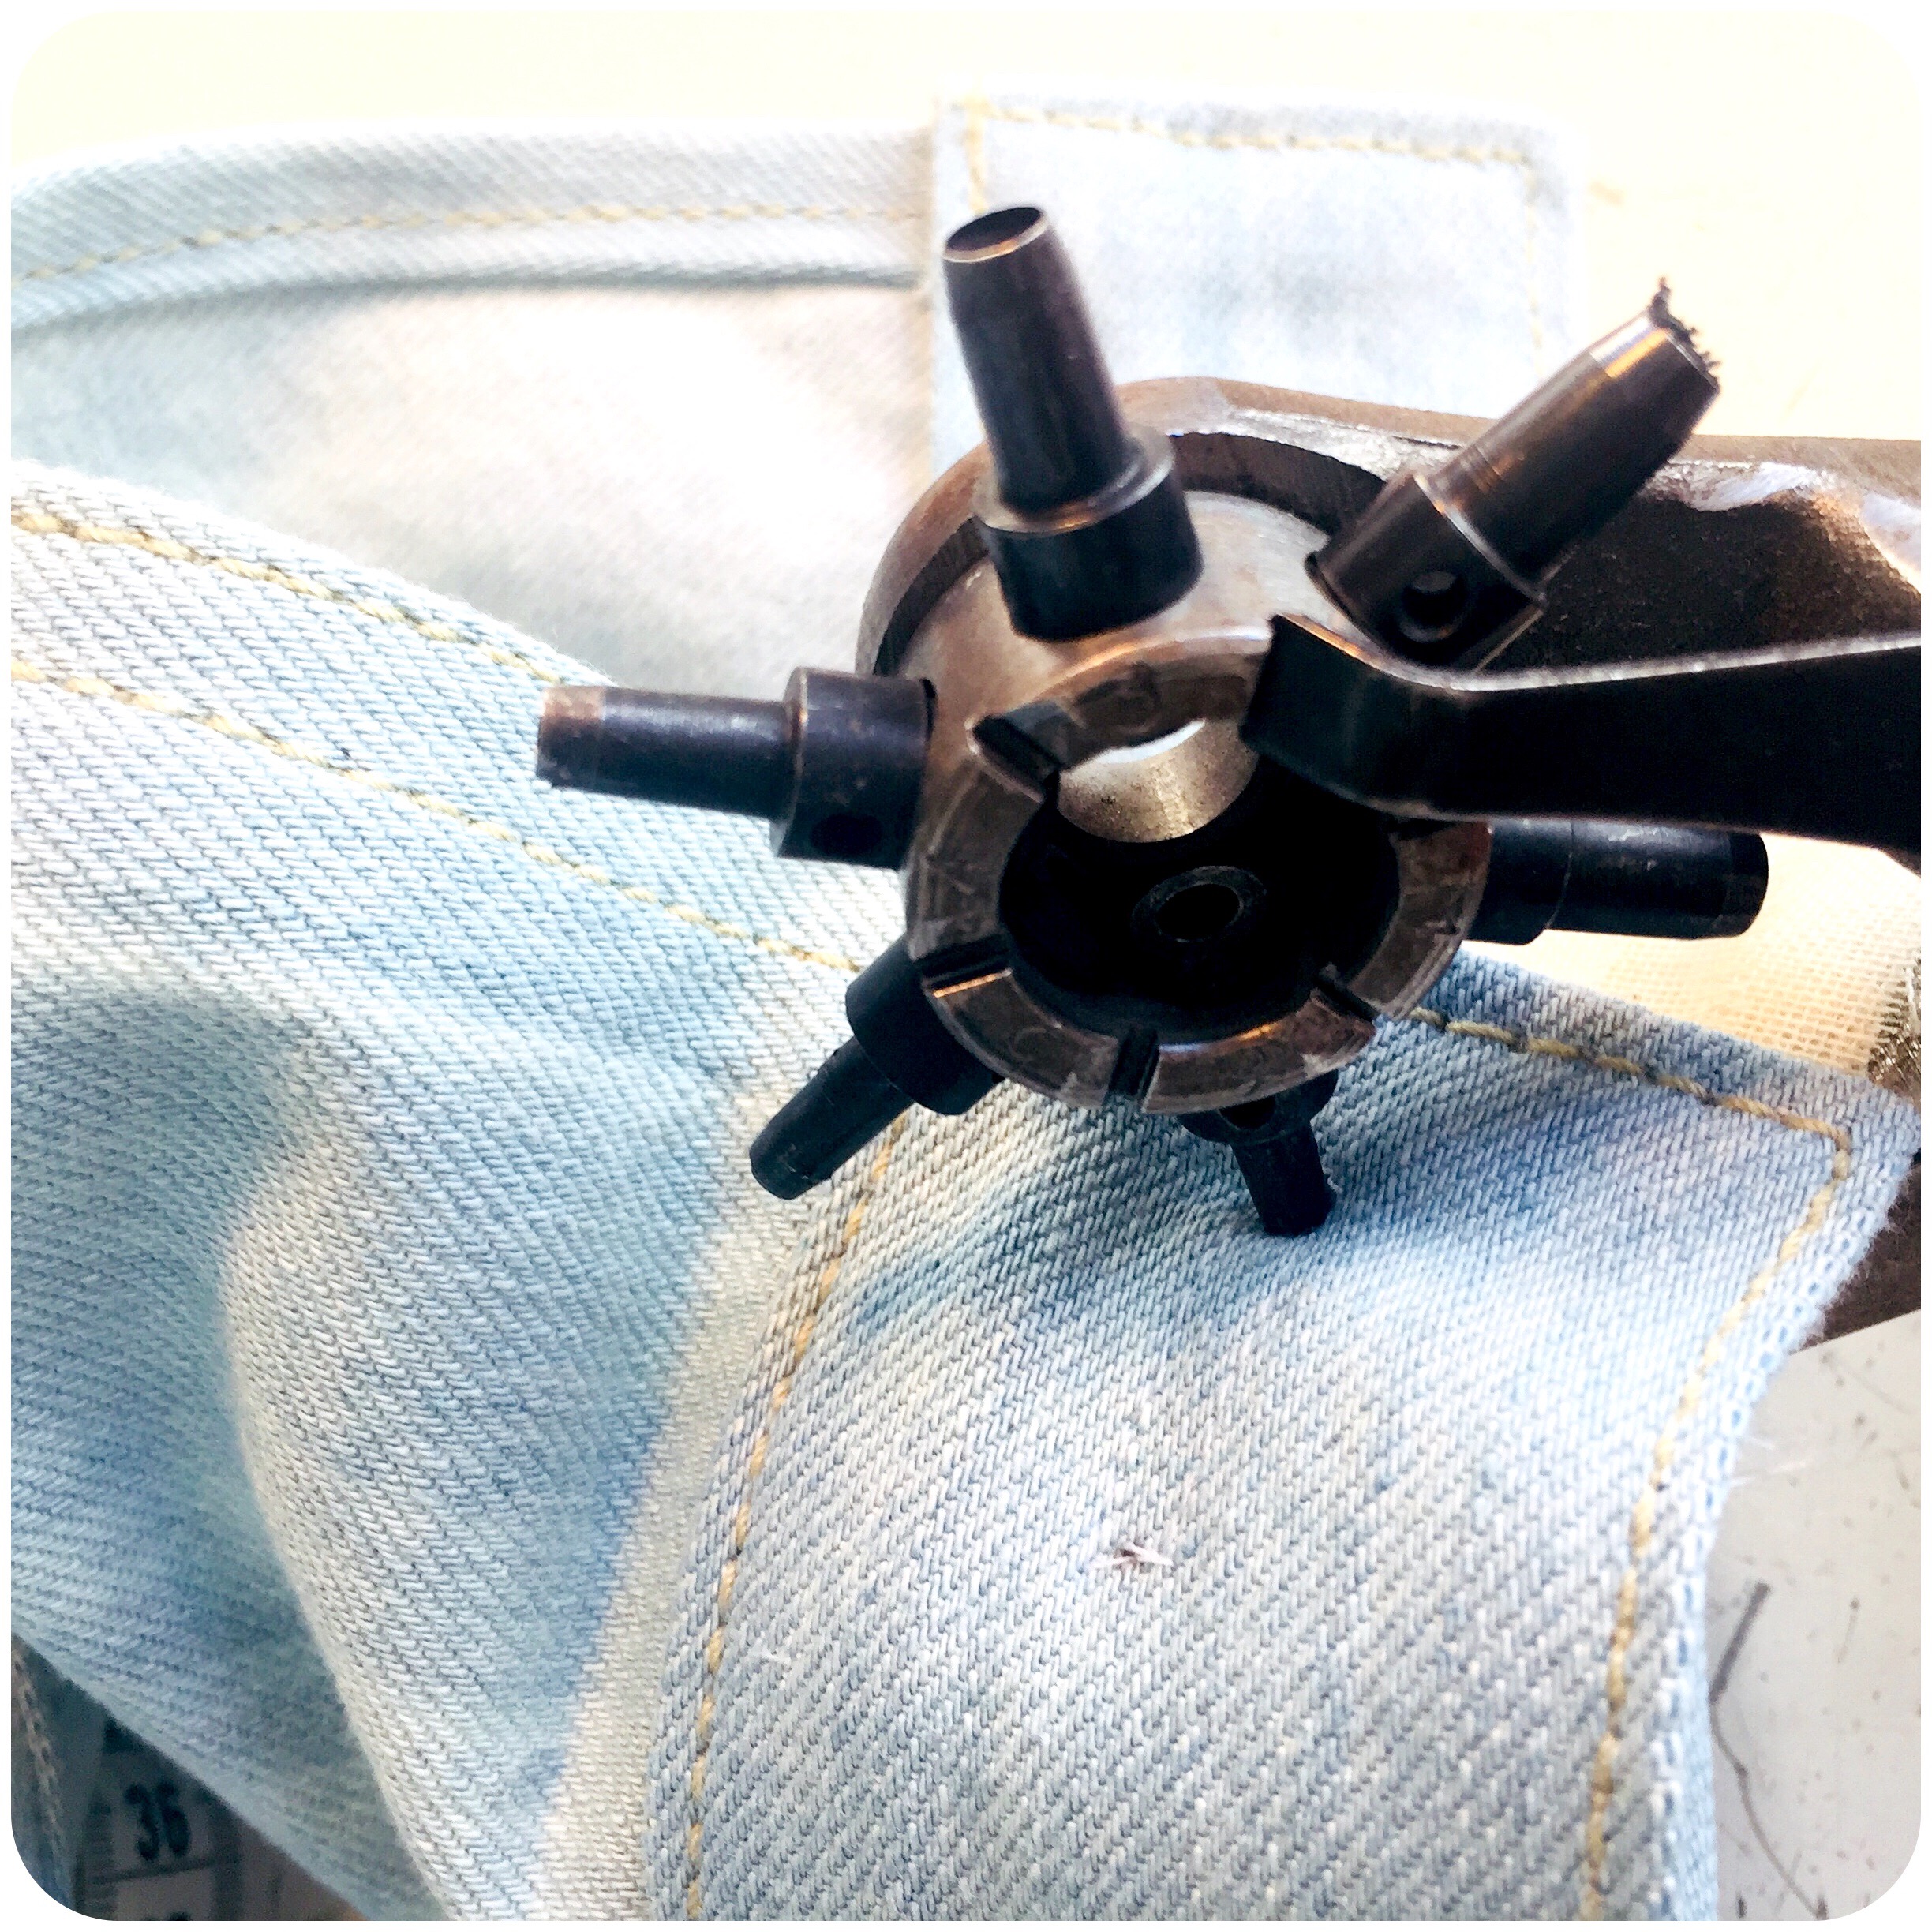
Punch a hole within the stitched area, at the outer end of the buttonhole (to be).
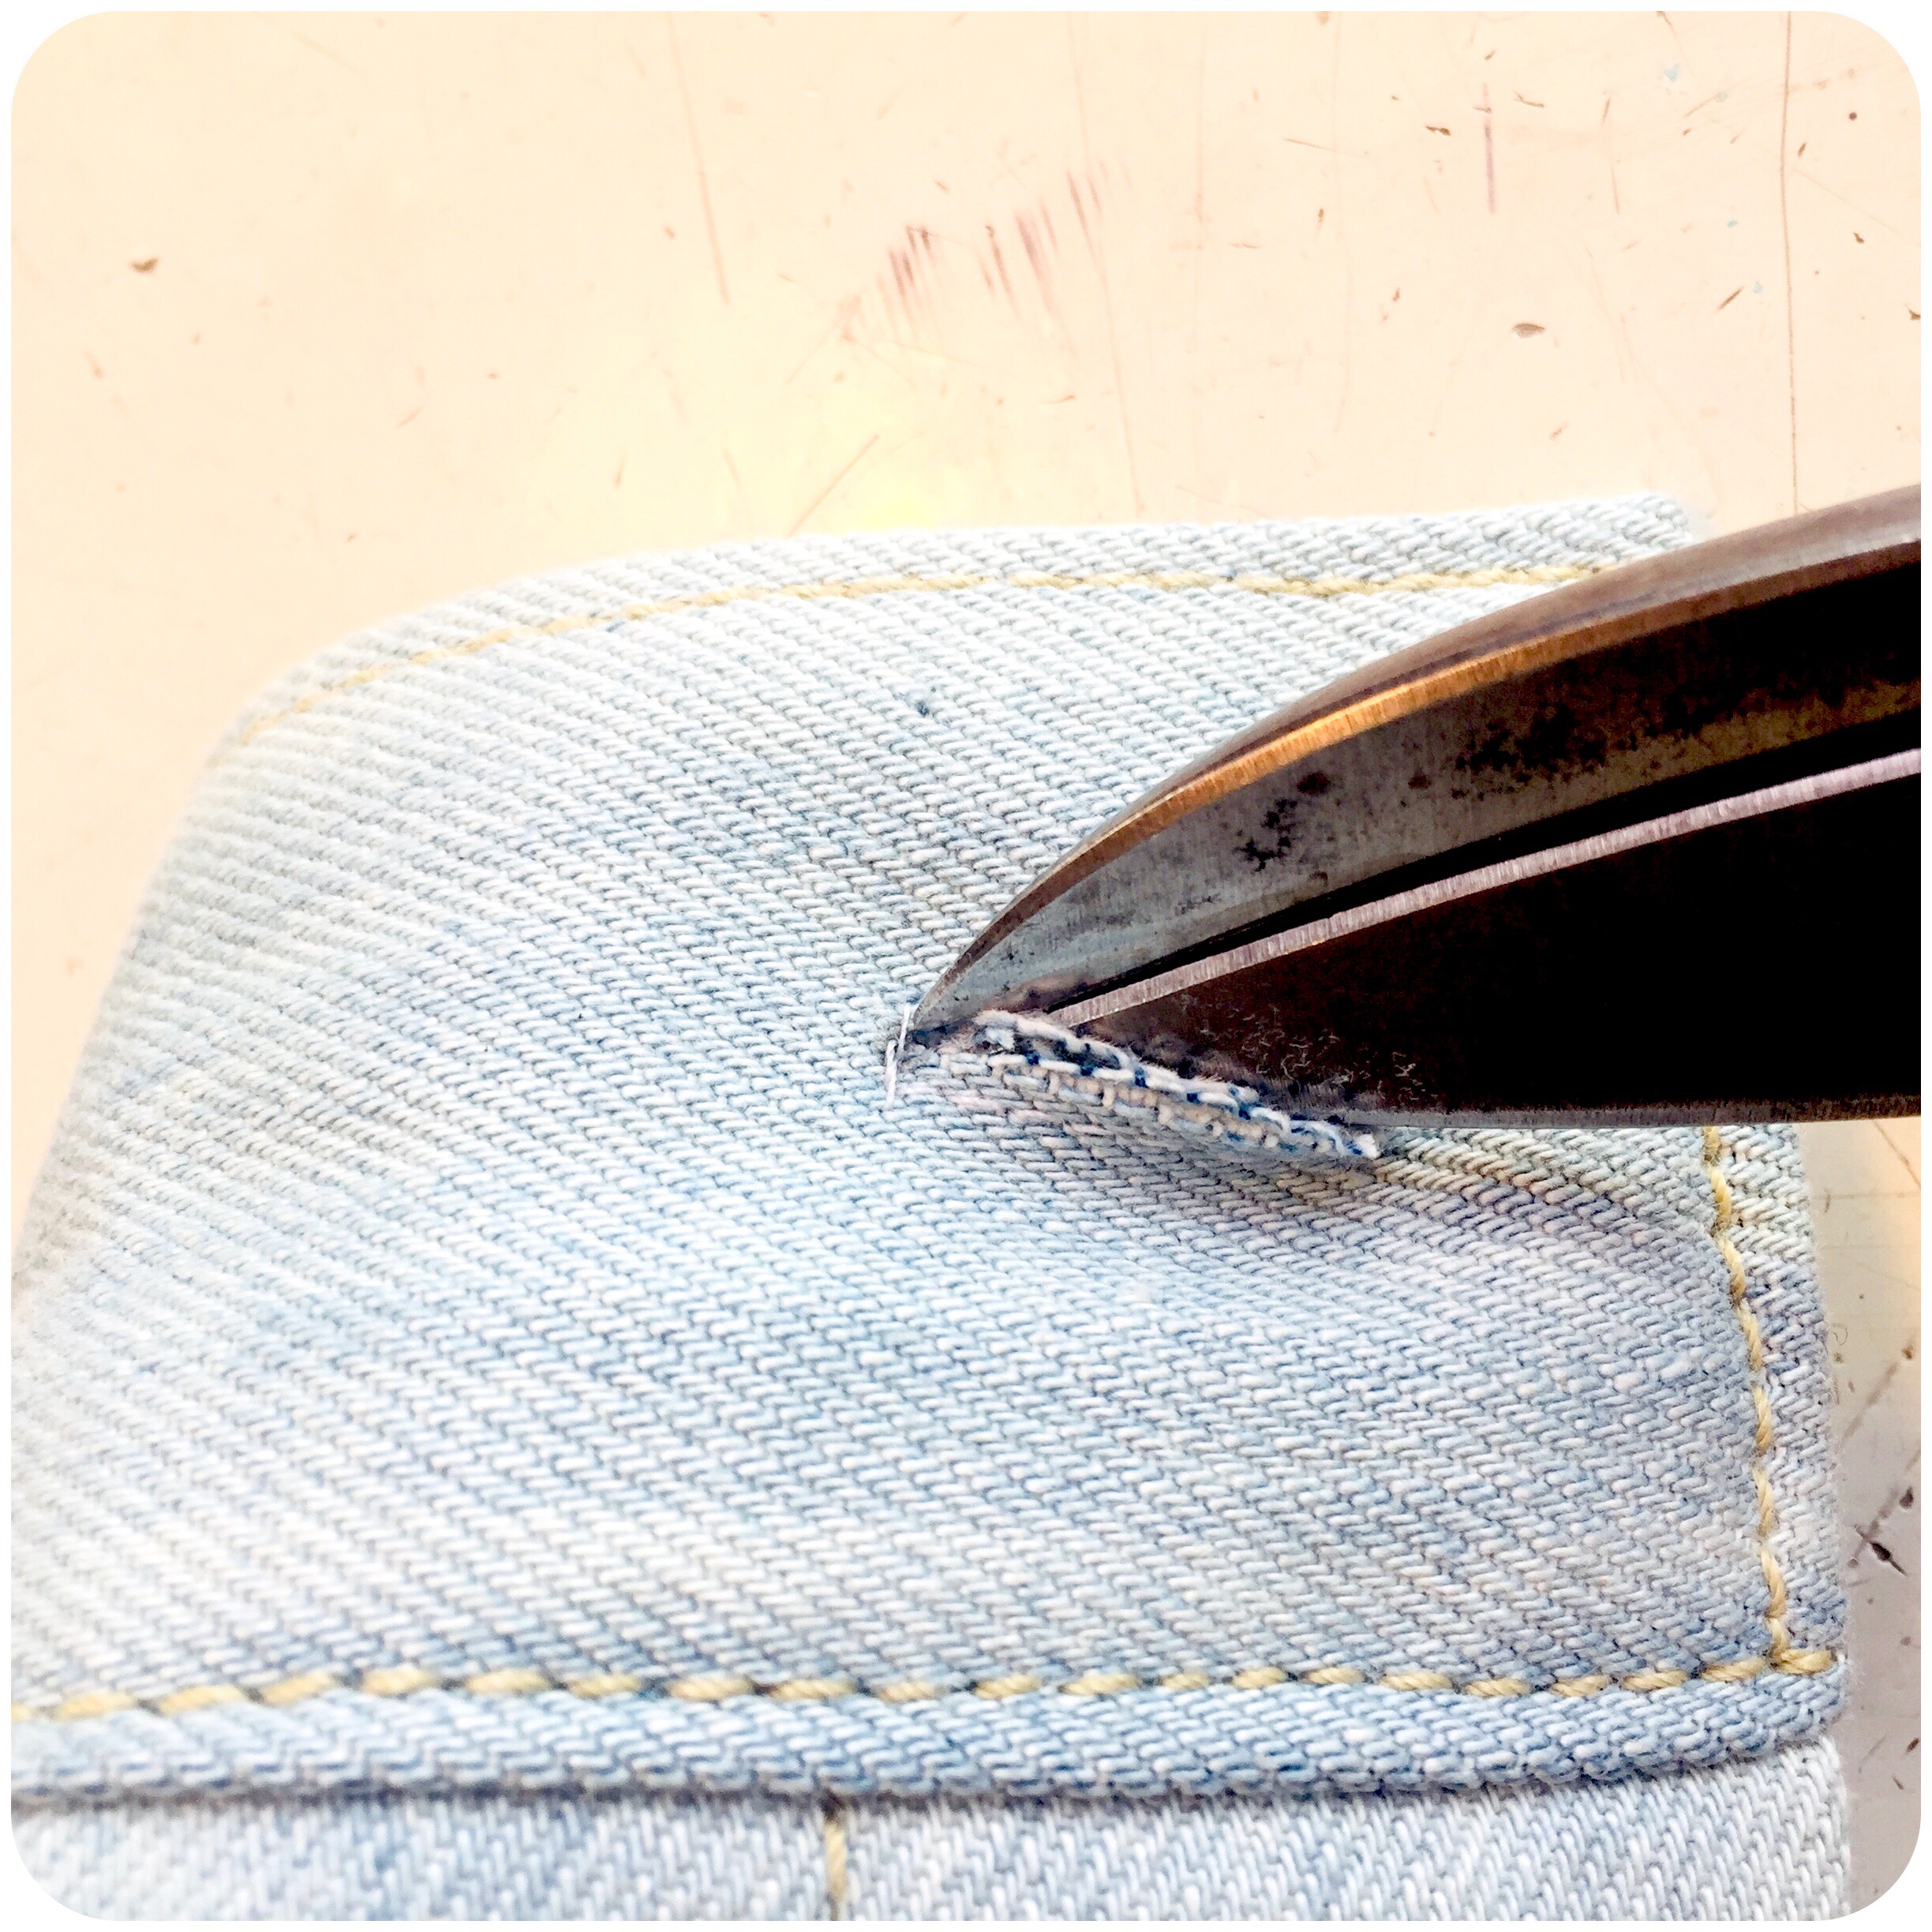
Cut the buttonhole open. Try to avoide fraying as much as possible, so do take care. (Denim is actually the worst – it frays enormously! But that’s just another challenge, right?)
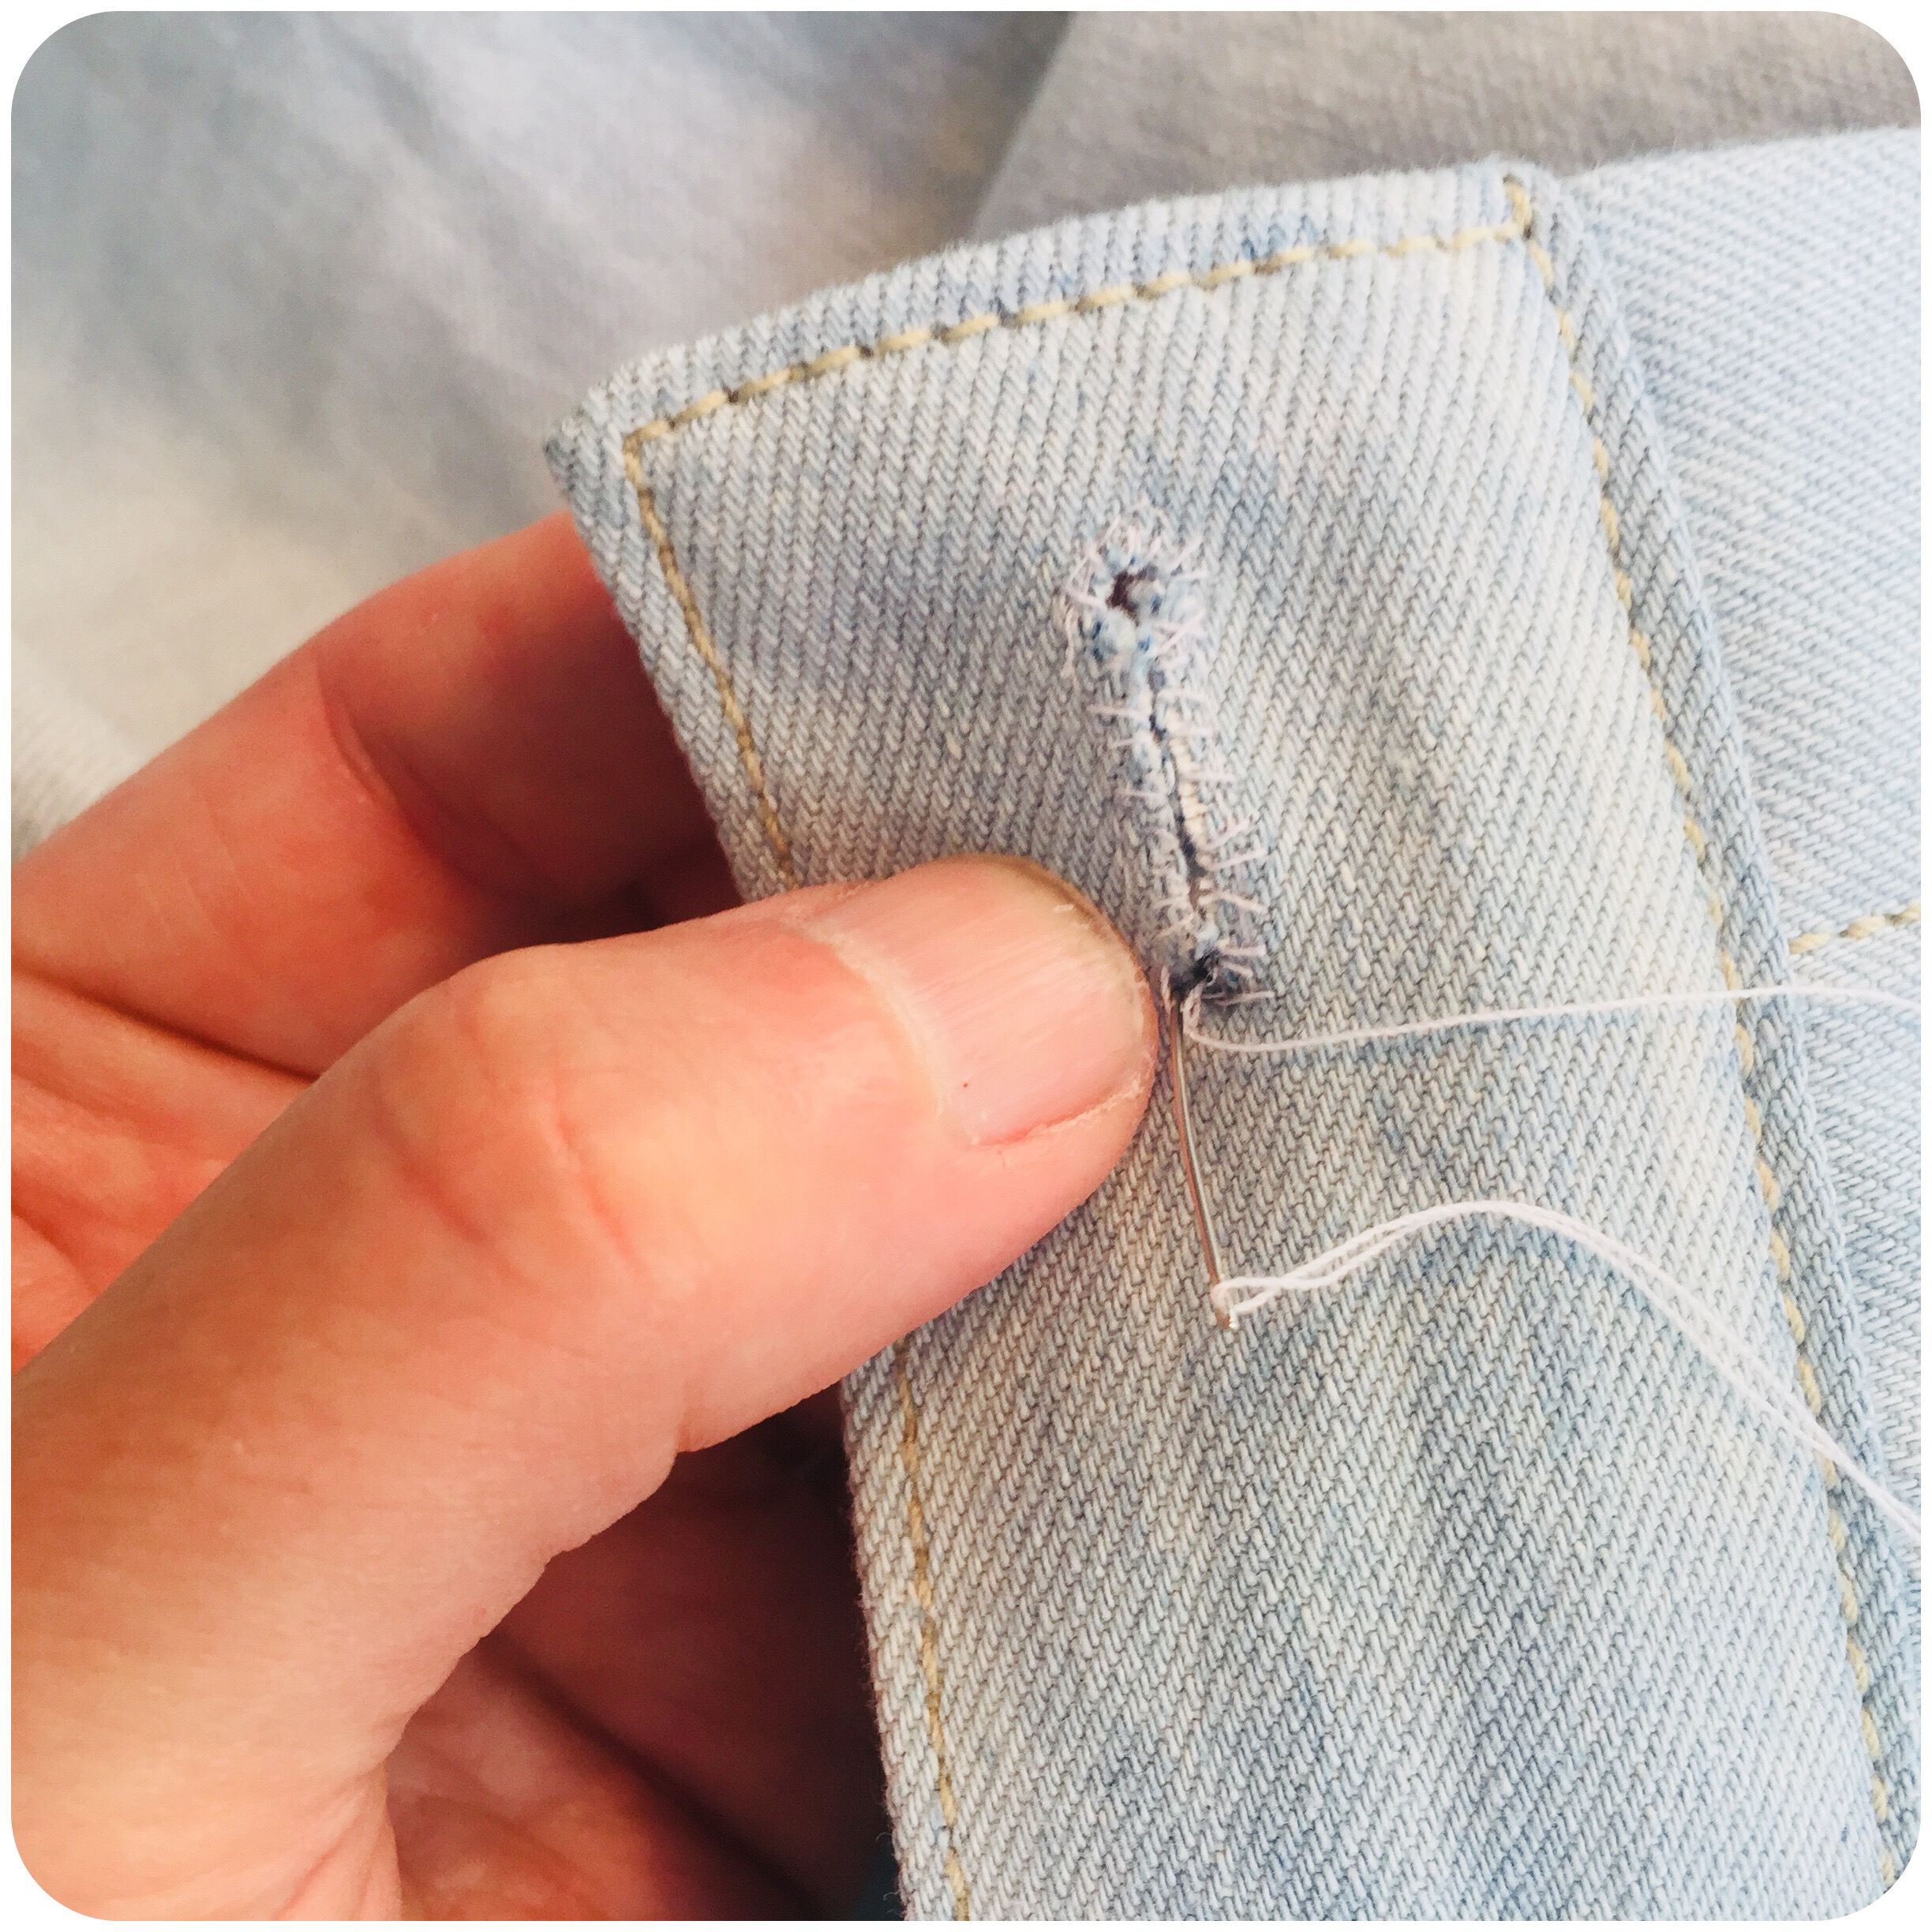
Overcast all raw edges with a thinner sewing thread. Be sure to lock in all layers compleatly. I usually go around three times – one from the right side, one from the reversed side, and then again an extra check-up one the right side.
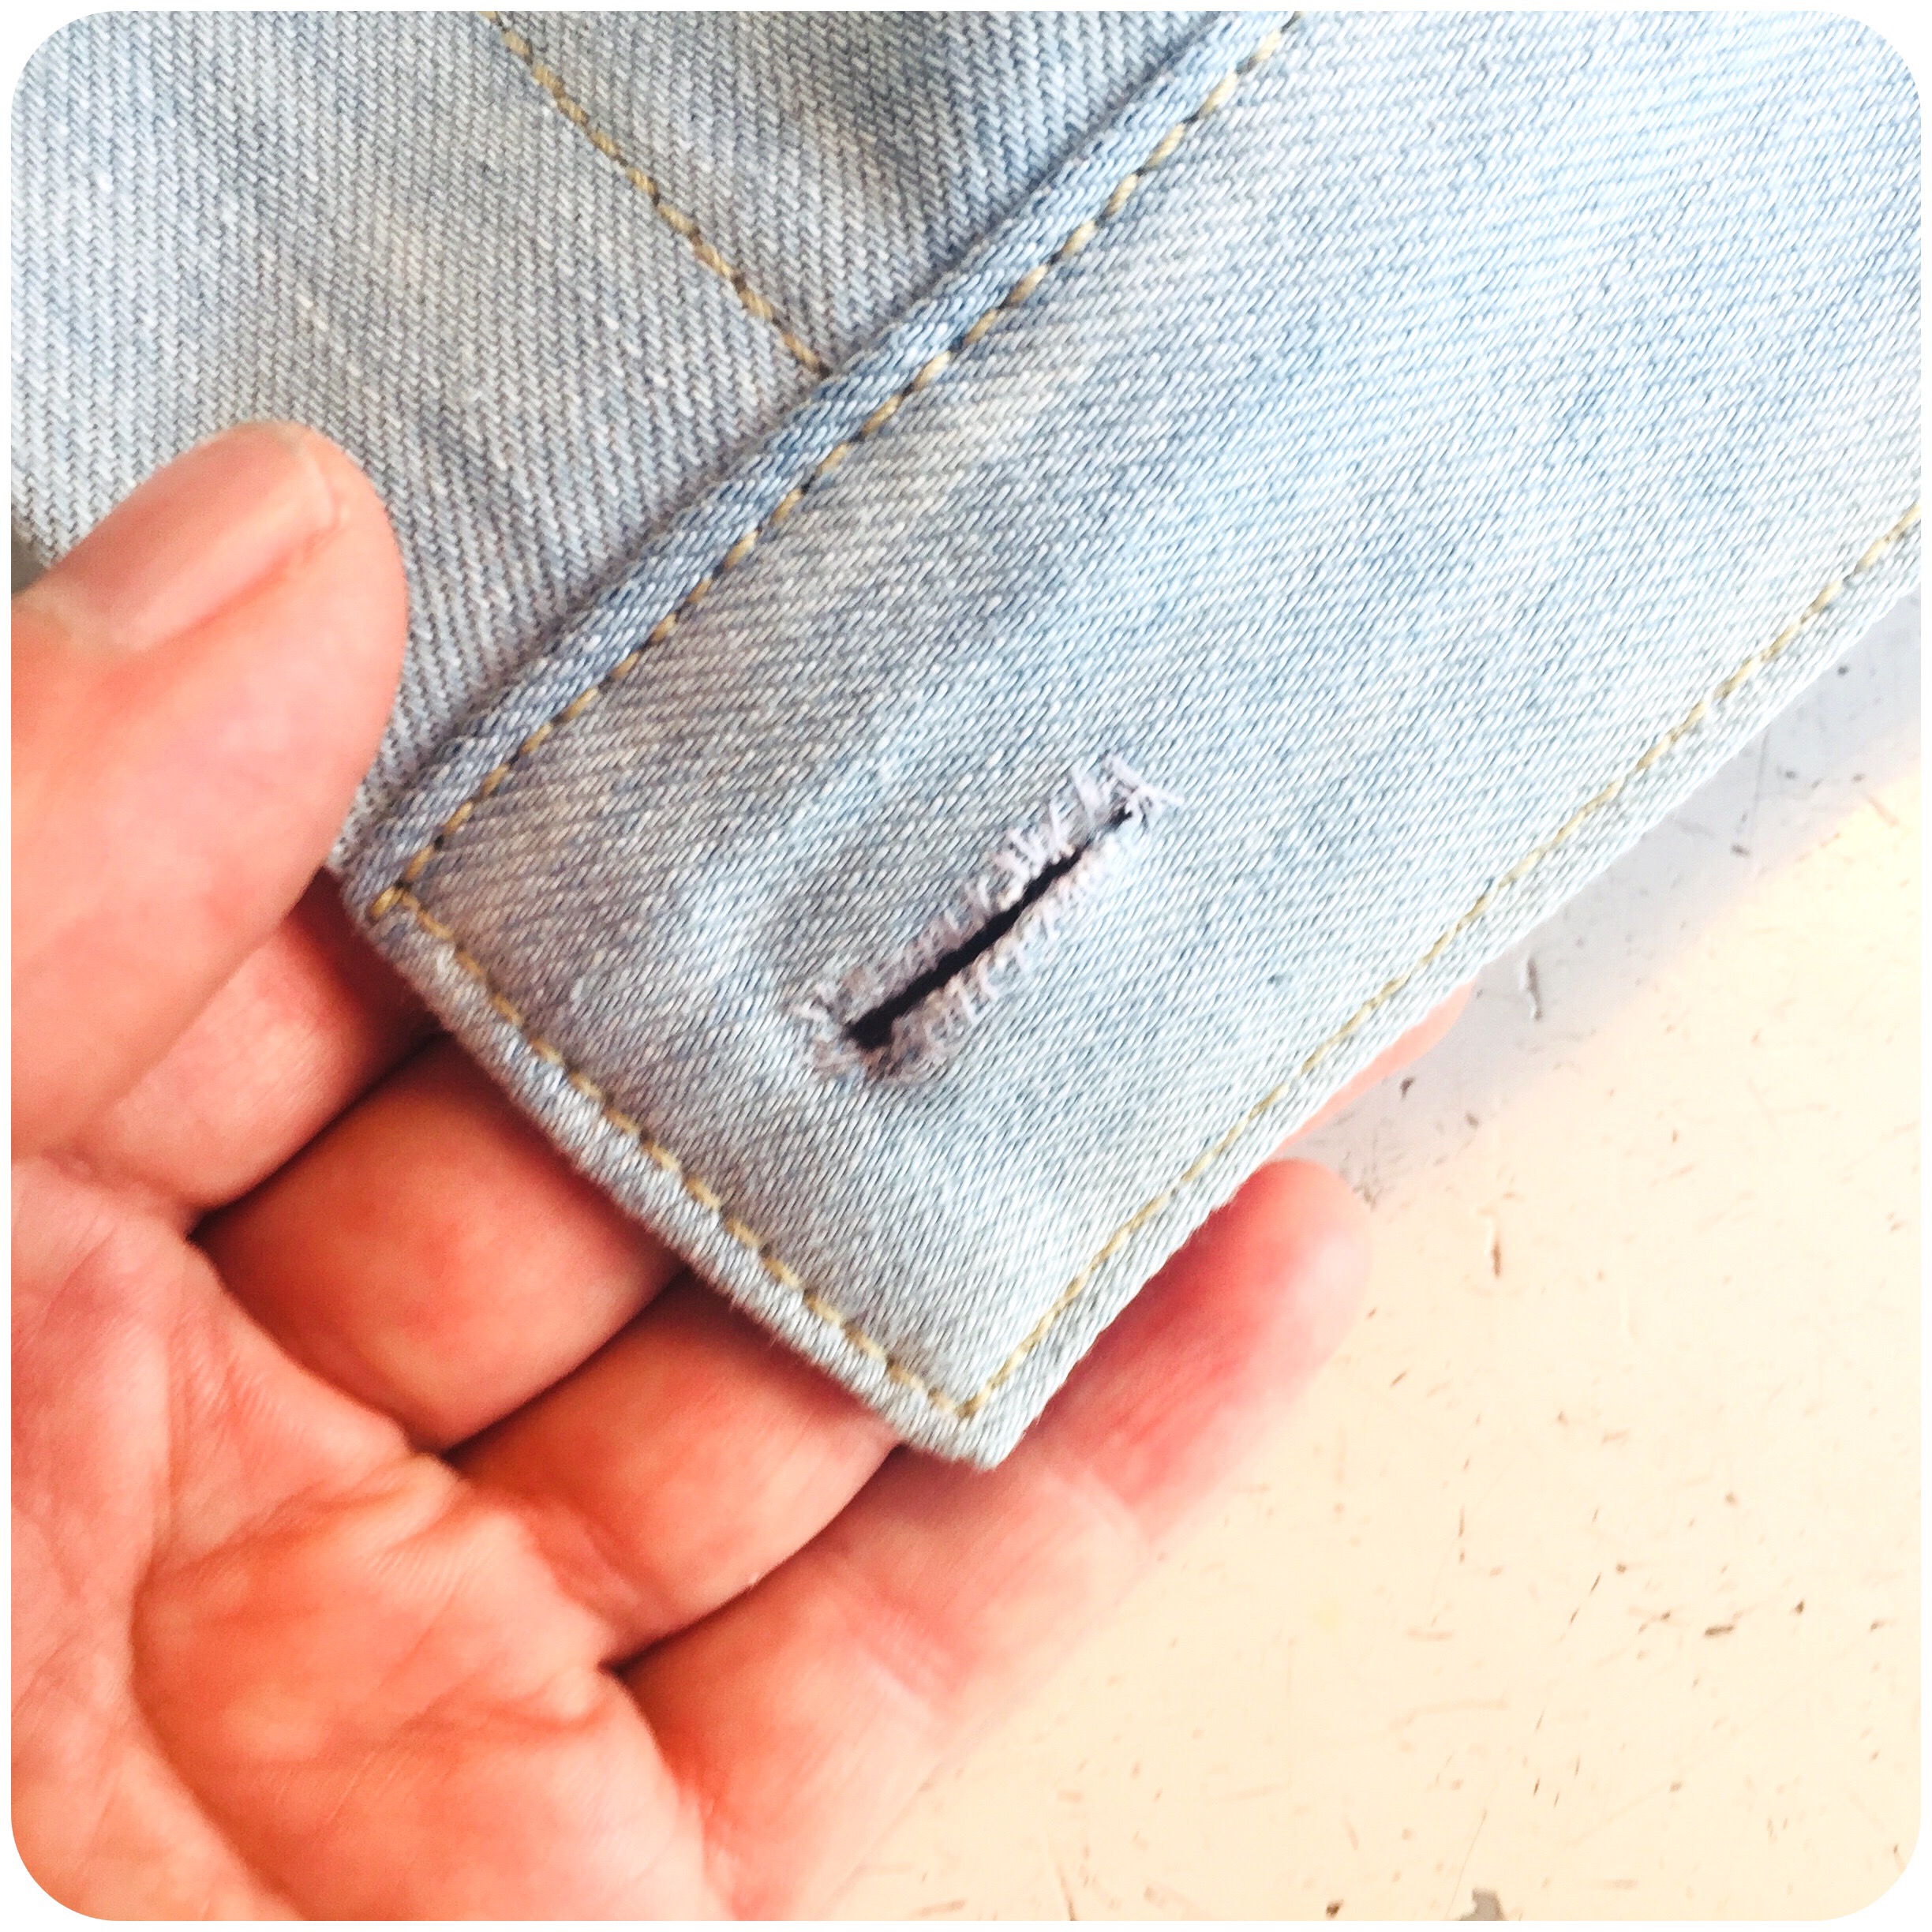
There! A secured and overcasted buttonhole. Actually the buttonholes are already working now, but we do want to add resiliness, and that’s up next.
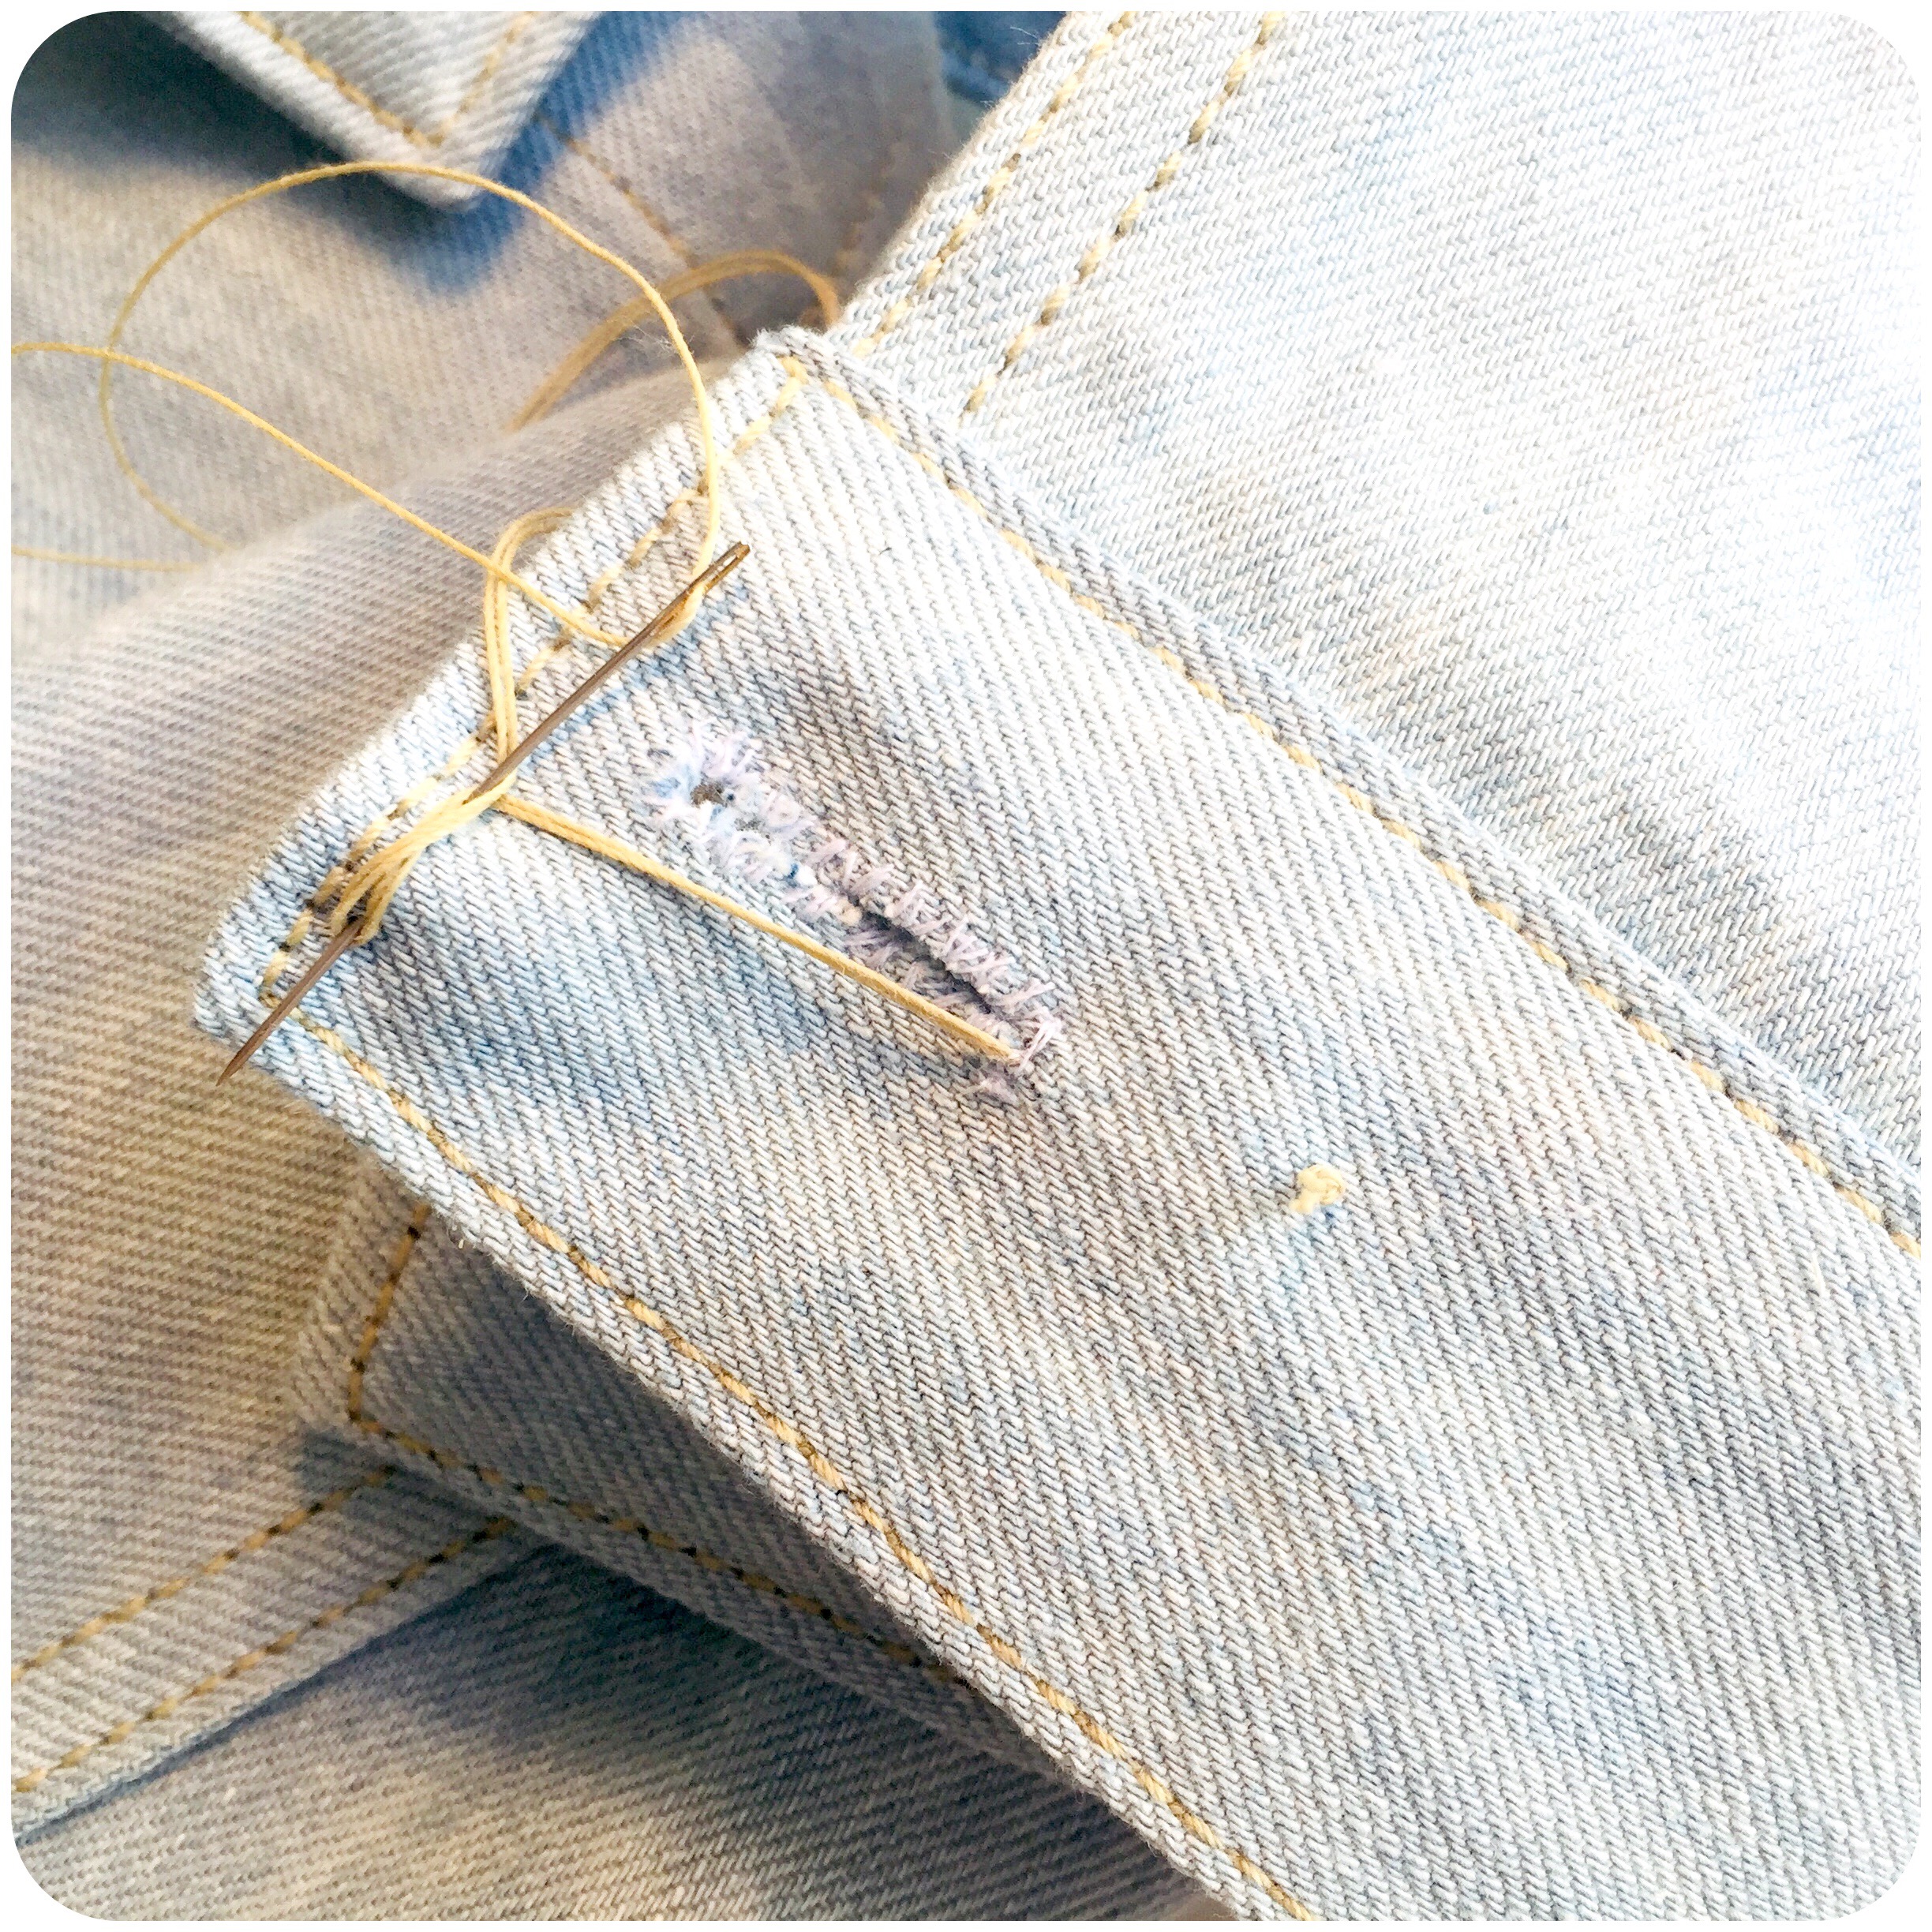
Start with adding a stay thread. It will prevent the buttonhole from stretching while being used. Pass it in between the fabric layers and place it along the secured edge.
You can use a specially made gimp here – a stiff cord – but I usually just take what I have, and therefore use the same waxed buttonhole twist as I will use for the stitching itself later on. And here doubled to two strings to make it more stable.
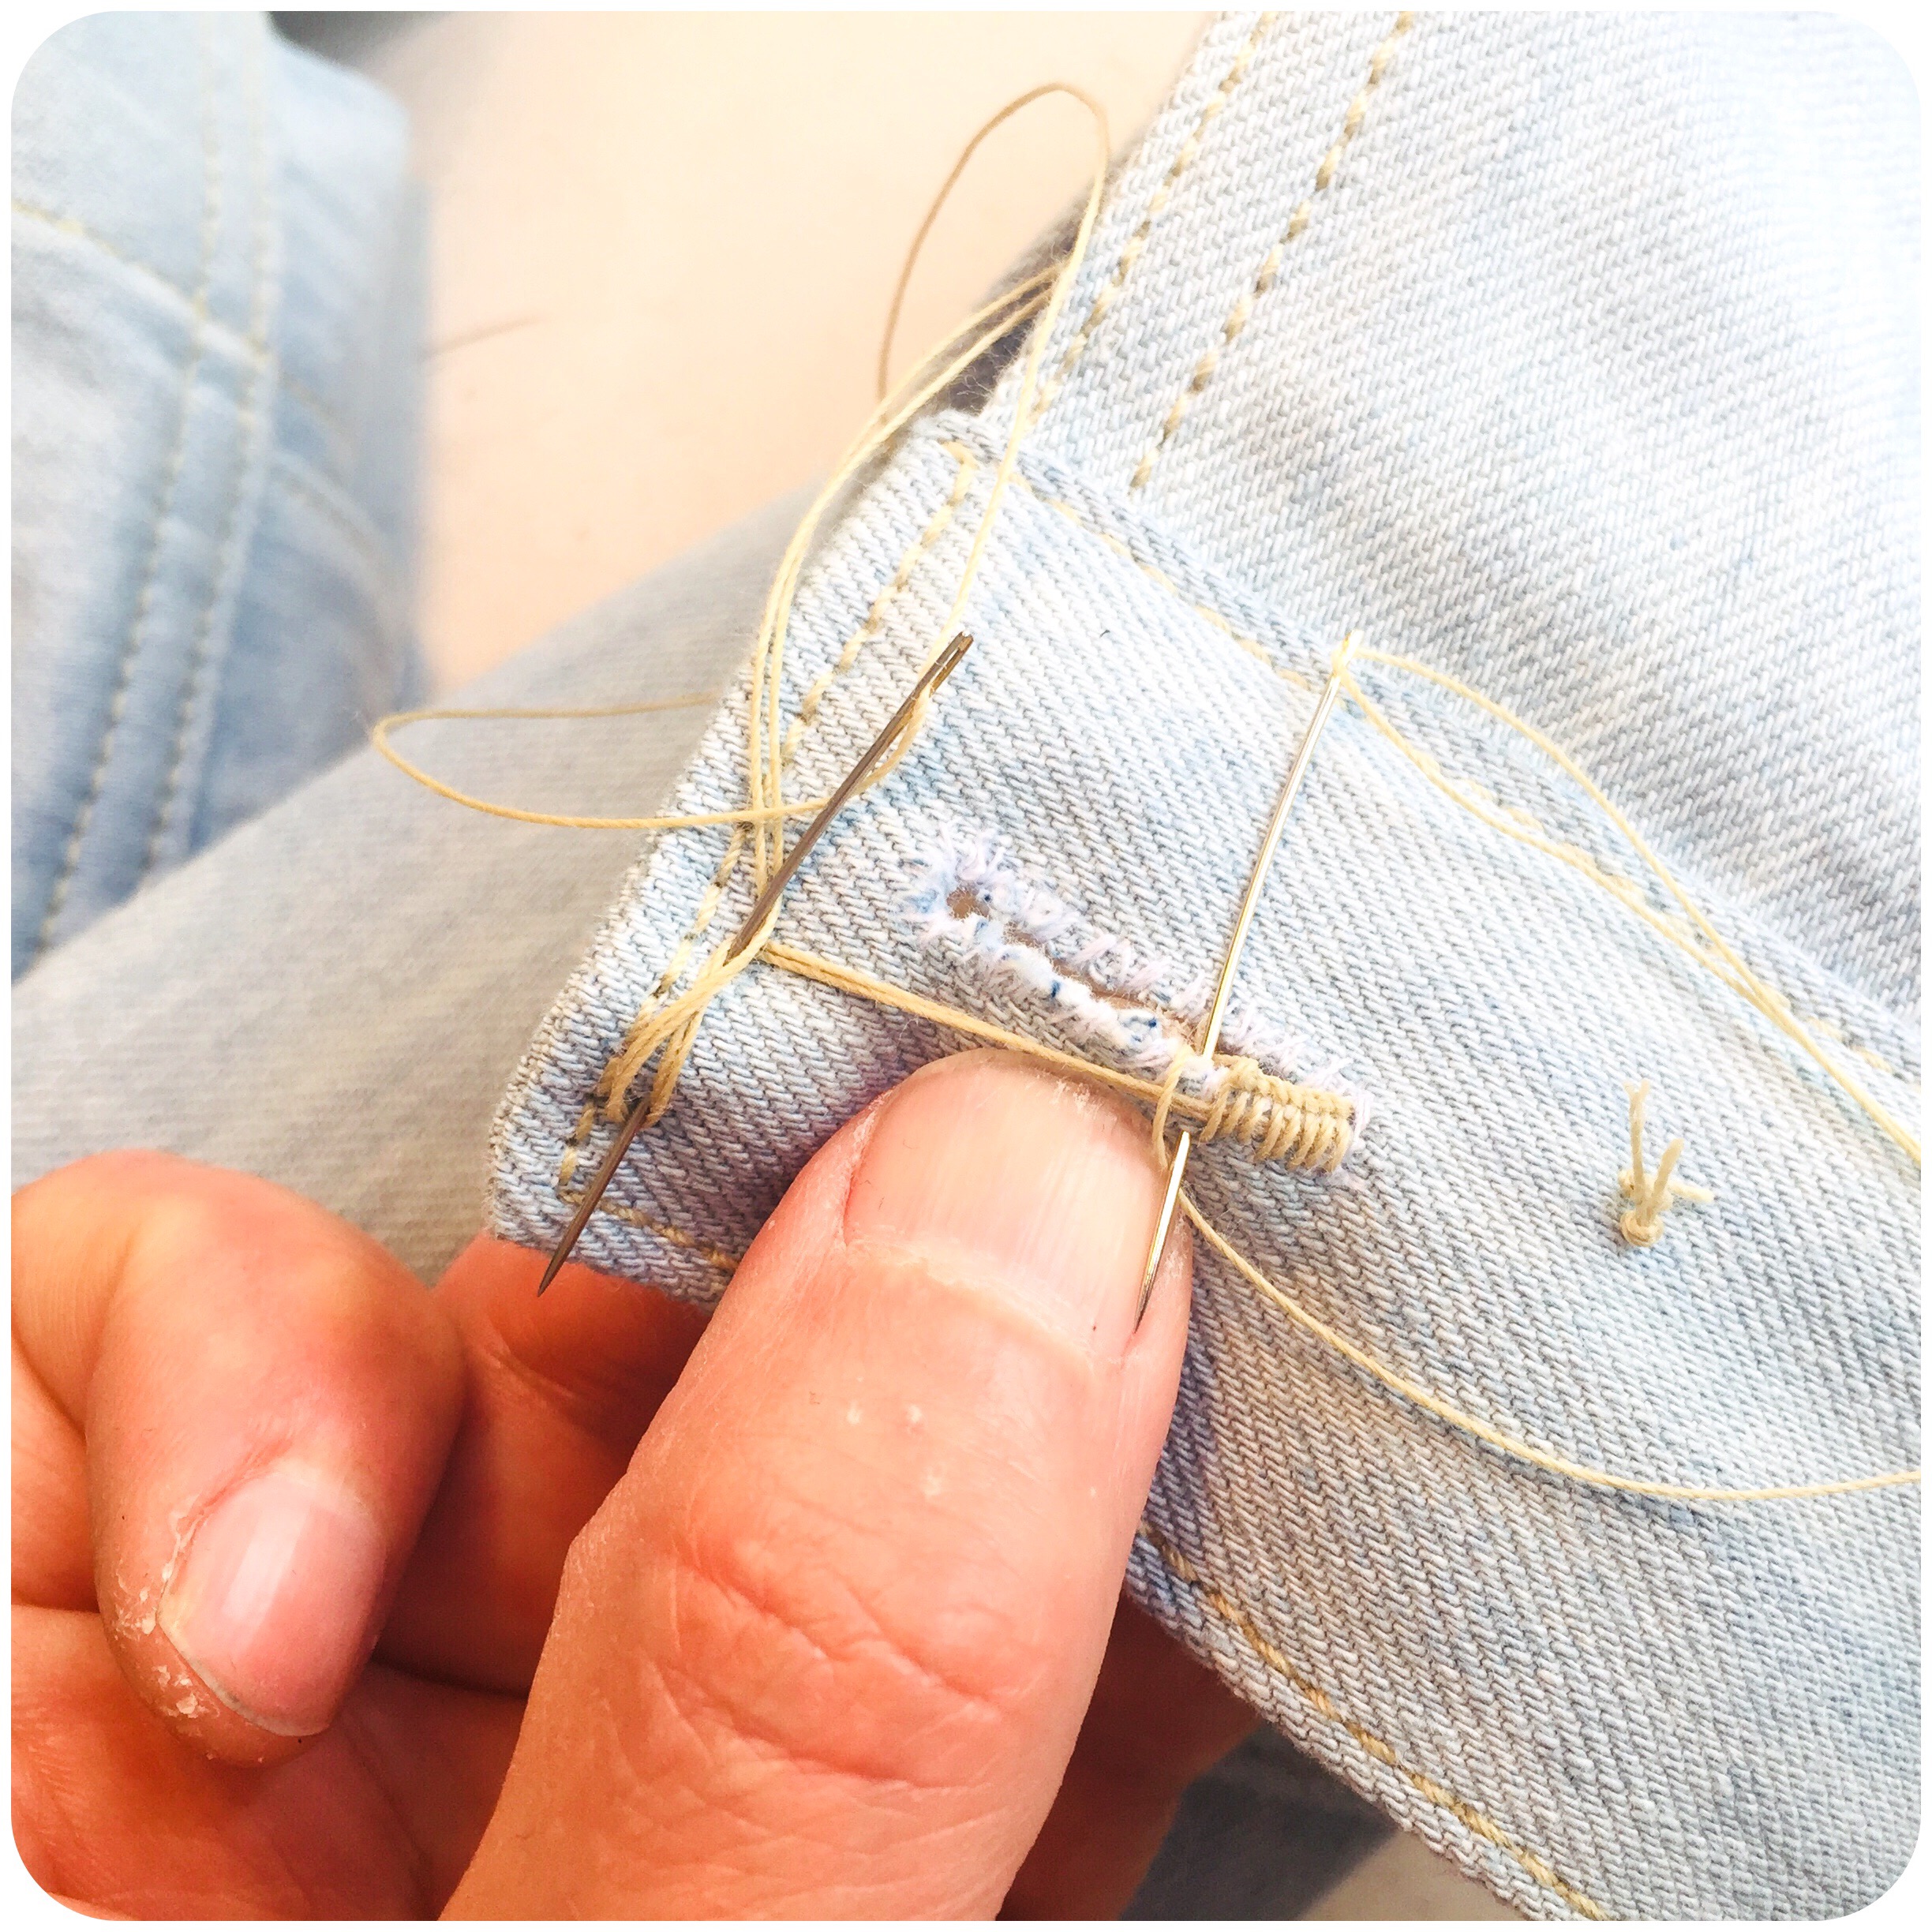
Then start the actual buttonhole stitching with a waxed buttonhole twist (thread). You can see that I pass the thread under the needle twice, counter-clockwise, for each stitch, before pulling the thread through.
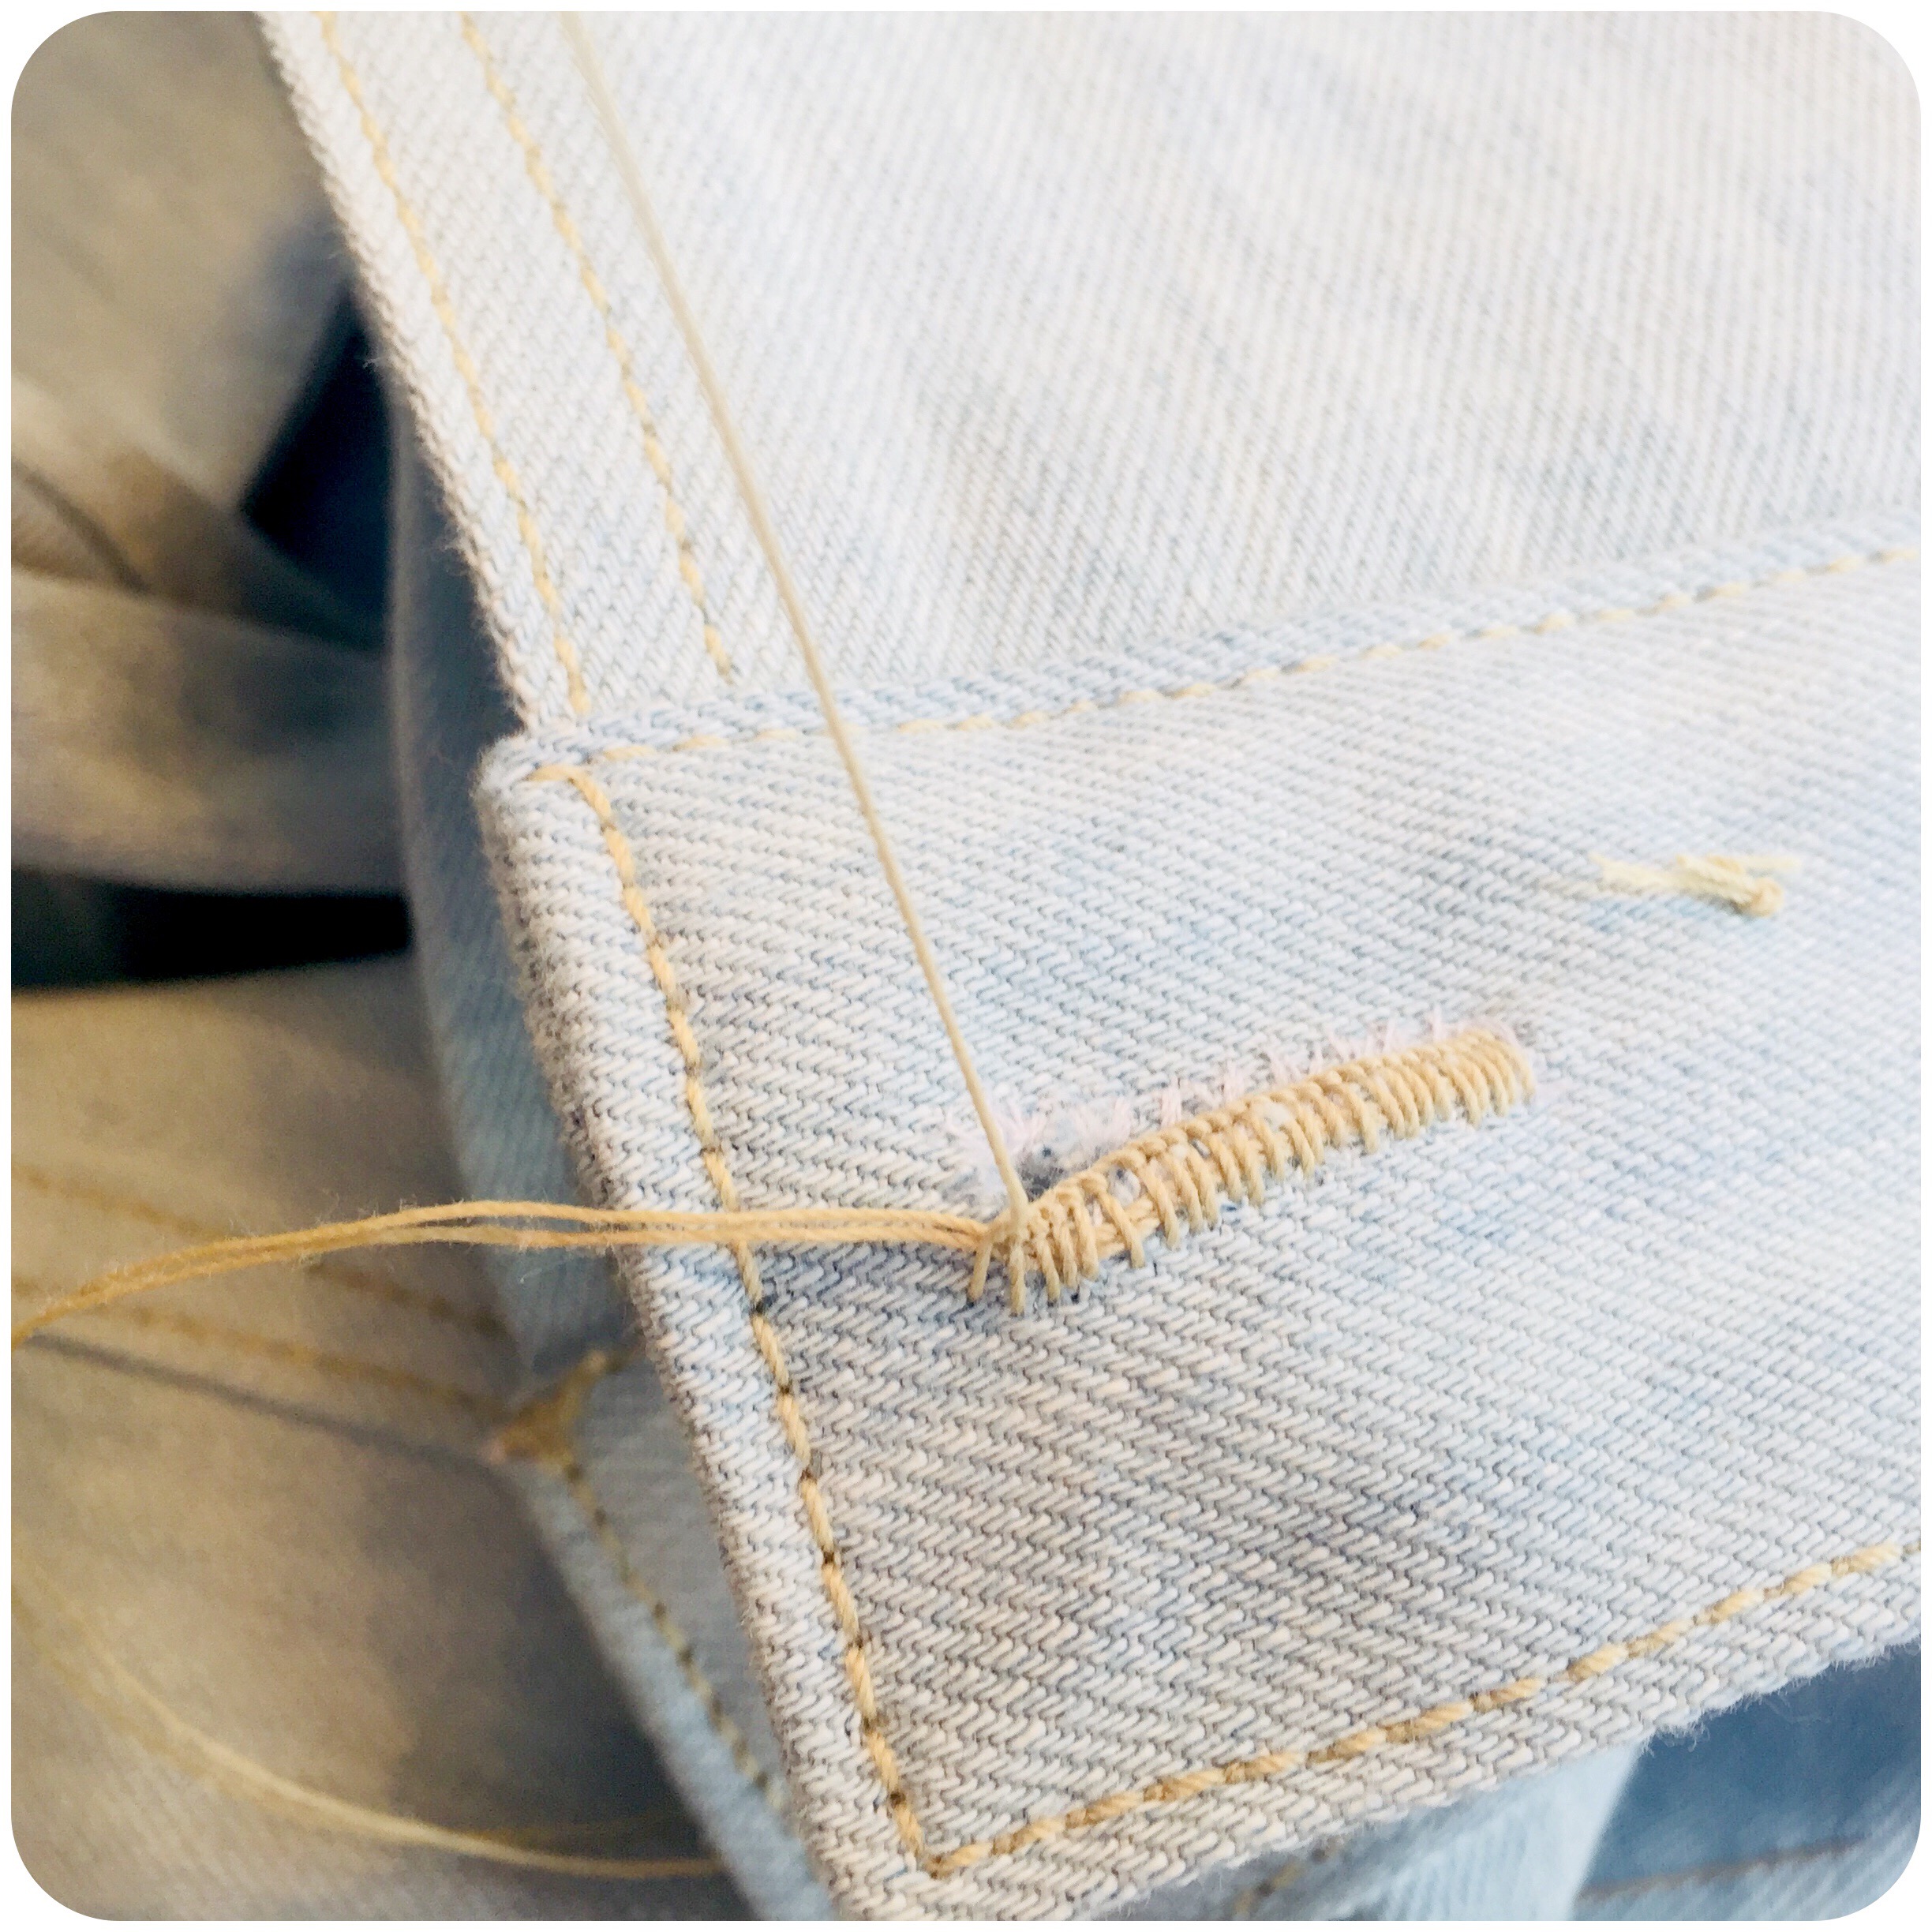
The knots are pulled sideways to the center of the hole, except at the rounded edge where they are pulled upwards to make enough room for all the crowded knots there.
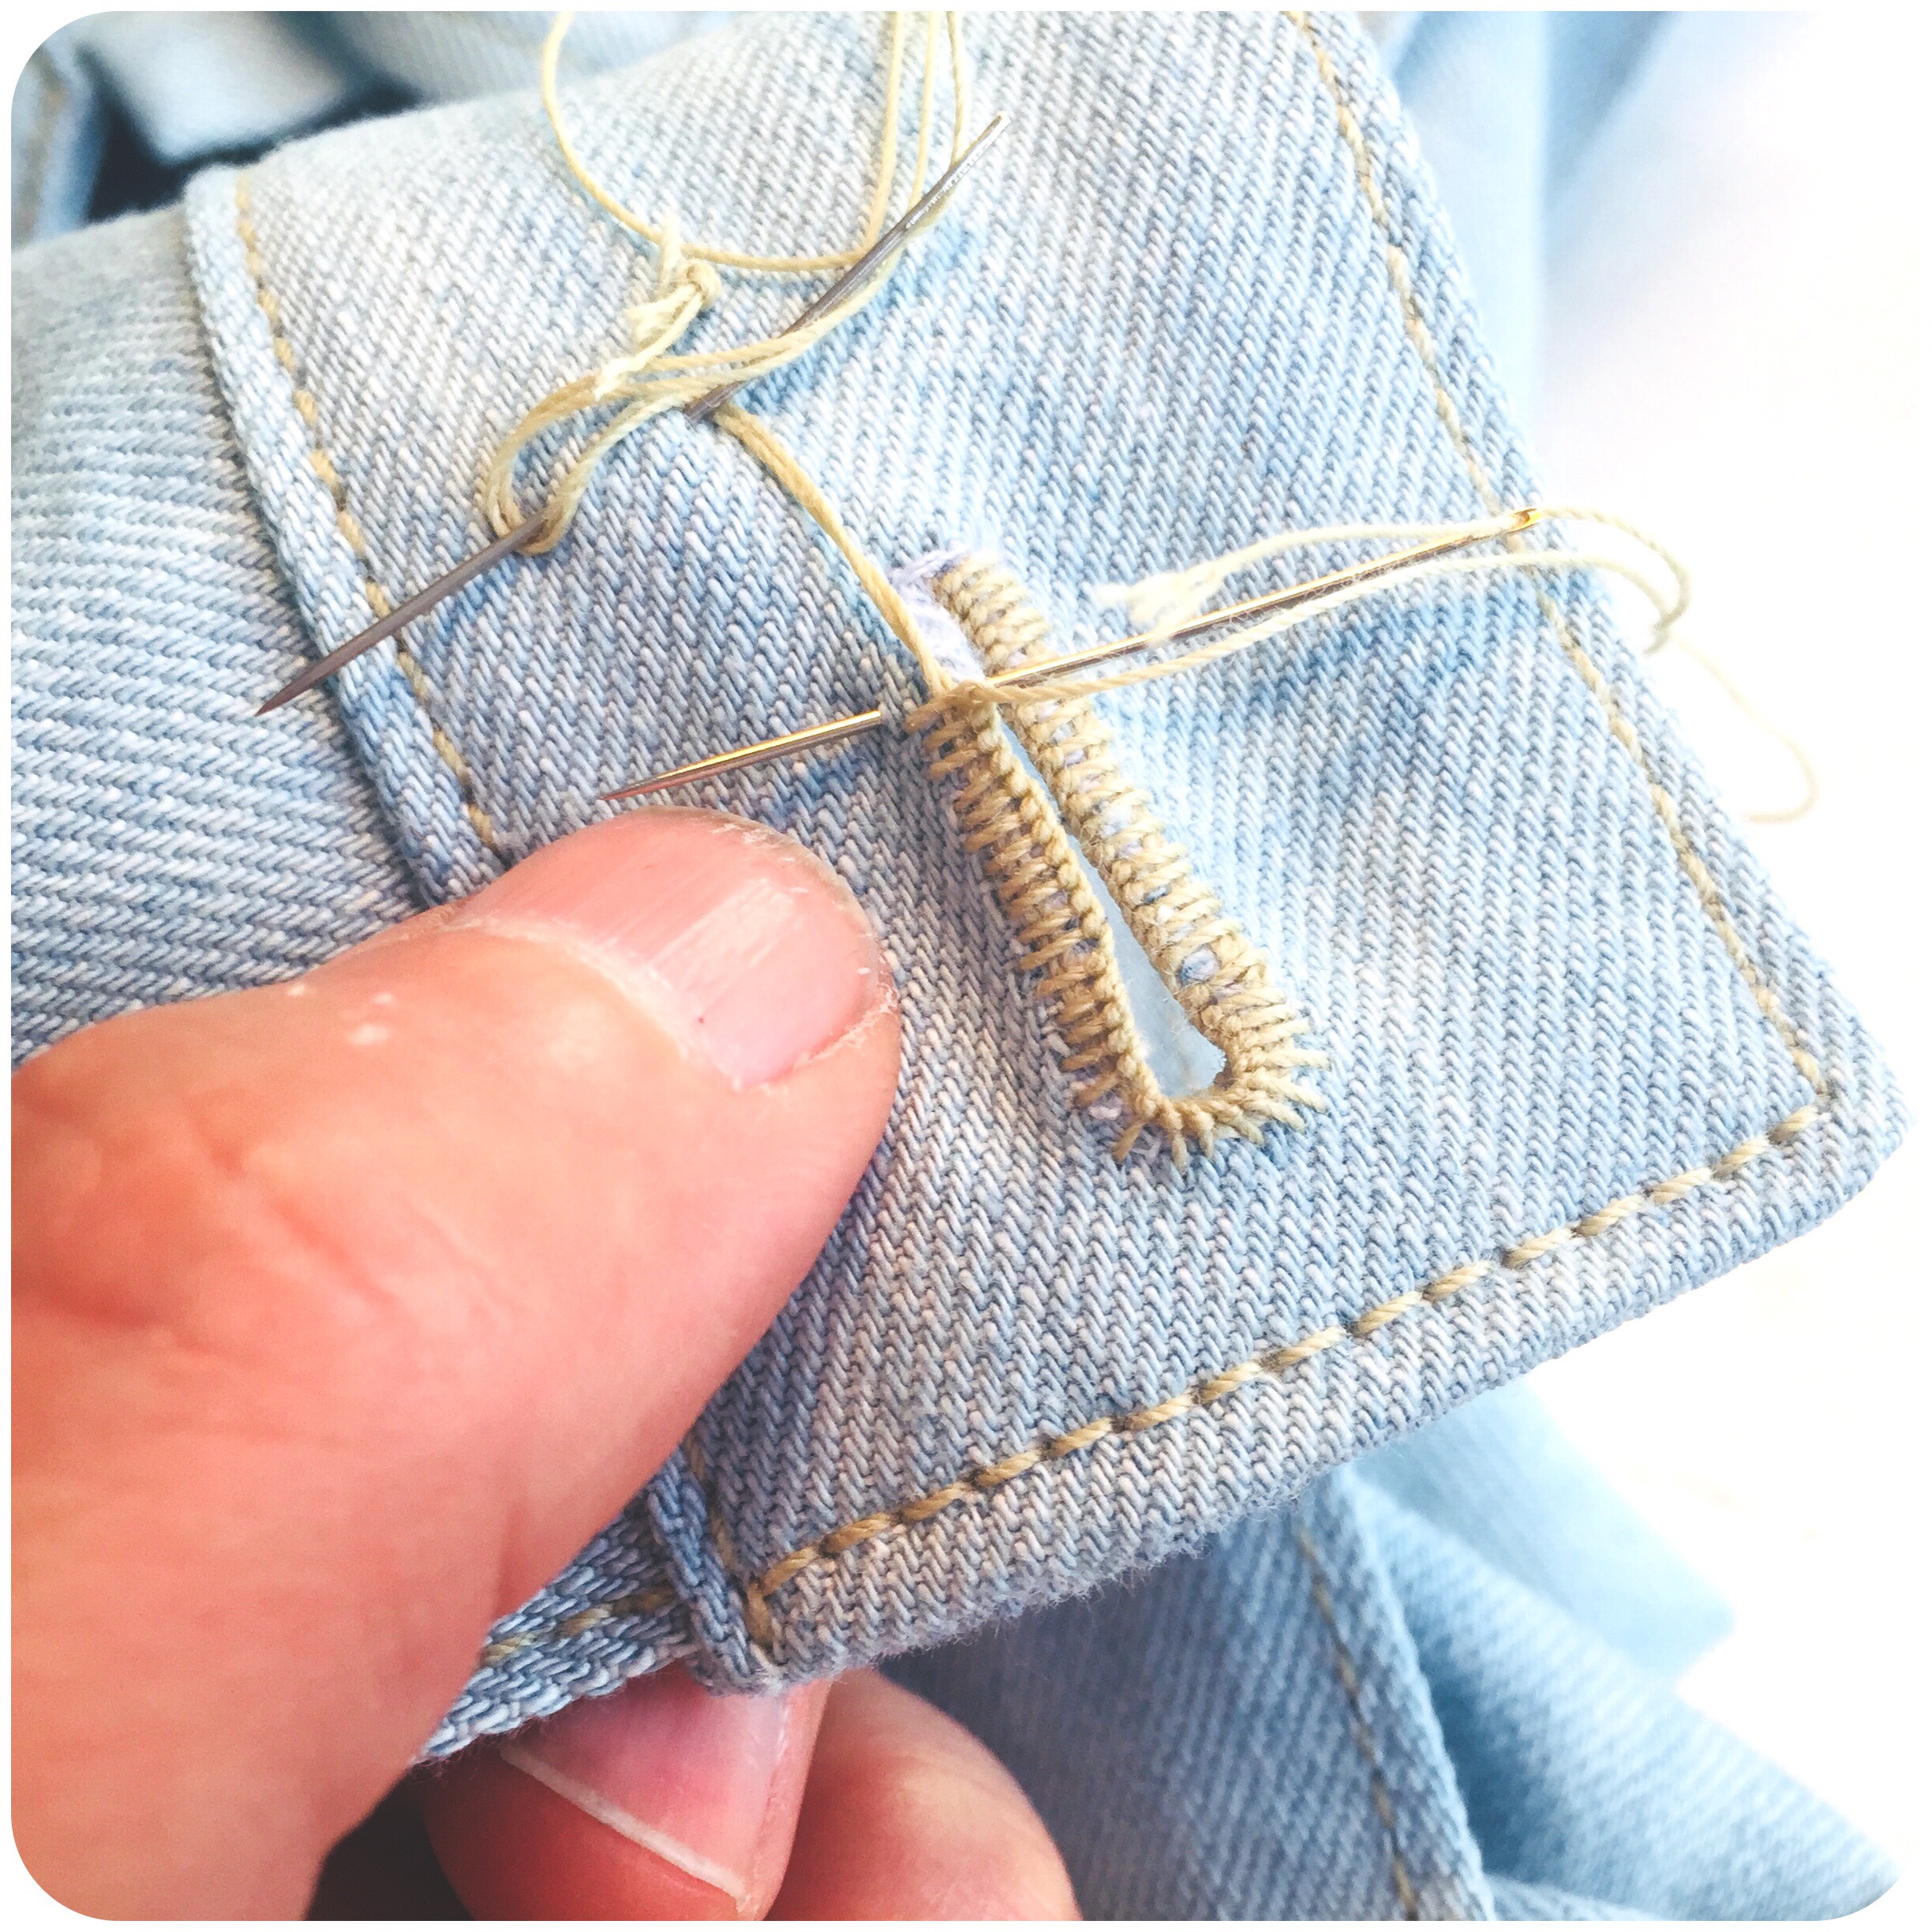
Continue all the way around.
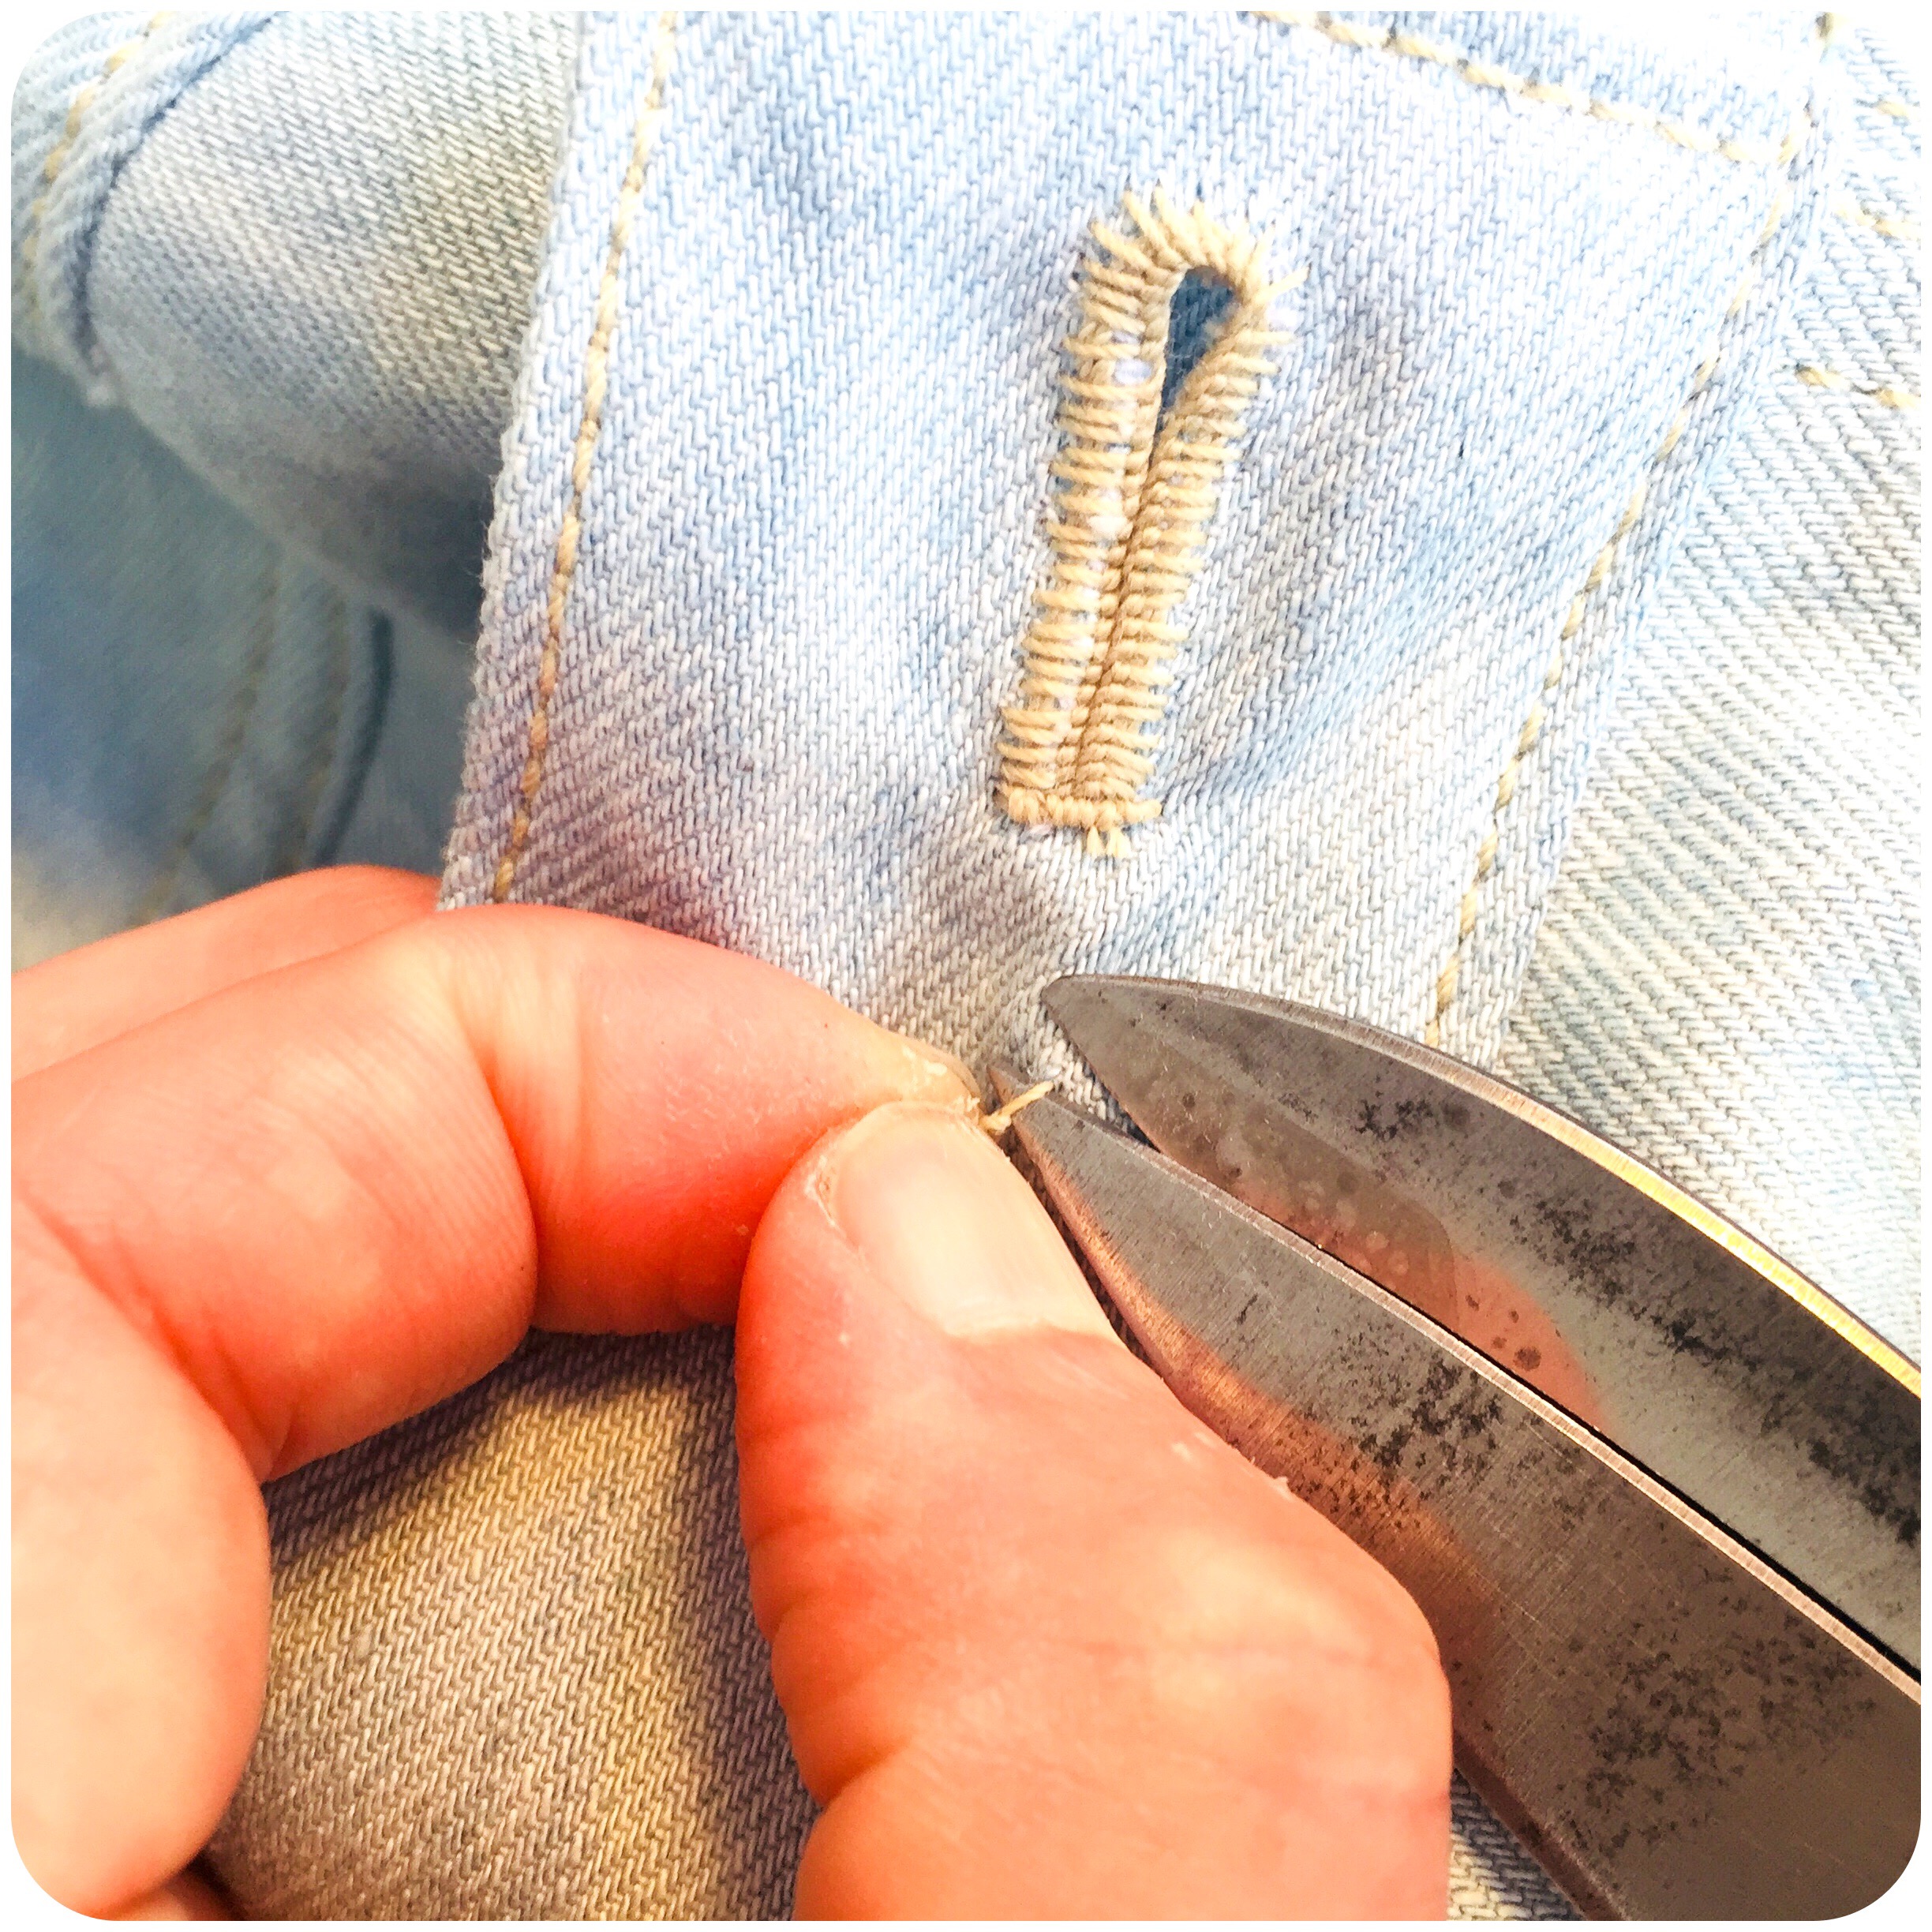
Make a resilient bar-tack at the end, and the cut off the “starting knots”, and the stay threads.
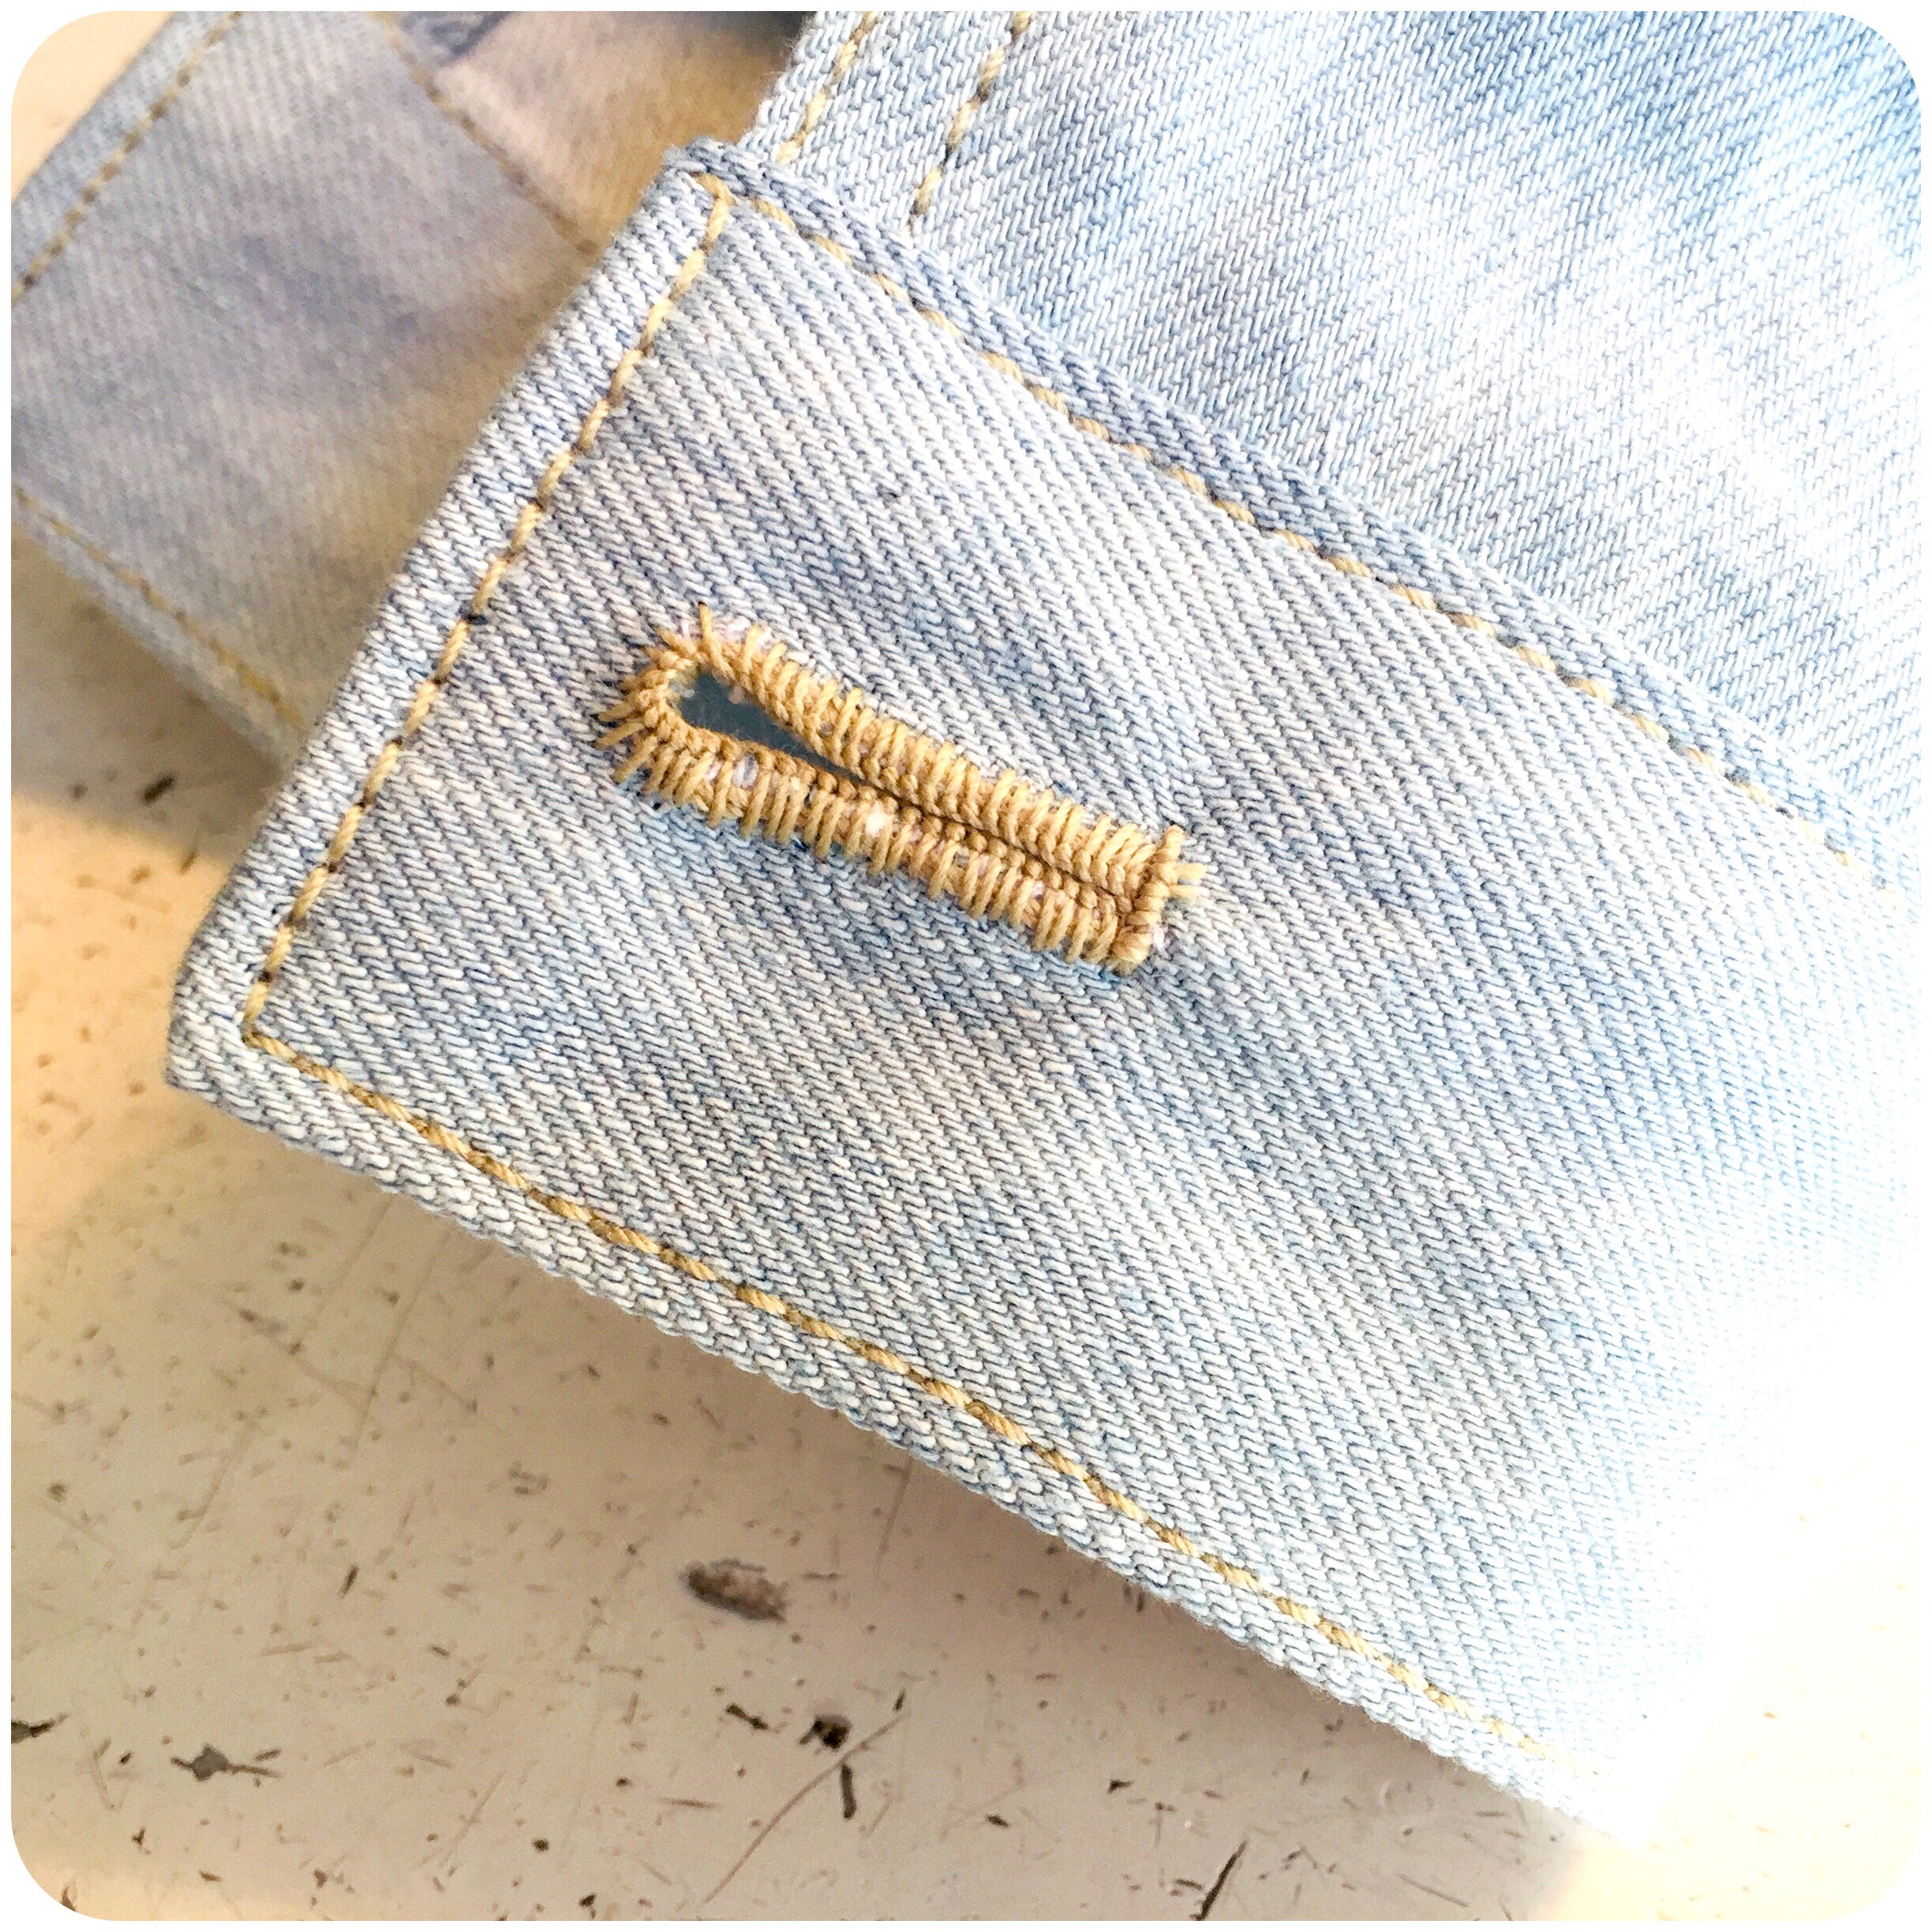
There! A finished worked buttonhole!
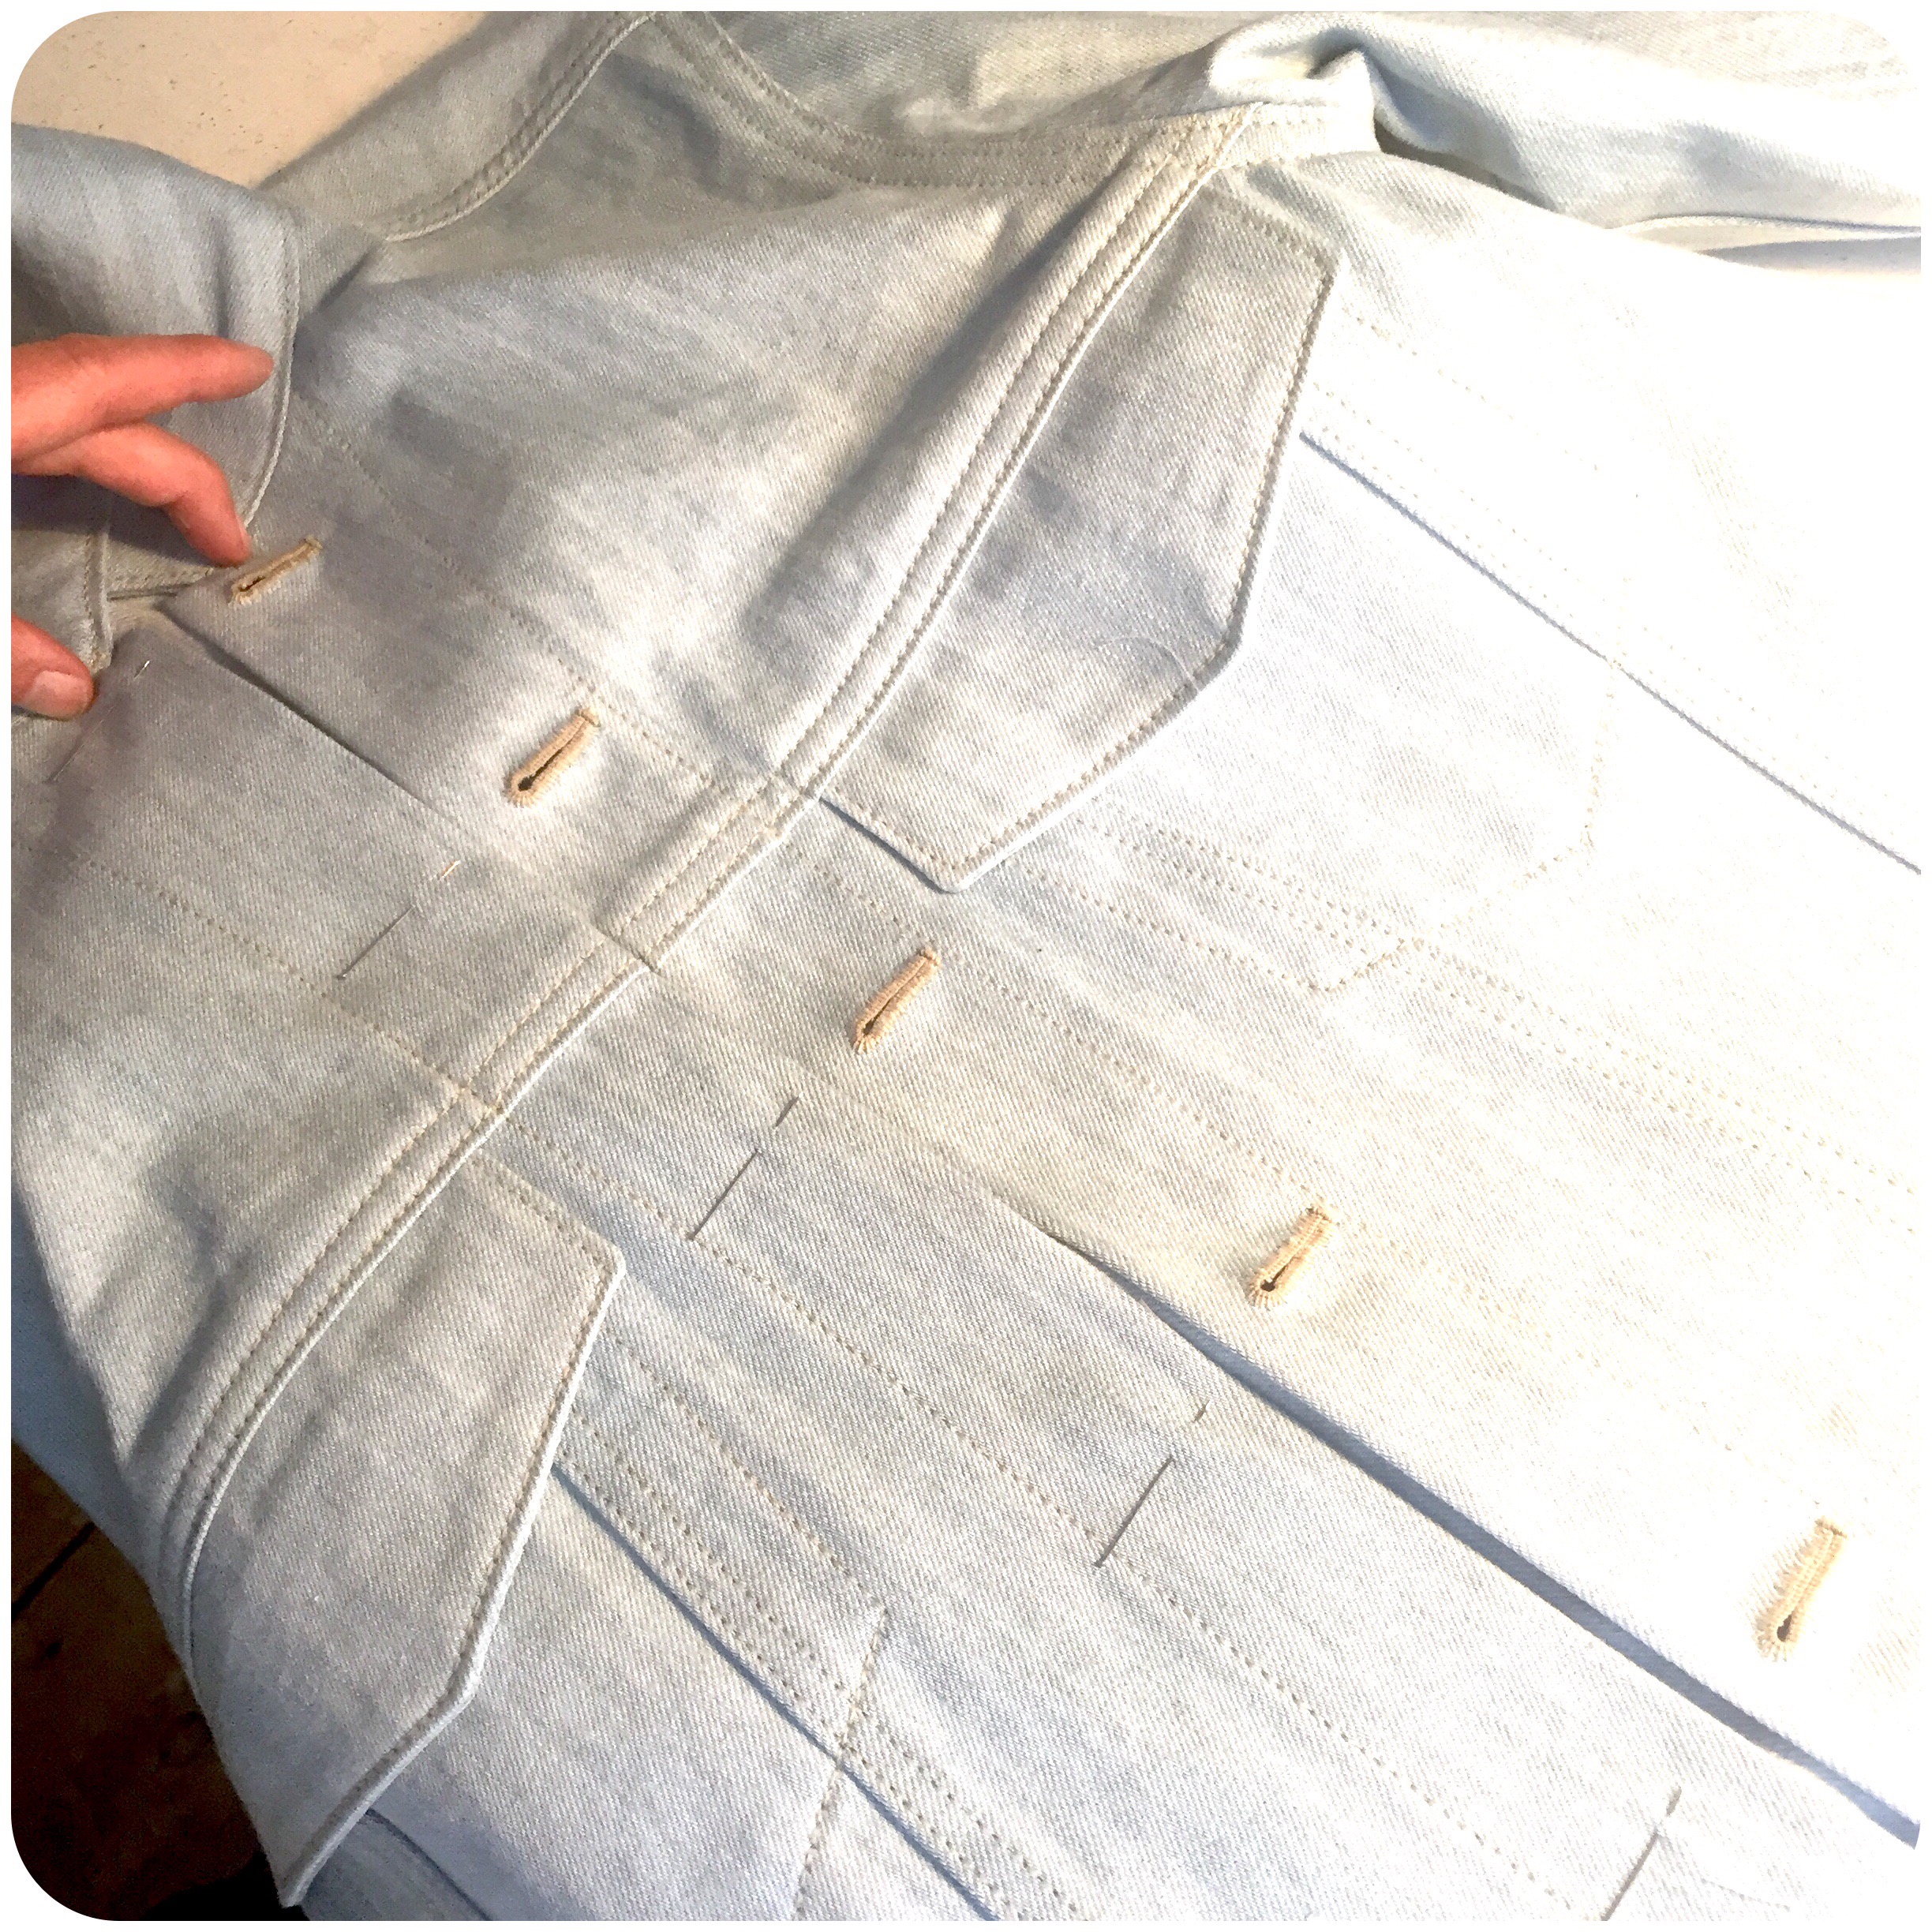
Mark where to place all the buttons.
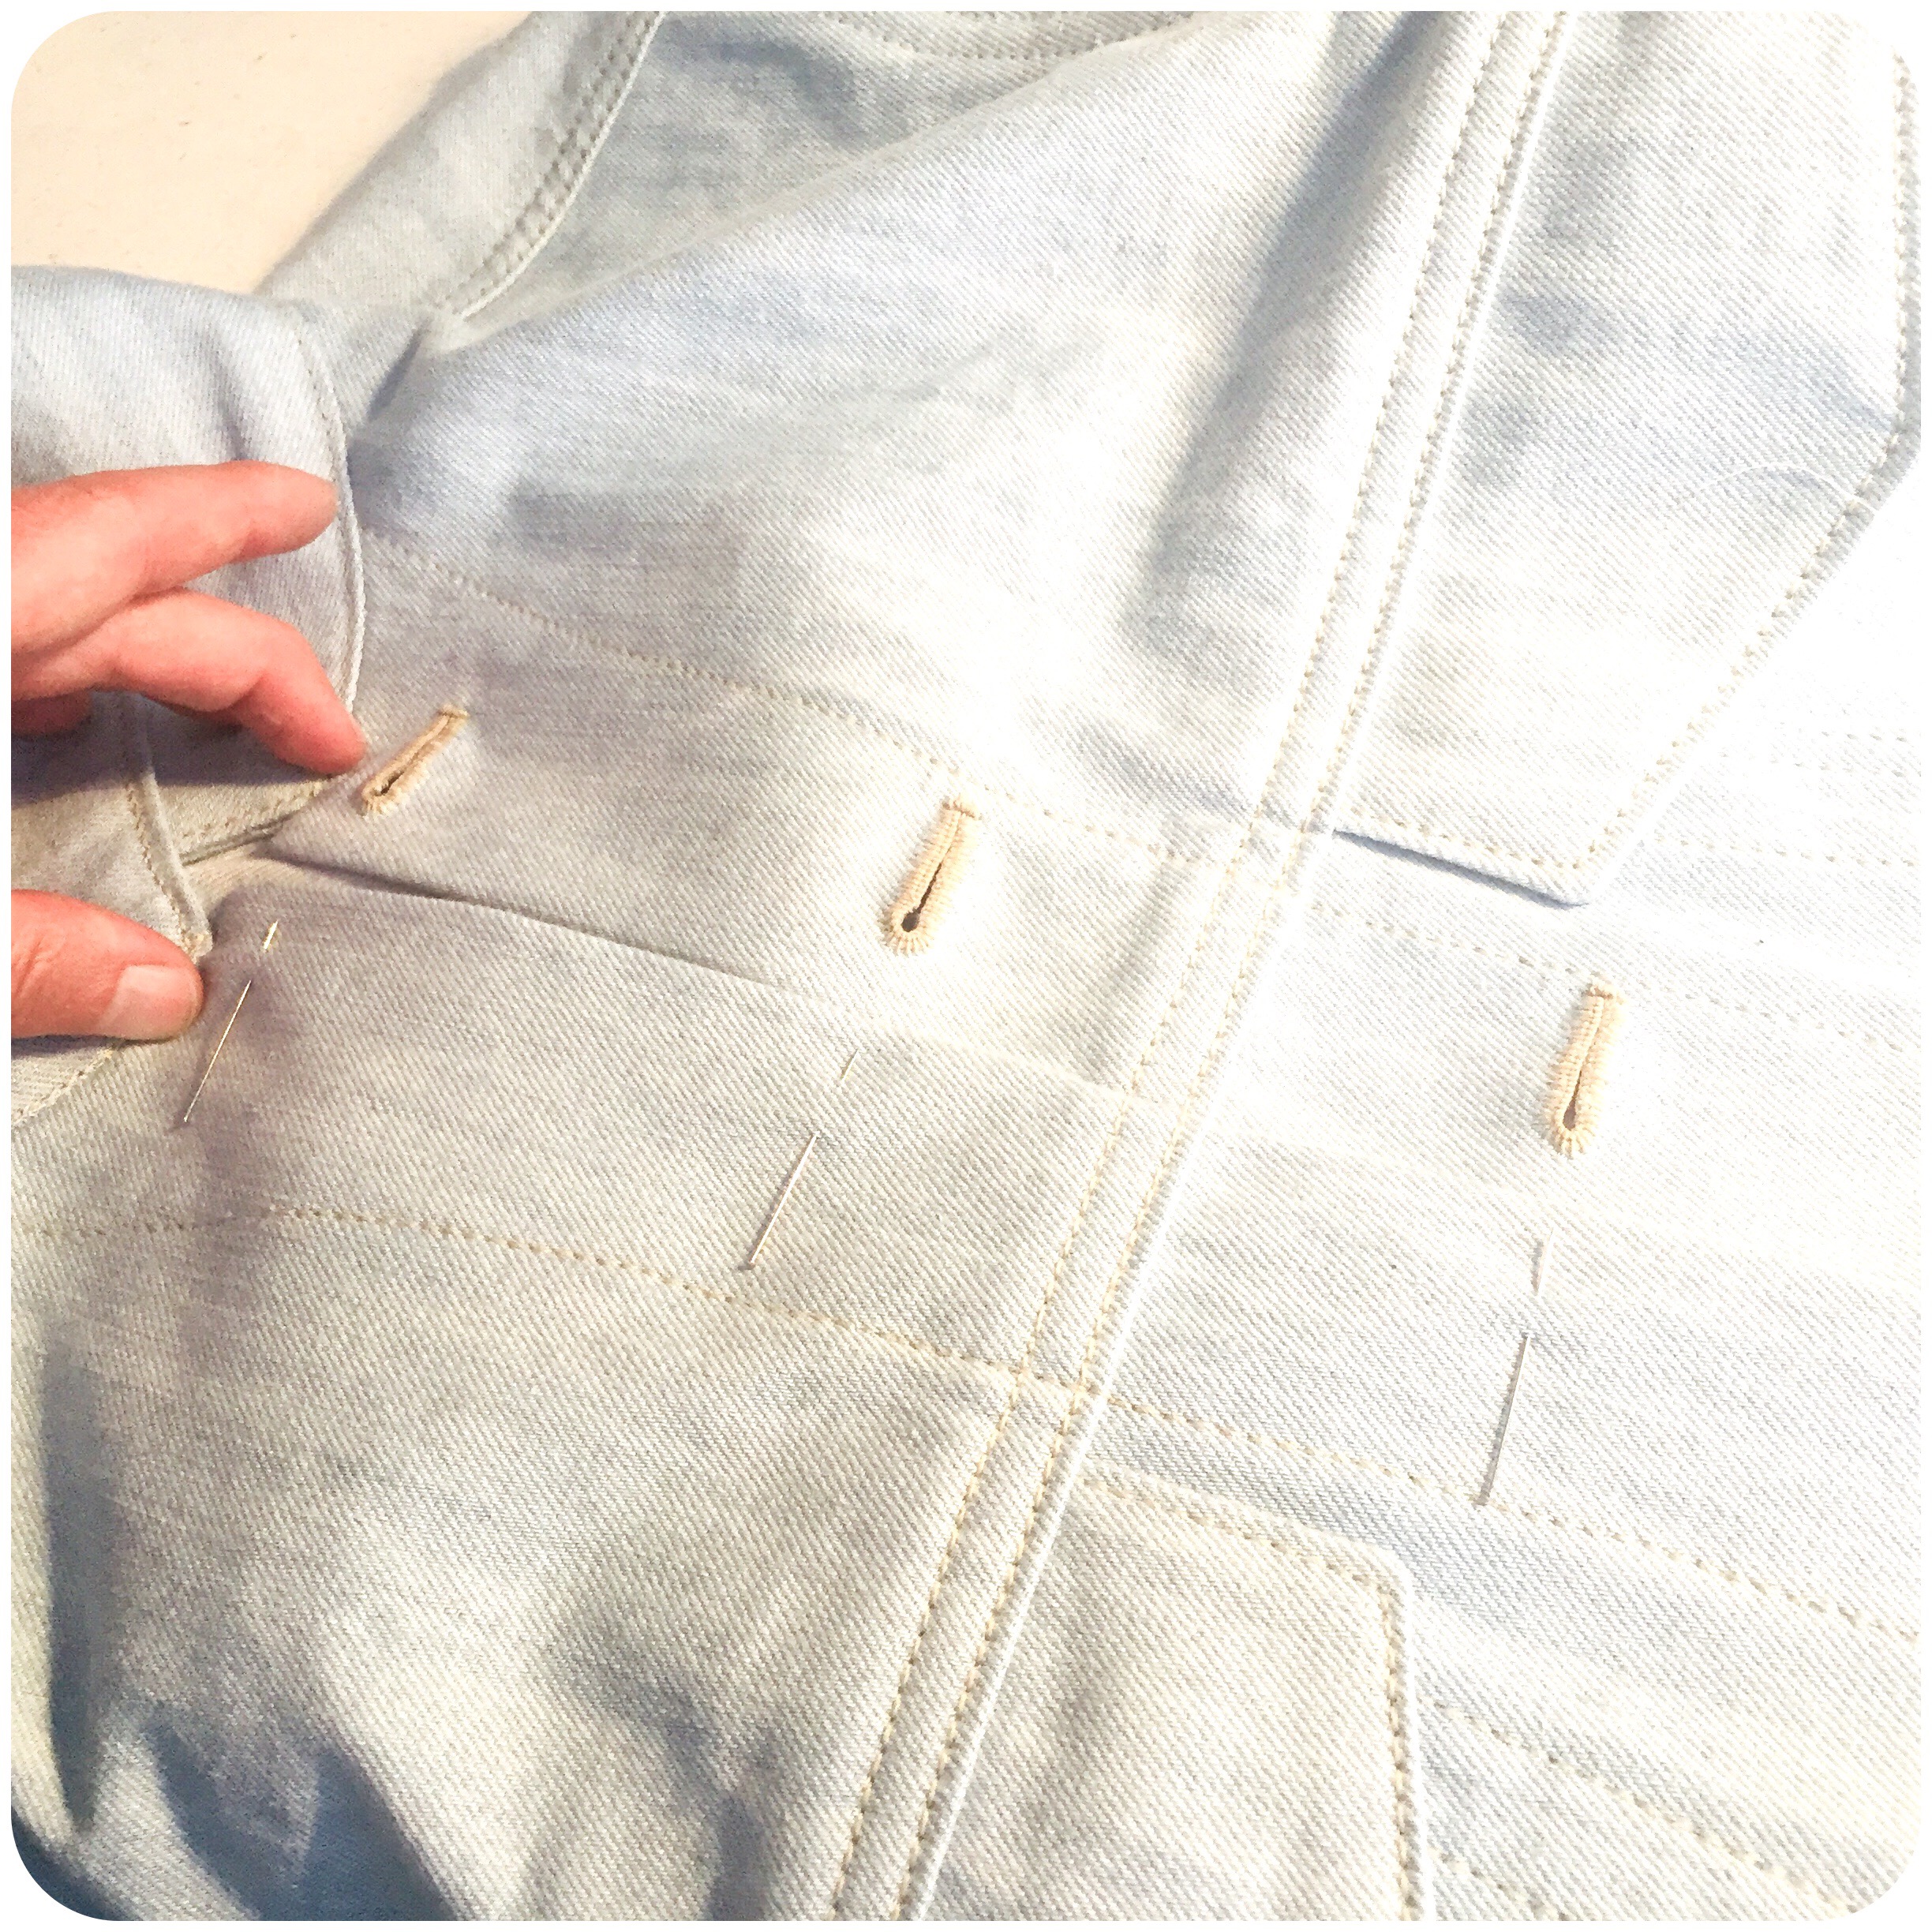
Make sure that design seams and edges match up perfectly.
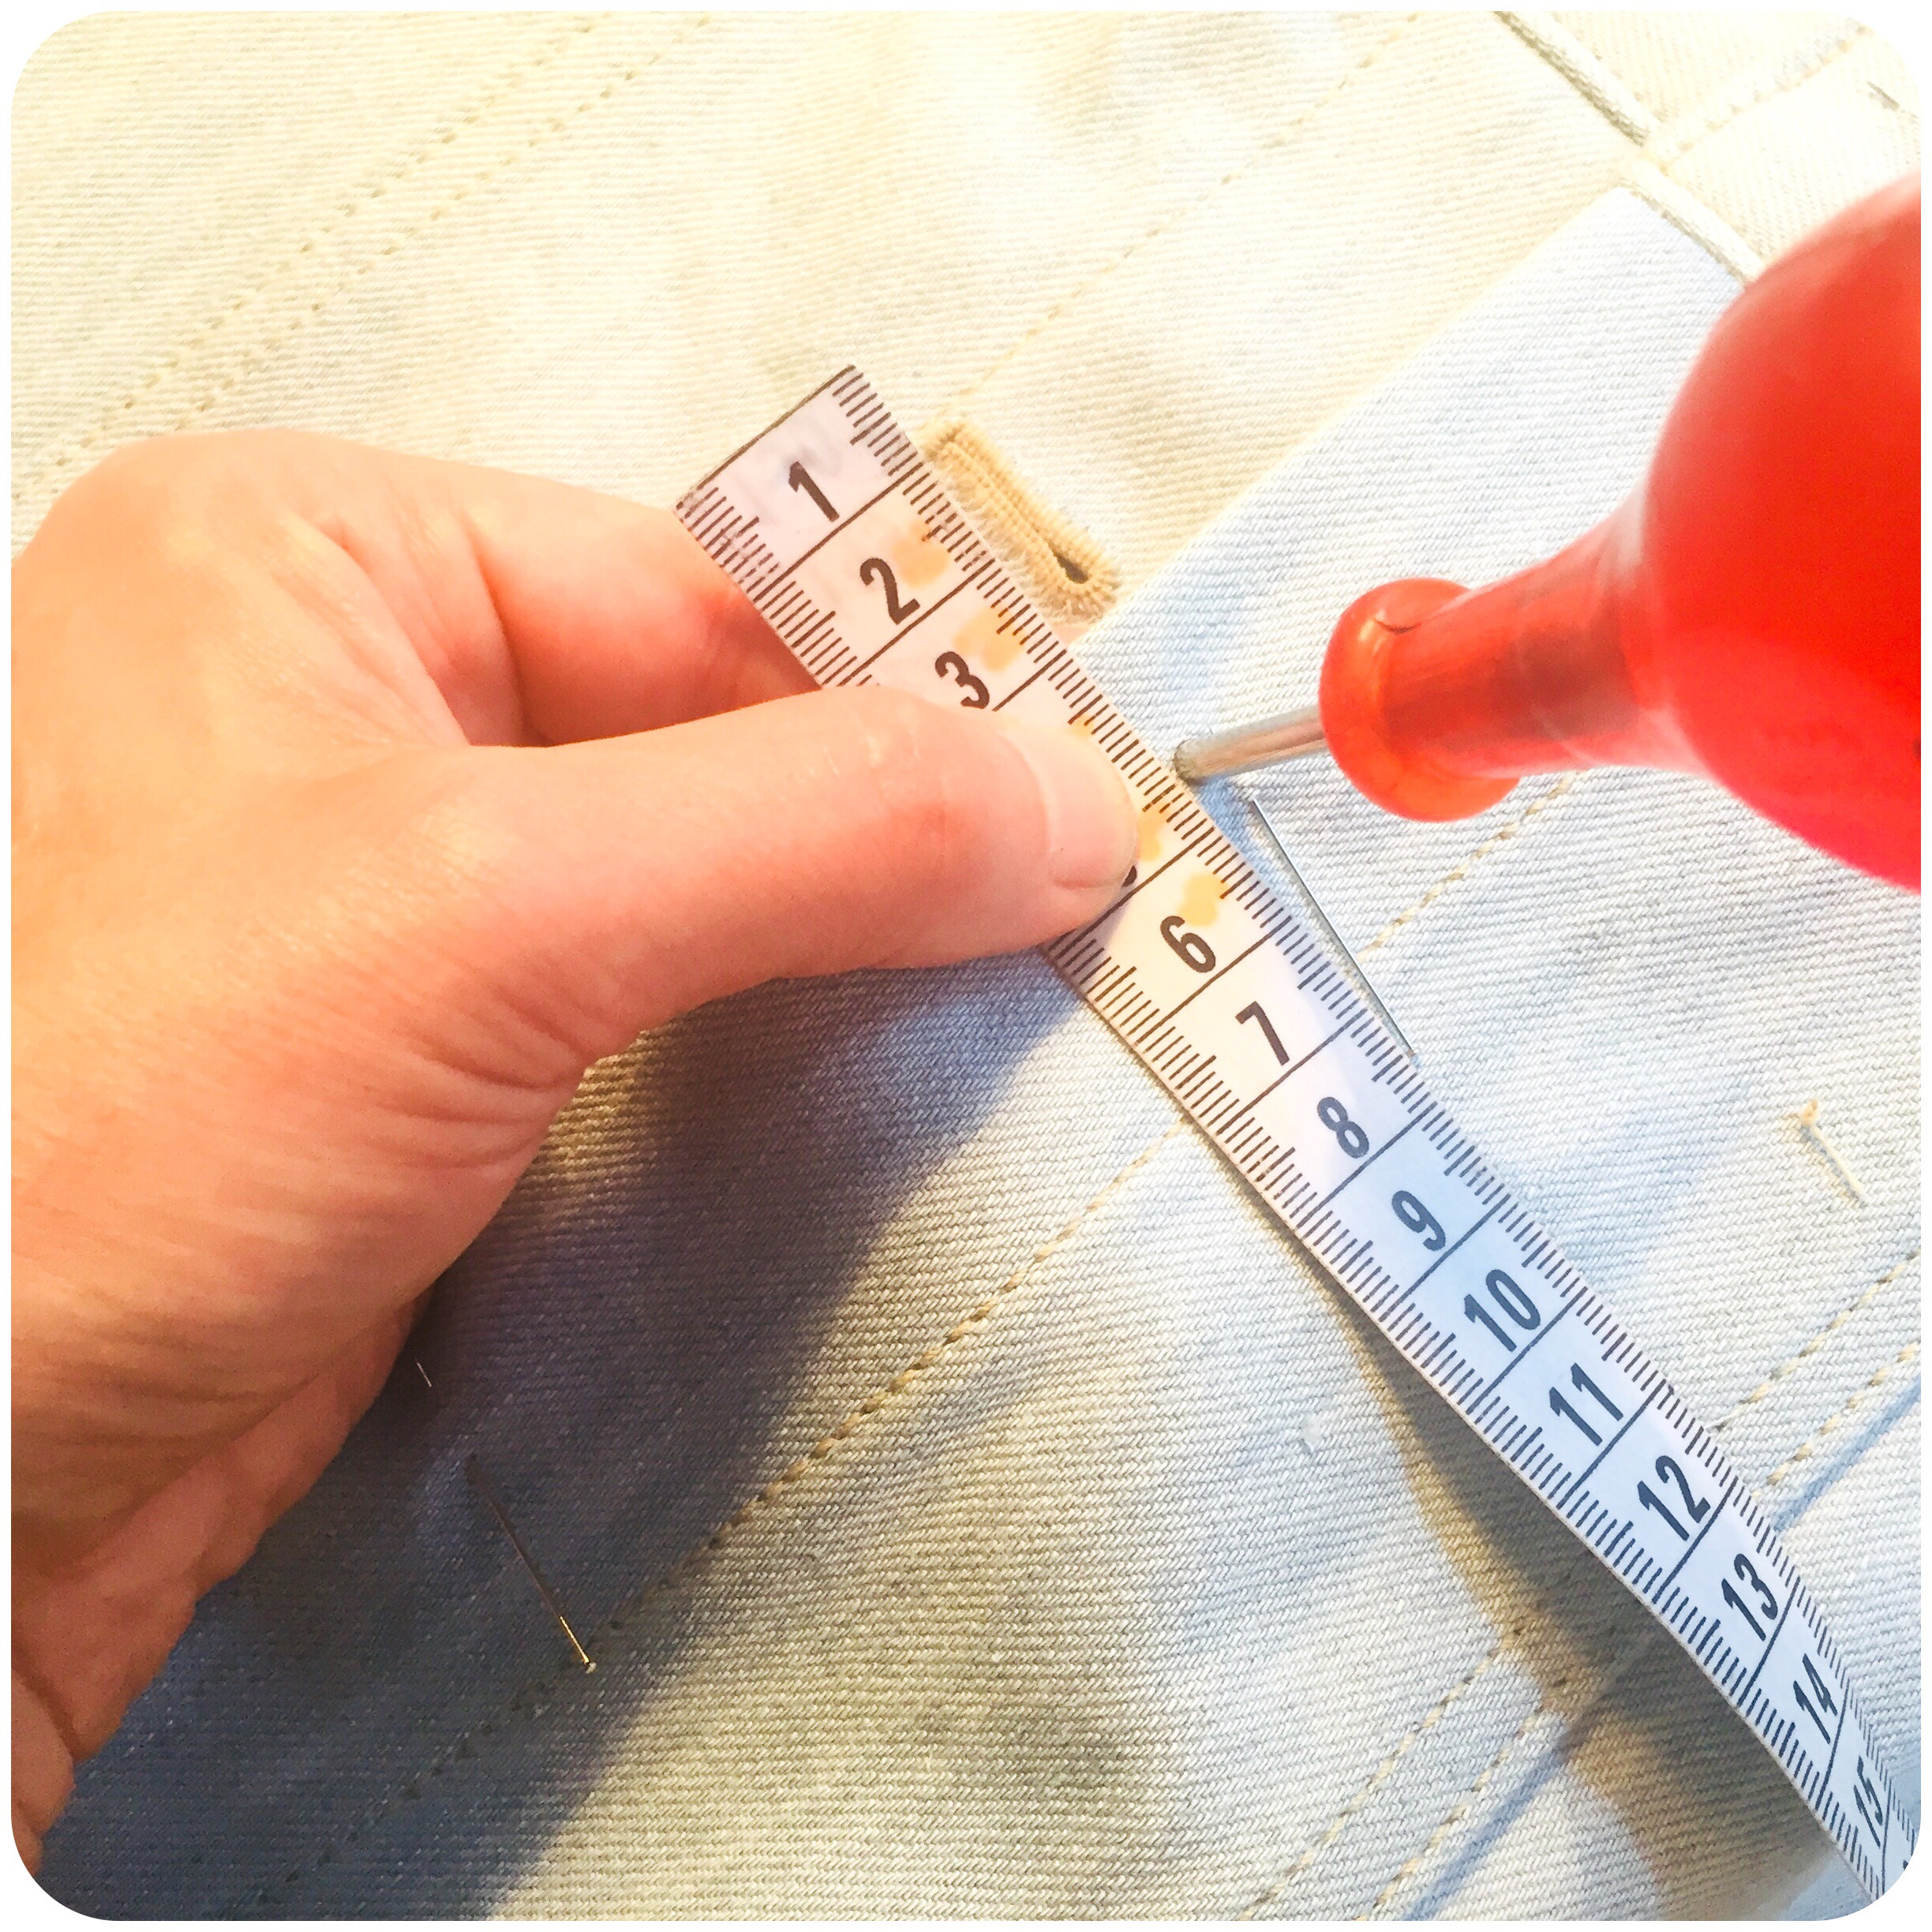
Macke holes – but do not cut them – where the buttons are placed, if denim buttons are used.
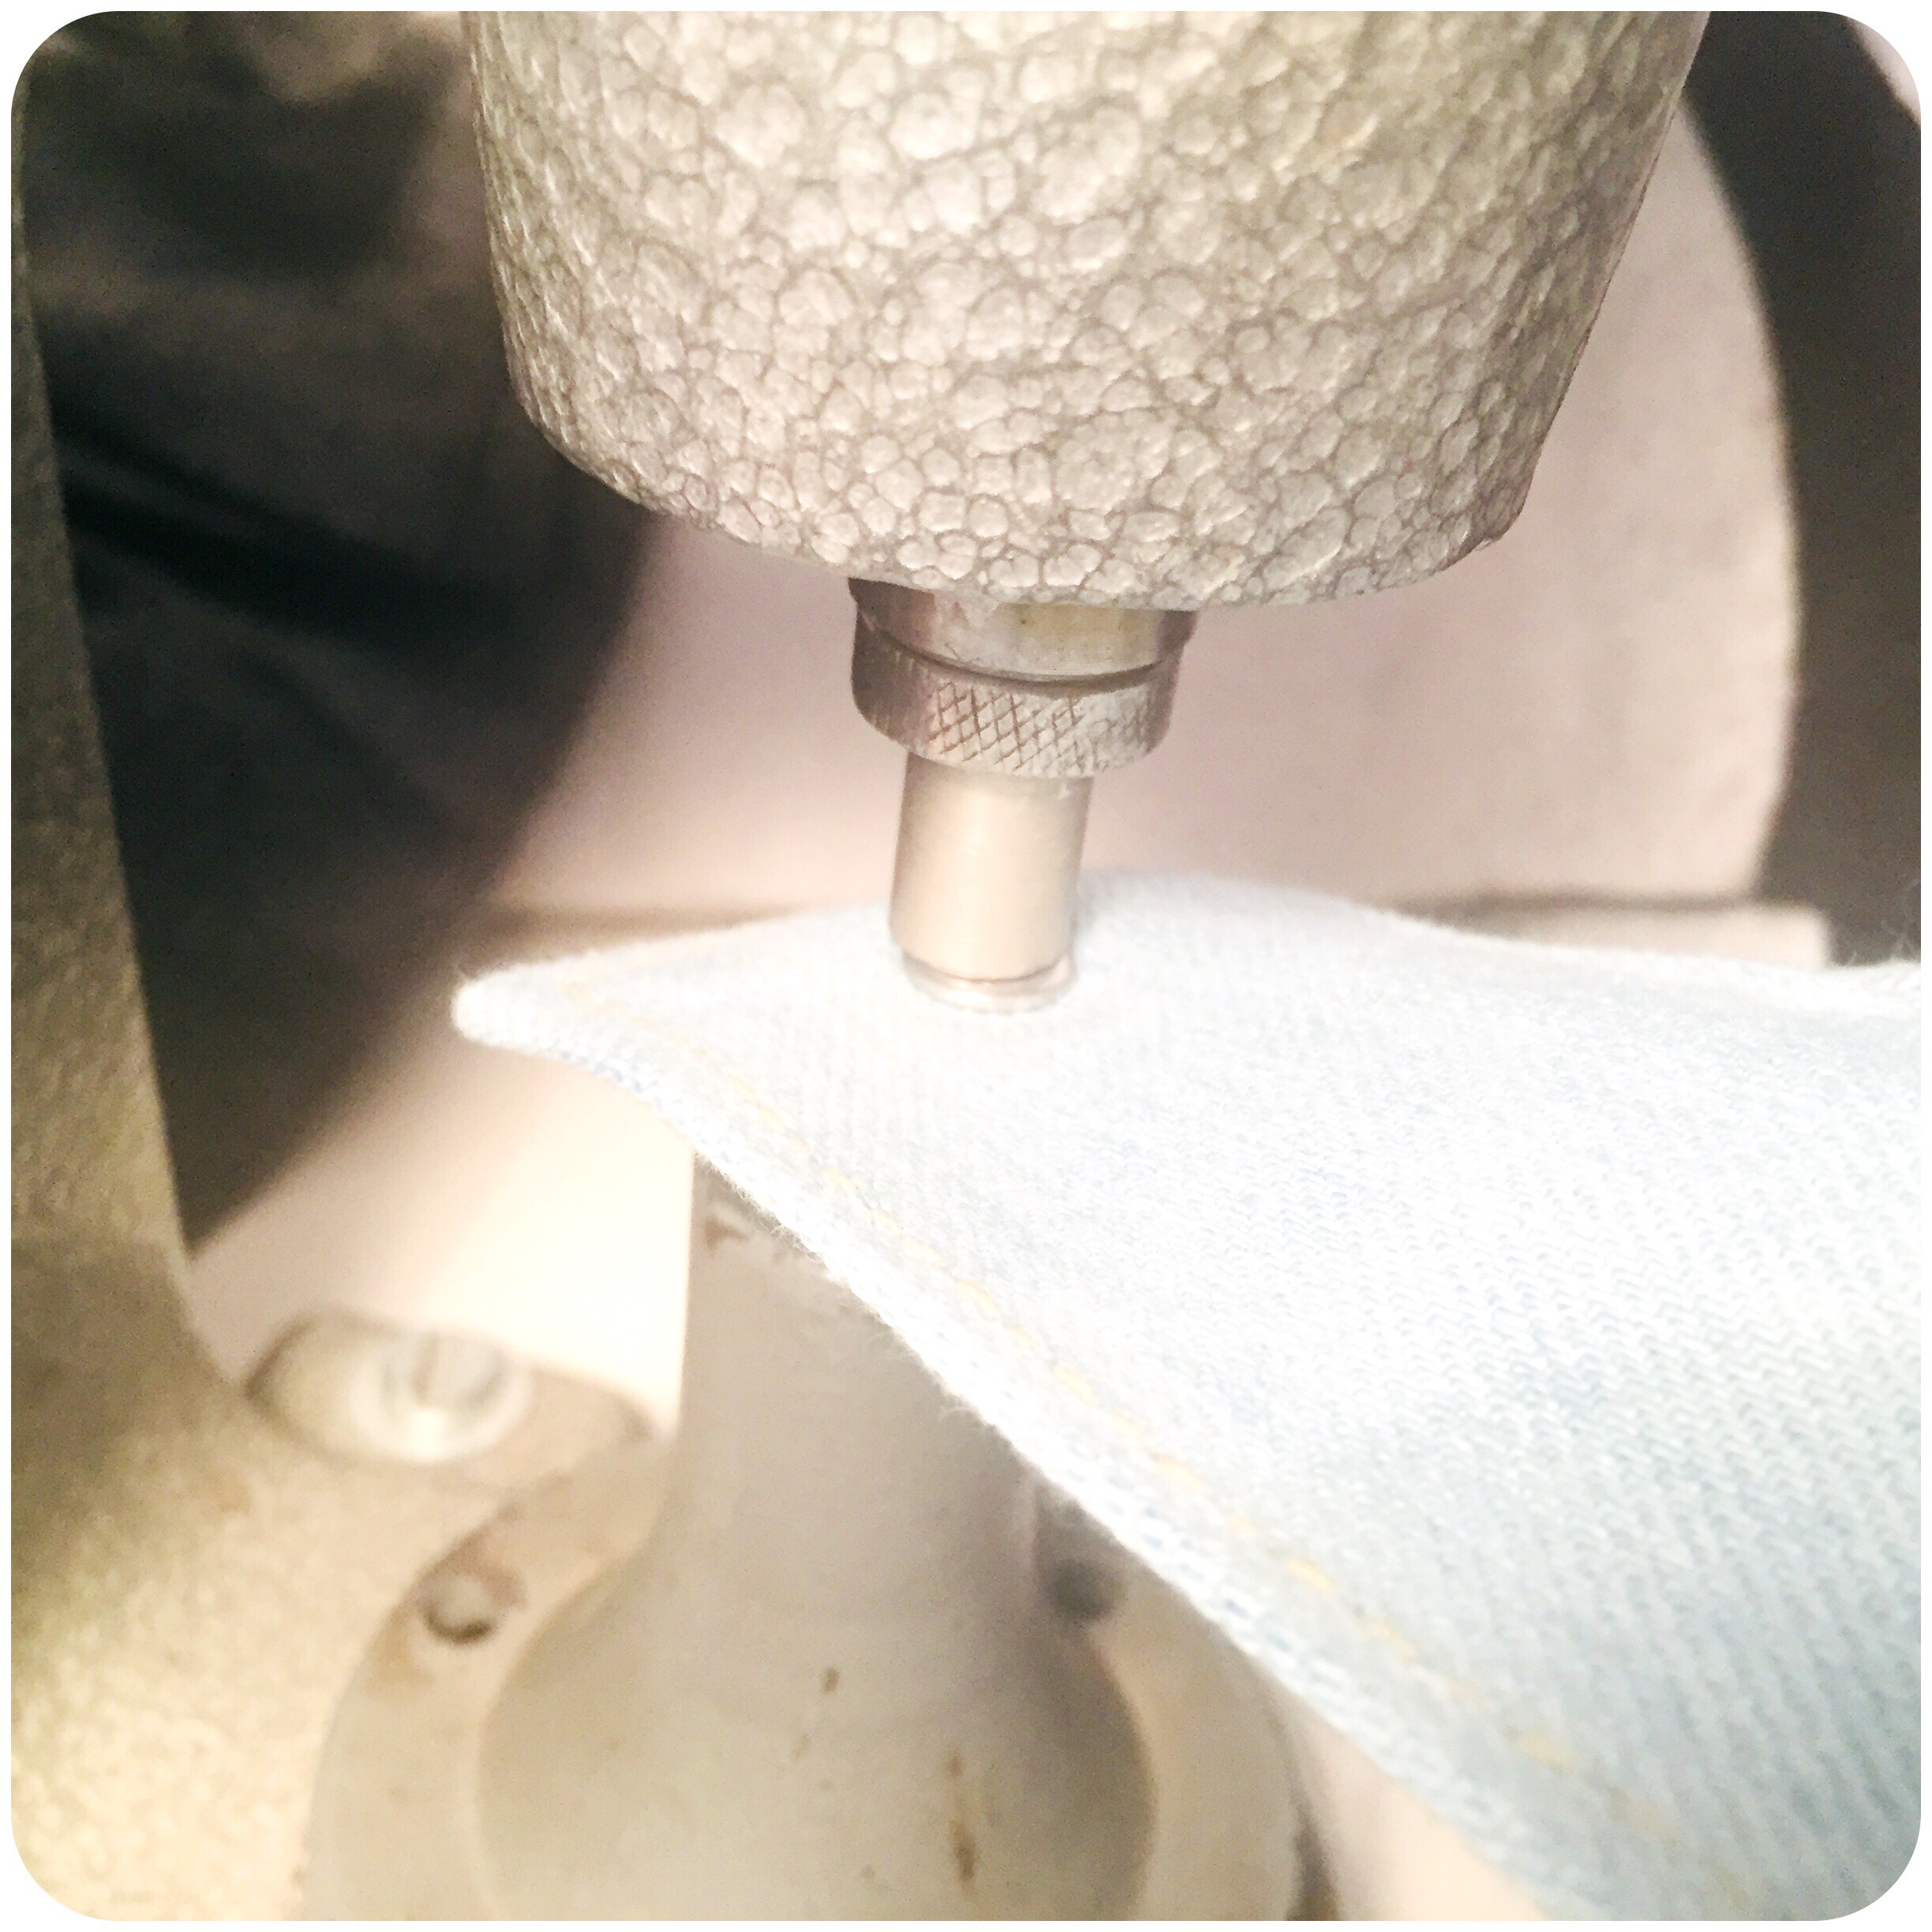
Press the denim buttons in place.
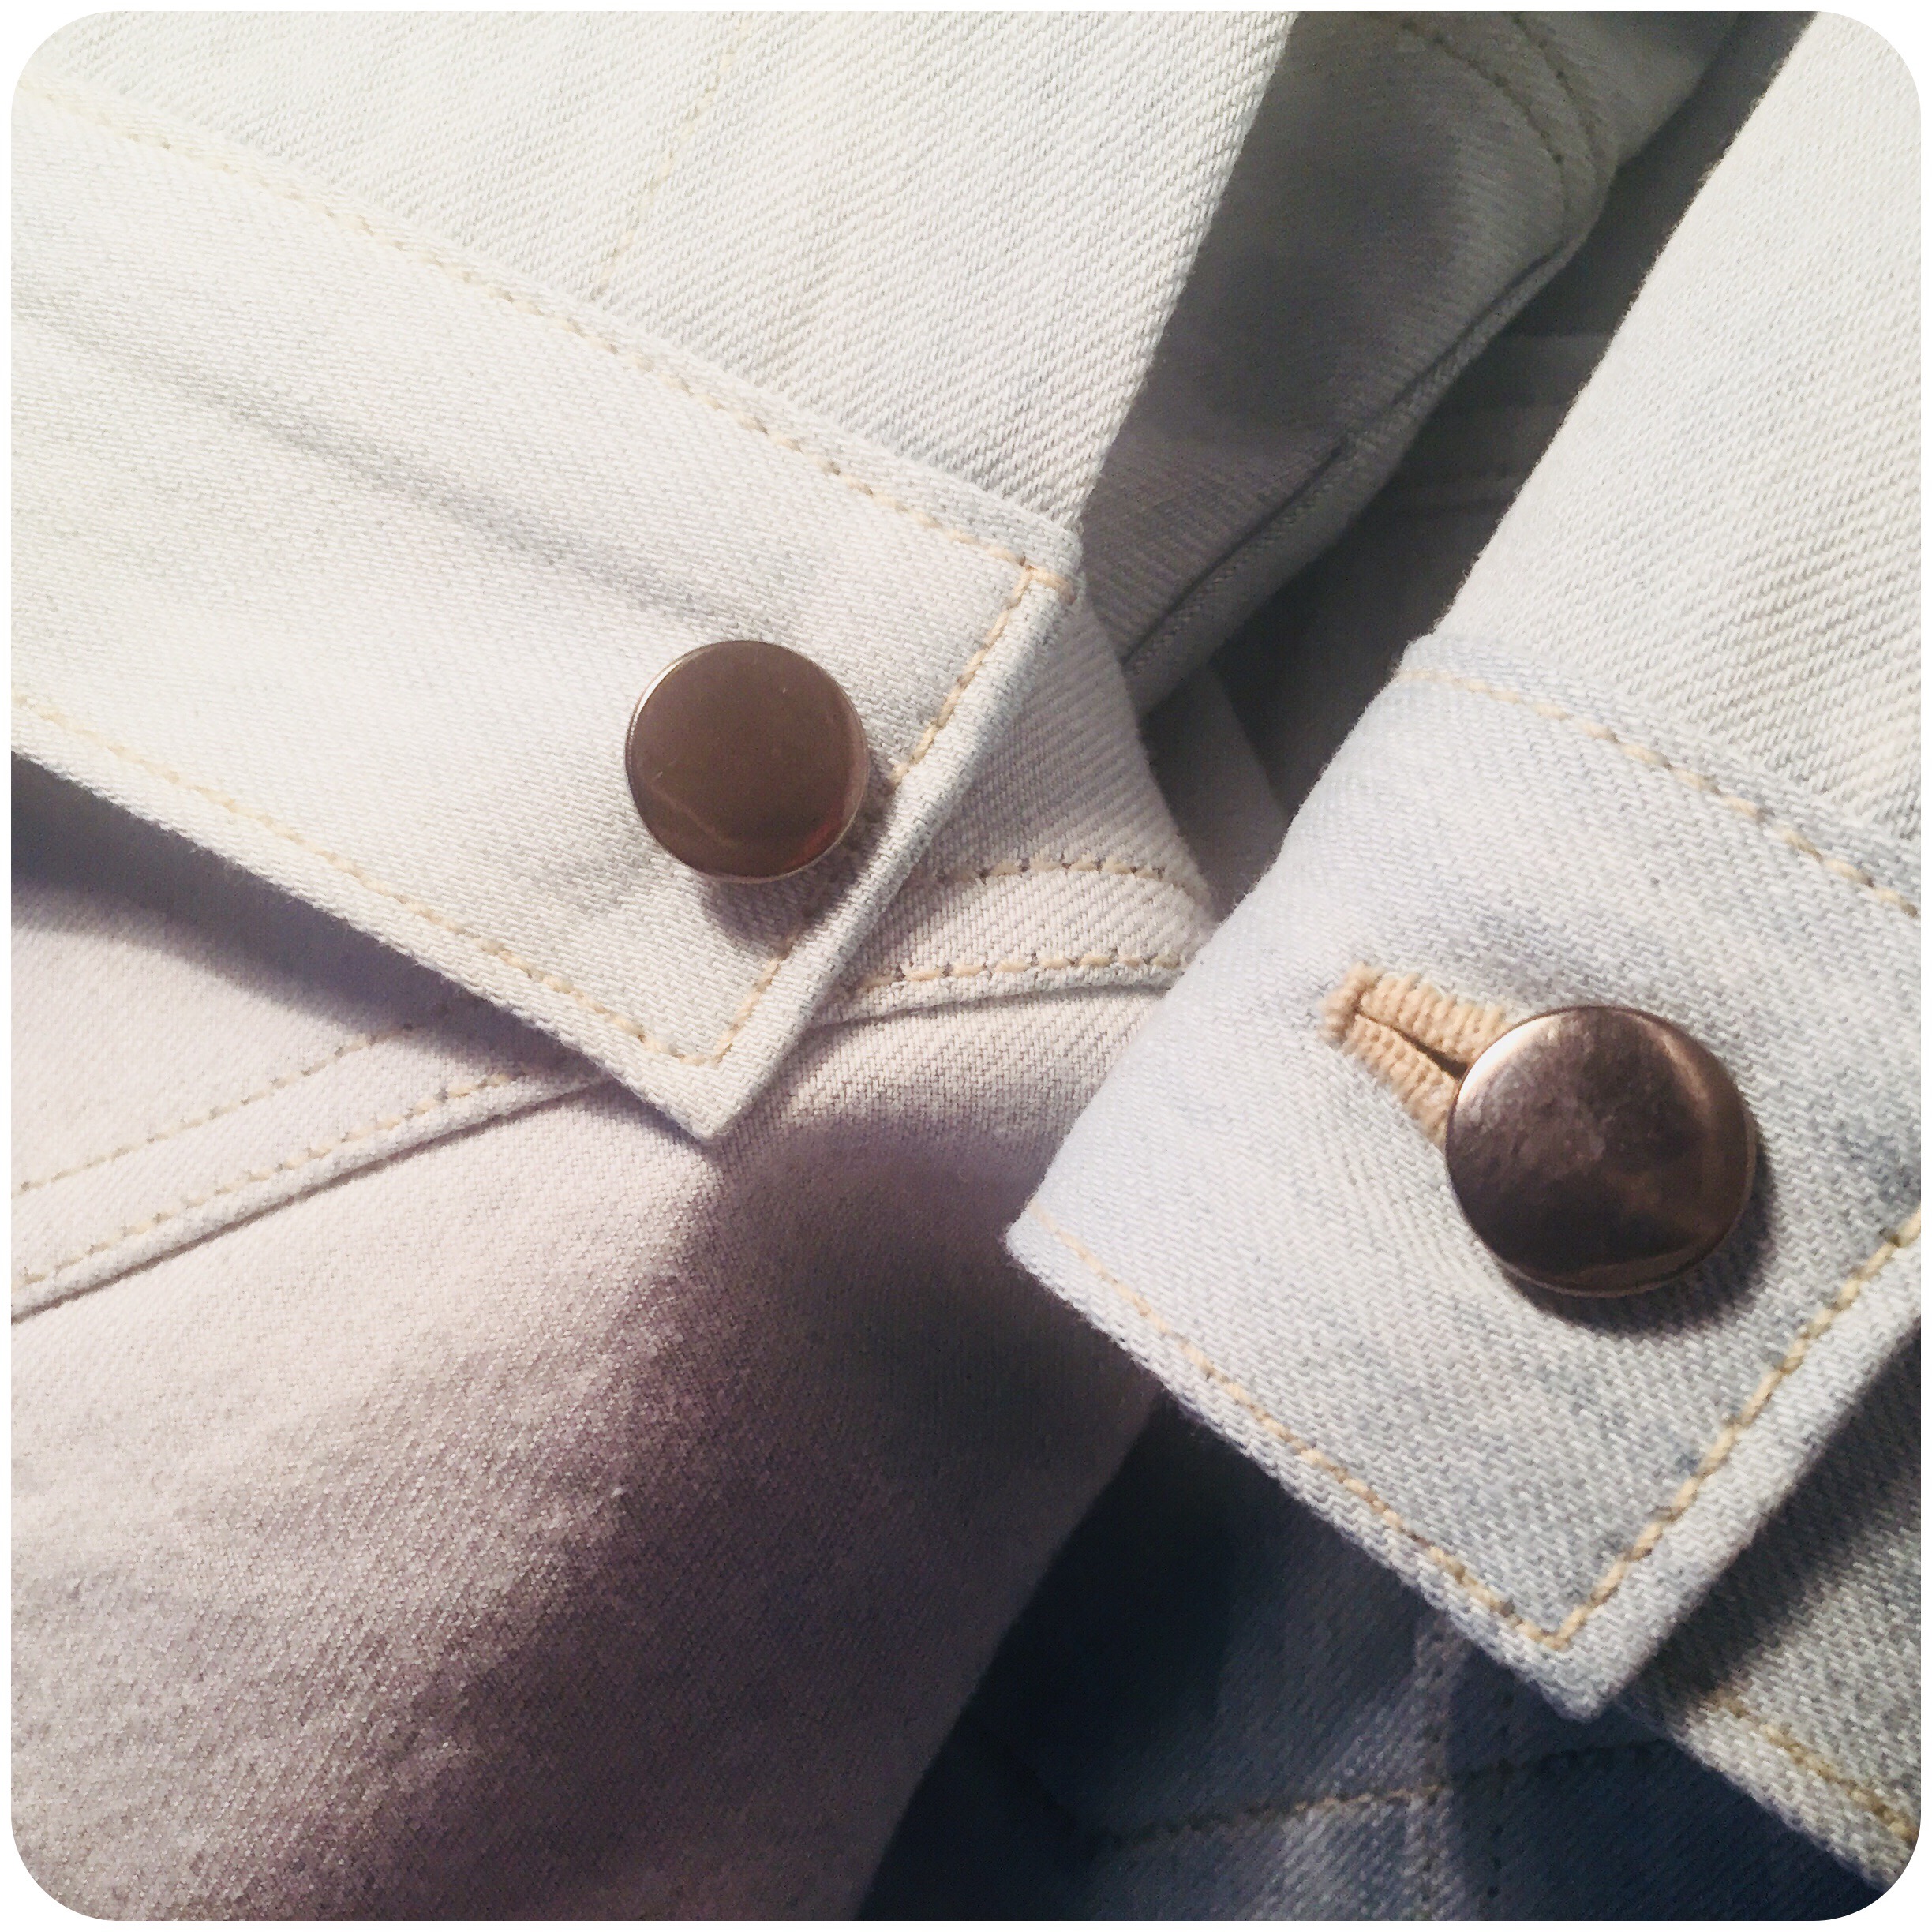
Finished button placement.
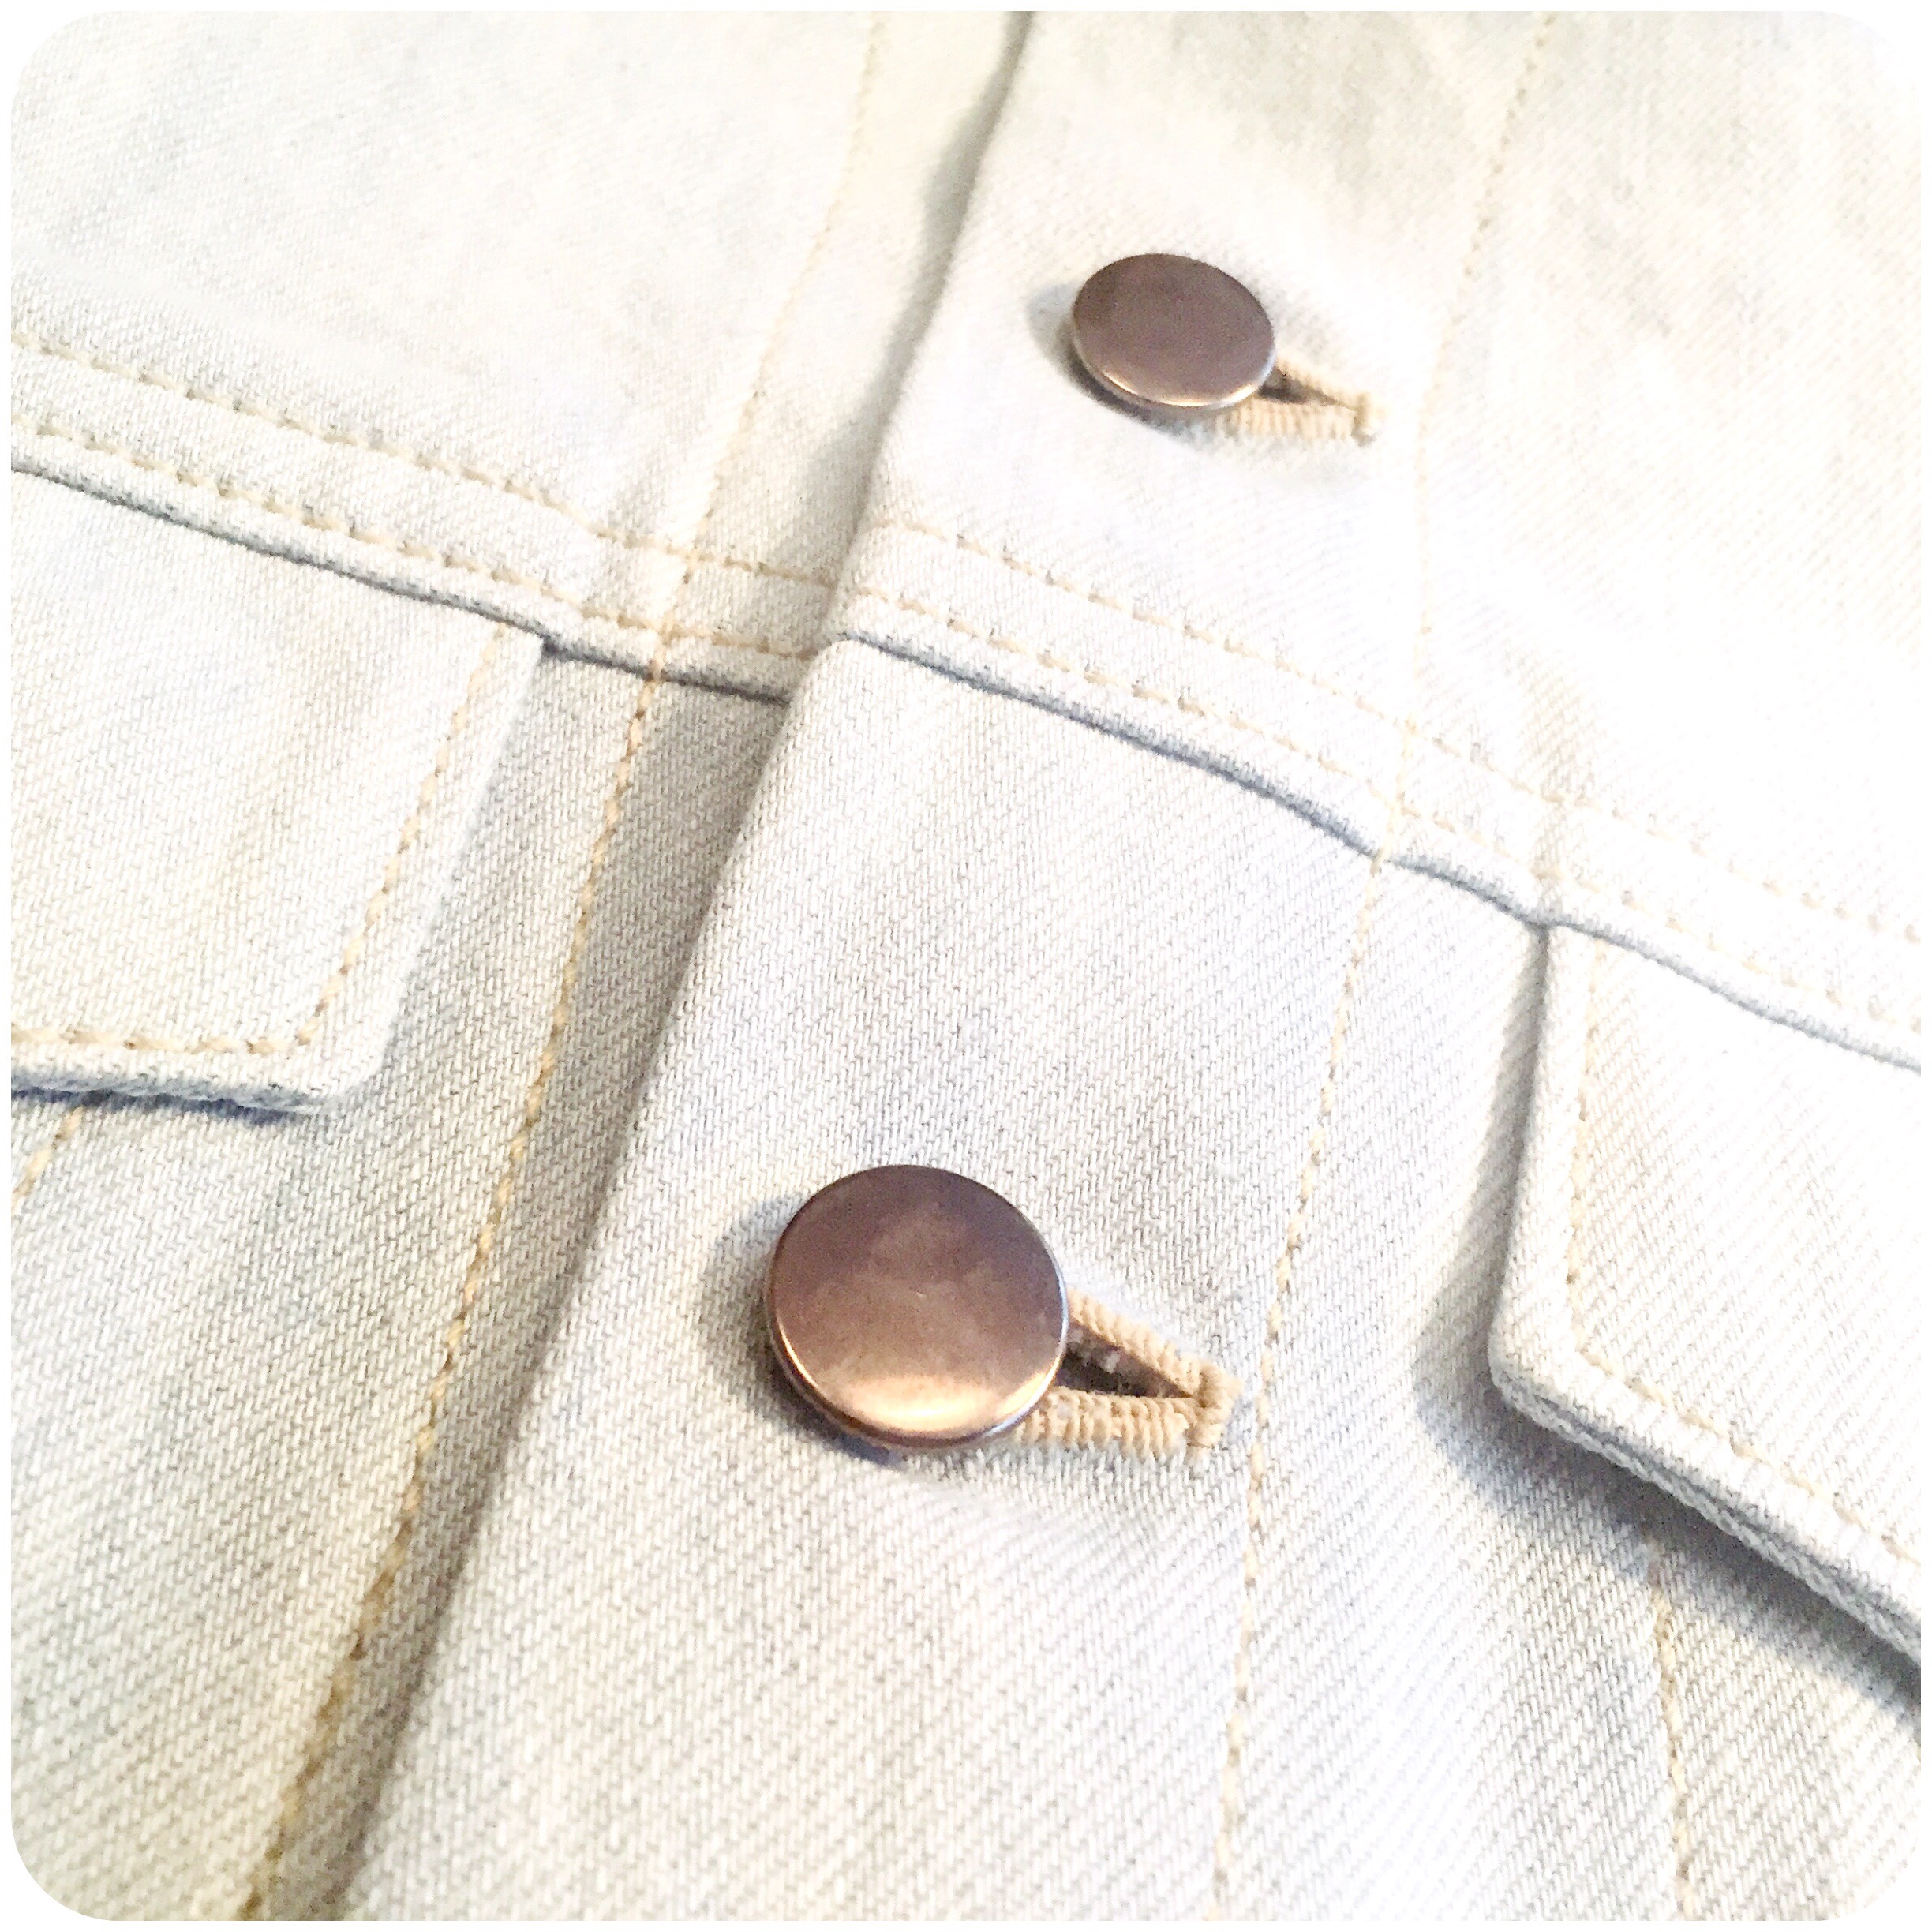
There you go! Worked buttonholes all done! I hoped you enjoyed the process. And now you know the difference between a machine-made buttonhole and one made by hand. You also know what’s hidden beneath the stitching seen, which is a lot.
Thank you for following the process!
– Sten Martin / DTTA
__________
If you enjoyed this content, feel free to support us by sharing this article, subscribe to one or two of our different platforms with informative content on tailoring and design, or, by just donating a sum. As a small independent company, we’re always greatful for your support!
If you would like to comment, ask questions or suggest upcoming topics, remember to log in with your subscription code. See you over there!
